by Joanne James5. November 2018 20:00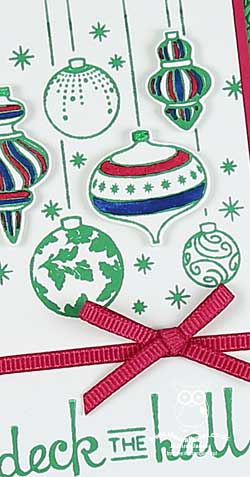
Today I've another post for you and I'm sharing not one but three cards - all variations on a theme for this week's challenge over at CAS Colours and Sketches:

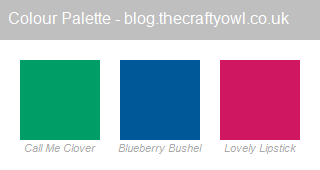
Now normally I would run a mile at the thought of a colour and sketch combo. but I saw this one and immediately loved it! I no longer have those three retired Stampin' Up! ink colours, so I substituted with a current trio of similar colours:
I used my three colours to create the same card in three colourways - here's the basic design:
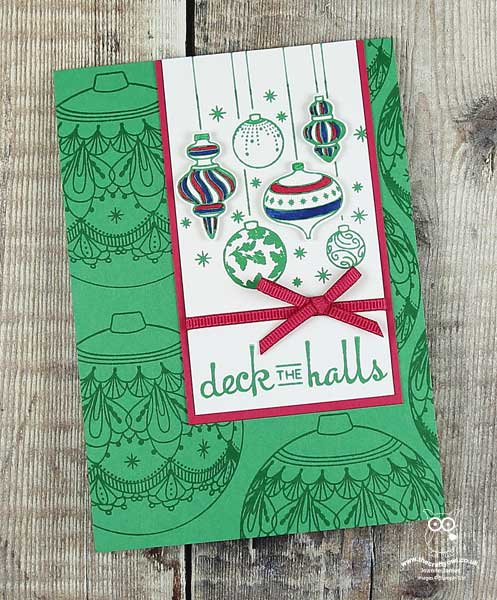
Here's the low-down on today's card:
Detailed Baubles - The multiple bauble stamp in the 'Beautiful Baubles' stamp set was perfect to accompany my sentiment on the portrait feature panel on my card. I stamped it in the same colour as my card base, then used one of the other three colours to mat this layer and tie with a co-ordinating ribbon. I stamped the baubles again on a piece of spare cardstock and used my In-Colour Stampin' Write Markers to add selective colour to a few of my baubles, before cutting out with the Detailed Baubles Thinlits and popping some of the baubles up with mini-dimensionals to add interest.
Tone on Tone Backgrounds - I initially left my base layer blank, but it seemed a little too plain. I tried stamping a tone-on-tone background all over with the large bauble stamp in this set and decided I quite like it - so repeated in the other colourways too.
Mix and Match - This card was easy to replicate and achieve a different look simply by switching the colours of the bases and layers around. I ended up creating six cards in one go, two in each colourway. A nice dent on my Christmas card pile and with the focus on three in-colours too, it meant that I didn't need a ton of supplies either - bonus! Here's a picture showing all three colourways:

And I stamped the inside too:

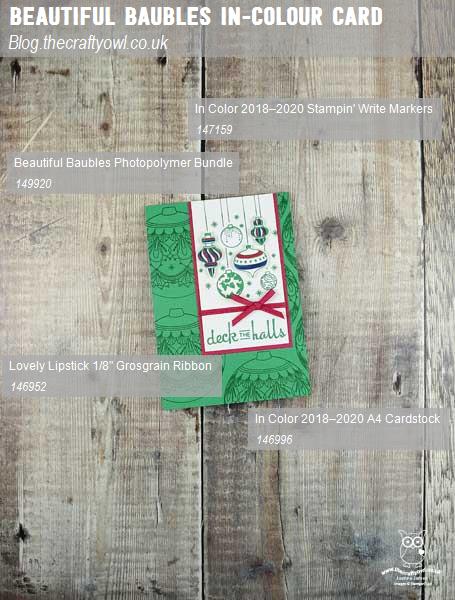
Here is the visual summary of the key products used on today's project for you to pin for easy reference:
You can see all of my 'How To' summaries on my 'How To - Tips and Techniques' Pinterest board in case you've missed any.
Enjoy your day and I'll be back tomorrow with another project. Until then, happy stampin'!
Stampin' Up! Supplies Used: