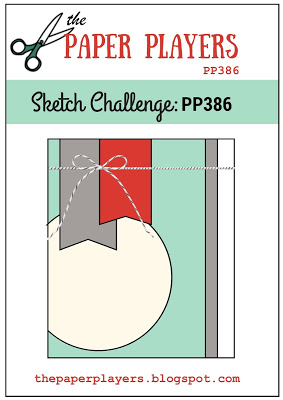
Happy Monday everyone! Yes it's a late post following a busy day as always, but as promised I have another card using yesterday's sketch over at The Paper Players that is also perfect for this week's TGIF Challenge:


I loved this sketch and in addition to yesterday's party-themed cards (you can see those here if you missed them) also used it to make a fun masculine card - I didn't post it yesterday as my PP teamie, the lovely Jan Clothier, had the same idea and used the same set, so I saved mine until today. It also demonstrates one of my favourite ways to use my Stampin' Write markers - take a look:

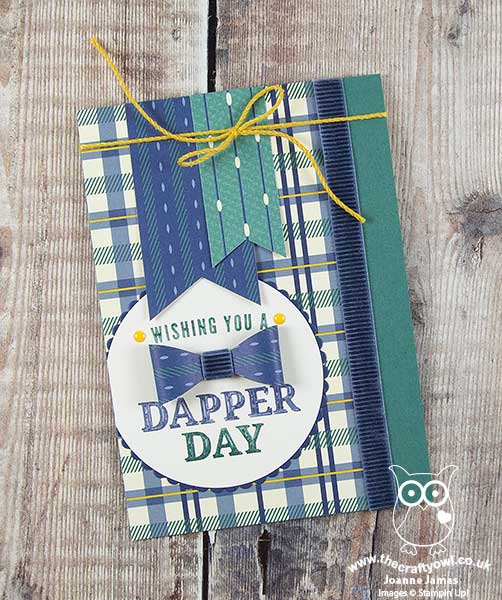
Here's the low-down on today's card:
True Gentleman - Classic patterns and elongated hexagons make the True Gentleman Suite tasteful, tailored and irresistible; this is how the catalogue describes this suite and whilst this isn't a set that sits at the top of my list, I do love the DSP patterns and colours (surprise, surprise!) and the clean, block style of the fonts in the Truly Tailored stamp set. And whilst I haven't used it here, the Tailored Tag Punch is a lovely modern, angular label that can be used with many other sets too. There are traditional masculine browns in this suite, but I chose to feature the brighter blues and greens on my card today, picking out the Crushed Curry yellow from the plaid background pattern with my baker's twine bow for an additional pop of colour.
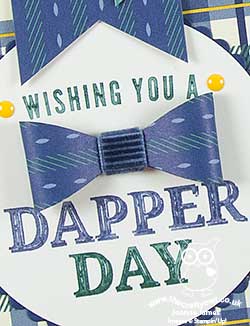
Direct To Stamp - I used my Stampin' Write markers in one of my favourite ways on today's card; by colouring the sentiment directly with my markers, I was able to use both Tranquil Tide and Night of Navy on one stamp. I was also able to highlight certain areas of the stamp in order to alter the layout: if you compare my stamped image to that of the original stamp in the table below, you will see I omitted the moustache altogether and split the top line of the sentiment and stamped it on the upper portion of my circle, with the remainder on the bottom leaving a space in between.
Build A Bowtie - I decided to put that space between my custom-coloured sentiment to good use and add a bowtie - not a stamped one though, rather one punched with the Bow Builder Punch - dapper indeed! I finished the centre of my bow with a little of the textured corduroy ribbon that I used to edge my panel too as a fun finishing touch.
I also used two different colour markers on one stamp on the inside of my card too - although can't seem to find the photo of that, so will have to retake and add it to my post later.
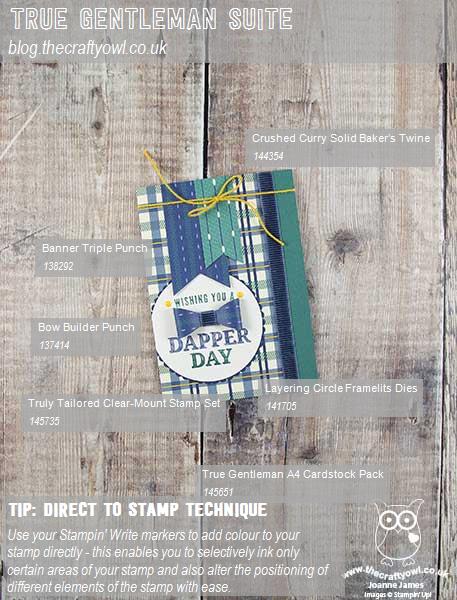
Here is the visual summary of the key products used on today's project for you to pin for easy reference:

You can see all of my Product and 'How To' summaries on my 'How To - Tips and Techniques' Pinterest board in case you've missed any.
I'll be back tomorrow with a couple of fun and simple Easter projects. Until then, happy stampin'!
Stampin' Up! Supplies Used: