It's Thursday and time for a new challenge over at TicTacToe! It's the turn of Team X to host this week and I am the featured designer this week. This is the fun board that we are playing along with:
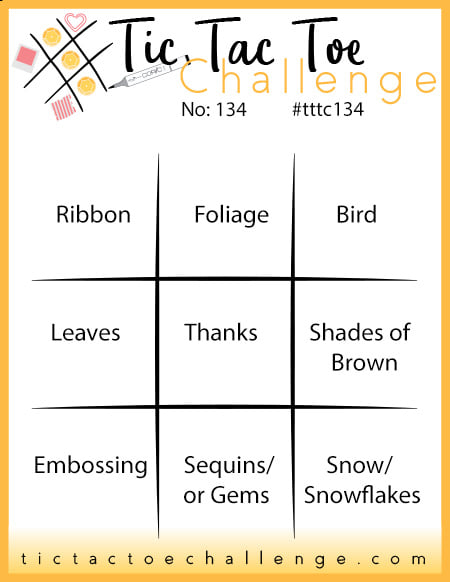


I decided to go across the middle of the grid with leaves/thanks/shades of brown for a clean and simple card. I used the layout and layering idea from the CASE The Designer challenge over at Global Design Project and the colours over at Color Throwdown that are perfect for Autumn. I will also be linking up over at Addicted to CAS, having finally managed to create something suitably clean and simple befitting their Autumn codeword - take a look:
Here's the low-down on today's card:
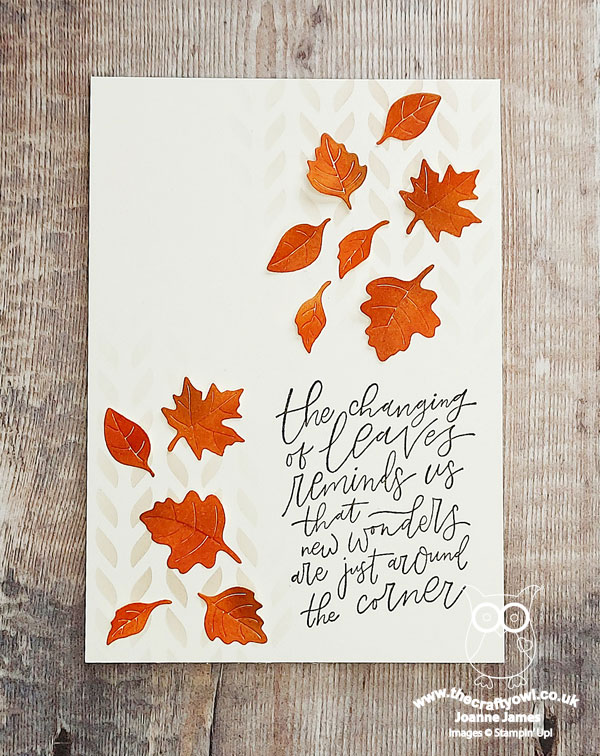
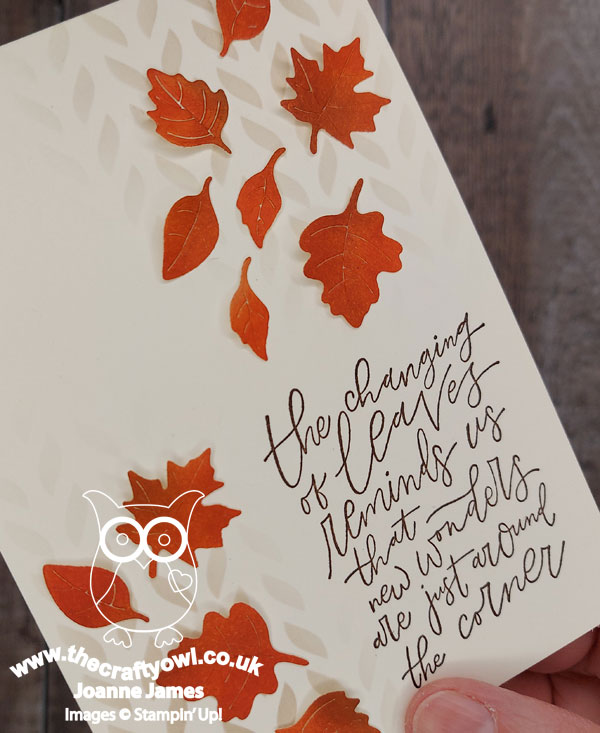
Beauty Of Tomorrow - I love the large sentiment in the 'Beauty of Tomorrow' stamp set which sums up the changing seasons and advent of autumn beautifully I think so I had to feature this on the front of my card. Since this doesn't directly have anything to do with my middle square of 'thanks', I added one of my favourite stamps from the 'Well Defined' set to the inside of my card:
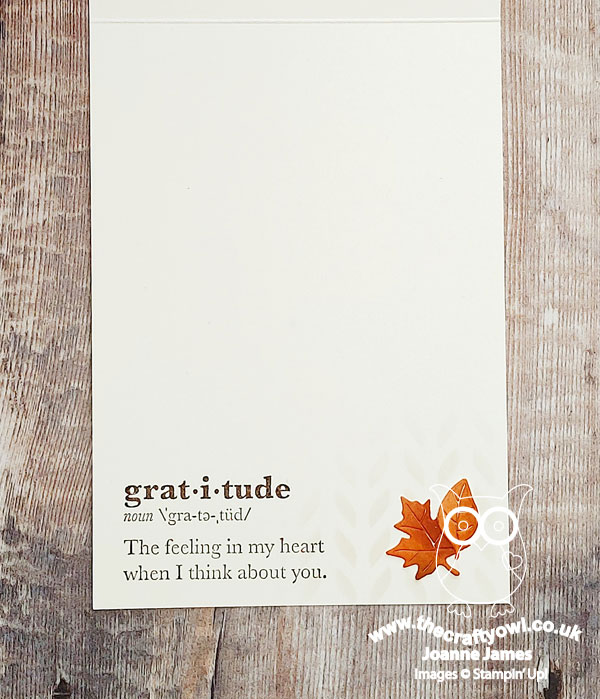
I love the idea of sending a card to someone thanking them for being part of my world, rather than as a show of gratitude for something someone did and this sentiment is so perfect for that.
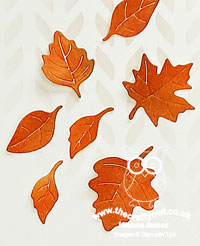
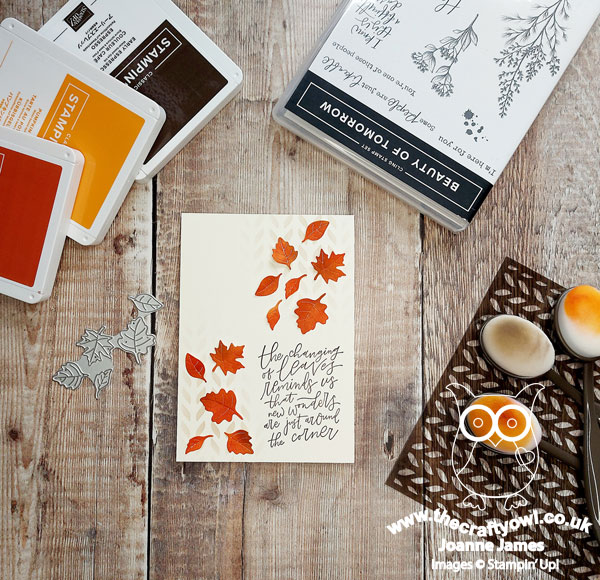
Giving Gifts Autumn Leaves - I created a cascade of falling autumn leaves that I diecut from a piece of cardstock onto which I blended a selection of oranges and browns (see below) using the leaf die in the Giving Gifts Dies set. One of my blogging friends, the lovely Kim Singdahlsen of Joyful Creations with Kim, has made some fabulous cards with the dies in this set and was a total enabler when it cam to me puchasing these dies - I could resist no longer! I particularly love the diecut detail on each leaf; I glued each of them on one half only, so that they could be gently folded upwards to add to the sensation of falling leaves - slightly easier to see on the angled photo below:
A Surprise Find - Finally, to add a little extra autumn-inspired detail to my card, I added some Grey Granite ink using a blending brush and an old stencil I found in my stash with a large knit pattern and faded it out from opposing corners. I am seeing some wonderful stencilling in the blogosphere lately, none more so than from my fellow Paper Player designer and CAS supremo the lovely Jaydee of Stampin! With Jaydee. She has a beautiful fine-knit stencil from The Greetery that she has been using lots lately and when I found this in my stash I thought it would be a good stencil to create a similar look and feel. This was also a good way to incorporate the soft, warm grey tones of the Color Throwdown palette.
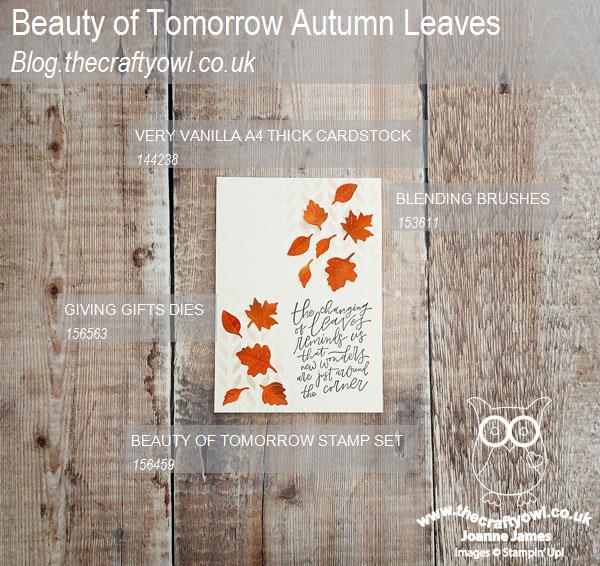
Here is the visual summary of the key products used on today's project for you to pin for easy reference:
You can see all of my Product and 'How To' summaries on my 'How To - Tips and Techniques' Pinterest board in case you've missed any.
This is one of those cards that for all its simplicity seemed to take forever; it took a truck load of inspiration to get me there, but I must say I love the result and ended up making a few of these to send out to friends.
A tictactoe board offers so many creative possibilities - how does this week's board inspire you? Why not have a go? We would love to see you in the gallery and who knows - you might be selected for Designer's Choice and be eligible to be a guest designer on a future challenge.
Enjoy your day; I do not know where this week has disappeared! I am still busy harvesting produce and I made another batch of raspberry jam yesterday. Today is oddly warm for this time of year, but still rather grey and it certainly doesn't feel like the return of summer that the weather forecasters promised! I'll be back soon with another project. Until then, happy stampin'!
Stampin' Up! Supplies Used: