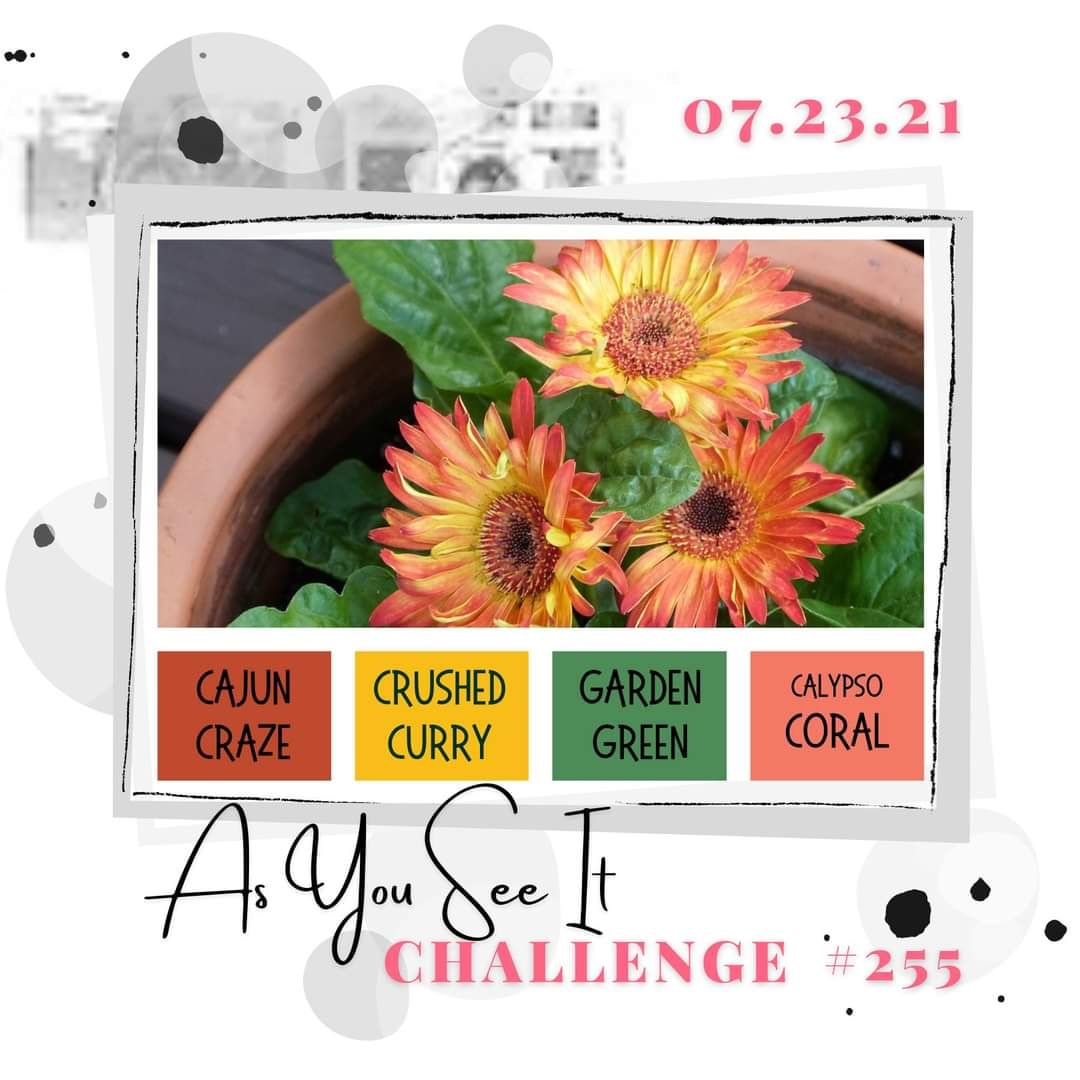
Today I'm sharing my design team card for our new challenge over at As you See It where it's time for a colour challenge:
I was inspired not just by the colours but also the picture Jane chose for this week's challenge and decided these colours would be perfect for another sneak peek of new products from the upcoming mini catalogue - take a look:
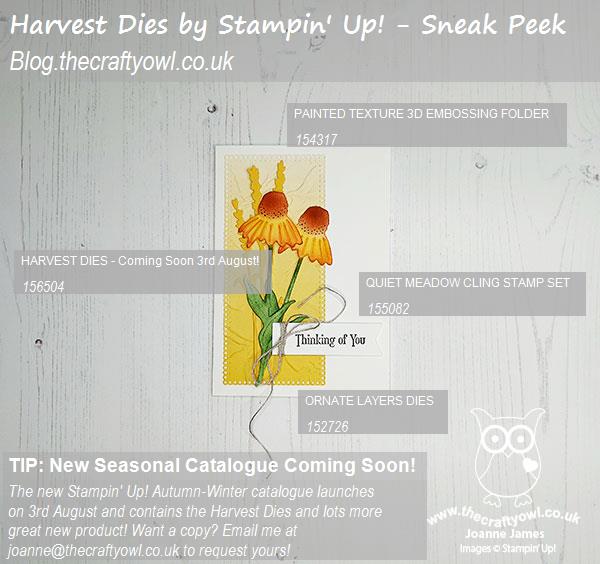
Here's the low-down on today's card:
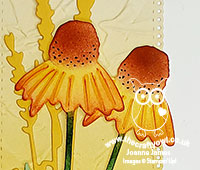
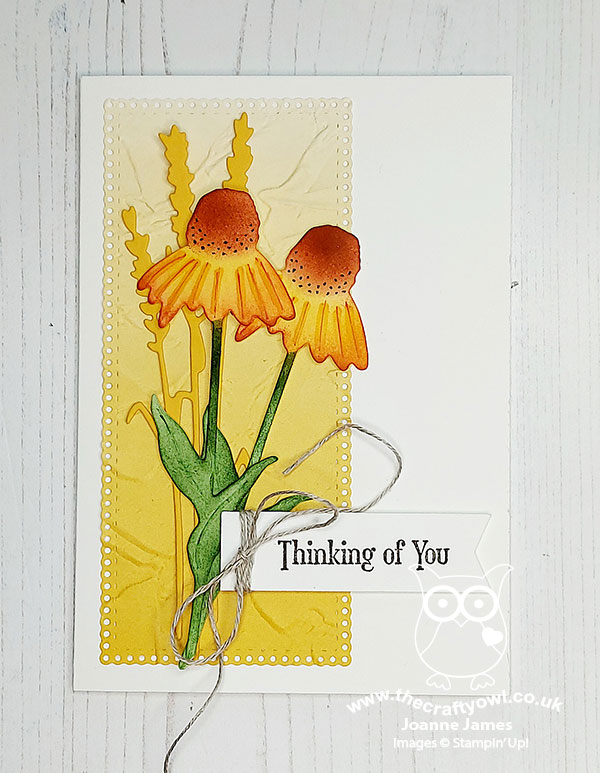
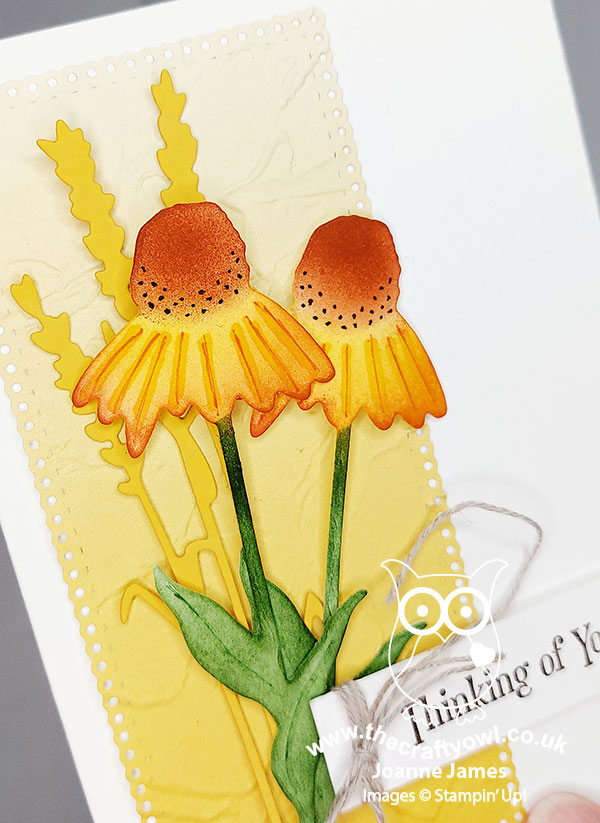
Harvest Dies - These colours are perfect for some autumnal colour so I decided I would use them to sponge some rudbeckias that I cut out with my new Harvest Dies. If you like the Meadow Dies in the annual catalogue, then you'll definitely love these! Including grasses and flowers, these work well with the co-ordinating stamp set and stand alone too. I cut out some ears of corn in Crushed Curry cardstock, then cut two rudbeckias in white and used my sponges to add and build colour to them, finishing with a few dots to the centre added with a Stampin' Write marker. The leaves and petals also have a faint embossed detail, which I accentuated by adding colour with markers.
Ornate Layers Panel - I also used another die on my card today - the long panel piece was cut using my favourite in the Ornate Layers set from the annual catalogue. I love the subtle diecut and stitched detail it has.
Painted Texture - I used a piece of retired ombre paper that I had in my bits box for my panel, but you could easily recreate this with some Crushed Curry ink and a blending brush. Before adding to my card, I ran it through my Painted Texture Embossing Folder for a little extra texture. You can see that more closely here:
A sentiment from the Quiet Meadow stamp set and twine bow finish my card.
Don't worry I am not done with summer yet, but these warm colours were perfect for today's more autumnal project. A fun fact for you - rudbeckias, or cone flowers or black-eyed susans as they are sometimes called, are pioneer plants and some of the first to grow following a natural disaster, such as fire. In the language of flowers they also represent encouragement - I'm thinking I should have read up on these before I made my card, I might have to switch out that sentiment now! Maybe next time ...
Here is the visual summary of the key products used on today's project for you to pin for easy reference:
You can see all of my 'How To' summaries on my 'How To - Tips and Techniques' Pinterest board in case you've missed any.
Here's a summary of our challenge rules:
- Create any card, scrapbooking page, 3D project or packaging project that fits the challenge.
- Please include the challenge graphic and link back to the challenge in your blog post. Turn off word verification so we can leave you lots of lovely comments. Make sure you link the post not the whole blog to the Linky. Use #AYSIXXX when uploading to a public gallery.
- If you’re unsure about ‘the rules’, check the details under the Challenge Guidelines tab on the As You See It Challenge homepage.
- In a colour challenge, black or other neutral can be used in outlines and sentiments but no other colours should be included. Stampin’ Up colours are used for reference but colours that are a close match are welcome.
We look forward to seeing your creations in the AYSI gallery.
It's forecast a little cooler here in the UK today with a chance of thunderstorms across the weekend. I had a new garden parasol delivered yesterday - I hope that wasn't me tempting fate! Enjoy your day and I'll be back tomorrow with another project. Until then, happy stampin'!
Stampin' Up! Supplies Used: