Today it's Sunday and time for this week's new challenge over at The Paper Players! It's the turn of the fabulous Anne Marie to host this week and she has a timely theme challenge for you to work with:
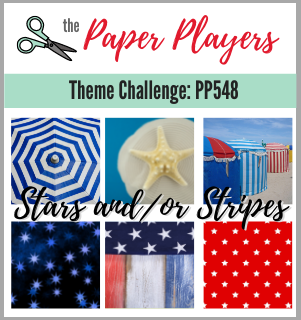

With today being the fourth of July and American Independence Day, Anne Marie's patriotic stars and/or stripes theme is very topical indeed. I wish all of my fellow teamies and readers on the other side of the pond a very happy Independence Day, yet I actually decided to jump forward to another holiday with my stars this week - yes, the (dreaded) 'C' word: Christmas! I took Amy's fabulous Sunday Stamps sketch and a little something old paired with something new for today's card - take a look:
Here's the low-down on today's card:
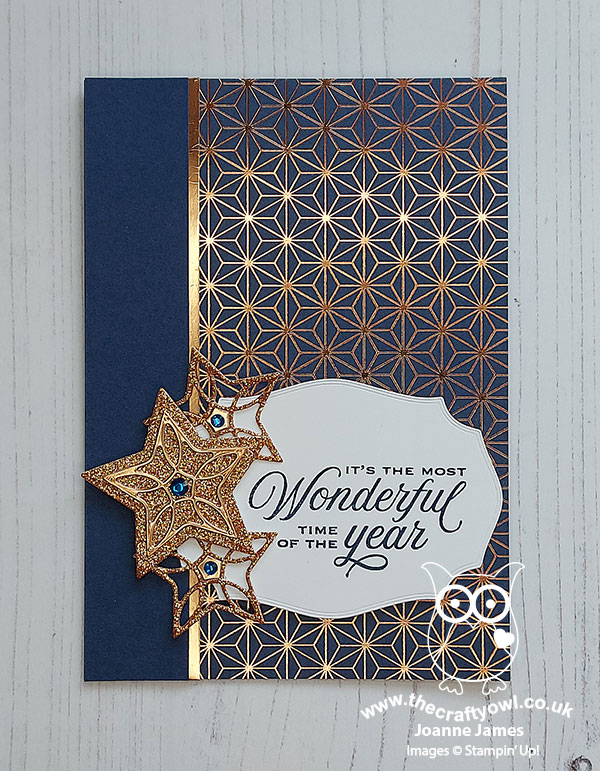
Something Old - Whilst the stars in my 'something new' were the starting point for my card today, I couldn't resist digging out some of my retired Brightly Gleaming designer paper from last season to use as the basis for my colour scheme on today's card. I just love this paper and the copper/gold combination is such a winner in my book. I went with the graphic star pattern for my main panel to further compliment the 'stars and/or stripes' theme.
Something New - The starting point for today's card was most definitely some new goodies I received this week with the Tidings & Trimmings bundle from the annual catalogue. The layered star dies in this set were the first things to catch my eye, but the stamp set also includes some lovely sentiments too. In addition to the one stamped onto my label on the front of my card, I stamped this one inside:

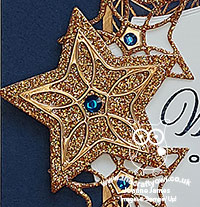
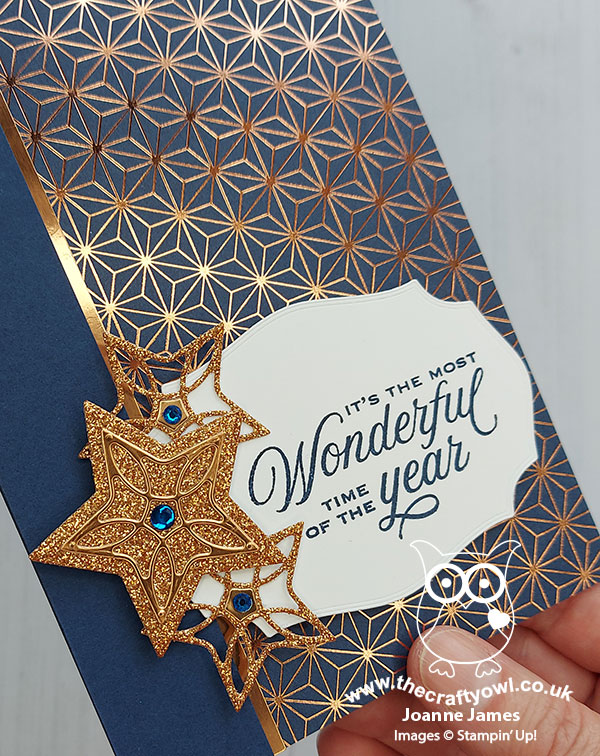
The real scene-stealers on today's card though are the diecut stars on the front of the card, with the centre one a combination of layered (retired) copper glimmer paper and copper foil:
Aren't those stars just fabulous?! This is such a sparkly Christmas card in real life and I love how my trio of stars has given new life to my stash of hoarded DSP too.
Holiday Bling - Last but not least, I added a Night of Navy rhinestone from the Holiday Rhinestones pack to the centre of each of my stars to compliment the navy and really draw your eye to the diecut detail.
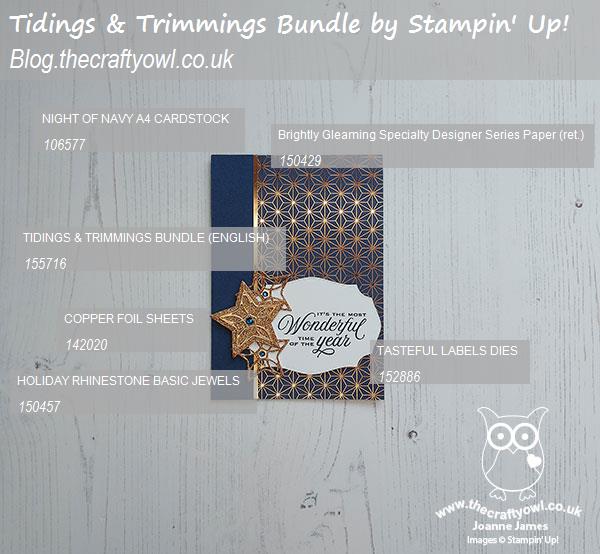
Here is the visual summary of the key products used on today's project for you to pin for easy reference:
You can see all of my Product and 'How To' summaries on my 'How To - Tips and Techniques' Pinterest board in case you've missed any.
I can't wait to play more with the Tidings and Trimmings stamp set and those Christmas Trimmings Dies - I think they are going to become a staple in my Christmas craft room and you will definitely be seeing more of them in the coming months.
Before you reach for your ink and papers, check out what our amazing team has created to inspire you this week:
The Paper Players Design Team
Here's a quick recap of our challenge rules:
1. Create a new paper project
2. Upload your creation to your blog with a link back to us and provide a direct link to the post featuring your challenge submission.
3. Please link your card to no more than four challenges, TOTAL.
4. Have FUN!
You can see all of my 'How To' summaries on my 'How To - Tips and Techniques' Pinterest board in case you've missed any.
Enjoy your day; I have no special plans today but am hoping to find a little crafting time and with any luck will be back tomorrow with another project. Until then, happy stampin'!
Stampin' Up! Supplies Used: