Before I get into the body of my post today, a reminder that today is the start of Stampin' Up!'s Year End Closeout sale of retiring favourites! You can read all about it in yesterday's post here - if you have any questions or would like to add to my local order to save P&P, do get in touch!
Today I'm sharing a card for the new challenge over at CAS Colours and Sketches, but this time not as a participant - as one of their new design team members for 2021! It is the final CC&S challenge of the year and they have reached a milestone 400th challenge - what an achievement! I have been invited, along with the other new design team members, Vicky, Bhavya and Jenny - to create a card for this week's challenge. This week's theme is to create a seasonal card with any of the challenge sketches or colour combinations that have featured in their challenges this year:

I actually didn't go that far back to find the challenge I wanted to work with; I missed participating in Challenge 398 only a couple of weeks ago but I loved this sketch and had so many creative ideas, I had to try one of them out for today's card. Here's the sketch that featured in that challenge:


What to do with those vertical lines? I considered a row of festive stockings, but also wanted to try something with another of my favourite Christmas sets this year, 'Sweetest Time'. Take a look at what I came up with:
Here's the low-down on today's card:
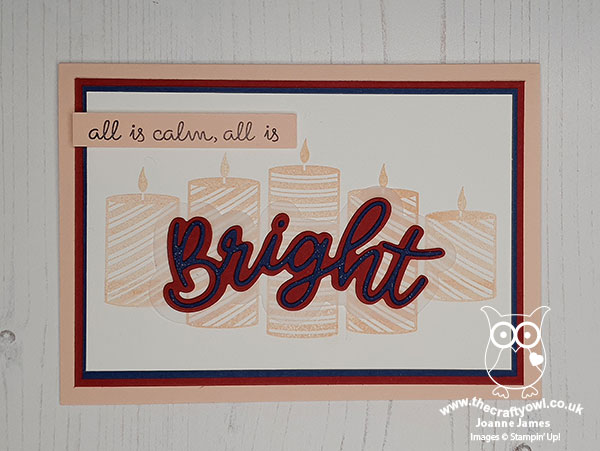
All Is Calm Candles - If you know this stamp set (and if you don't check out the image in the shop link at the bottom of the post), it has a stamp that is a trio of candles. I decided to get creative with my masking and with the aid of my trusty Stamparatus, I stamped the central three candles, then masked them with a post-it note before stamping an additional candle either side. I did stamp the outer candles in two parts, as I wanted to shorten them too to reflect the chaging size of the lines, but this wasn't too tricky; the Stamparatus made it easy to line up the stripes so you'd really never know.
All is Bright - I decided to omit the last word of my stamped sentiment from the set and replace it with a feature 'Bright' diecut across the front of my candles, cut with my 'Joy' dies for the perfect statement centrepiece.
Unconventional Colour Combo - I've a couple of confessions as far as this card goes: I originally made it as a single white base layer, however when complete it looked less 'clean and simple' and more 'bland'. To be fair I think this might have a lot to do with my unconventional festive colour combo of Night of Navy, Petal Pink and Cherry Cobbler that feature in Color Dare's TicTacToe challenge 422 (bottom row). I liked these colours together and thought the bold sentiment would work well with the pale candles, but when finished it was, well, bland. So I cut it up and added some outline borders and a pastel card base, along with some clear Wink of Stella to the candle flames and the Navy 'Bright' diecut - and instantly liked it a whole lot better!
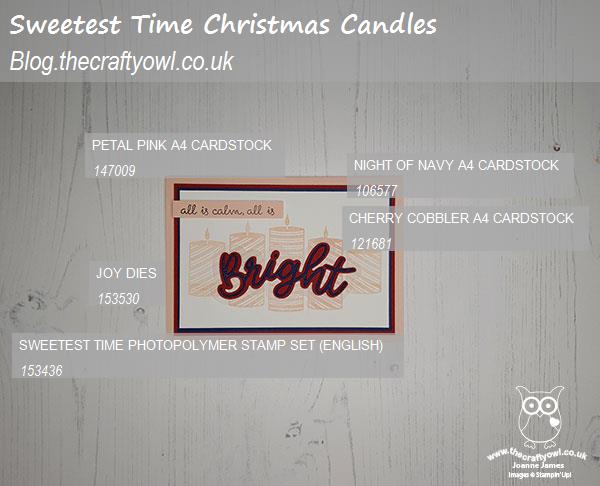
Here is the visual summary of the key products used on today's project for you to pin for easy reference:
You can see all of my 'How To' summaries on my 'How To - Tips and Techniques' Pinterest board in case you've missed any.
I think my card is still (relatively) clean and simple, although does now have a few more layers than I suspect my new team members would like. I am looking forward to honing my CAS skills as I work with this lovely group each week - I think that might be my 2021 New Year Crafting Resolution #1 ...
Enjoy your day and I'll be back tomorrow with another project. Until then, happy stampin'!
Stampin' Up! Supplies Used: