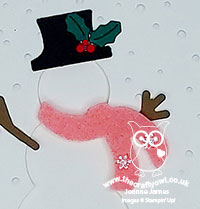
Circle Punch Snowman for CASology 380 Guest Designer

by Joanne James15. December 2020 14:00

Today I'm sharing a card for the new challenge over at CASology where I have been invited by the lovely Melissa to be the guest designer, following my 'stag' card being chosen as a winner for challenge 378 - if you missed it, you can see that card here

Today's cue card is a festive one and perfect for some last-minute card making for the Christmas season:
 

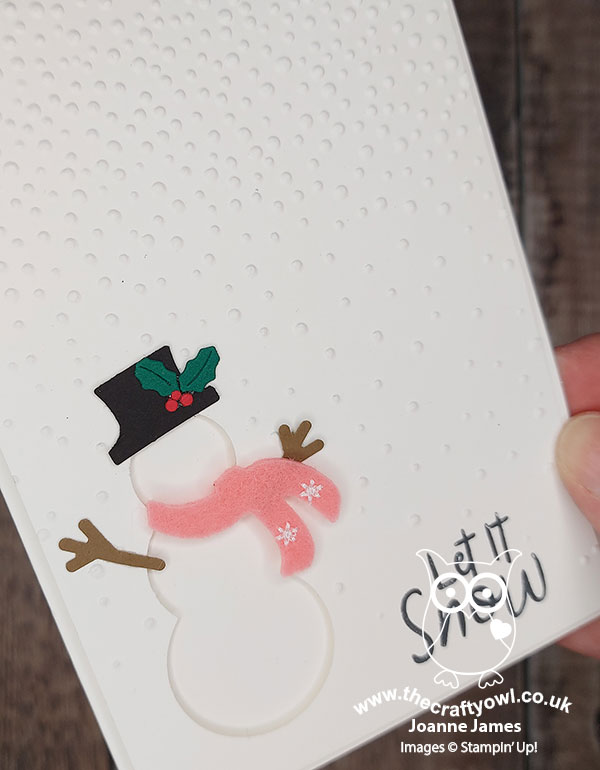
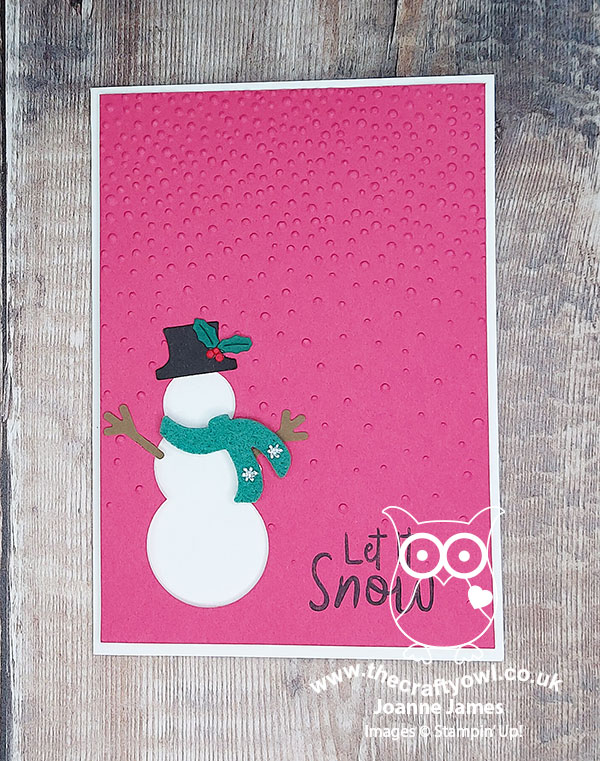
 I decided to create a cute snowman using negative space for my card today - take a look:
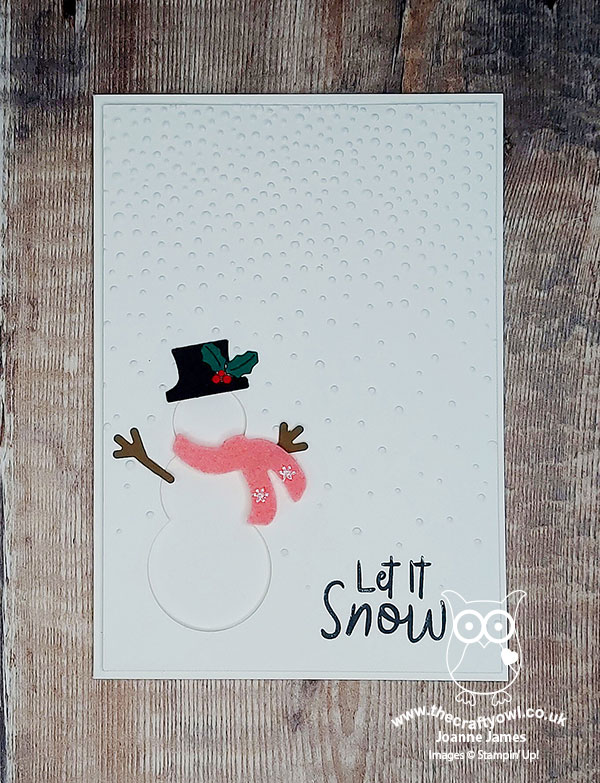
 

 Here's the low-down on today's card:

Do You Wanna Build A Snowman - Apologies if you now have THAT song stuck in your head, but that was exactly what I decided to do today, on my card at least! Whilst I used my Snowman Builder Punch for the hat and arms, it wouldn't work for the body but this was easily remedied by using some (retired) circle punches (3/4", 1" and 1 1/4"). I added a felt scarf left over from one of last year's accessory kits for a little added texture, a simple sentiment from the 'Snowman Season' stamp set and my falling snow was courtesy of my much-loved retired Softly Falling embossing folder - it's still a favourite of mine:
 

This was the stamping on the inside of my card:
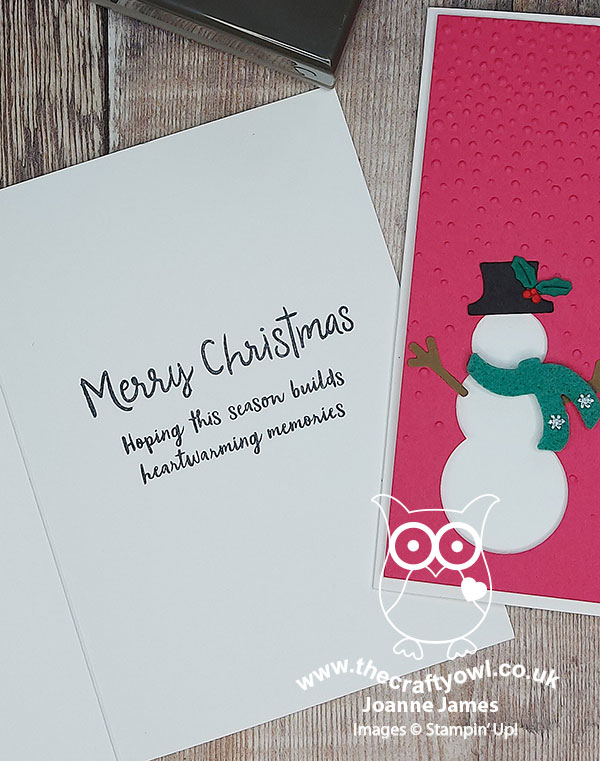
 

Design Defined - One of the things I love about the CASology challenge is that they encourage us to consider what makes our card 'clean and simple'. In addition to the basic guidelines, the design team offer some great tips in terms of their cards. Often when I play along I do the same, and if you check out my previous CASology-related blog posts, you will see lots of similar tips in relation to the cards that I created. For today's card, I defined my card design as 'Use negative space to create a focal point' which is a great way to add interest to a CAS design. 

An Unconventional Take - I actually made a second card using the same design, that was as a result of seeing this week's Inspired By inspiration photo:
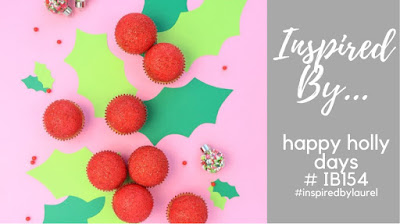
I loved the holly against the bright pink for an unconventional take on Christmas colour, so decided I would use this idea to create a second version of the above card. My holly is small and I swapped out my scarf colour for more green, but this card is very much about the pink:
 

So what do you think? I actually still prefer the original one myself, however it was fun to change out the colour for an alternative effect. Here are both cards together for comparison:
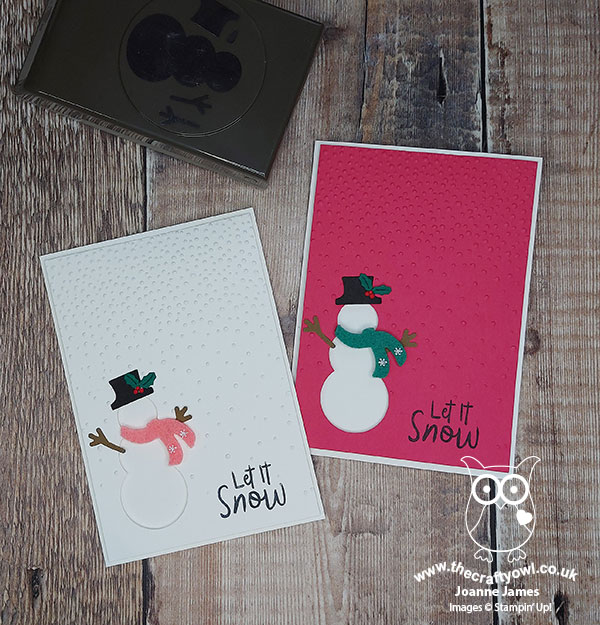
 

Which one do you prefer? Do leave me a comment below - I would love to hear your thoughts.

Here is the visual summary of the key products used on today's project for you to pin for easy reference:
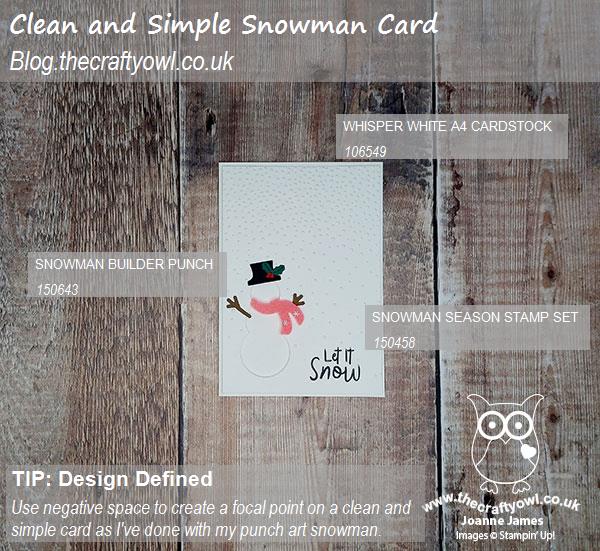
 

You can see all of my 'How To' summaries on my 'How To - Tips and Techniques' Pinterest board in case you've missed any. Thank you to the team at CASology for having me as their Guest Designer this week - do check out the team designs and I'm sure they would love you to play along with this challenge too.

Enjoy your day and I'll be back tomorrow with another project. Until then, happy stampin'!


Stampin' Up! Supplies Used:

Table built using Product Table Builder by The Crafty Owl - Independent Stampin' Up! Demonstrator.

A Celebration of Let It Snow PP465

by Joanne James27. October 2019 09:00

Today it's Sunday and time for this week's new challenge over at The Paper Players! It's the turn of the fabulous Ann to host this week and she has my favourite, a sketch challenge for you to work with:


There were so many ways to go with this sketch - in the end I decided to 'Let It Snow' - in a big way! Take a look:


Here's the low-down on today's card:

My card today is a celebration of the wintery-themed Let It Snow Specialty Designer Series Paper. This collection of cute snowmenwas at the top of my Christmas shopping list; my regular readers know how much I love DSP, and today's card uses not one, not two, not three, but four - yes four! - of the patterns in the pack. I used three of the non-glittery patterns for the layers (it was so hard not to use the sparkly designs on the reverse!) and fussy cut a glittery snowman for my corner embellishment from the fourth (I added some arms using the Snowman Builder Punch).

I added a diecut from 'Word Wishes' for the sentiment on the front of my card, although have a slight confession to make: this was supposed to be red glimmer paper for a touch of festive sparkle to compliment my glittery snowman, however could I find mine anywhere in my crafting square mile? Not a chance! I know I have some, but I couldn't find it anywhere so I resorted to some red foil instead. 

My card doesn't have a stitch of stamping on the front, although I did add a sprinkling of snowflakes and a sentiment from the 'Snowman Season' stamp set on the inside:

I love the combination of cool greens, white and red - it reminds me of candy canes - that feature in this paper pack and one thing is for sure: those glittery snowmen really are as sweet as sugar, and as sparkly too!

Here is the visual summary of the key products used on today's project for you to pin for easy reference:


You can see all of my Product and 'How To' summaries on my 'How To - Tips and Techniques' Pinterest board in case you've missed any. 

Before you reach for your ink and papers, check out what our amazing team has created to inspire you this week:

Here's a quick recap of our challenge rules:
 
1.  Create a new paper project
2.  Upload your creation to your blog with a link back to us and provide a direct link to the post featuring your challenge submission.
3.  Please link your card to no more than four challenges, TOTAL.
4.  Have FUN!

You can see all of my 'How To' summaries on my 'How To - Tips and Techniques' Pinterest board in case you've missed any. 

Enjoy your day; today marks the official start of winter and with that an extra hour in bed - yay! My day will be a quiet one and hopefully I'll be back tomorrow with another project. Until then, happy stampin'!


Stampin' Up! Supplies Used: 

Table built using Product Table Builder by The Crafty Owl - Independent Stampin' Up! Demonstrator.

Scrapbooking

Stampin' Up! has introduced a new range of 12x12" scrapbooking product and kit - the full range is now available to purchase online. To download a copy of the new digital Scrapbooking Catalogue click here.

Mini Catalogue

BROWSE THE CATALOGUE

'Tis The Season - the new Stampin' Up! Mini Catalogue is here! For more details and to download your copy click here

Shop Online

Access my online shop 24 x 7, 365 days of the year:

Current September hostess code:

JQEHTZGK

Shop Online

2024-25 Annual Catalogue

BROWSE THE CATALOGUE

Click on the image to download your copy of the 2024-25 annual catalogue. For a full list of current SU! supplies, go to my online store. If you would like any help or advice, please drop me a line at joanne@thecraftyowl.co.uk or give me a call on 07773 421446 - I'd be happy to help.

Join My Team

It's always a great time to join Stampin’ Up! New team members can get £130 worth of products for only £99 + free business supplies + free shipping + all the fun being a part of Stampin’ Up! Stampin' Up! has something for everyone: join my growing team and benefit from my support to enjoy Stampin' Up! however you choose.

If you're interested, call me for a chat to understand how I can help you realise your goals. Alternatively, if you have already decided to sign up and you just can't wait, please click here for the link to the online form where you can sign up and order your starter kit right away! 

Latest Kits!

Stampin Cut and Emboss

The Christmas Ornaments Kit and Card Keeper Kit are the latest kits that will be arriving in the online store later this month - get yours here!

New Online Exclusives

There are new products available exclusively in the online store from 3 July - check them out here.

About Me

Hi I'm Joanne and live in Northampton and when I'm not looking after my husband and two beautiful children, am an avid crafter with a passion for all things Stampin' Up!

I must confess that I have never been a big rubber stamper - until I discovered Stampin' Up! that is. I love the fact that I can get such great results with co-ordinating stamps, inks, papers and punches - the possibilities are endless! Join me on my stamping journey as I share the things I love and be inspired to create amazing things yourself!

Follow Me

Monthly Newsletter

Box Builder

Click the button above to use Box Buster to create your custom box design using the Envelope Punch Board!

Kits Collection Now Available!

Stampin Cut and Emboss

The new Kits Collection from Stampin' Up! is now available!

Click here to see the current kits available and order yours online today.

I Design For


Stampin' Up Stuff

This is my personal blog and is not endorsed by Stampin’ Up! I hope you find it a plentiful source of ideas and personal inspiration but please don't copy my designs for contest submission or use for classes, publication or sale without express permission.