Happy new year everyone! I hope you all had a wonderful Christmas and New Year - I thoroughly enjoyed my festive break with my family and much-needed crafty down-time and today I am officially back to it with my first blog post of the new year. It's Sunday so I'm back with our first challenge of 2022 over at The Paper Players! It's the turn of the amazing Ann to host this week and she has a theme challenge that is perfect for this time of year:
Add a little sparkle - what a great way to see the new year in! I chose glimmer paper as my sparkle of choice and also used the sketch over at Freshly Made Sketches as the starting point for today's layout. My card has it all today: something current, something new, something retired and something free! Take a look and see if you can work out which is which:
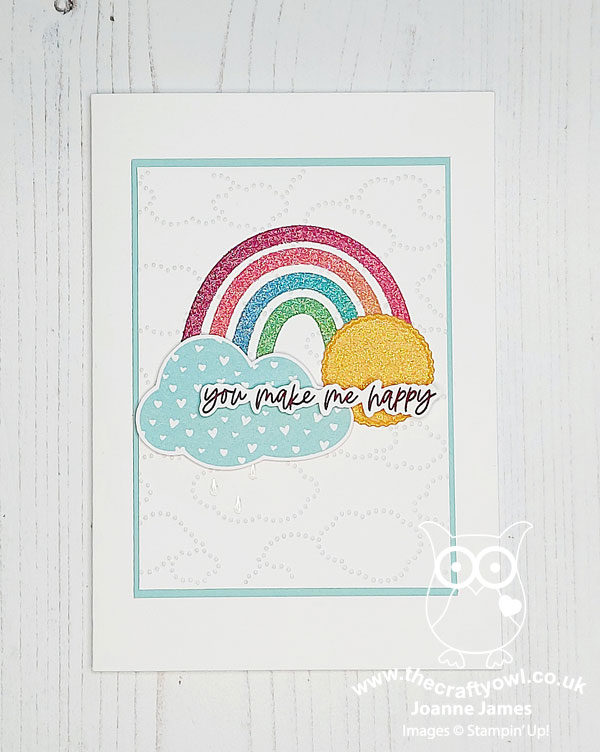
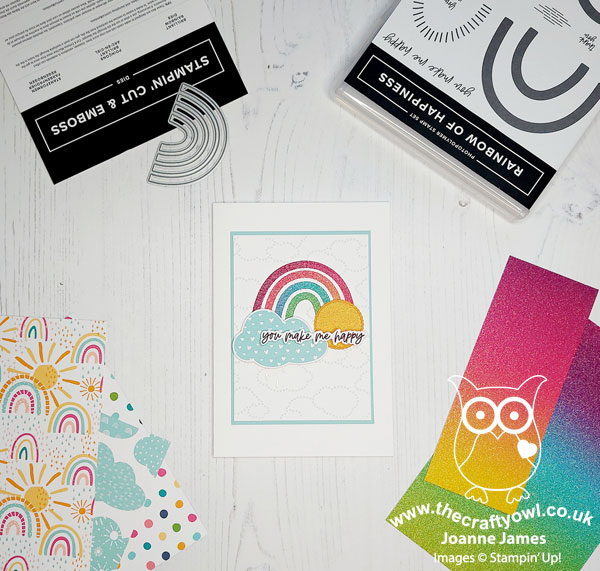
Here's the low-down on today's card:
Something Current - There are a couple of notable current products on today's card: my favourite rainbow glimmer paper that I used for my diecut rainbow, along with some of the yellow Ombre Glimmer Paper along with one of the Tasteful Labels Dies that I used to diecut my sun. I just love the shimmer and sparkle!
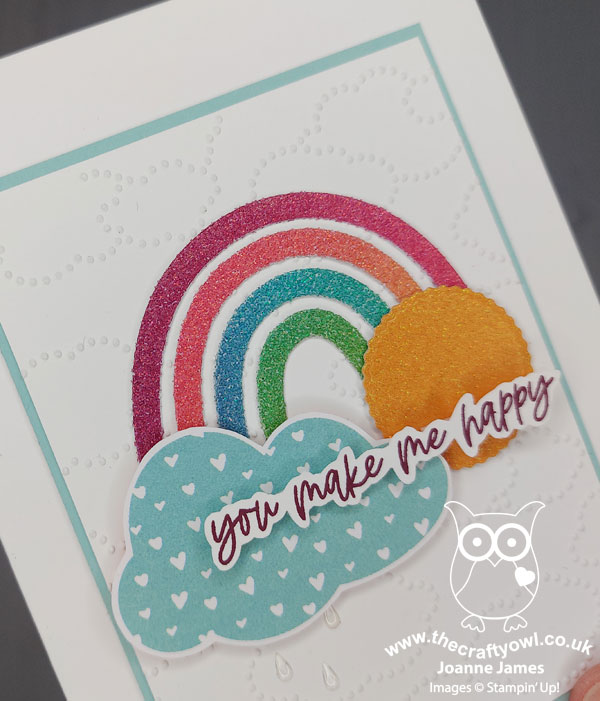
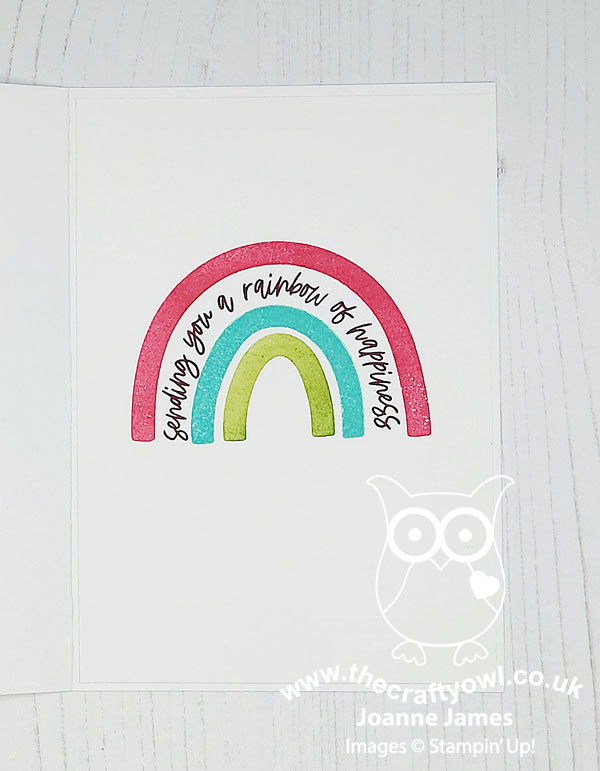
Something New - I made my glimmer rainbow using the new Brilliant Rainbow Dies that will debut in the upcoming January-June mini catalogue that launches next week. These are so fun! They also have a co-ordinating stamp set called 'Rainbow of Happiness' that I used for my sentiment and to add some extra detail to the inside of my card:
Something Retired - I used a retired Textured Clouds Embossing Folder to add some additional cloud detail to the panel behind my focal images - I haven't used this EF in ages but thought it worked quite well here for some added textural detail.
Something FREE - The final element to today's card is a sneak peek of some free product - the cloud at the end of my rainbow comes from the Sunshine and Rainbows Designer Series Paper - just one of the products that can be yours free with a purchase of £45 during the first Sale-A-Bration promotion of the year that also begins on 4th January. These papers are gorgeous and co-ordinate perfectly with the Rainbow of Happiness Bundle - and everyone loves free product, right?
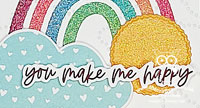
Here is the visual summary of the key products used on today's project for you to pin for easy reference:
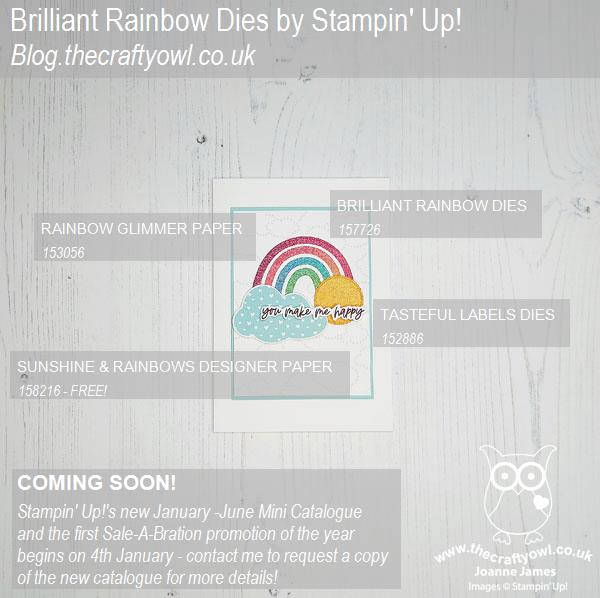
You can see all of my Product and 'How To' summaries on my 'How To - Tips and Techniques' Pinterest board in case you've missed any.
Before you reach for your ink and papers, check out what our amazing team has created to inspire you this week - including the work of our three new guest designers for 2022, Cindy, Christy and Jennie:
The Paper Players Design Team
Here's a quick recap of our challenge rules:
1. Create a new paper project
2. Upload your creation to your blog with a link back to us and provide a direct link to the post featuring your challenge submission.
3. Please link your card to no more than four challenges, TOTAL.
4. Have FUN!
You can see all of my 'How To' summaries on my 'How To - Tips and Techniques' Pinterest board in case you've missed any.
Enjoy your day; I'm spending the day at my mother-in-law's building flat-pack furniture today - wish me luck! I'll be back tomorrow with another project. Until then, happy stampin'!
Stampin' Up! Supplies Used: