
It's Tuesday and time for a new challenge over at CAS Colours & Sketches. Can you believe it was exactly one year ago today that the UK went into lockdown; my how times have changed in the last year - thank heavens for crafting! This week's challenge is a sketch challenge and YoonYoung has asked that we create something with three vertical elements and a central sentiment as our focal point:
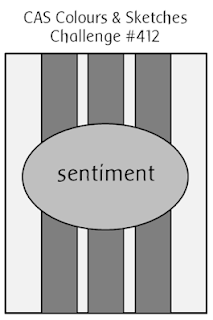
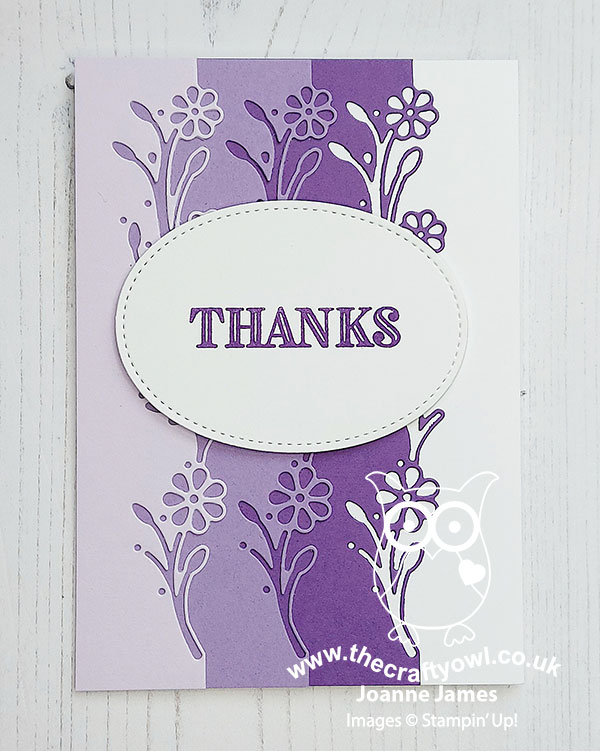
Feel free to flip or rotate the sketch when making your card. For my card today I decided to use a floral border die in shades of purple for my vertical elements - here's my card:
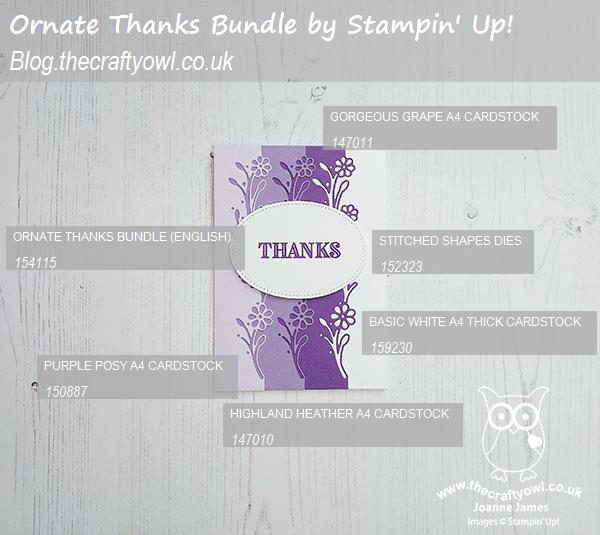
Here's the low-down on today's card:
Ornate Borders - Whilst designed for use along the edge of a card as the name suggests, I thought that the simplest of the floral borders would also work when layered into my design to create the three vertical lines of interest in the sketch. I measure them carefully so that they were placed an equal distance apart; I like the way that the flowers show through the colour beneath to add further interest to each diecut.
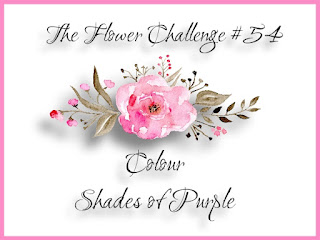
Shades of Purple - Purples are a favourite of mine and were perfect for today's card, where I decided I needed three complimentary shades of one colour, to maintain something of a CAS feel; I used the soon-to-be retiring Purple Posy, Highland Heather and Gorgeous Grape. I am also playing along with a new-to-me challenge, The Flower Challenge, introduced to me by my blogging friend, the lovely Michele Ferguson of I Card Everyone who has just joined their team of designers, where they are looking for flowers in shades of purple too. Mine are diecut as opposed to stamped (I think that's still allowed!) and if you are a purple-lover too, you should check out their gallery - there are some fabulous purple stamped creations to peruse!
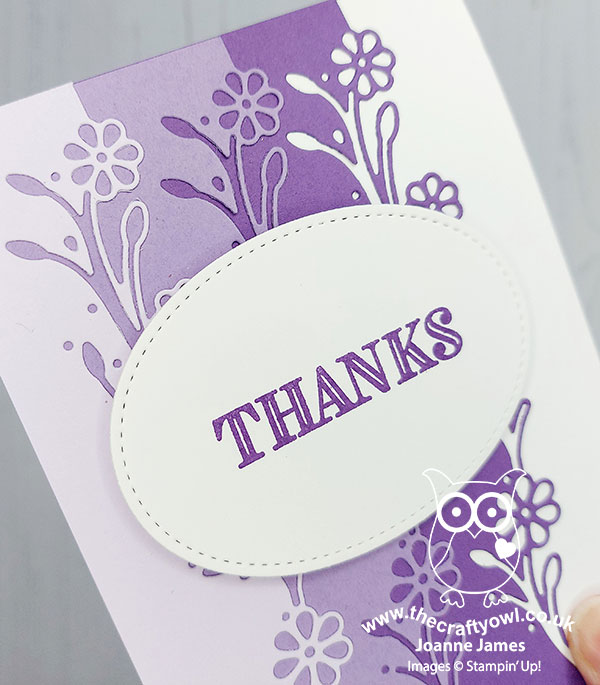
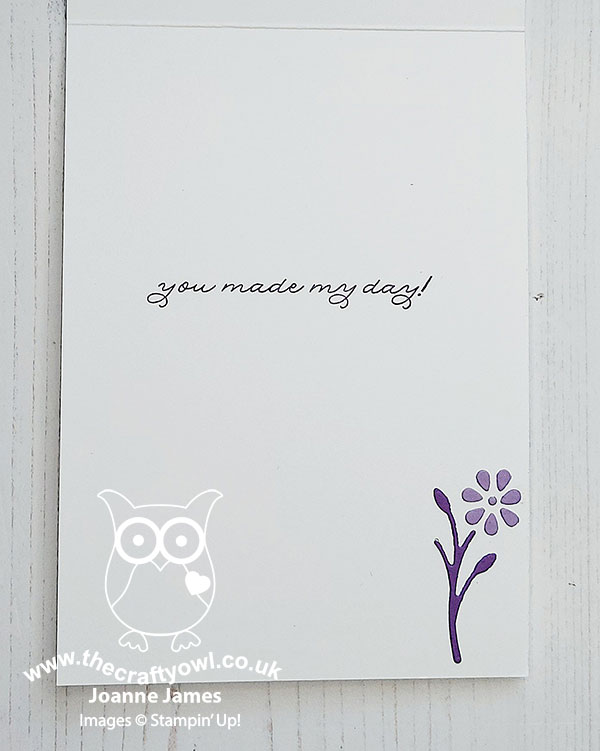
Inside Detail - I chose a super simple 'thanks' from the co-ordinating 'Ornate Thanks' stamp set in a stitched oval for the front of my card, in an effort to increase my proportion of 'white space' and maintain a clean and simple feel, and finished it on the inside of my card, adding a flower made up from the pieces leftover from the diecuts on the front:
So what do you think? Is purple friend or foe in your cardmaking and how will you interpret those verticals on our sketch this week? I'm looking forward to finding out!
Here is the visual summary of the key products used on today's project for you to pin for easy reference:
You can see all of my 'How To' summaries on my 'How To - Tips and Techniques' Pinterest board in case you've missed any.
As a reminder, for our colour challenges, you must use all of the stated challenge colours. You may also use neutral colours; however, the challenge colours should be the most noticeable ones featured on your card. We use Stampin' Up! color names for reference, but you are welcome to use any other companies' products as long as you match the challenge colours as closely as possible.
Enjoy your day and I'll be back tomorrow with another project. Until then, happy stampin'!
Stampin' Up! Supplies Used: