by Joanne James10. April 2021 20:20
This evening I've a quick post to share a card I made with this week's Color Throwdown colours and this week's Freshly Made Sketches sketch:


I was intrigued by Jen B's sketch this week and made a couple of cards with it (I'll share the second one on Monday). Usually I would create a channel with that sketch and focus on some DSP in that gap, but I found myself today looking at it differently. Here's what I came up with:
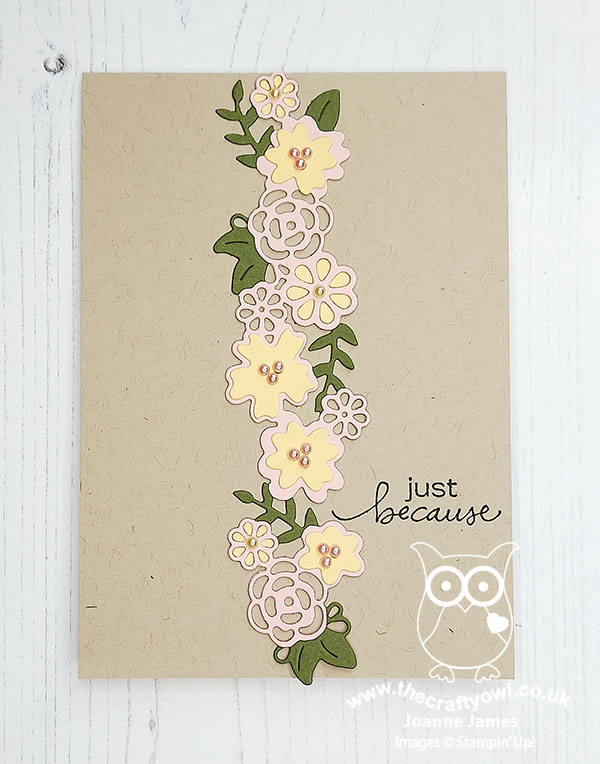
Here's the low-down on today's card:
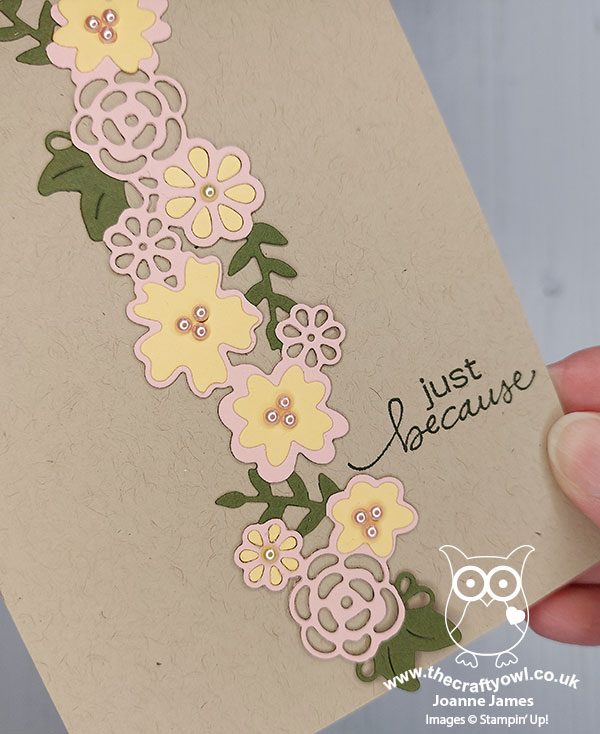
I created a layered floral border to run down the centre of my card front using one of the Ornate Borders dies, accenting some of the flowers and paper-piecing others. I added some coloured pearls to the centres and then a sentiment from the 'Lovely You' set directly onto the card front to finish:
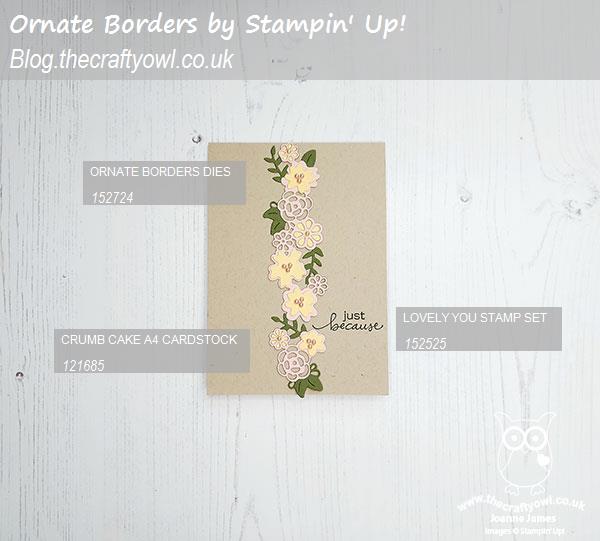
Here is the visual summary of the key products used on today's project for you to pin for easy reference:
You can see all of my 'How To' summaries on my 'How To - Tips and Techniques' Pinterest board in case you've missed any.
Short and sweet from me today; I'll be back tomorrow with another project for our new challenge over at The paper Players. Until then, happy stampin'!
Stampin' Up! Supplies Used:
by Joanne James29. March 2021 10:00
Today I'm sharing a couple of cards that I was meant to share on Saturday but having had a frustrating afternoon of creativity, ran out of time so thought I'd squeeze them in today! Jen Timko has a great sketch over at Freshly Made Sketches this week and I so wanted to play along:

I had been using one of the patterns in the Ornate Garden DSP pack, originally for my Paper Players card, although I ended up not really liking the end result so made a different one (in case you're getting confused, having already read yesterday's post!) Part of the problem was that these papers have such bold, bright colours that they really don't lend themselves to anything too layered and fussy in my view, so I decided to use them instead with Jen's sketch to make a couple of thank you cards with an altogether more clean and simple look. I made a couple of cards - here's the first one:
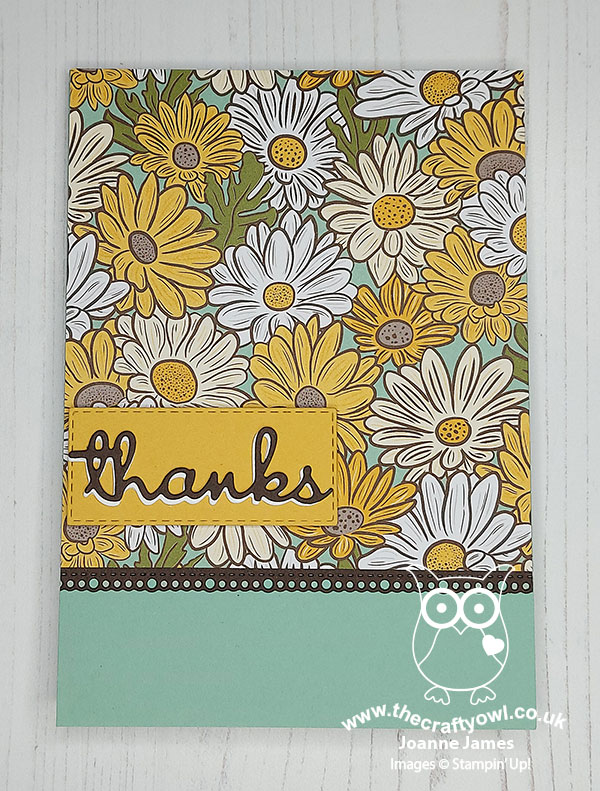
This one is my favourite with the daisy-only pattern, but I also made a second one using another of the busy floral papers in the pack:
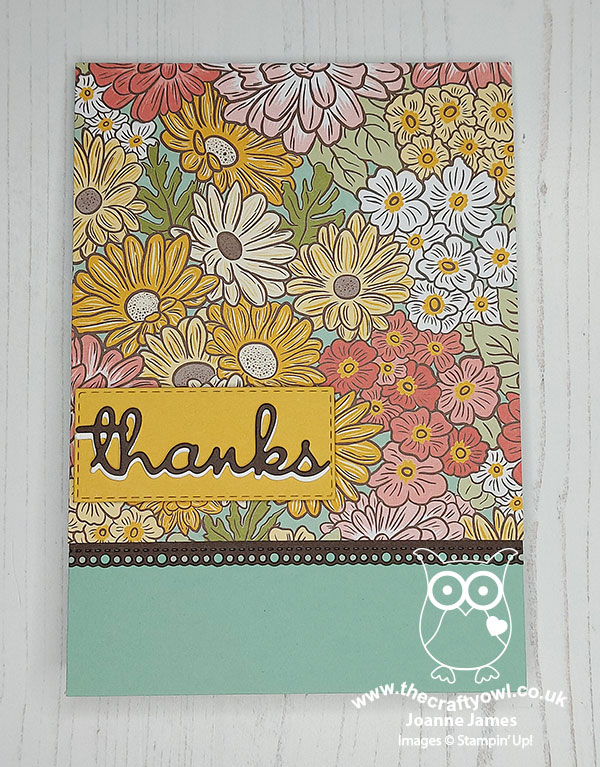
On both I kept the sentiments simple, layering a couple of offset thanks diecuts from the retiring Well-Written Dies onto a stitched rectangle, with a border using the already out-of-stock retiring Ornate Borders die. So here's both of them together - do you have a preference?
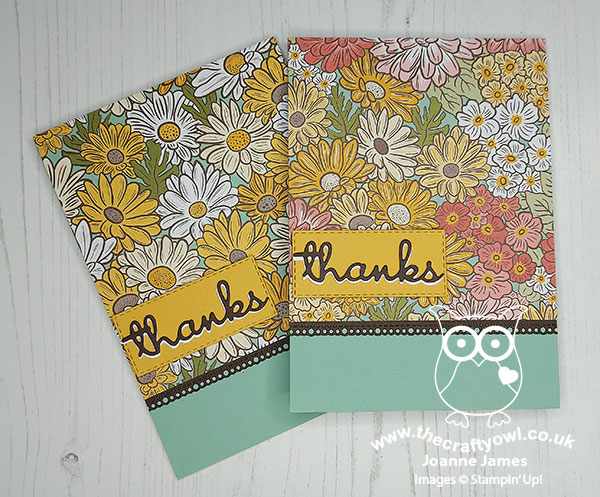
I'm not sure I will ever love these papers, however I was pleased with these cards - more than the one I started out with, for sure!
Here is the visual summary of the key products used on today's project for you to pin for easy reference:
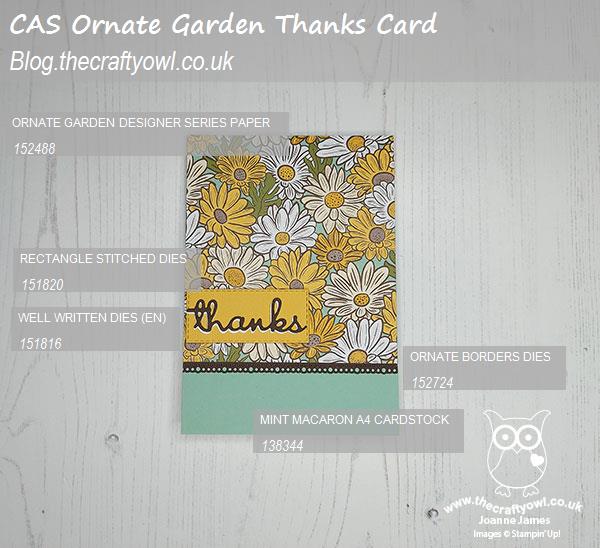
You can see all of my 'How To' summaries on my 'How To - Tips and Techniques' Pinterest board in case you've missed any.
Enjoy your day and I'll be back shortly with another couple of posts - including another one using Jen's fabulous sketch! Until then, happy stampin'!
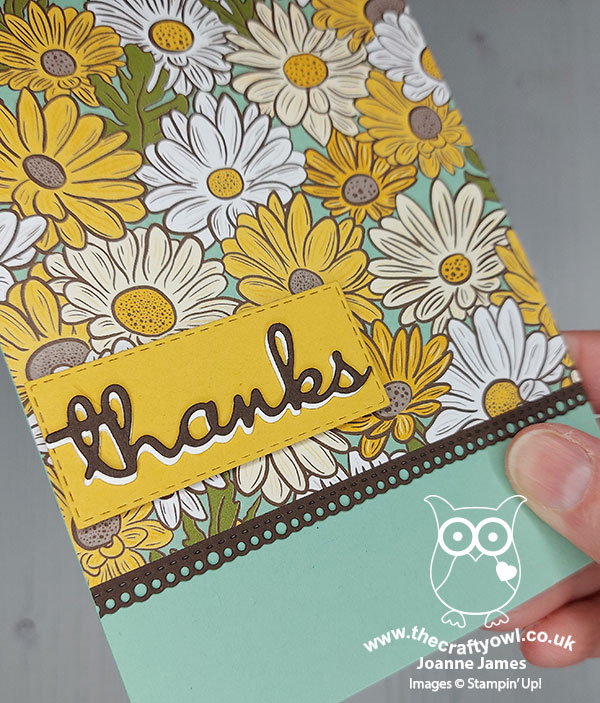
Stampin' Up! Supplies Used:
2aed87d6-65ba-4de4-bd9f-a3e8166e892a|0|.0|96d5b379-7e1d-4dac-a6ba-1e50db561b04
Tags: Well Written Framelits, Ornate Borders, Ornate Garden, Rectangle Stitched Framelits Dies, Stampin' Up, Stampin' Up Card, Stampin' Up Card ideas, Stampin' Up Supplies, Shop online, Shop Stampin' Up online, Shop Stampin' Up! Online
Cards | Shop Online | Shop Stampin' Up! Online | Stamping
by Joanne James19. June 2020 19:30 
I have another quick card to share today that I made last weekend for the challenge over at Less Is More that is actually closing this evening - I'm not sure where this week has gone! I also used the sketch over at Hand Stamped Sentiments (I flipped it vertically):


I have a complete love affair with the new rainbow glimmer paper from Stampin' Up! and couldn't resist using a couple of the Ornate Borders to add detail to my top white panel and cutting away the right border edge to reveal a panel of rainbow glimmer paper - take a look:
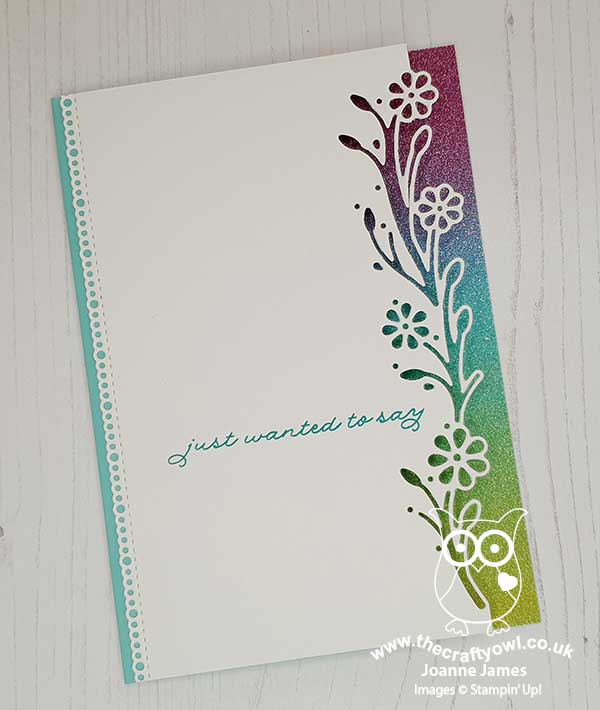
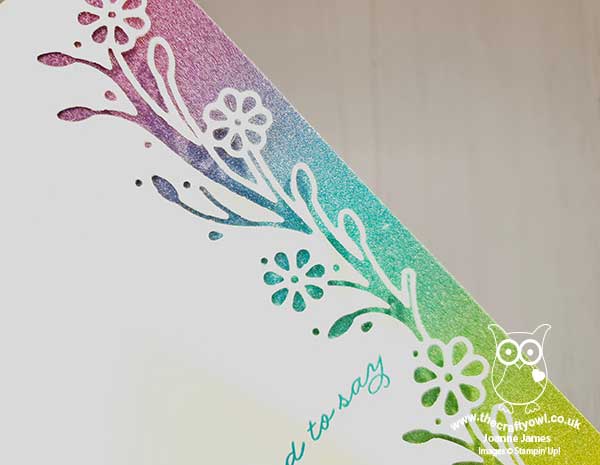
Isn't it gorgeous?! I just love the sparkle - check it out:
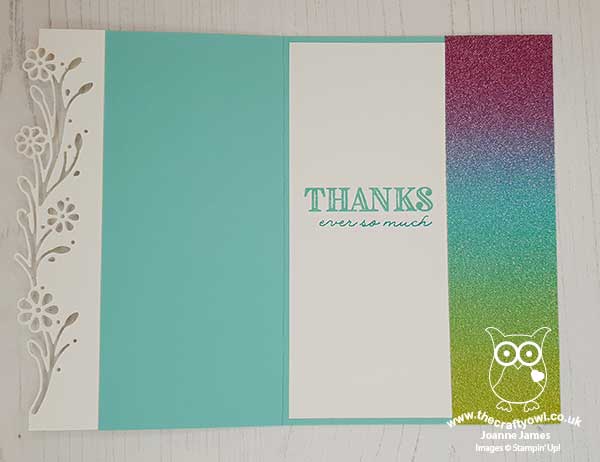
I added my words courtesy of the Ornate Thanks set to complete my card - here's the inside:
Five simple products are all that's needed to create this gorgeous rainbow-inspired card.
Here is the visual summary of the key products used on today's project for you to pin for easy reference:
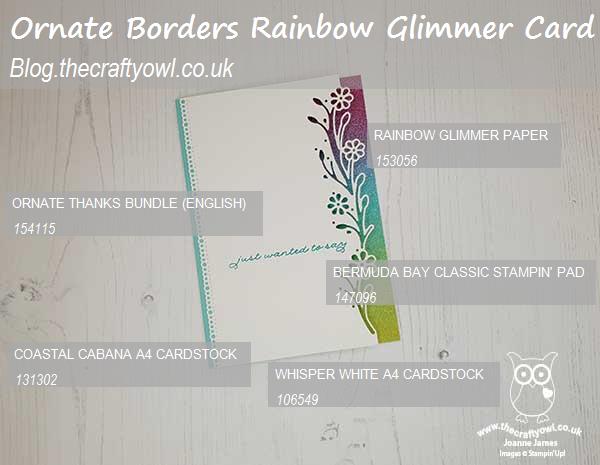
You can see all of my 'How To' summaries on my 'How To - Tips and Techniques' Pinterest board in case you've missed any.
Enjoy your evening and I'll be back tomorrow with another project. Until then, happy stampin'!
Stampin' Up! Supplies Used:
Edited to Add: This card was Artist's Pick for the sketch challenge over at Hand Stamped Sentiments:
