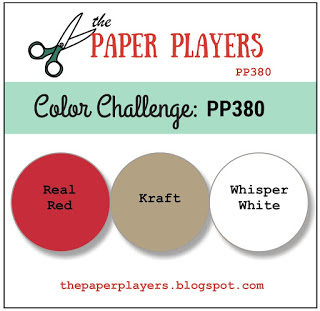
It's Sunday and time for this week's new challenge over at The Paper Players! It's the turn of the wonderful Laurie to host this week and she has a fun colour challenge for you to work with:
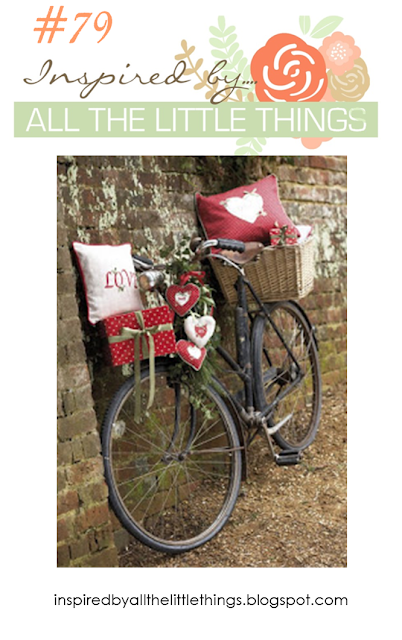
I debated about where to take these colours and when I saw the current inspiration photo over at Inspired By All The Little Things I decided another Valentine's card was in order. All those red and white hearts, the love and even the bicycle against the neutral background - take a look:
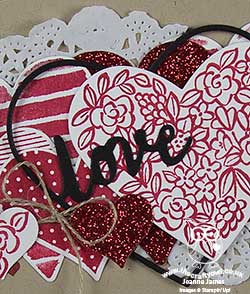
Here's the low-down on today's card:
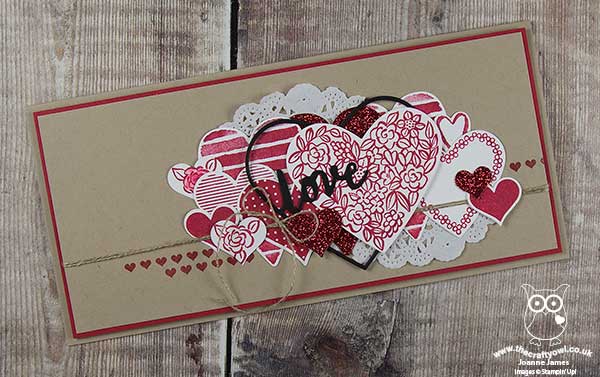
Heart Happiness - Today's card like last week's features hearts-a-plenty: I stamped a whole bunch of hearts from the 'Hearts Happiness' stamp set in Real Red onto Whisper White cardstock, diecut them with the Sweet & Sassy Framleits, along with a few additional red glimmer ones, and arranged them across my cardfront, along with a couple of doilies and some linen thread.
Love(ly Words) - Whilst I didn't use a bicycle on my card, I was inspired by the bike in the Inspired By photo to add my 'love' sentiment in black amongst my plethora of hearts. The thin frame of my love heart, like the thin frame of the bicycle, was made using the 'lovely' diecut from the Lovely Words framelits set - I snipped the sentiment between the 'e' and the 'ly' to make 'love' and tucked it in between my other hearts so that only 'love' was visible.
A Custom Sentiment - Whilst this card could be used as a Valentine, it is also my wedding anniversary next week and so I actually made this card for my husband with that in mind. Inside I stamped two of the sentiments from the Petal Palette stamp set, but customised one of them with another stamp in the same set to change the meaning - take a look:
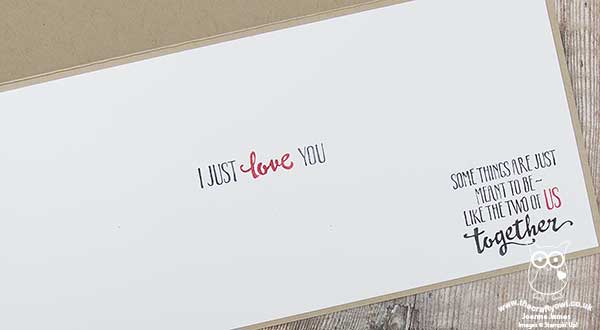
I altered the wording from 'you' to 'us' on the sentiment in the bottom right-hand corner - a great way to make this sentiment appropriate for a partner rather than another couple; I used the 'US' from the sentiment I used in the centre of my card. Here are the stamps circled so you can see how they look before they were altered:
.png)
I hope you like my clever trick - yet another way to make the most of this fabulous set!
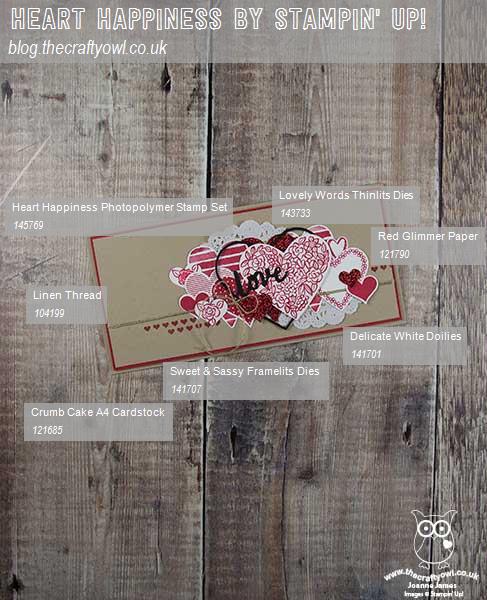
Here is the visual summary of the key products used on today's project for you to pin for easy reference:
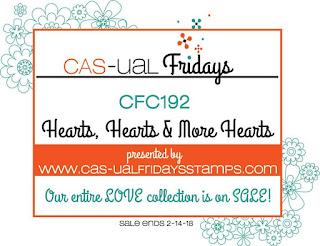
You can see all of my Product and 'How To' summaries on my 'How To - Tips and Techniques' Pinterest board in case you've missed any. I'm also linking up today's card with the team over at CAS-ual Fridays - it is after all hearts, hearts and more hearts!
Before you reach for your ink and papers, check out what our amazing team has created to inspire you this week:
The Paper Players Design Team
Here's a quick recap of our challenge rules:
1. Create a new paper project
2. Upload your creation to your blog with a link back to us and provide a direct link to the post featuring your challenge submission.
3. Please link your card to no more than four challenges, TOTAL.
4. Have FUN!
I can't wait to see what you create with this week's colours and look forward to visiting your blogs this week! Enjoy the rest of your weekend as it will be over all too quickly. I'm off to the swimming pool today for the County Championships with one of my James Juniors - wish us luck! I'll be back tomorrow with another project; until then, happy stampin'!
Stampin' Up! Supplies Used: