Today it's Easter Sunday and time for this week's new challenge over at The Paper Players! It's the turn of the fabulous Anne-Marie to host this week and she has a clean and simple challenge for you to work with:


Remember: this is clean and simple week. What do we mean by 'clean and simple' ? Create a card that has:
- Minimal layers and embellishments
- Plenty of open space, also known as 'white space'
- Is simple and uncluttered
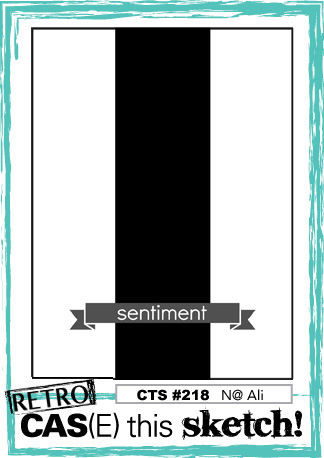
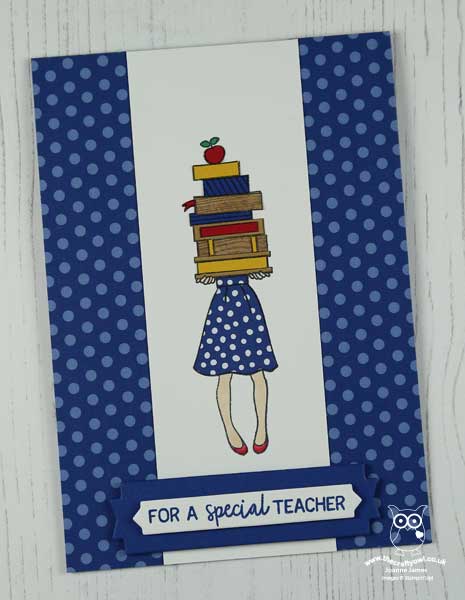
I struggled initially with Anne-Marie's challenge this week; I think not getting into my craft room all week hasn't helped! I had an idea for a card and then once I'd made it I really wasn't sure about it; I'll share that card tomorrow and would love you to come by and take a look and tell me what you think. Meanwhile, after a break and a change of stamp set, along with this week's CAS(E) This Sketch layout and the CAS Colours and Sketches colour palette, I created a second card and felt much happier about the whole thing! So here's that card:
Here's the low-down on today's card:
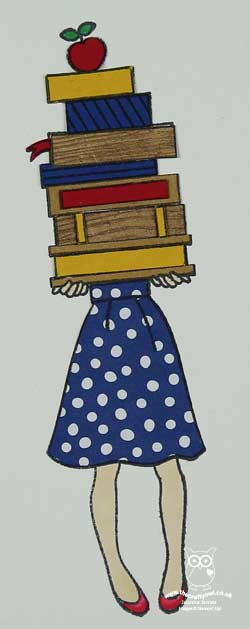
Paper Piecing - Not to be confused with 'paper piercing', paper piecing is the technique of stamping an image and then stamping either the whole or partial image again on coloured or patterned paper and fussy cutting it to piece it together on the main base image. I used it for both the skirt that my teacher is wearing (Blueberry Bushel in-colour DSP) and the pile of books she is carrying (a mix of Wood Textures DSP and solid colour cardstock). This is a fun way to add pattern to areas of your stamped image and can be used with a wide variety of stamps - those with larger areas suitable for colouring, such as those in the Hand Delivered hostess set, are particularly good.
Primary Brights - I love this colour combination; the trio of primary colours is very bright and also seemed appropriate for a teacher thankyou card. I added further interest to my books by using a couple of different scraps of Wood Textures DSP for additional subtle detail.
A Teacher Thank You - The sentiments in the 'Hand Delivered' stamp set suggest that the pile of books is intended to make a graduate congratulations card, yet I think they are perfect for a teacher card too. There is a thank you sentiment in this set, but I opted to use the words from the 'Picked For You' set instead, so that I could use a teacher-specific greeting on my front banner (both of the banner elements come from the Lakeside framelits set) and continued this theme with the wording on the inside too:

This card is sure to brighten someone's teacher's day! Both of the James Juniors have male form tutors this year, but Ben has plenty of female subject teachers who are worthy of a little end-of-year gift, so I think it might be heading to one of those. Both of these stamp sets are so useful for teachers cards, and both are set to retire with the current annual catalogue so if they're on your wishlist make sure you put them in your shopping basket before it's too late.
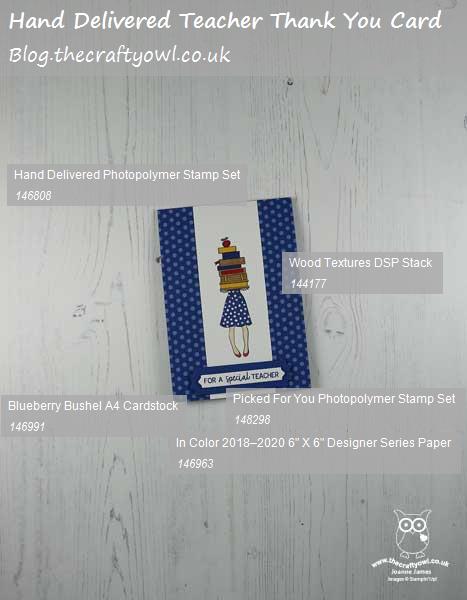
Here is the visual summary of the key products used on today's project for you to pin for easy reference:
You can see all of my Product and 'How To' summaries on my 'How To - Tips and Techniques' Pinterest board in case you've missed any.
Before you reach for your ink and papers, check out what our amazing team has created to inspire you this week:
The Paper Players Design Team
Here's a quick recap of our challenge rules:
1. Create a new paper project
2. Upload your creation to your blog with a link back to us and provide a direct link to the post featuring your challenge submission.
3. Please link your card to no more than four challenges, TOTAL.
4. Have FUN!
You can see all of my 'How To' summaries on my 'How To - Tips and Techniques' Pinterest board in case you've missed any.
Enjoy your day; we will be having an Easter egg hunt, followed by a roast for lunch and then an afternoon in the garden making the most of the wonderfully warm weather we have been blessed with the last couple of days - we need to make the most of it as I'm sure it won't last! Wishing you a pleasant Easter bank holiday weekend however you choose to spend it. I'll be back tomorrow with another project. Until then, happy stampin'!
Stampin' Up! Supplies Used: