Today I'm sharing two cards, both inspired by Jen B's layout over at Freshly Made Sketches this week:


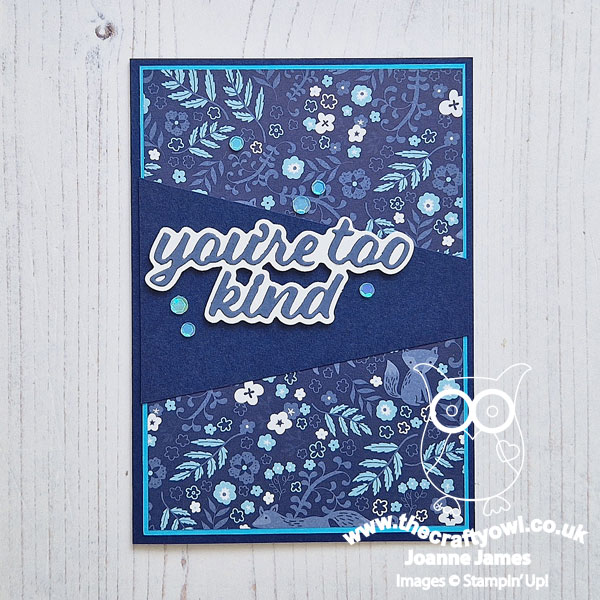
I thought this was the perfect layout to showcase a piece of the Countryside Inn designer series paper - the only question was which sheet to choose! Eventually I settled on a busy, dark blue floral - take a look:
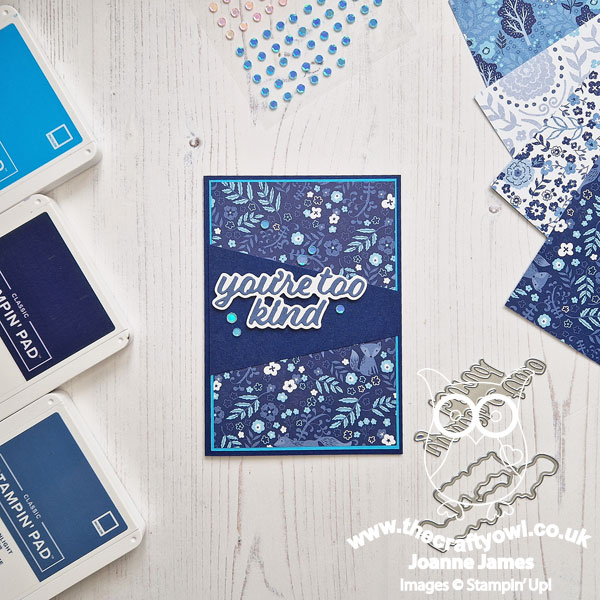
Here's the low-down on today's card:
I kept my card really simple with some layering to pick up on the colours in the paper and I finished with a diecut sentiment that I haven't yet used from the Wanted To Say Dies and a sprinkle of self-adhesive sequins:

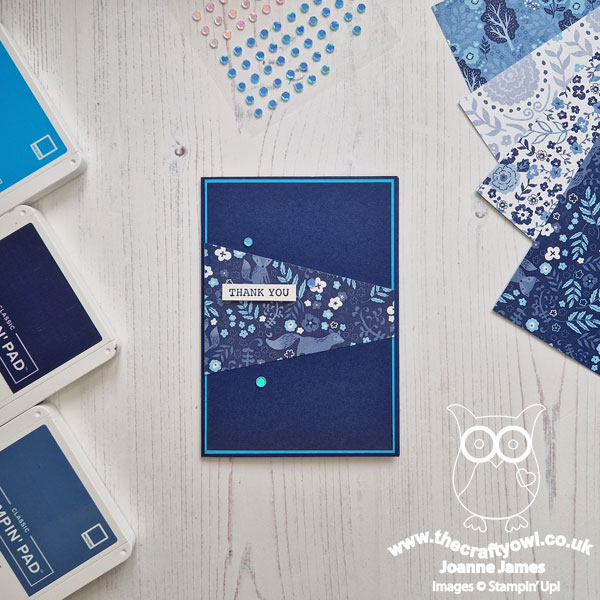
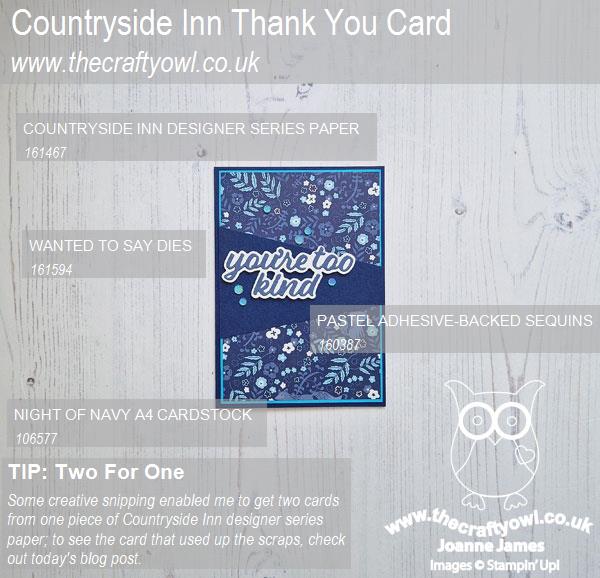
This style of sketch is great if you have a 'busy' paper design as it really allows it to shine. Before I constructed my card though, as I worked out where I wanted to place my diagonal lines, I decided I couldn't allow the central section to be 'hidden' under my navy panel, so I snipped it out. This gave me an odd-shaped scrap, but one that was perfect to create a second card by layering it onto a navy panel:
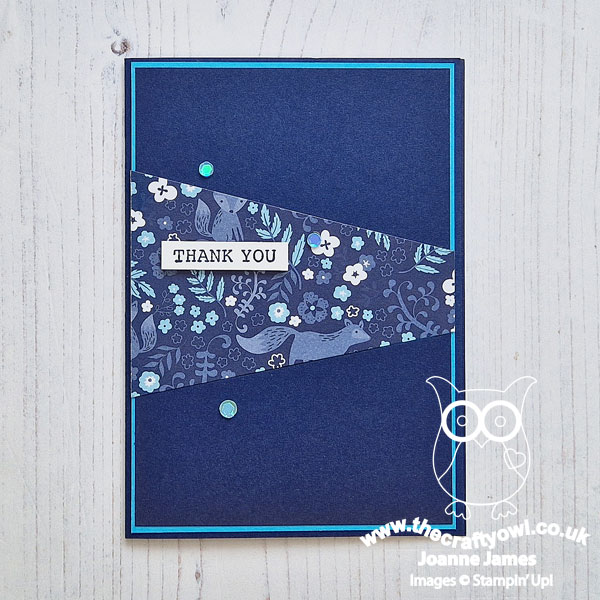
For my second card I added a simple stamped sentiment from the 'Gorgeously Made' stamp set that I stamped in Night of Navy on a scrap of Basic White cardstock and again added a few blue sequins to highlight the pretty blue in the paper:
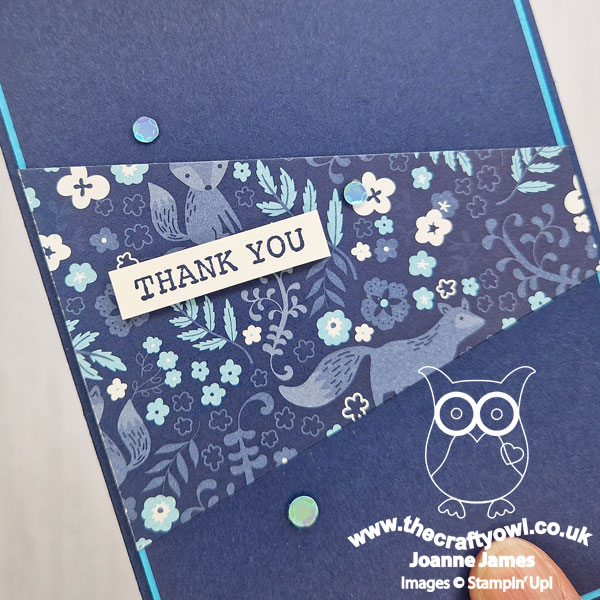
These sequins are supposed to be Balmy Blue but I think they look much more like Tahitian Tide, especially when paired with this paper. A great #simplestamping card - a couple of scraps and a few more sequins and an additional card, from just one piece of designer series paper. I'm linking my second post up over at Just Add Ink where they are looking for us to use two of scraps, strips and sequins; I went with scraps and sequins, although I had a strip of leftover DSP too which I added to the inside of my card - no need for wastage!
Here's one final photo of both cards together:
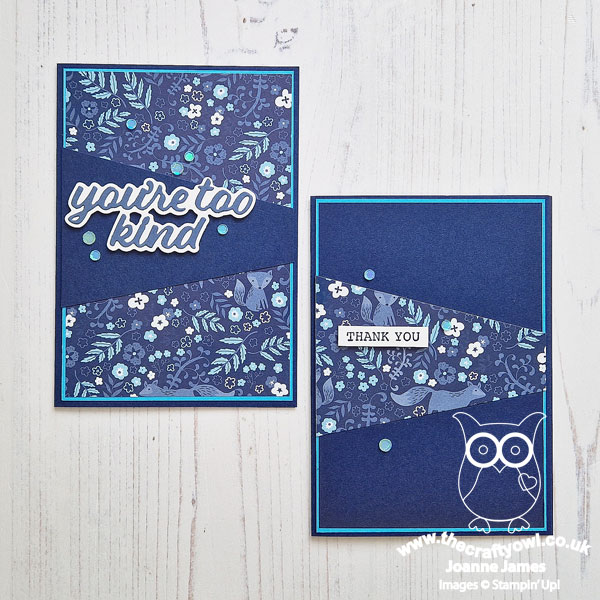
Which one do you prefer? I must say I like them both in their own way. That paper is so pretty - and all the better for being on offer this month as part of the designer series paper sale!
Here is the visual summary of the key products used on today's project for you to pin for easy reference:
You can see all of my 'How To' summaries on my 'How To - Tips and Techniques' Pinterest board in case you've missed any.
Enjoy your day. I'm spending mine doing some admin whilst the James Juniors delight in having a big tidying session, throwing away all of their notes and revision materials in a celebration of post-scholastic freedom! I'll be back tomorrow with another project. Until then, happy stampin'!
Stampin' Up! Supplies Used: