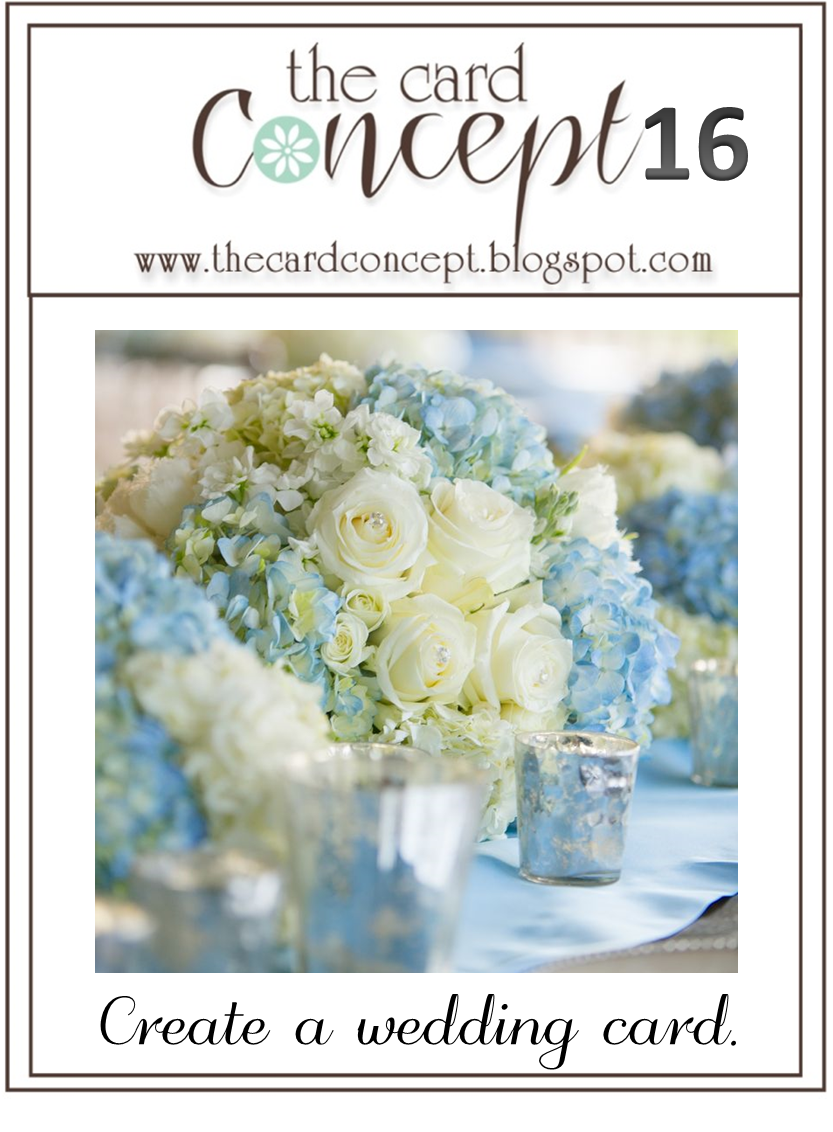
by Joanne James16. August 2014 21:54I've spent a pleasant afternoon today with the ladies at my local hair and beauty salon celebrating their 3rd anniversary since opening (Pamper Me Hair & Beauty in Northampton - if you're local look them up, they're a lovely bunch). So another quick share today - I'm linking up with The Card Concept where the theme is to make a wedding card:
As much as I loved the photo inspiration for this challenge, I wanted to use Shimmery White and silver for my card - I had a clear idea in mind of what I wanted to create. Here's my card:
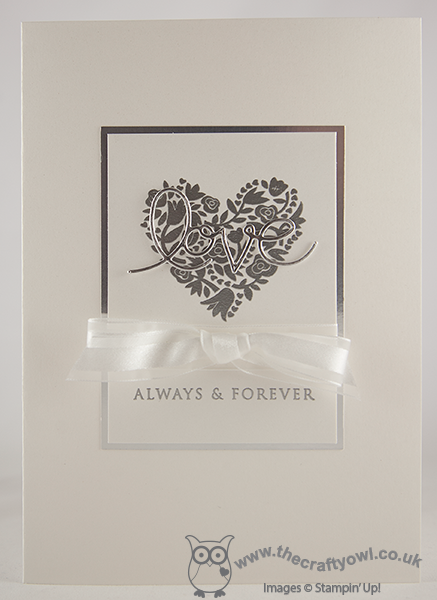
This card uses some of my favourite 'vintage' stamps and tools of all time - Expressions Thinlits and that beautiful Flowerfull Heart stamp. The card is still my usual clean and layered style, but I do think the silver elements and the bow give a real 'classy and elegant' feel. This is one of those cards that looks so much better in real life - so very opulent, even with a relatively simple design.
That's all from me today - back tomorrow with my Design Team post this week for The Paper Players - and it's a fun one!
Until then, happy stampin'!

Stampin' Up! Supplies Used:
by Joanne James12. February 2014 09:08Another early post from me today - makes me look organised, but if you'd witnessed the library book hunt that rampaged through the James household this morning before school, you could be forgiven for thinking otherwise! As promised, today's card uses the same stamp from the 'From This Day Forward' set that I used yesterday, but to give a completely different effect. Here is my card:
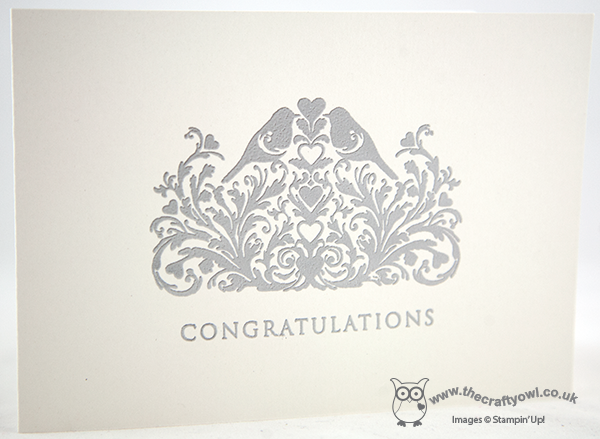
The photograph really doesn't do this card justice (not least because it is so difficult to get a great shot of an almost all-white card!) but up close, this card is really beautiful; I stamped the image and sentiment in Versamark onto Shimmery White cardstock - a lovely cardstock for this kind if project, it is flecked with minute specks of shimmer glitter and catches the light beautifully - and then heat embossed with silver embossing powder to add texture (important when your card is only one layer) and a lovely sheen).
It just goes to show that you don't always need lots of layers to create an impactful card - I'm getting quite into this one layer thing!
I'm going to link up today's card with this week's challenge over at 'Less is More' where the challenge is 'One layer - anything goes' and at CAS(E) this Sketch, as I used this sketch for my layout (turned through 90 degrees).
I'm off to get crafty - lots to do today! I might even pop back later and squeeze in another post.
Until then, happy stampin'!
P.S.: In case you're wondering we found the library book eventually - phew!
Stampin' Up! Supplies Used:
by Joanne James11. February 2014 09:58Good morning lovely blog readers! This morning's card is one I made as an acceptance card for a wedding invitation received recently. I actually had the stamp out on my desk for an alternative card which I will share with you tomorrow, when I decided it might work with this week's colour challenge combination at Pals Paper Arts:
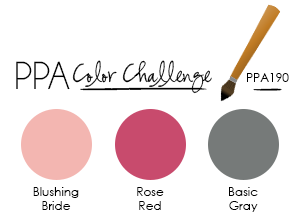
When I originally saw this colour combination I did immediately think 'Valentine' (well, it's that time of year, right?!) Truth is, I've made lots of Valentine's cards already this year and I just don't have that many Valentine's to send them to! Instead, this is what I came up with:
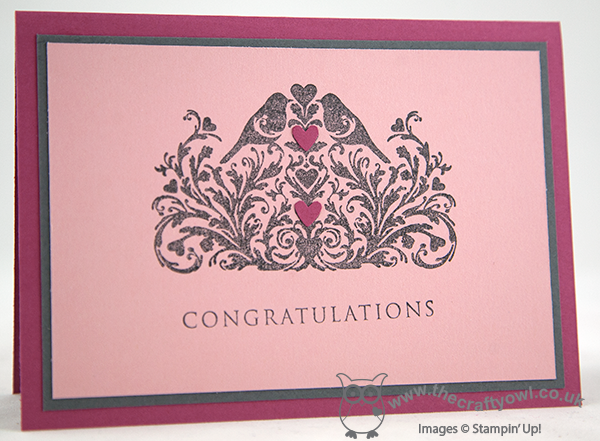
I decided to keep the design quite simple and stamped the image and sentiment in Basic Grey directly onto the Blushing Bride cardstock. I wasn't sure about this beforehand, but it looks so much nicer than on white, which left the image too stark. I quite like the slightly mottled effect of the stamping, which reminds me of stone, however this was more by accident than design - my Basic Grey inkpad is one of my few remaining old style pads and having used it to stamp a solid image, you can really see the difference when compared to the finish of the new foam pads. Needless to say, I have since ordered a new Basic Grey foam pad! I also stamped the image onto a scrap of Rose Red and cut out the two hearts with my paper snips and just paper pieced them in place - none of my myriad of heart punches, stamps or framelits were quite the right shape to take care of this for me. Worth it though, just to give a little 'pop' of colour and bring the colour scheme together.
I hope you like today's card; come back tomorrow to see an alternative card using this same stamp and don't forget to check out the folks over at Pals Paper Arts for more great ideas using this colour combination. Until then, happy stampin'!
Stampin' Up! Supplies Used:
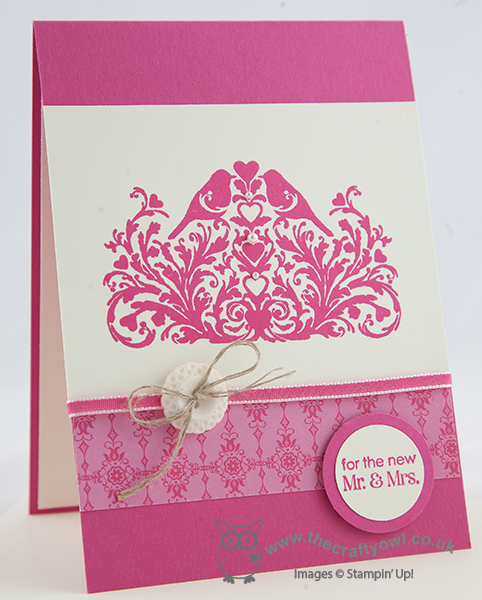
by Joanne James2. October 2013 21:06A quick post from me today to share a wedding card and gift box I made for my friends and neighbours, Annette and Jason, who got married at the weekend. The theme of the wedding was bright pink and the gerbera was a feature flower, both in the bridal and bridesmaids bouquets and on the invitations and wedding favours. Having made the wedding invitations (I will share these in a future post - I have 'mislaid' the photographs I took on completion!), I decided to make a wedding card that was pink but not flower-themed, but I did design a gift box that complemented the overall décor to house their gift.
Here is the card, using the lovely 'From This Day Forward' stamp, inspired by a similar card by Monica Gale here:
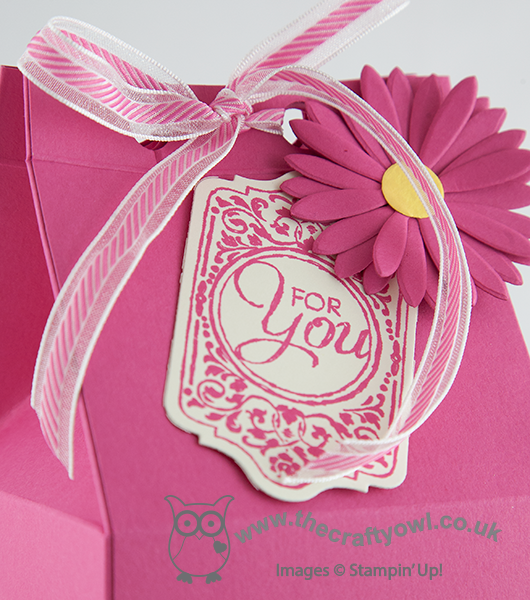
I also created a gift box with a belly band with a gerbera design, that echoed the design of the wedding stationery and favours. My box was inspired by this mini version by Sam MacDonald of Pootles Paparcraft here, and although whilst the shape is the same, the overall dimensions are considerably larger! here is my full size version:
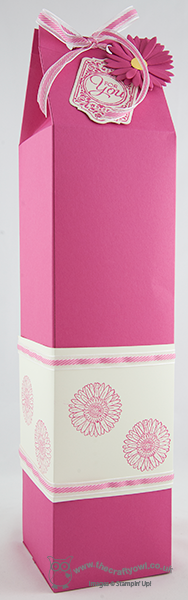
Very large, with a 9cm x 9cm square base, and very pink, but more sturdy than a gift bag and much more personal. I finished it off with some retired Melon Mambo organza ribbon (currently available to purchase on the Clearance Rack!) and a die-cut flower with co-ordinating Chalk Talk gift label. here's a close up of the detail:
The sun shone and the wedding day was perfect - what more can you ask for? Congratulations to the new Mr & Mrs Harrison - wishing you a happy future together.
Back tomorrow with another project and the detail behind the 2 week £25 sign up offer that begins on October 7th; until then, happy stampin'!
Stampin' Up Supplies Used (for the card only):


db51ab79-74bb-4cf0-a77c-ccfe6124d66d|0|.0|96d5b379-7e1d-4dac-a6ba-1e50db561b04
Tags: 3D Projects, boxes, Chalk Talk, Magnetic Platform, Big Shot, Shop online, Stampin' Up, Stampin' Up Card, Stampin' Up Card ideas, Stampin' Up Supplies, Weddings, From This Day Forward
3D Projects | Boxes | Cards | Stamping