by Joanne James21. May 2020 08:00 
Today I'm sharing a card that was inspired by the current Fusion Challenge that also meets the watercolour brief over at TGIF Challenges this week:


I went all-in with the Fusion sketch and photo inspiration and even created a watercolour background for my piece of Delightfully Detailed laser-cut paper - take a look:
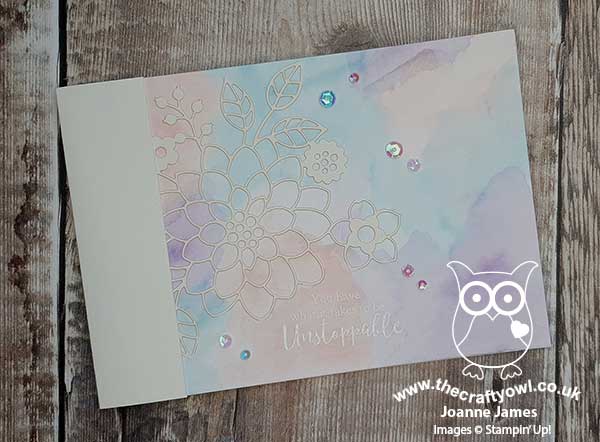
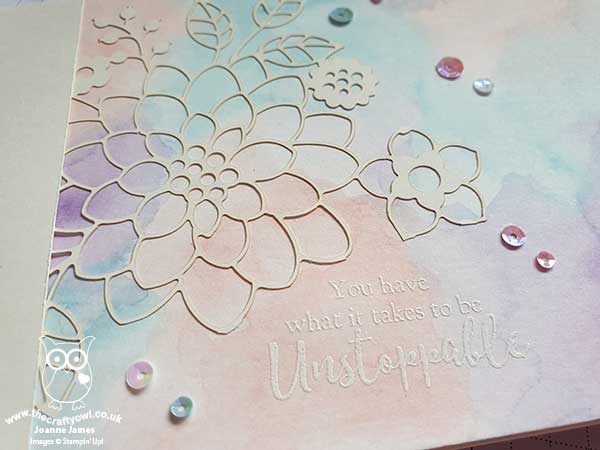
I generally avoid watercolour backgrounds like this as they always seem to end up a sludgy mess, but I was quite pleased to have created this one on my second attempt. I paired it with a sentiment from the 'Strong and Beautiful' stamp set which works for the Fusion theme of 'You are Enough' and split the sentiment into two parts, heat embossing the first part in white on the front of my card. This is the only thing I wish I'd done differently, as it's quite difficult to see on the photo against the pale pink background. This photo shows it a little clearer:
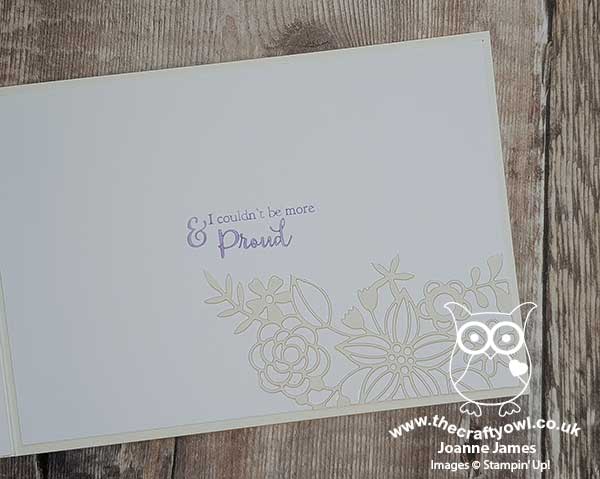
I added a sprinkling of sequins and then finished my sentiment inside my card, adding another offcut of lasercut paper:
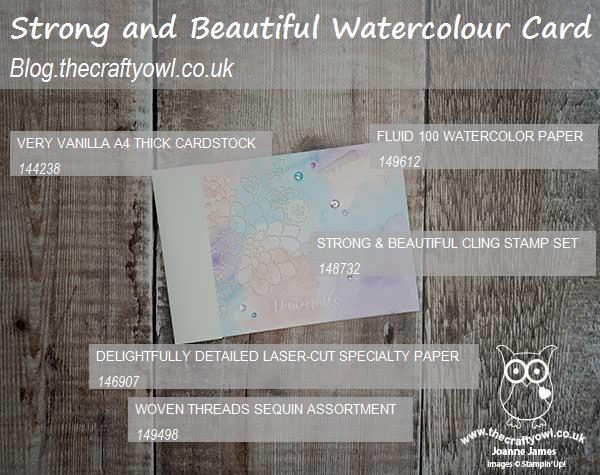
Here is the visual summary of the key products used on today's project for you to pin for easy reference:
You can see all of my 'How To' summaries on my 'How To - Tips and Techniques' Pinterest board in case you've missed any.
We have the last of CE exams part one today with History first thing, followed by an online unboxing of my pre-order with my online class ladies late morning - I'm not sure who is looking forward to that more, them or me! I then have a rather boring afternoon of housework lined up - I can put it off no more! Enjoy your day and I'll be back tomorrow with another project. Until then, happy stampin'!
Stampin' Up! Supplies Used:
by Joanne James18. May 2020 07:00 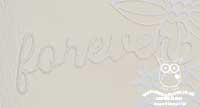
Monday already - where does the week go?! I meant to blog this card last Friday and the end of the week simply ran away from me. Anyway, today I'm sharing a card that I made for this week's Less Is More Challenge and the current challenge over at Addicted to CAS:
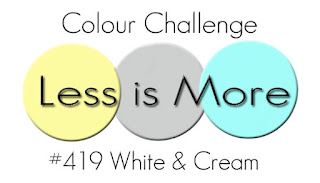
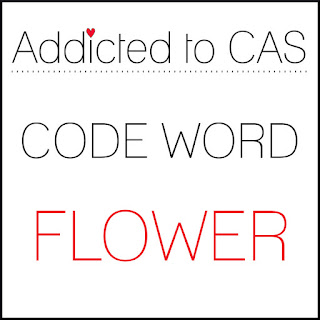
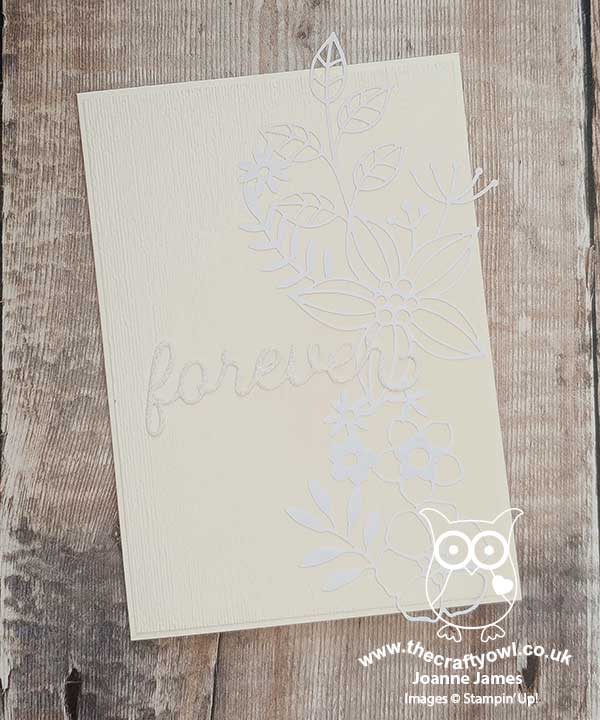
Yes, LIM wanted cards in cream and white and Addicted to CAS have the code word of flower. I have done all-white type cards before and these are always a challenge. I haven't managed to play along over at Less Is More in a while so thought this would be a good time to remedy that - take a look at what I created:
Here's the low-down on today's card:
A Laser Cut Cheat - I used some retired Delightfully Detailed Lasercut Specialty Paper for my showcase floral flourish on today's card. It's white on one side and vanilla on the other. For today's card, I used the white side against a vanilla card base and snipped a piece to the size I wanted from a larger 12" x 12" sheet. This paper is still available on the Clearance Rack (just click on the link below) if you would like to recreate my card.
It's All About Texture - When using only shades of cream and white, I find texture plays an important role in creating interest, whilst maintaining a clean and simple feel. So in addition to my laser-cut floral flourish, I embossed my card base with the Subtles Embossing Folder and added a simple diecut sentiment from white sparkle glimmer paper for added interest.
Inside Reversal - I added another piece of laser-cut paper inside my card, this showing the reversed side so that the vanilla shows up against the white lining. I stamped my sentiment in Sahara Sand to maintain the neutral feel:

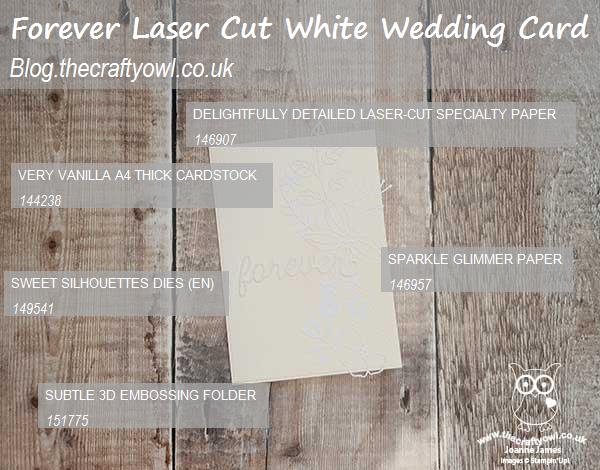
Here is the visual summary of the key products used on today's project for you to pin for easy reference:
You can see all of my 'How To' summaries on my 'How To - Tips and Techniques' Pinterest board in case you've missed any.
I do have another card to share today so I'll be back with that later! Until then, happy stampin'!
Stampin' Up! Supplies Used:
ee07b82c-08b9-410c-9fc6-5b887b4b65dd|0|.0|96d5b379-7e1d-4dac-a6ba-1e50db561b04
Tags: Weddings, Subtle Dynamic TIEF, Sweet Silhouettes, Stampin' Up Supplies, Stampin' Up Card ideas, Stampin' Up, Stampin' Up Card, Silhouette Scenes, Shop Stampin' Up! Online, Shop Stampin' Up online, Delightfully Detailed
Cards | Shop Online | Shop Stampin' Up! Online | Stamping
by Joanne James27. May 2019 13:00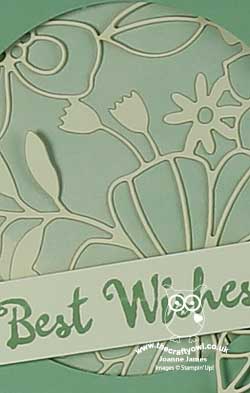
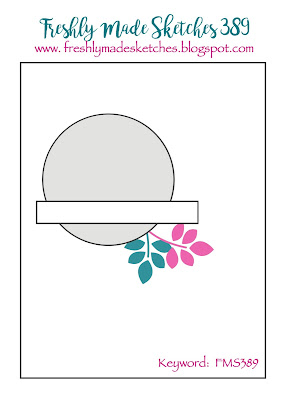
Today is a two card day!You can see my earlier post here. I'm sharing another card using this week's sketch over at Freshly Made Sketches:
This sketch is definitely a 'keeper' - so many possibilities! I made another quick notelet card using some other retiring products - take a look:

Here's the low-down on today's card:
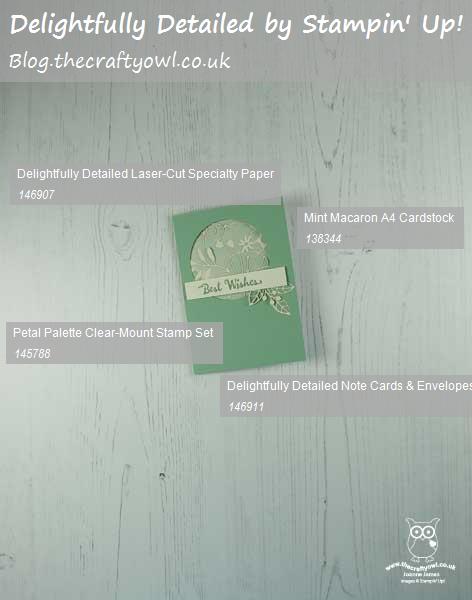
Farewell Delightfully Detailed - I used one of the Delightfully Detailed Notelets as the base for my card. It seemed almost a shame to cover up some of the beautiful watercoloured front with my piece of Mint Macaron, but I do love the soft washed tones that show through my circle window aperture (punched with my retired 2 1/2" circle punch). These notecards are useful for a standby quick card as the pretty base is ready prepared for you.
...and Delightfully Detailed - The Delightfully Detailed Notecards are designed to work with the Delightfully Detailed Designer Series Paper, a collection of pretty laser-cut sheets that can be cut up to fit your card fronts exactly. I had snipped one of the full sheet designs into smaller pieces to use on cardfronts and had some small pieces unused and these were perfect to place inside my window and also for a couple of leaves/buds to place behind my sentiment.
Petal Palette Wishes - To finish my card, I added a simple sentiment from the Petal Palette stamp set that was the perfect size and fit. Another great set that is heading into retirement with this catalogue end - time to snap it up this week whilst you still can!
Here is the visual summary of the key products used on today's project for you to pin for easy reference:
You can see all of my 'How To' summaries on my 'How To - Tips and Techniques' Pinterest board in case you've missed any.
Enjoy the rest of your day and I'll be back tomorrow with another project. Until then, happy stampin'!
Stampin' Up! Supplies Used:
by Joanne James24. May 2018 12:30Today a quick post from me to share something a little different - a 3D framed home decor piece featuring the Statement of My Heart single stamp that is available exclusively this month with the 'Gotta Have It All' Bundle that forms part of the early release of the Share What You Love Suite.
You can find full details of the bundles that are on offer in my previous blog post here - I was inspired to create this piece, which features the Stampin' Up! Statement of the Heart for my office, using the stamp and some of the fabulous Share What You Love Specialty Designer Series Paper:
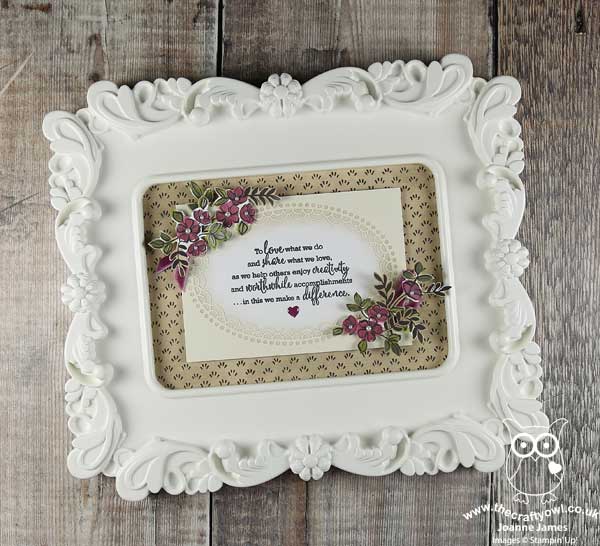
I went for something of a vintage theme, stamping my words and then after sponging the edges of my white cardstock with some Crumb Cake ink, framing the verse with the oval piece of Delightfully Detailed Laser-cut Specialty Paper. I backed this piece with a sheet of the Share What You Love Specialty DSP, and to finish, I added some of the lovely pearlescent embossed flowers that I fussy cut from the DSP, some pearls and a little Rich Razzleberry velvet ribbon, before framing in a rather elaborate frame.
A little different in style for me, but so pretty and a great way to immortalise these wonderful words. If you would like to create a home decor piece like this one, you only have until the end of the month to purchase the bundle and receive this exclusive stamp set for free, so hop on over to the online store before it's gone for good.
Enjoy your day and I'll be back tomorrow with another project. Until then, happy stampin'!
Stampin' Up! Supplies Used:
by Joanne James7. May 2018 20:00
Happy Monday everyone! Today it's a Bank Holiday and therefore a national holiday here in the UK so we have enjoyed a long weekend along with some wonderful sunshine to boot! Today I'm sharing a card using Jen's sketch over at Freshly Made Sketches that also works for the 'O' challenge over at Just Add Ink - I've been so busy out enjoying the sunshine I didn't make time to photograph my card in time to link up at FMS, despite hoping that I was going to manage to play along with these 2 challenges for the second week running as they are a couple of my favourites. You should definitely check them out, their Design Teams are awesome! Here are this week's challenge badges:


I was intrigued by Jen's sketch this week as whilst a simple oval it occurred to me that I rarely use ovals in my card making, so I thought I would give it a go. I've included the photo inspiration for last week's challenge over at StampInkPaper because although I'm not linking up there, it was this inspiration photo that led me to create today's style of card that I am ultimately going to link up over at Just Add Ink with my 'o' for 'oval' - take a look:
Here's the low-down on today's card:
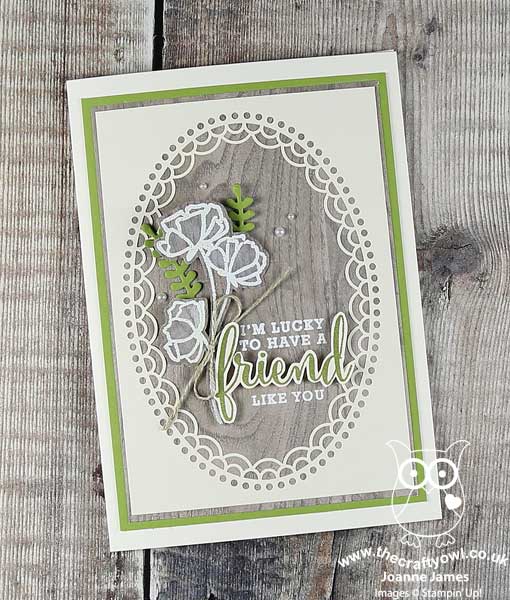
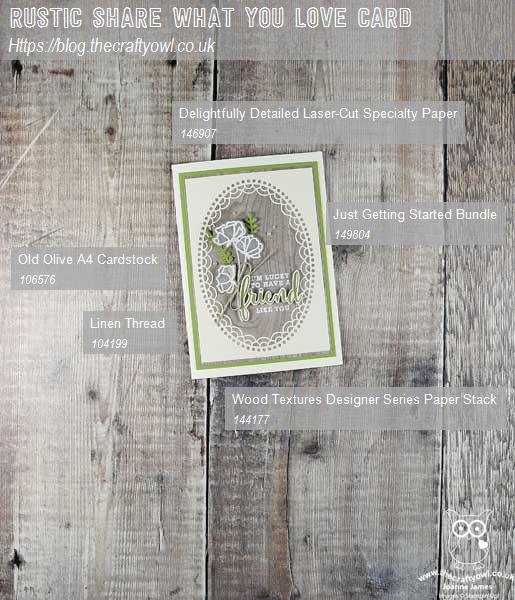
Sharing What You Love - I have been busy making lots of samples with the fabulous 'Share What You Love' set that is on early release to customers this month using the products and colours in the bundles, so wanted to make something a little different. This card is all about the textures and so I kept my colour palette neutral: wood, white, vanilla, linen and a little Old Olive. Another way to share what I love!
A Rustic Theme - I don't use my Wood Textures papers anywhere near enough and decided to use them both for the background and my heat-embossed flowers. I added a little linen thread and the texture of my oval surround along with a little fussy cutting and a few pearls adds to the rustic feel of my card.
Delightfully Detailed Ovals - I have a new paper love: the Delightfully Detailed Laser-cut Specialty Paper is just beautiful! For my card, I used one of the oval pieces and used it to frame my focal point - it's just so pretty.
Here is the visual summary of the key products used on today's project for you to pin for easy reference:
You can see all of my 'How To' summaries on my 'How To - Tips and Techniques' Pinterest board in case you've missed any.
This card is a little different for me but it's nice to experiment once in a while and step outside of my comfort zone. What do you think - did it work? I'd love to hear your thoughts below.
I hope you've all had wonderful days and that the weather is as glorious where you are! I'll be back tomorrow with another project. Until then, happy stampin'!
Stampin' Up! Supplies Used: