Rainbow Blended Daisy Garden Anniversary Card TTT120

by Joanne James1. July 2021 17:00

It's Thursday and time for a new challenge over at TicTacToe! It's the turn of Team X to host this week and the lovely Ashwini is our featured designer this week. This is the fun board that we are playing along with: 


I went across the middle row with embossing/flowers/anniversary and taking my inspiration from the rainbow of colours of the feathers on the fabulous peacock in the Color Dare challenge inspiration photo I decided to break out a new stamp set and have some fun with my background - take a look:


Here's the low-down on today's card:

Daisy Garden - I'm not usually one for background stamps, but there are two in the current annual catalogue that I absolutely love. One is 'Festive Foliage' that I shared with you for the first time last week in this post here; the second one I'm sharing with you today and it's called 'Daisy Garden'. A field of daisies - so pretty! Today I heat-embossed them in white and then used by blending brushes to create a rainbow background (colours detailed below), adding some water droplets flicked with my aquapainter for added detail. Another great way to add colour to a background stamp!

Daisy Lane - One of the reasons I like the new Daisy Garden stamp is because it co-ordinates beautifully with the existing 'Daisy Lane' stamp set. Having used this set in my card on Tuesday (you can scroll back if you missed it), it occurred to me that the sentiment I used would make a wonderful feature on an anniversary card - so I used it again today too.

Tasteful Labels - I stamped my sentiment on a label cut with the Tasteful Labels Dies, and added some clear sequins and frosted enamel dots along with some sparkly white ribbon to finish my card:


What do you think - do you like to use background stamps? Do leave me a comment below - I'd love to hear your thoughts.

Here is the visual summary of the key products used on today's project for you to pin for easy reference:


You can see all of my Product and 'How To' summaries on my 'How To - Tips and Techniques' Pinterest board in case you've missed any. 

A tictactoe board offers so many creative possibilities - how does this week's board inspire you? Why not have a go? We would love to see you in the gallery and who knows - you might be selected for Designer's Choice and be eligible to be a guest designer on a future challenge. 

Enjoy your day; I'll be back tomorrow with another project. Until then, happy stampin'!


Stampin' Up! Supplies Used: 

Table built using Product Table Builder by The Crafty Owl - Independent Stampin' Up! Demonstrator.


Picture This With Bright Daisies

by Joanne James29. June 2021 20:00

Today I managed to get a little extra crafting time so I'm sharing a second card that I made with a couple of challenges in mind:


I couldn't resist those Inspired By brightly coloured dotty flip flops with their daisy embellishments, so I took those elements and paired them with the current Paper Craft Crew sketch and this is what I came up with:


I used the new Picture This Dies to create my trio of apertures, backed them with some retired brights collection DSP and added some coloured daisies centred with some retired gems that I coloured with my Blends markers and added a sentiment from the 'Daisy Lane' stamp set on one of the stitched circles cut out with the other die in the set.


Here is the visual summary of the key products used on today's project for you to pin for easy reference:


You can see all of my 'How To' summaries on my 'How To - Tips and Techniques' Pinterest board in case you've missed any. 

Enjoy your evening and I'll be back tomorrow with another post. Until then, happy stampin'!


Stampin' Up! Supplies Used:

Table built using Product Table Builder by The Crafty Owl - Independent Stampin' Up! Demonstrator.

Smile with Daisy Lane for AYSI 224

by Joanne James24. April 2020 12:00

Today I'm sharing my design team card for our new challenge over at As you See It where it's time for a speed challenge:
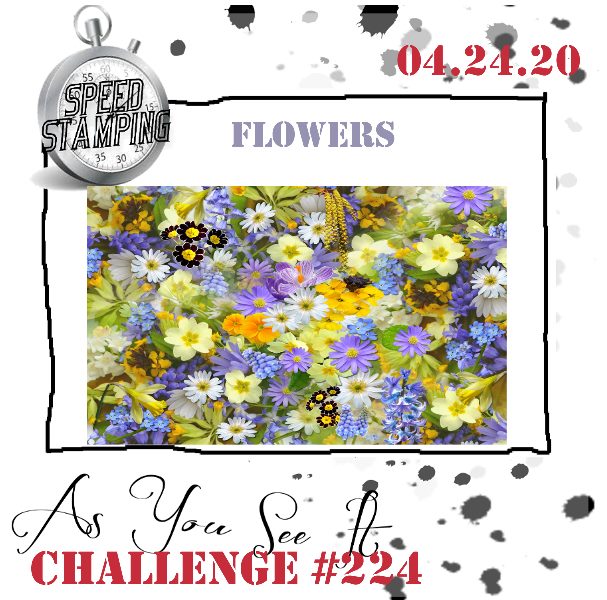
    

I also decided to inject a shot of bright colour with the CAS Colours and Sketches colour palette that I felt strangely drawn to this week for my speedily stamped card and pulled out an old favourite - take a look:
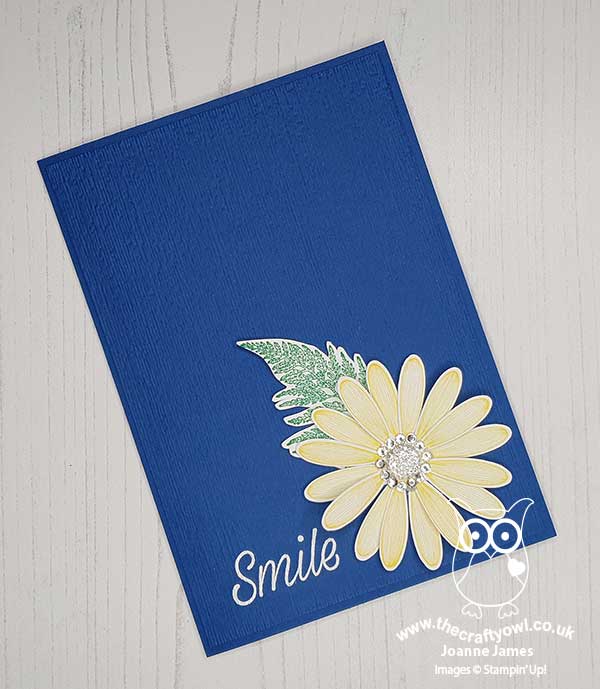
 

Here's the low-down on today's card:

Top Speed Tip: Pick A Punch - So this is really my top mass-production tip, but the reason I would always use a punch rather than die-cutting machine when mass producing is really because it saves time. Punches make light work and the Daisy Punch is a case in point. I've used it today with the Daisy Lane stamp set and I can confirm that both of these items are carrying over to the new Stampin' Up! annual catalogue in June; the other stamp that co-ordinates with the Daisy Punch, Daisy Delight, is not - so if you want to add this to your collection, do it now before it's gone forever. 

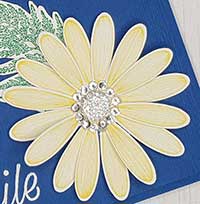
Always Be Prepared - Of course, if you want to create a card in under 10 minutes, the main thing is to be prepared! I had a clear idea of what I was going to create and made sure I had all of the items I needed to hand before I started the process. It's also worth keeping the design simple; this doesn't necessarily mean it needs to be one layer, but it shouldn't be overly complicated. I managed to achieve a number of different elements on my card in a short space of time: dry embossed background, heat embossed sentiment, stamped and punched flowers (x2) and a stamped and fussy cut fern, along with gemstone decoration. I was doing so well on time I decided to add a ring of rhinestones around my central clear faceted gem (I will miss these - they make such lovely daisy centres) - I just so happened to have a long strip from a retired rhinestone pack, so didn't need to place them individually which would have taken longer - I just adhered the strip in one motion. 

A Time Triumph - I am always pushing the time limit on a speed challenge, so imagine my surprise when I managed to finish this one in record time:

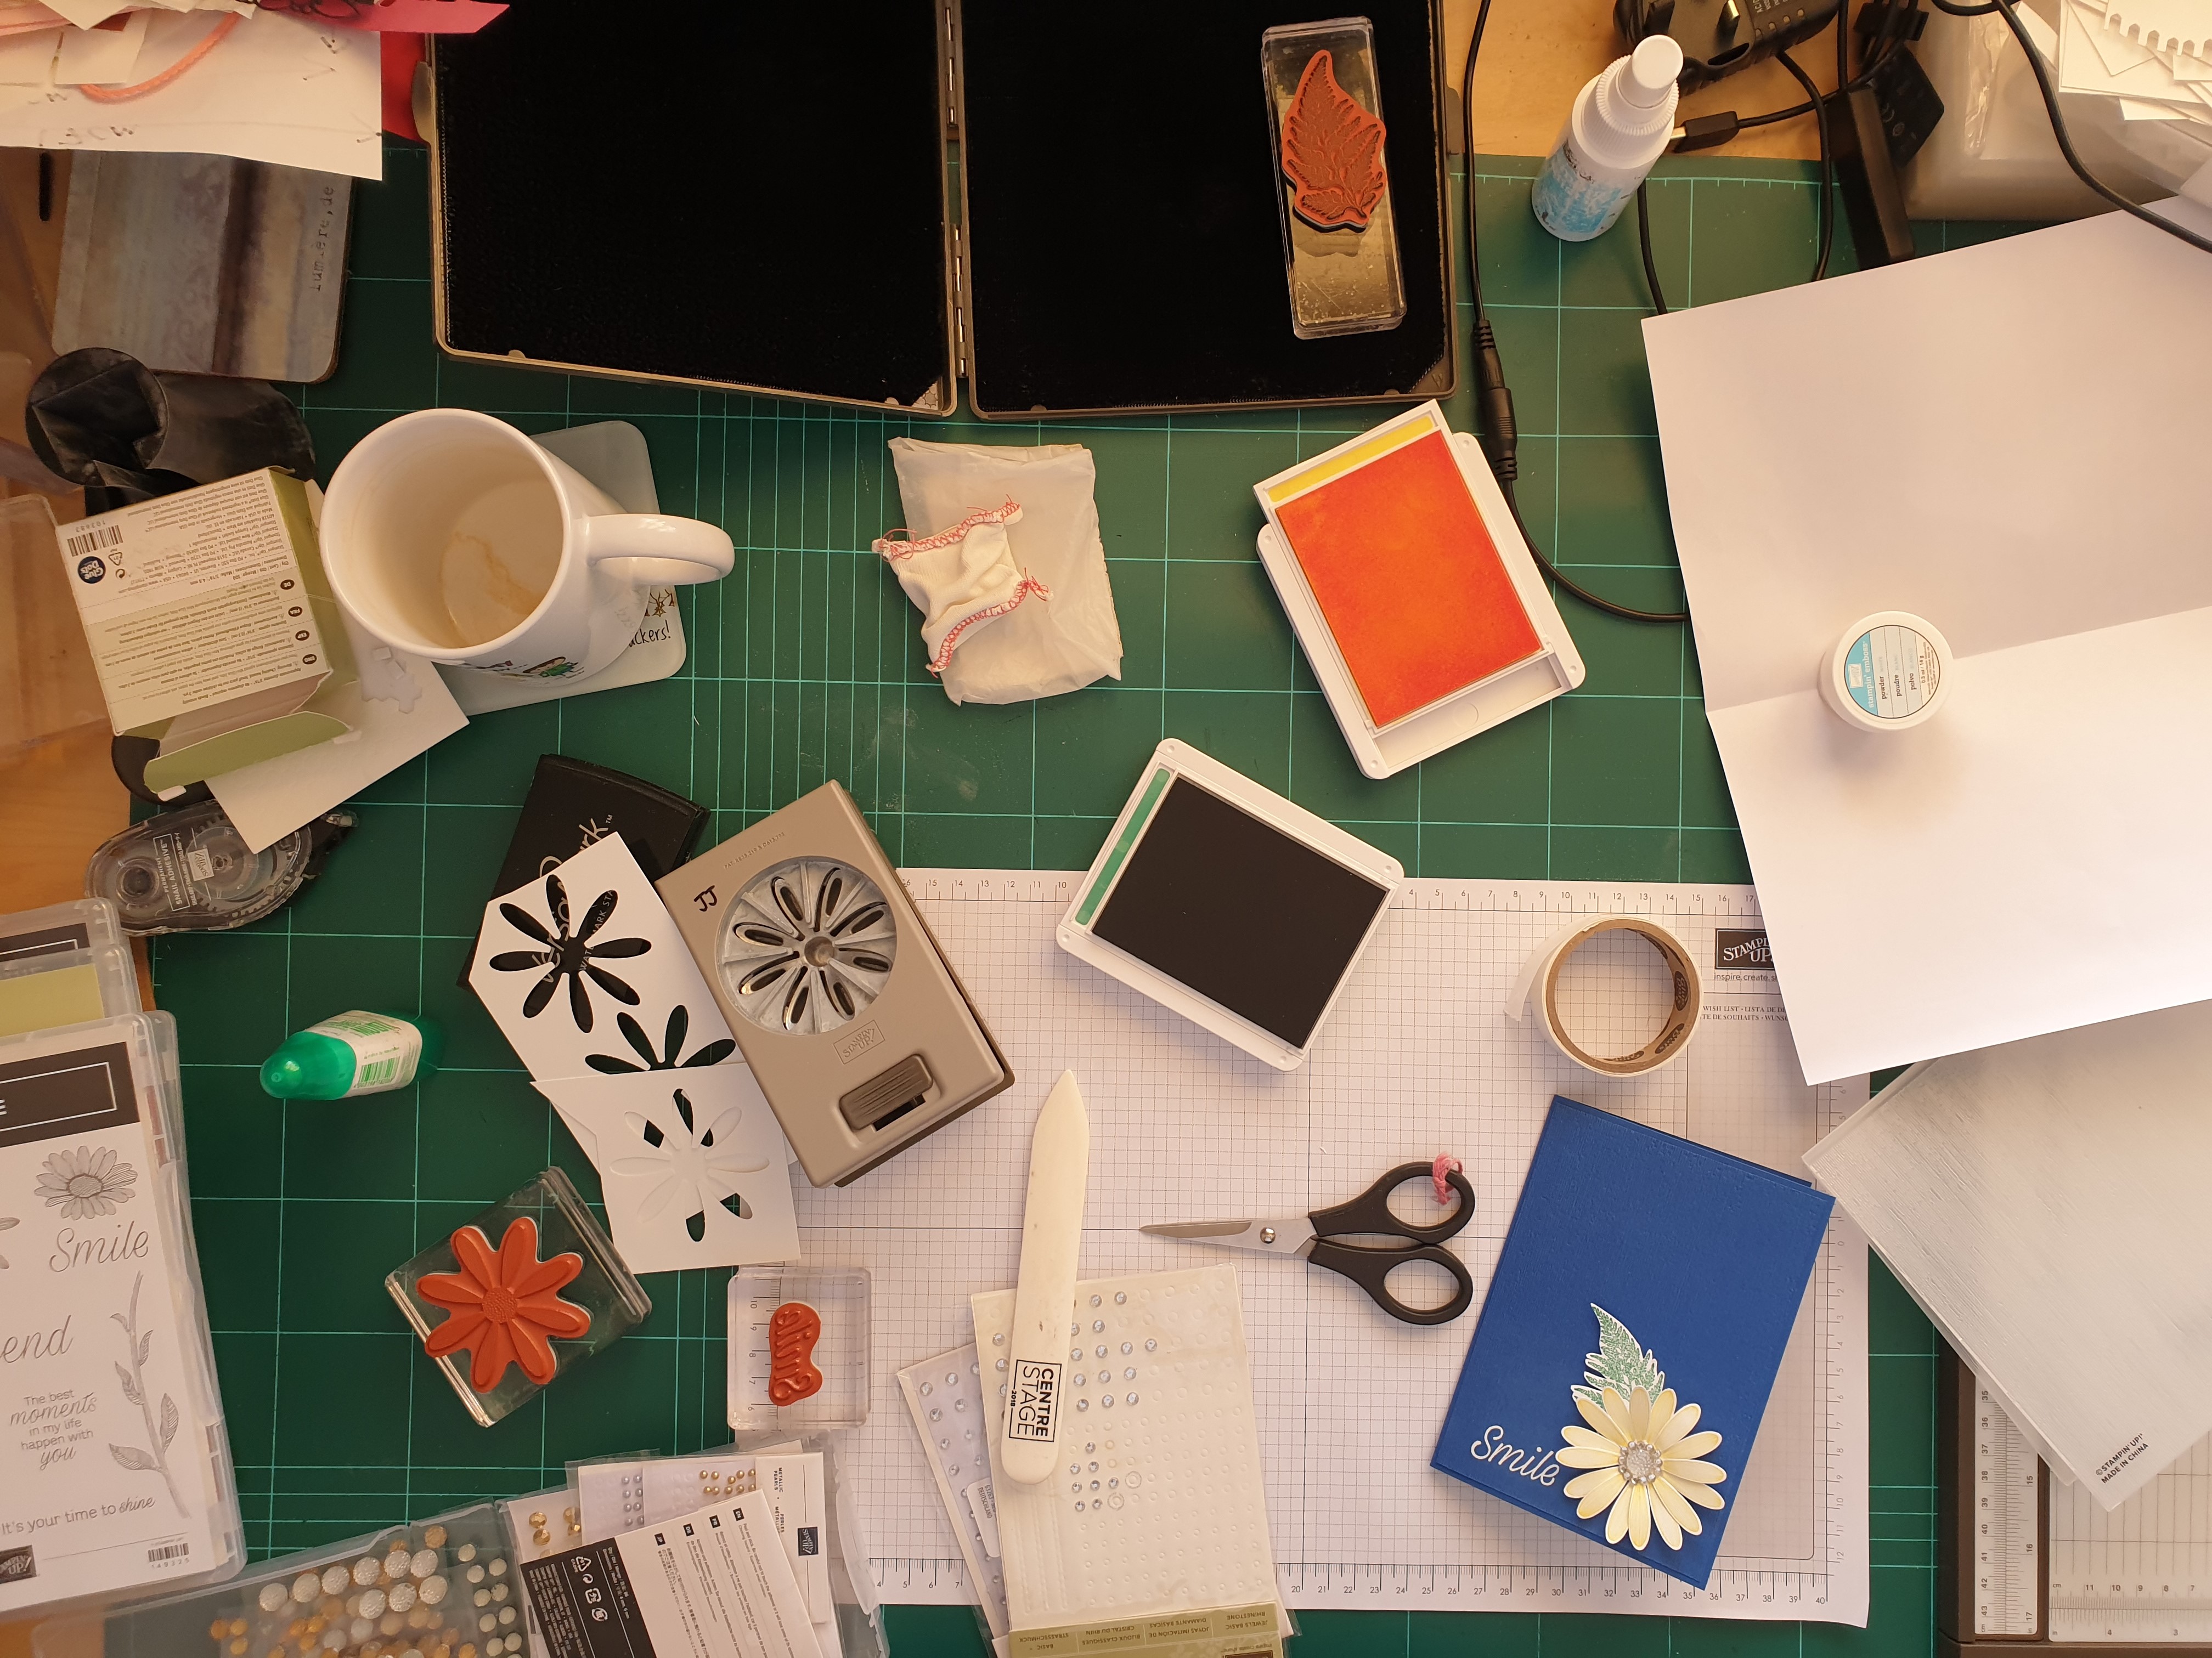
Yes, 7 minutes and 18 seconds, and that included stamping and punching a third daisy too, as I tore a petal off my first one as I curved the petals in haste with my bone folder! I was so pleased with myself I thought I would share a picture of my stopwatch!! How did I use my remaining minutes? Well, I took an aerial shot of my desk so that you can see the absolute chaos that creating in 7 minutes and 18 seconds takes:
 

Then I brushed the craft-a-math to one side to stamp a quick daisy on the inside panel too:
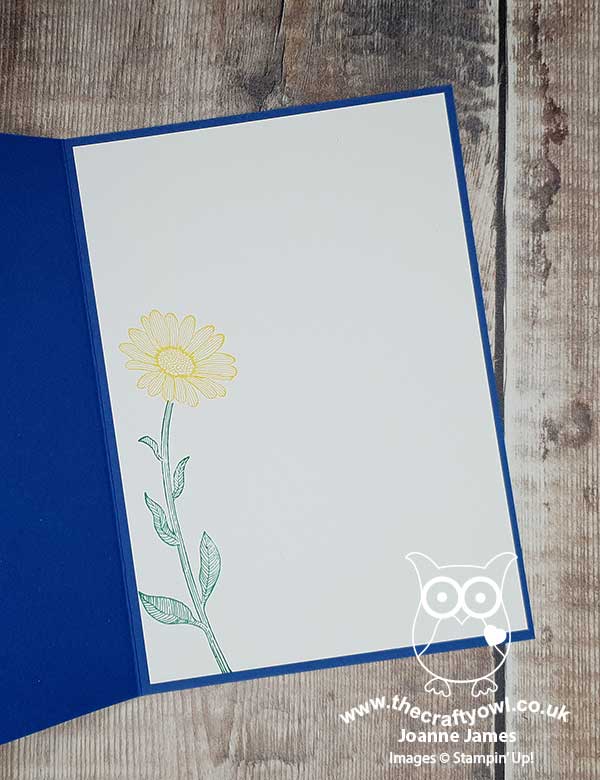
 

I really love this card - I think the bright blue background makes this bright daisy pop.

Here is the visual summary of the key products used on today's project for you to pin for easy reference:
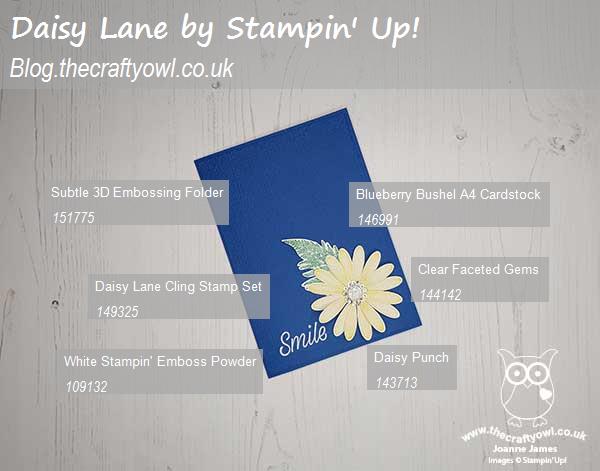
You can see all of my 'How To' summaries on my 'How To - Tips and Techniques' Pinterest board in case you've missed any. 

Before you put your creative thinking caps on, why not check out the blogs of the other As You See It team members:

Amy Jasper

Heather Cooper

Jan Clothier

Jane Knudsen

LeAnne Pugliese

Here's a summary of our challenge rules:

  • Create any card, scrapbooking page, 3D project or packaging project that fits the challenge.
  • Please include the challenge graphic and link back to the challenge in your blog post. Turn off word verification so we can leave you lots of lovely comments. Make sure you link the post not the whole blog to the Linky. Use #AYSIXXX when uploading to a public gallery.
  • If you’re unsure about ‘the rules’, check the details under the Challenge Guidelines tab on the As You See It Challenge homepage.
  • In a colour challenge, black or other neutral can be used in outlines and sentiments but no other colours should be included. Stampin’ Up colours are used for reference but colours that are a close match are welcome. 

We look forward to seeing your creations in the AYSI gallery.

Enjoy your day and I'll be back tomorrow with another project. Until then, happy stampin'!


Stampin' Up! Supplies Used:

Table built using Product Table Builder by The Crafty Owl - Independent Stampin' Up! Demonstrator.

Daisy Lane Fussy Cut Daisy Friend Card

by Joanne James2. August 2019 20:00

Friday already? Where did this week go?! Today I'm sharing a card that I've been trying to share all week for the current challenge over at Addicted to CAS but time has simply run away with me:


Clean and simple was definitely the name of the game for me this week so I created another simple card using the Daisy Lane stamp set:


This card was super simple: a Coastal Cabana card base embossed with the Subtles embossing folder for a little texture, a stamped daisy stem that I then fussy cut and added to my card base. This took a little longer than stamping directly onto my base, but I do find fussy cutting quite relaxing so it was no hardship. A stamped sentiment from the same set punched out with the new Timeless Label Punch completes my card.

Here is the visual summary of the key products used on today's project for you to pin for easy reference:


You can see all of my 'How To' summaries on my 'How To - Tips and Techniques' Pinterest board in case you've missed any. 

Enjoy your evening and I'll be back tomorrow with another project. Until then, happy stampin'!


Stampin' Up! Supplies Used:

Table built using Product Table Builder by The Crafty Owl - Independent Stampin' Up! Demonstrator.

Daisy Lane Fern Starburst Stamparatus Card

by Joanne James10. July 2019 20:00

Today I'm sharing another of the cards I designed for my Daisy Lane class earlier this week that is perfect for the current colour challenge over at Hand Stamped Sentiments where they have a pretty subtles colour palette for inspiration:

I wanted to remind my ladies of a technique that I demonstrated to them previously using a template to create a wreath or uniform pattern using their Stamparatus and the Daisy Lane set was perfect for this - take a look at my card:


Here's the low-down on today's card:

A Layered Daisy - Today's card features more stamped and punched daisies - this time layered to create a full flower: two large stamped and punched daisies in Petal Pink, with two smaller stamped and punched daisies in Calypso Coral layered on top. Lots of petal curling with a bone folder adds dimension and the appearance of fullness.

A Starburst Fern And A Fun Stamparatus Technique - I wanted to use the fern on this card and it was the perfect size and shape to revise a fun technique using the Stamparatus. We had previously looked at how you can use a template to help you create a symmetrical wreath using leaves and small flowers; this time we used the same template, but instead used it to create an almost flower-shaped starburst of ferns to back our punched daisy. This was perfect for my daisy focal point and a neat way to ring the changes with a square card too.

A Touch of Sparkle - On this card, I finished my daisy with a clear faceted dot for a neutral touch of sparkle. 

Here is the visual summary of the key products used on today's project for you to pin for easy reference:

You can see all of my 'How To' summaries on my 'How To - Tips and Techniques' Pinterest board in case you've missed any. 

Enjoy your evening and I'll be back tomorrow with another project. Until then, happy stampin'!


Stampin' Up! Supplies Used:

Table built using Product Table Builder by The Crafty Owl - Independent Stampin' Up! Demonstrator.

A Pair of Punched Daisies To Make You Smile

by Joanne James9. July 2019 16:00

No post yesterday as I had a class and one James Junior to get ready for her German student exchange trip with the other to swim training and I simply ran out of time! So I'm sharing my planned card today which is perfect for the current challenge over at Just Us Girls where the cue word is 'Smile':

My class yesterday featured the new Daisy Lane stamp set and Medium Daisy Punch and this is one of the cards we made - take a look:


Here's the low-down on today's card:

There's A New Daisy In Town - Daisy Lane is a new Stampin' Up! stamp set that features that perennial favourite - the daisy. Definitely more wild flower than weed, today's card features two daisies from the new set, stamped in Smoky Slate with some So Saffron added to the centres with a sponge dauber before punching the larger one out with the existing Daisy Punch and then the smaller one with the Medium Daisy Punch and added to the stems that were stamped directly onto the card base.

Feeling Fuzzy - What makes these daisies stand out though, are the little fuzzy yellow centres. These Perennial Essence Floral Centres are part of the Perennial Essence Suite but they make great daisy centres too. They have little self-adhesive backs so are easy to attach to punched flowers to give them added interest. I can see me using lots more of these!

A Timeless Label - The 'smile' sentiment is also from the Daisy Lane set and to give it a little more emphasis I punched it out with the new Timeless Label Punch which is the perfect size for both the 'smile' and 'friend' sentiments in this set and lots more besides. This is another of those super-useful punch shapes that is a good basic for your crafting arsenal.

Here is the visual summary of the key products used on today's project for you to pin for easy reference:


You can see all of my 'How To' summaries on my 'How To - Tips and Techniques' Pinterest board in case you've missed any. 

Enjoy your day and I'll be back tomorrow with another project. Until then, happy stampin'!


Stampin' Up! Supplies Used:

Table built using Product Table Builder by The Crafty Owl - Independent Stampin' Up! Demonstrator.

Over The Moon In My Favourite Purple Wellies

by Joanne James1. July 2019 10:00

This is already my second post of the day today as it's 1st July and there is lots going on, including the return of bonus days and a fabulous joining offer - you can read about both of these in my earlier post here. For today's creative post I'm sharing my card for this week's challenges over at As You See It and Just Add Ink that also fits the current challenge over at Time Out, which is a new-to-me challenge that I thought I would play along with too (I don't think it's a CAS challenge although a lot of the DT samples and gallery cards are and for once my card is a little less CAS than usual so I hope it fits the bill!):


So I'm not fully finished with my run on Bird Ballad projects, but I did get out another new stamp set that I just couldn't resist called 'Over The Moon' when I grabbed a little crafty time and couldn't resist making some fun cards with it - these comical cows are just adorable - take a look:


Here's the low-down on today's card:

How Now Brown Cow - So I think I am in love with these fun animals! I mean, three comical cows and a bunch of punny sentiments in the 'Over The Moon' stamp set - what's not to love?! I decided to colour mine today with Stampin' Blends, but stamped my outline in stamped-off Sahara Sand so it has an almost no-line look, which I think works nicely with my sweet brown cow. I repeated the same image on my envelope and inside my card too. My choice of browns to compliment the purple was brought about by my desire to use some of that fabby linen-look in-colour scallop edged ribbon and I like the finished look.

Daisy Delights - I continued my browns with a piece of tone-on-tone stamped Crumb Cake for my background, that I stamped randomly with one of the daisy stamps from the Daisy Lane stamp set, which I thought tied in with the flower my cow - let's call her Daisy! - is holding. I like the added detail without detracting from the main image. 

The Colour Purple - This whole card started with the colour purple; apart from navy, it is definitely the colour that features most highly in my wardrobe and is without doubt my most favourite colour to wear. I chose to use the new in-colour Purple Posy as the purple on my card today as it gave me the opportunity to break out new Blends, cardstock, in-colour DSP (love that gingham!) and co-ordinating ribbon and sequins too. My choice of the welly-wearing cow was also no accident, as I am even the proud owner of some beautiful purple wellington boots that the James Juniors gifted me for Christmas a few years ago. I couldn't find a photo of me wearing them, so took this quick snap of them next to a couple of my patio pots - check these out:

Aren't they just the best?! They are more Highland Heather than Purple Posy, however I didn't have as many embellishment options for that colour! There is something about gardening or trudging through the snow in purple wellies that is ever so cheery.

Here is the visual summary of the key products used on today's project for you to pin for easy reference:


You can see all of my 'How To' summaries on my 'How To - Tips and Techniques' Pinterest board in case you've missed any. 

Enjoy your day and I'll be back tomorrow with another project - I am organised this week as it's going to be a busy one! Until then, happy stampin'!


Stampin' Up! Supplies Used:

Table built using Product Table Builder by The Crafty Owl - Independent Stampin' Up! Demonstrator.

New Online Exclusives

There are new products available exclusively in the online store from 5 November - check them out here.

Latest Kits!

Stampin Cut and Emboss

The Perpetual Beauty Calendar Kit and Cherry Blossoms Treat Boxes Kit are the latest kits in the online store - get yours here!

Shop Online

Access my online shop 24 x 7, 365 days of the year:

Current December hostess code:

9NKXDTTR

Shop Online

Mini Catalogue

BROWSE THE CATALOGUE

'Tis The Season - the new Stampin' Up! Mini Catalogue is here! For more details and to download your copy click here

Scrapbooking

Stampin' Up! has introduced a new range of 12x12" scrapbooking product and kit - the full range is now available to purchase online. To download a copy of the new digital Scrapbooking Catalogue click here.

2024-25 Annual Catalogue

BROWSE THE CATALOGUE

Click on the image to download your copy of the 2024-25 annual catalogue. For a full list of current SU! supplies, go to my online store. If you would like any help or advice, please drop me a line at joanne@thecraftyowl.co.uk or give me a call on 07773 421446 - I'd be happy to help.

Join My Team

It's always a great time to join Stampin’ Up! New team members can get £130 worth of products for only £99 + free business supplies + free shipping + all the fun being a part of Stampin’ Up! Stampin' Up! has something for everyone: join my growing team and benefit from my support to enjoy Stampin' Up! however you choose.

If you're interested, call me for a chat to understand how I can help you realise your goals. Alternatively, if you have already decided to sign up and you just can't wait, please click here for the link to the online form where you can sign up and order your starter kit right away! 

About Me

Hi I'm Joanne and live in Northampton and when I'm not looking after my husband and two beautiful children, am an avid crafter with a passion for all things Stampin' Up!

I must confess that I have never been a big rubber stamper - until I discovered Stampin' Up! that is. I love the fact that I can get such great results with co-ordinating stamps, inks, papers and punches - the possibilities are endless! Join me on my stamping journey as I share the things I love and be inspired to create amazing things yourself!

Follow Me

Monthly Newsletter

Box Builder

Click the button above to use Box Buster to create your custom box design using the Envelope Punch Board!

Kits Collection Now Available!

Stampin Cut and Emboss

The new Kits Collection from Stampin' Up! is now available!

Click here to see the current kits available and order yours online today.

I Design For


Stampin' Up Stuff

This is my personal blog and is not endorsed by Stampin’ Up! I hope you find it a plentiful source of ideas and personal inspiration but please don't copy my designs for contest submission or use for classes, publication or sale without express permission.

DSP Special Release

Check out 3 popular designer series paper designs in fresh new colourways! Available exclusively in the online store from 3 December - check them out here

Last Chance Products

Last Chance Products will now be updated every other month - check them out here.