by Joanne James6. November 2026 20:00
I've a quick second post to share a card I made a couple of days ago for a challenge that closes today: I'm sharing a card for the current challenge over at 52 Christmas Card Throwdown using the layout at Hand Stamped Sentiments:


That multi-layered sketch was perfect for building a mini scene with shaped dies, so I grabbed some old favourites and set to work - take a look at what I came up with:
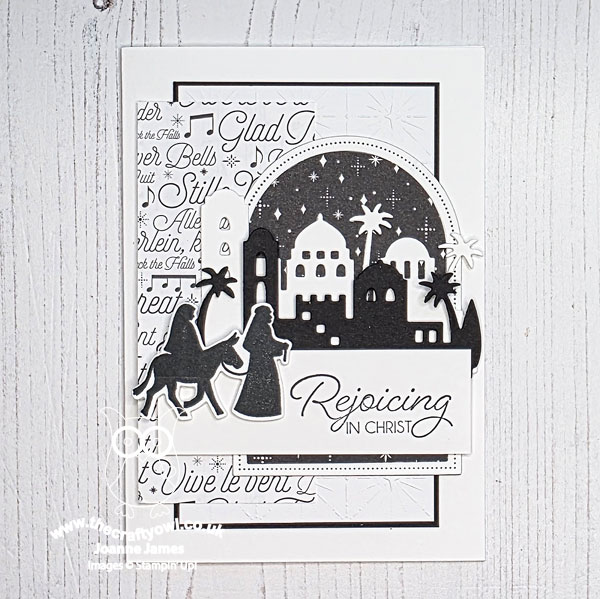
Here's the low-down on today's card:
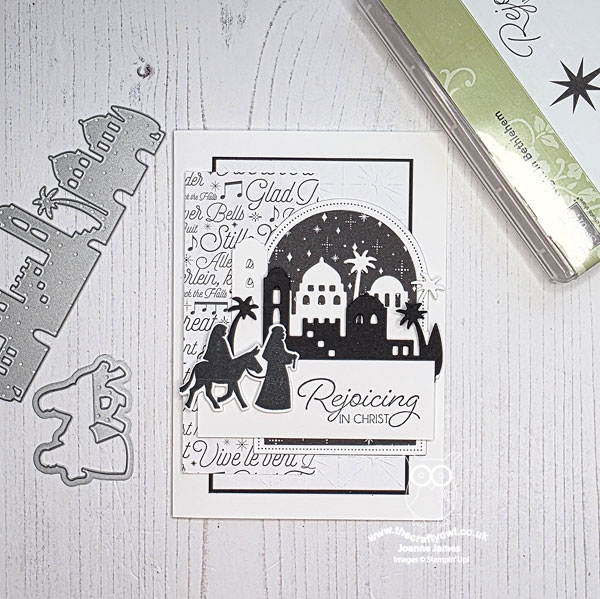
I used my Bethlehem Edgelits as the basis for my scene, framing it in a diecut arch and backing with some retired Merry Little Christmas starry night paper. I carried the stars through to an embossed layer behind, added a sheet of festive text and then a stamped Mary and Joseph on a donkey and stamped sentiment from 'Night in Bethlehem':
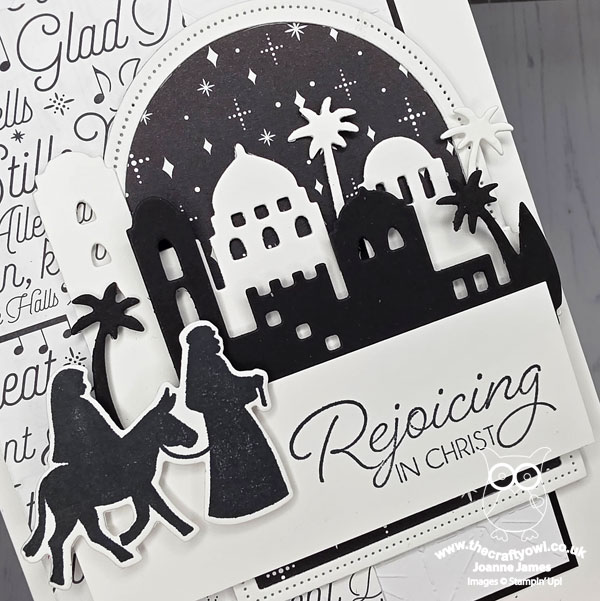
There's actually quite a lot going on in this card, so I kept my colour scheme to black and white so that it didn't overwhelm the other elements of the design. Even though this bundle is long retired, it will always remain a favourite of mine; I use it every year at least once as I think it's a really lovely set for religious cards.
Enjoy your evening and I'll be back tomorrow with another project. Until then, happy stampin'!
223c84d0-98a3-4c42-a1dd-9d7d7211fe55|0|.0|96d5b379-7e1d-4dac-a6ba-1e50db561b04
Tags: Stampin' Up, Stampin' Up Card, Stampin' Up Card ideas, Stampin' Up Supplies, Shop online, Shop Stampin' Up online, Shop Stampin' Up! Online, Bethlehem Edgelits, Christmas, Night In Bethlehem, Merry Little Christmas, Everyday Arches
Cards | Shop Online | Shop Stampin' Up! Online | Stamping
by Joanne James6. November 2026 13:00
Today I'm sharing my design team card for our new challenge over at As you See It where it's time for a speed challenge chosen by Deborah:
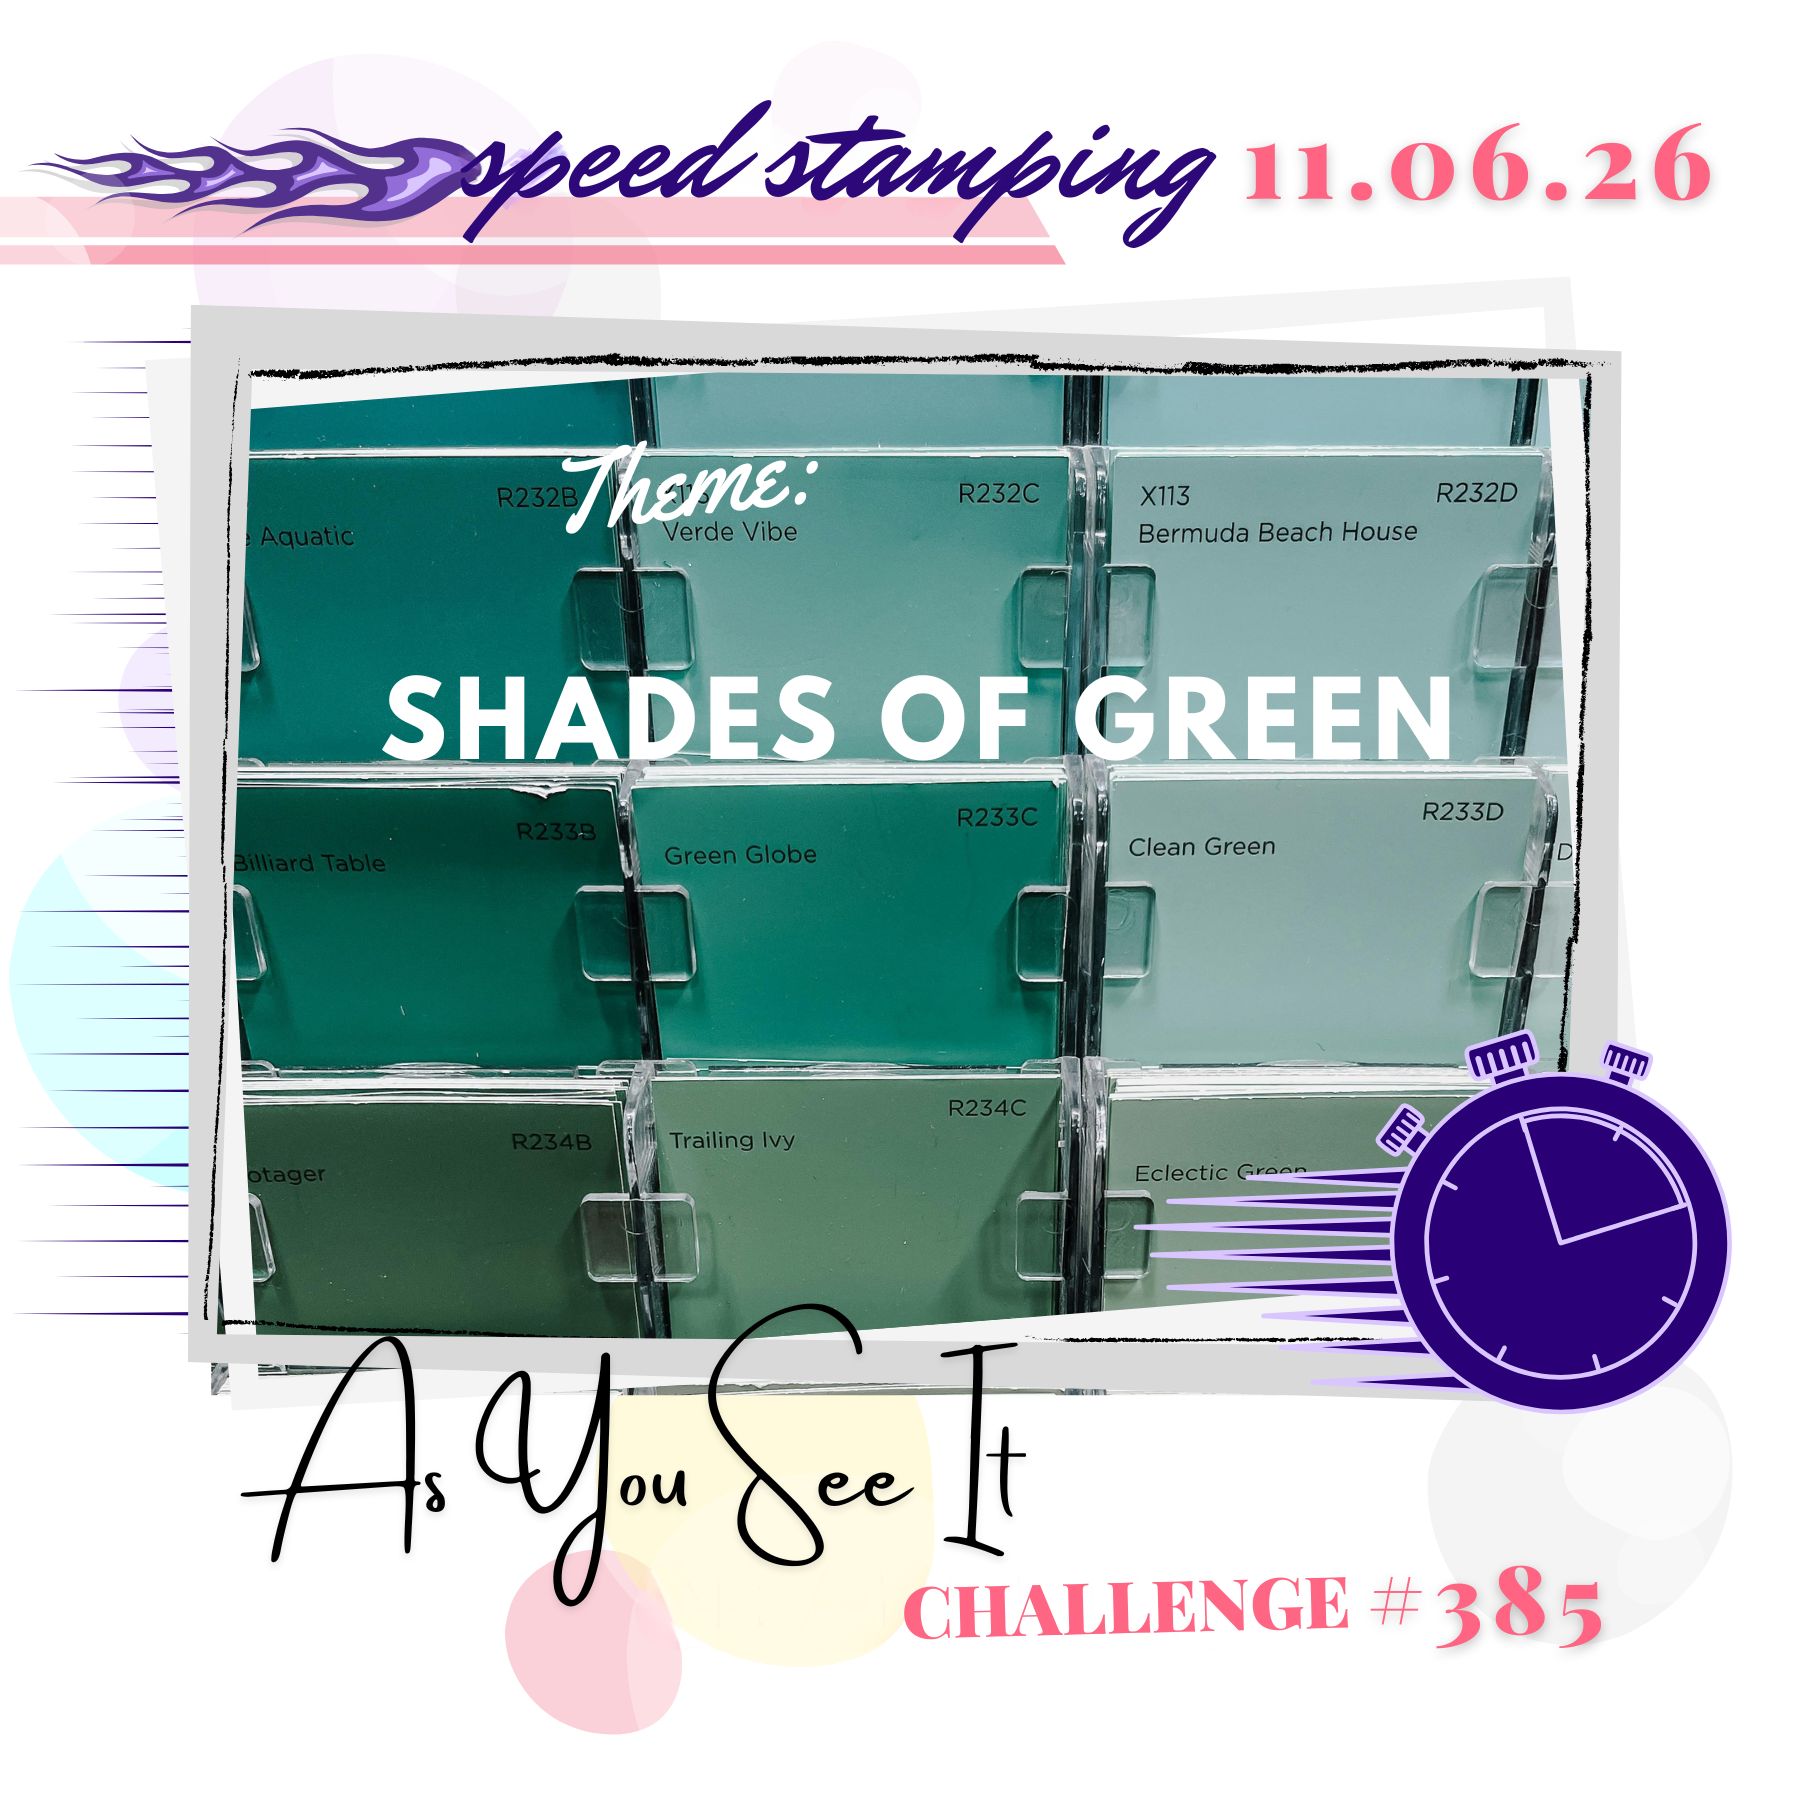

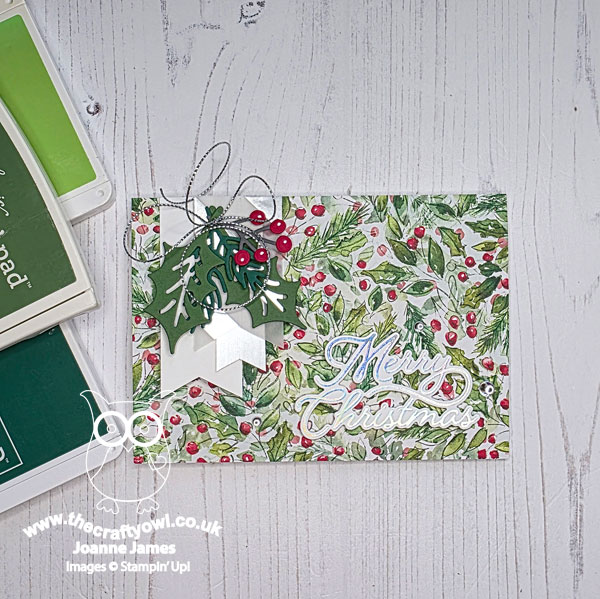
Shades of green - perfect for the festive season and more besides! I am ramping up my Christmas card making and whilst I considered some simple speed stamping, I thought the Sunday Stamps layout would be perfect for showcasing some busy designer series paper - always a good time-saver when you need to make a quick card! So I searched through my Christmas DSP collection and this is what I came up with:
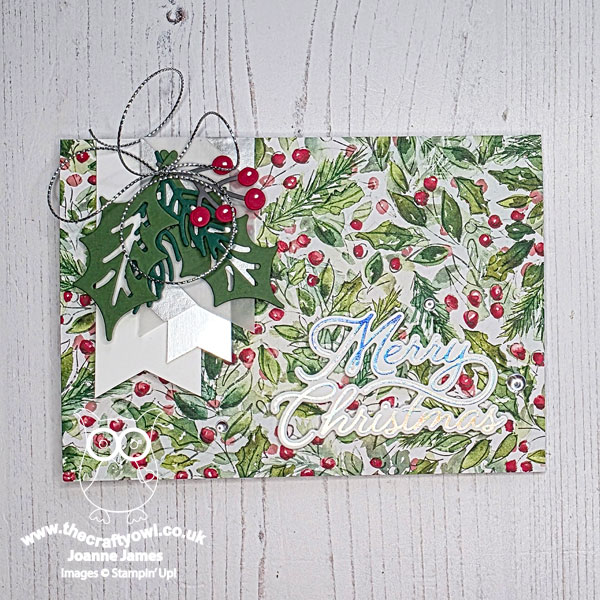
Here's the low-down on today's card:
This watercoloured foliage pattern is one of my favourites in the retired Joy of Christmas paper pack: it showcases several shades of green and a pop of festive red from those berries too. I covered the whole of the base of my card, grabbed a few leftover scraps of foil and foiled vellum to cut my banners and some additional scraps to diecut some foliage to create a topper for my banners, all tied with some retired silver twine. The final touch was a sentiment from the Magical Christmas Foil Dies that I had already foiled in Silver Opal and diecut - all I needed to do was fish through my box of finished sentiments to find something suitable:
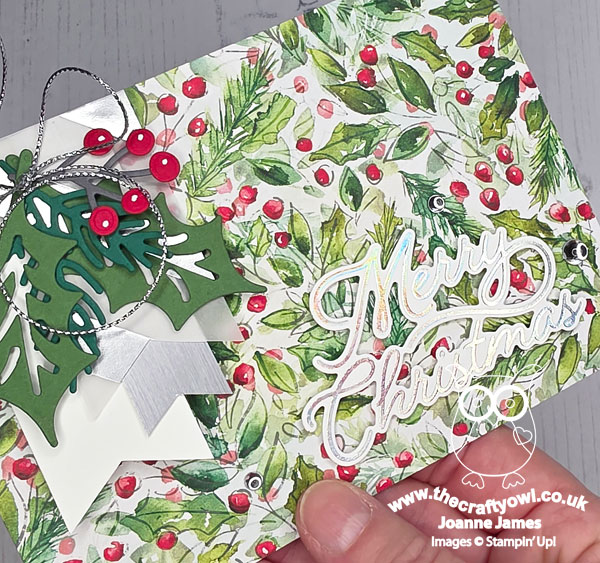
A few clear epoxy droplets and some hasty dots on my berries with a white gel pen complete my card.
So how long did this take me?
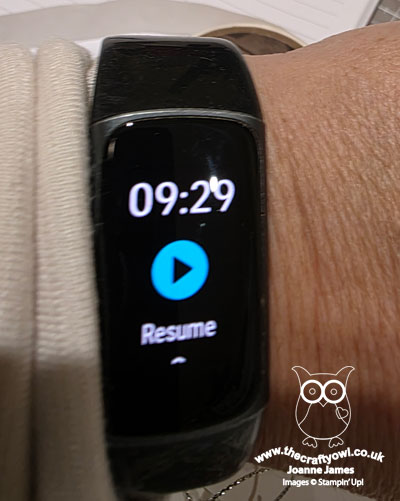
A total of 9 minutes and 29 seconds - longer than I thought it would. It's surprising how much time you can spend poking out diecuts and tying bows!! It's a good job that I had my sentiment already foiled for sure, otherwise it would have been a straightforward 'ink and stick'! Having made this card, I decided to make a few more in a similar design using up some other paper, including this photographic design from the retired All Is Bright papers:
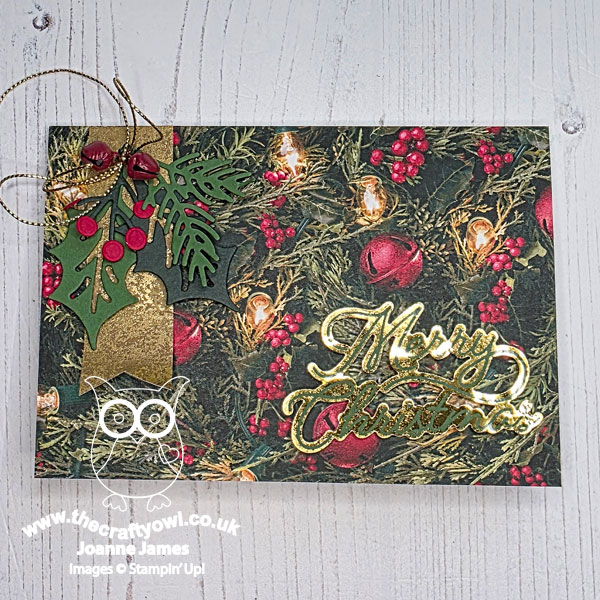
This time I went with gold accents and a reverse-foiled sentiment on Garden Green, and added a couple of tiny jingle bells to my twine bow:
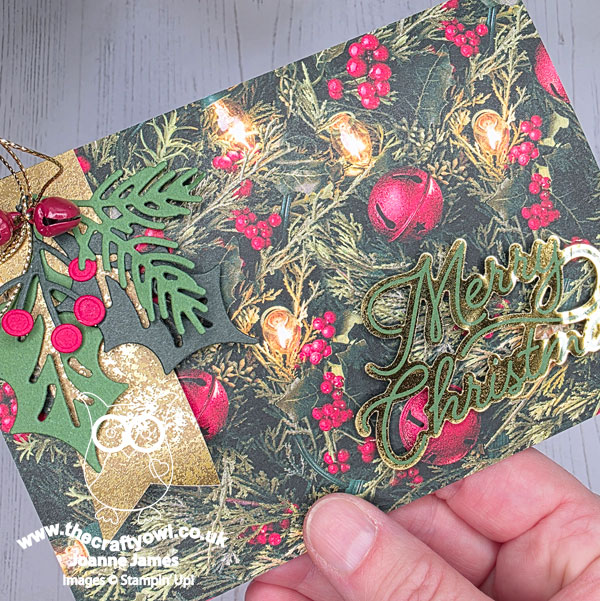
It's quite tricky to see the detail of the foiling on the sentiment - any and all tips as to the best way to photograph foiling, especially on a dark background, are welcome! I can assure you it does look lovely in real life. I often find these kinds of photographic papers quite difficult to work with, but I'm quite pleased with this finished card.
Here's a summary of our challenge rules:
- Create any card, scrapbooking page, 3D or packaging project that fits the challenge.
- For a Speed Stamping Challenge you must tell us the time it took to make your project and it must be finished in under 10 min.
- Please include the challenge graphic and link back to the challenge in your post.
- Make sure you link the specific post and not the whole blog to the Linky. Use AYSI#(insert challenge number) when uploading to a public gallery
- Please turn off word verification so that we can send you lots of feedback.
- You can combine our challenge with up to 3 other compatible challenges.
- We do reserve the right to delete, or not consider for Top Pick and Featured Artist, entries that do not comply with these guidelines.
We look forward to seeing your creations in the AYSI gallery.
Enjoy your day and I'll be back tomorrow with another project. Until then, happy stampin'!
04fd8f4c-29f6-467b-8565-b5290c682c2f|0|.0|96d5b379-7e1d-4dac-a6ba-1e50db561b04
Tags: Stampin' Up, Stampin' Up Card, Stampin' Up Card ideas, Stampin' Up Supplies, Shop online, Shop Stampin' Up online, Shop Stampin' Up! Online, As You See It Challenge, Christmas Trimmings Dies, Christmas, Joy of Christmas, Magical Christmas, Christmas Tidings
Cards | Shop Online | Shop Stampin' Up! Online | Stamping
by Joanne James1. November 2026 08:00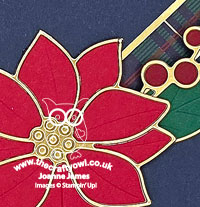
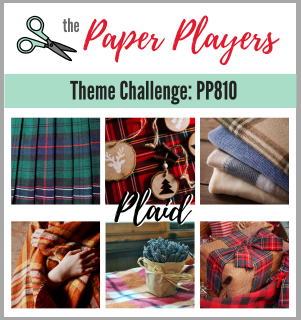
Today it's Sunday and time for this week's new challenge over at The Paper Players! It's the turn of the fabulous Claire to host this week and she has a fun theme challenge for us to work with:

I grabbed Jen B's sketch over at Freshly Made Sketches for my layout today and some of my favourite retired plaid patterned paper for another Christmas card (or two!) - take a look:
Here's the low-down on today's card:
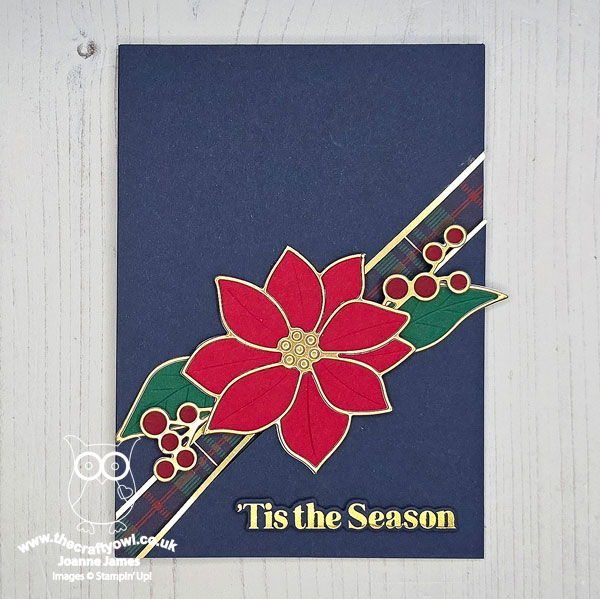
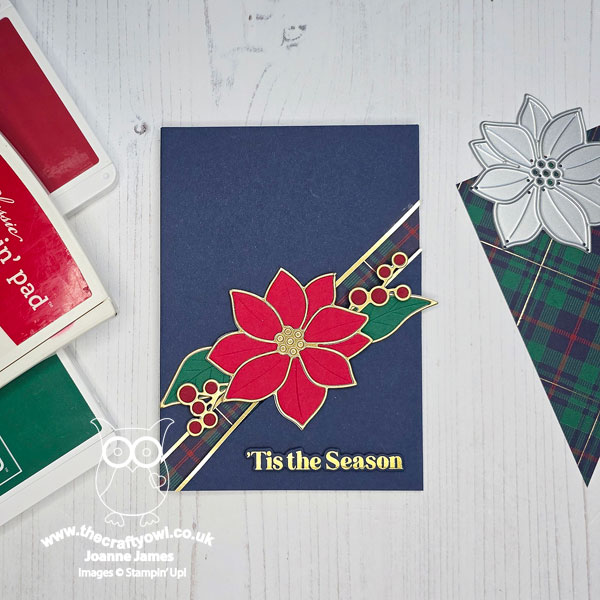
Whilst I'm not always a fan of diagonal lines, Jen's FMS layout was perfect to highlight some festive plaid. I chose a strip of the retired Plaid Tidings DSP and since it had a gold foil in the pattern, I bordered my navy panels and the outlines of my paper-pieced poinsettia and berries in gold to tie in:
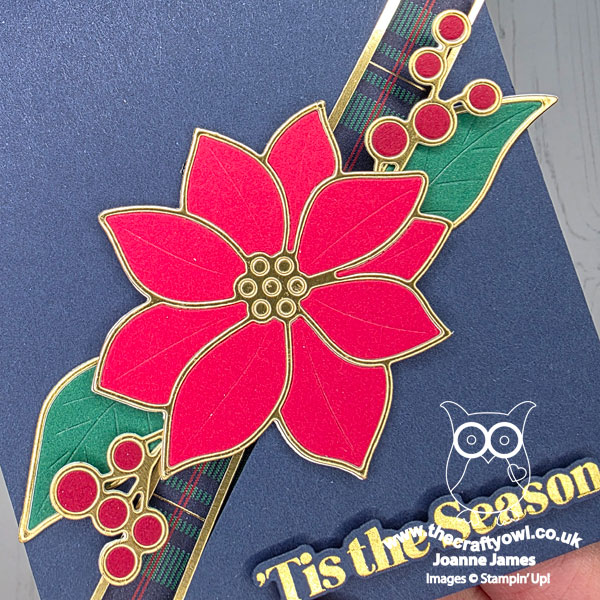
I added a simple foiled sentiment to complete m card and didn't even add any enamel dots as I really didn't want to distract from the floral and plaid. I really love this card in Night of Navy, which I chose for my base as it coordinated with one of my favourite plaids, but since I used the same Kristina Werner Poinsettia Inlay Dies for a previous FMS entry on a navy base, I decided to do a second version of this card, using a white base and another of the festive plaid patterns from the same pack, still with the gold detailing for my entry this week - so here's my 'take two':
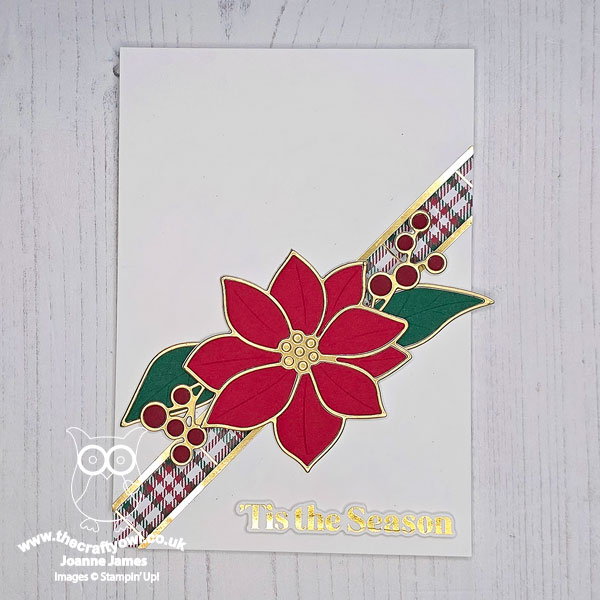
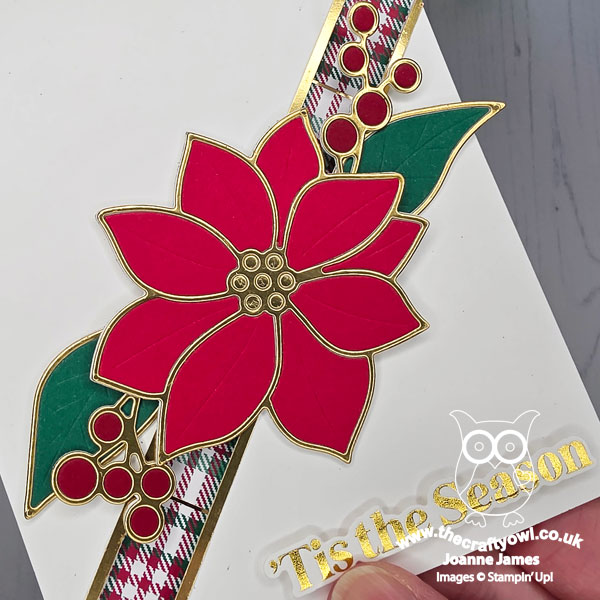
I love the clean lines of this card with the festive red, green and gold against the white and the poinsettia adds a fabulous pop of colour I think:
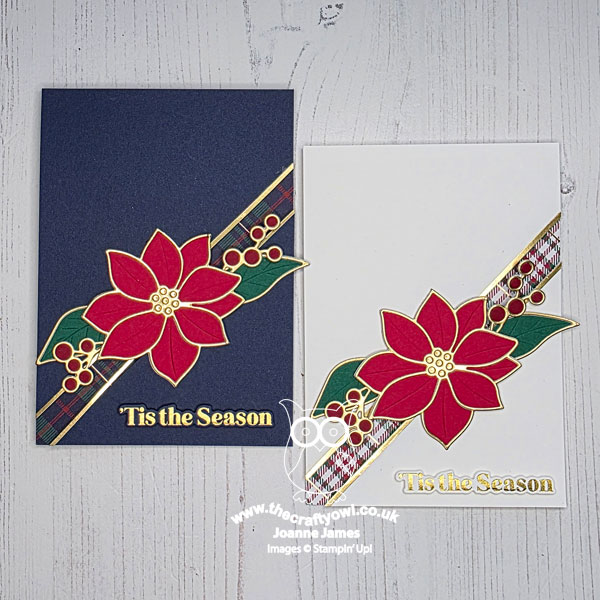
Here's both cards together; do you prefer one colourway over the other? Do leave me a comment below - I'd love to hear your thoughts.
Before you reach for your ink and papers, check out what our amazing team has created to inspire you this week:
The Paper Players Design Team
Here's a quick recap of our challenge rules:
1. Create a new paper project
2. Upload your creation to your blog with a link back to us and provide a direct link to the post featuring your challenge submission.
3. Please link your card to no more than four challenges, TOTAL.
4. Have FUN!
Enjoy your day; I am spending the morning in the kitchen and catching up on a few household chores, having had a super lazy day yesterday reading, sewing and generally relaxing, whilst the hubby is out on his paddleboard - it's too cold for me! Got to love a weekend! I'll be back tomorrow with another project. Until then, happy stampin'!
Stampin' Up! Supplies Used:
f0f991f9-ac8b-4560-8660-13f8d7d0faa2|0|.0|96d5b379-7e1d-4dac-a6ba-1e50db561b04
Tags: Shop Stampin' Up! Online, Stamping Shop Stampin' Up online, Shop online, Stampin' Up, Stampin' Up Card ideas, Stampin' Up Supplies, Stampin' Up Card, The Paper Players, Christmas, Plaid Tidings, Concord & 9th, Kristina Werner, Poinsettia Inlay Dies
Cards | Shop Online | Shop Stampin' Up! Online | Stamping
by Joanne James28. October 2026 12:50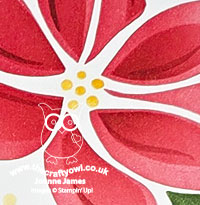
Today I'm sharing a card for this week's 'anything goes' stencil challenge over at Just Us Girls:


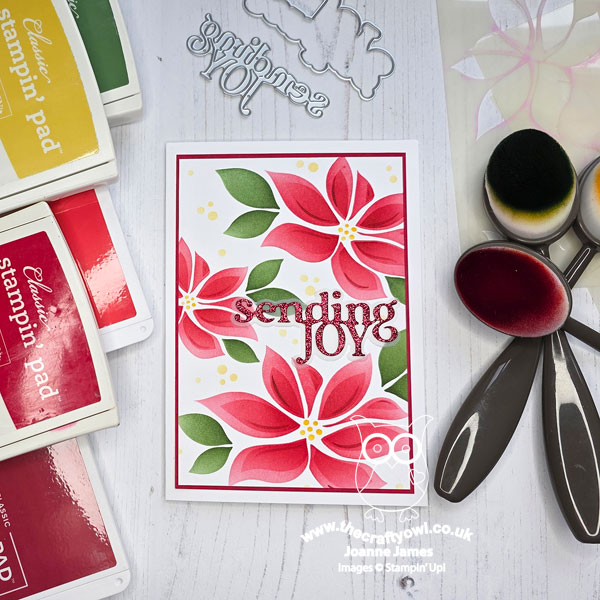
I bought a new festive stencil a little while ago but had yet to ink it up, so this week's challenge over at Just Us Girls gave me the perfect opportunity - take a look:
Here's the low-down on today's card:
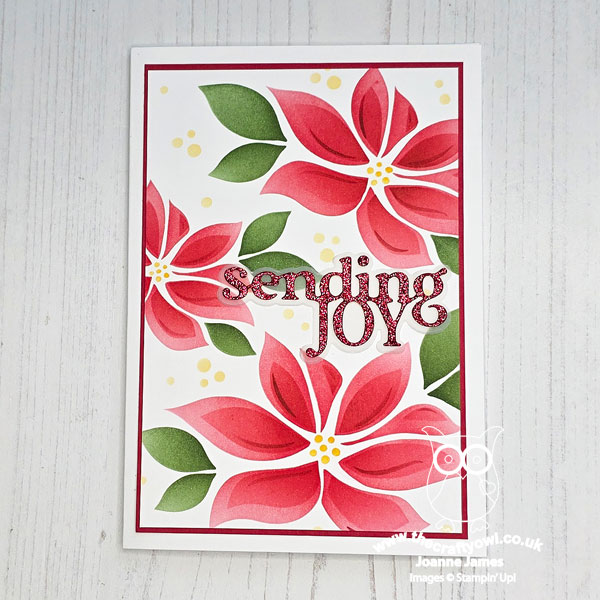
My stencil is from Uniko and is called 'Modern Layering Poinsettias': it's a set of 5 layers that allow for easy build up of the floral images. The stencil also features some smaller single-layer poinsettias in between the big ones, but I masked these out as I wanted m design to focus on the larger blooms. I kept things rather simple on today's card: a simple stencilled central panel, with a thin red mat and a sparkly red glimmer sentiment (this is a new Memory Box die - thank you Elizabeth!) that fits perfectly between the flowers:
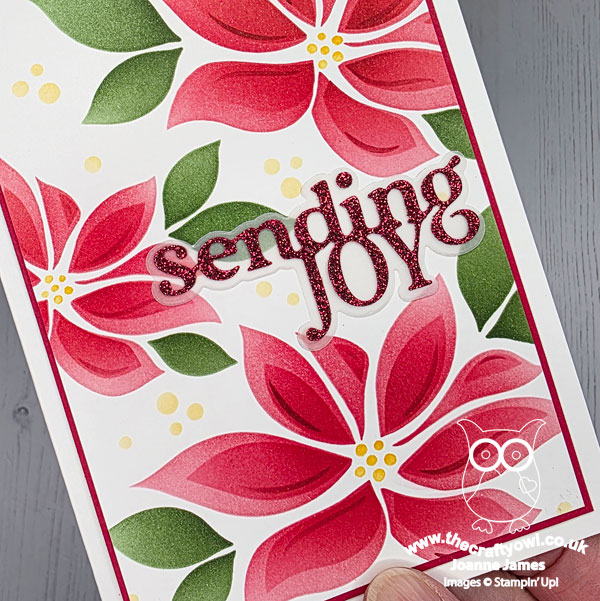
I initially used a gold foil sentiment, but the red glimmer looked much more festive! I went with very traditional festive colours for my card today, but I think it would also look nice in other colour combinations too, which would stretch this stencil beyond the festive season. I'm also linking my card today up with a new monthly challenge called AAA Christmas Card Challenges (a sister to the popular clean and simple AAA Cards Challenge) which has been set up b the lovely Maaike where their theme is 'Traditional Christmas'; for me a bright red poinsettia is as traditional as a nativity or a Christmas tree in my home during the festive season - although I never seem to manage to keep them alive beyond the season unfortunately!
Enjoy your day and I'll be back soon with another project. Until then, happy stampin'!
931dd706-0622-46c7-b45d-5905bef31206|0|.0|96d5b379-7e1d-4dac-a6ba-1e50db561b04
Tags: Shop Stampin' Up! Online, Stamping Shop Stampin' Up online, Shop online, Stampin' Up, Stampin' Up Card ideas, Stampin' Up Supplies, Stampin' Up Card, Uniko, Layering Modern Poinsettias, Stencilling, Christmas
Cards | Shop Online | Shop Stampin' Up! Online
by Joanne James27. October 2026 12:00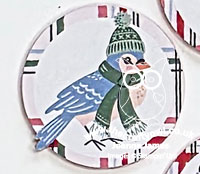
It's Tuesday and time for a new challenge over at CAS Colours & Sketches. This week's challenge is a sketch challenge and Suzy has asked that we add a vertical column of 5 elements with a sentiment tucked in towards the bottom of the column:
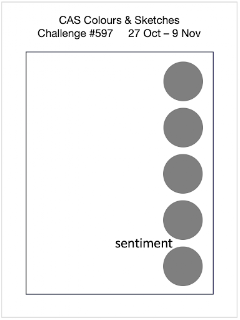
Feel free to flip or rotate the sketch when making your card.
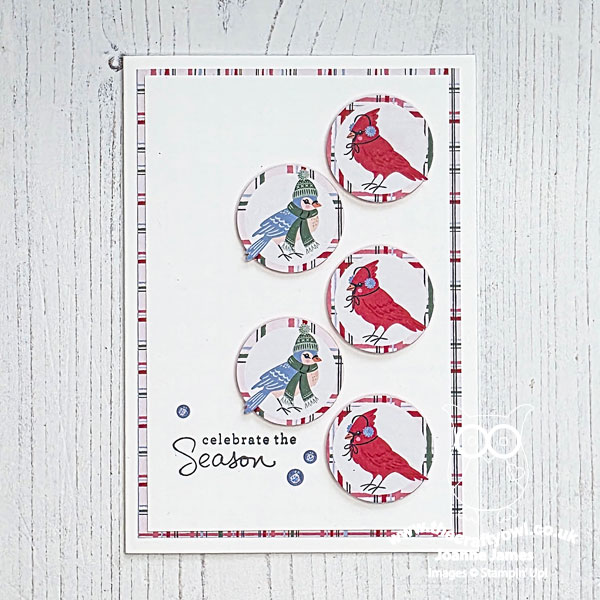
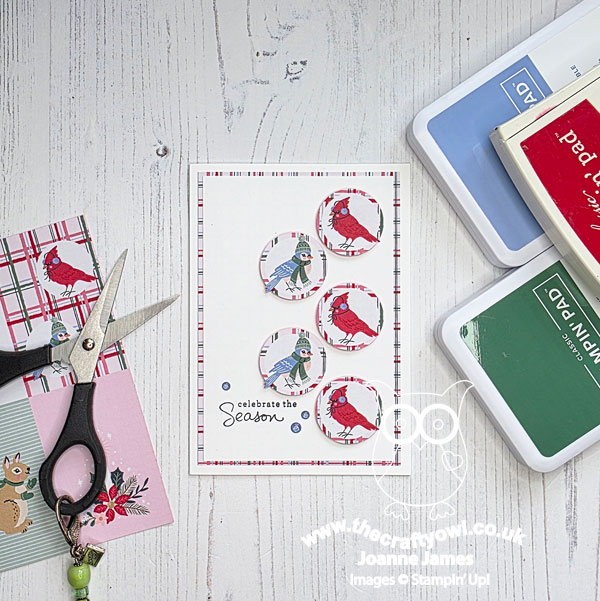
For my card today I decided to feature a quintet of feathered friends, all wrapped up for winter - take a look:
Here's the low-down on today's card:
These sweet little birds all feature on one of the patterns in the Creative Celebrations specialty designer series paper pack (see the photo at the bottom of today's post to see which one). I punched out 5 of them with a (retired) circle punch leaving a narrow plaid border, fussy cutting the ends of their tails so that they overhung the circles. How cute are they?
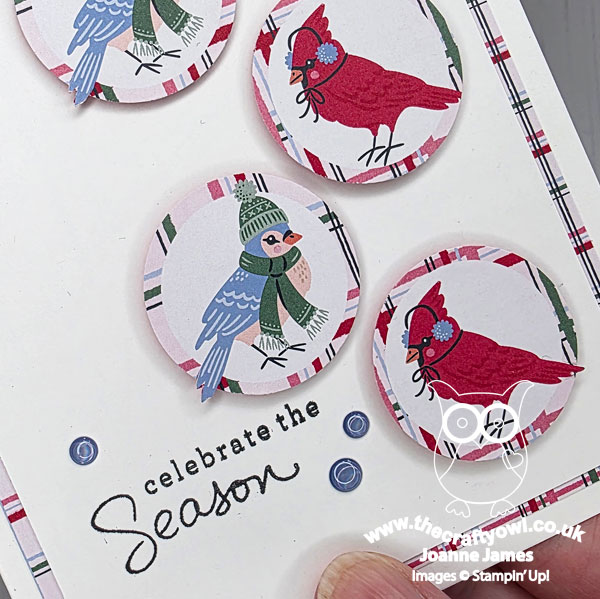
I matted my panel with a piece of the plaid from the same pack, to tie in with the trim, added a sentiment from the retired stamp set 'Endless Wishes' which was the perfect size for the gap, and finished off with a trio of Hydrangea Hue enamel dots. The plaid pattern is busy so needs to be used sparingly on a CAS card, but I think it makes a nice border here. I took a slight liberty with the sketch, staggering my column of birds slightly to fit them in, but I think it worked, especially as they look in alternate directions and the sketch is still clearly visible and it is, after all, open to creative interpretation. Another Christmas card for the pile!
Here is the visual summary of the key products used on today's project for you to pin for easy reference:
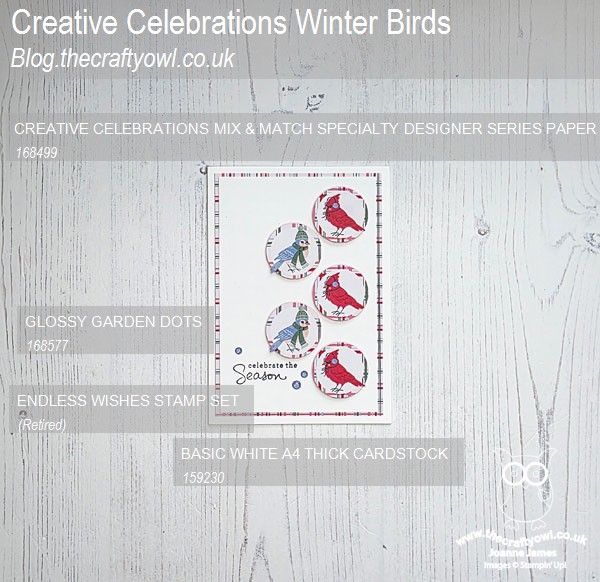
You can see all of my 'How To' summaries on my 'How To - Tips and Techniques' Pinterest board in case you've missed any.
As a reminder, for our colour challenges, you must use all of the stated challenge colours. You may also use neutral colours; however, the challenge colours should be the most noticeable ones featured on your card. We use Stampin' Up! color names for reference, but you are welcome to use any other companies' products as long as you match the challenge colours as closely as possible.
Enjoy your day and I'll be back tomorrow with another project. Until then, happy stampin'!
Stampin' Up! Supplies Used:
d7e3a6fe-09ad-4e18-a4f8-d547db8821a8|0|.0|96d5b379-7e1d-4dac-a6ba-1e50db561b04
Tags: Stampin' Up, Stampin' Up Card, Stampin' Up Card ideas, Stampin' Up Supplies, Shop online, Shop Stampin' Up online, Shop Stampin' Up! Online, CAS Colours and Sketches, Creative Celebrations, circle punch, Endless Wishes
Cards | Shop Online | Shop Stampin' Up! Online | Stamping
by Joanne James26. October 2026 15:00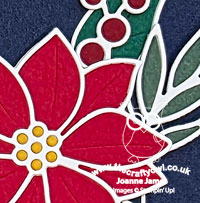
Happy Monday everyone! It's another wet one here in the UK but I have done all of my outside errands for the day so it's time to share today's card using Verena's layout over at Freshly Made Sketches:

This is one of my all-time favourite layouts and it gave me the perfect opportunity to play with some new dies - take a look:
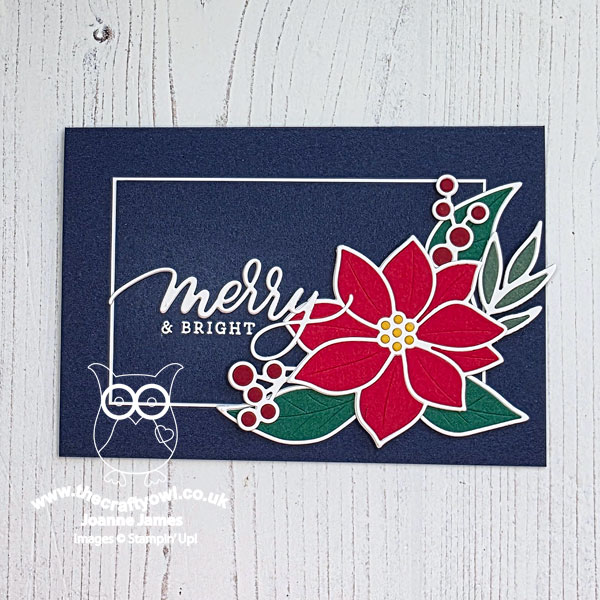
Here's the low-down on today's card:
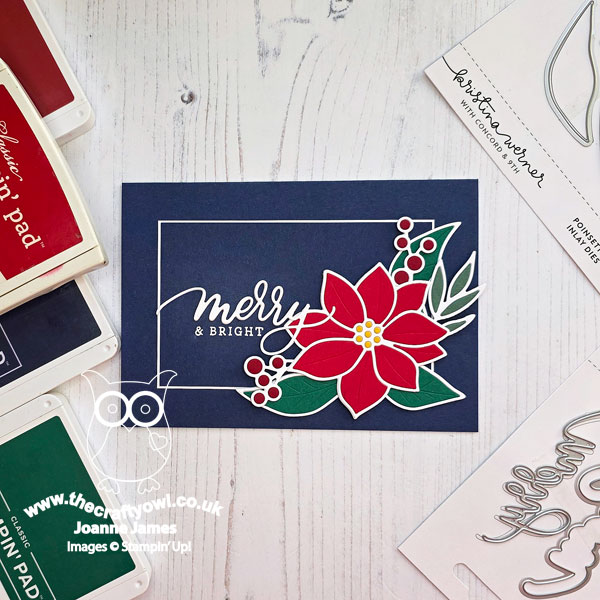
These are the new Poinsettia Inlay Dies from Kristina Werner and Concord & 9th; I love the modern design and the pieces are all large enough that you and piece them together without too much difficulty. I cut the base and outlines in white and infilled with sold colour cardstocks - if you look closely you can see that the petals and leaves have lightly embossed veins too:
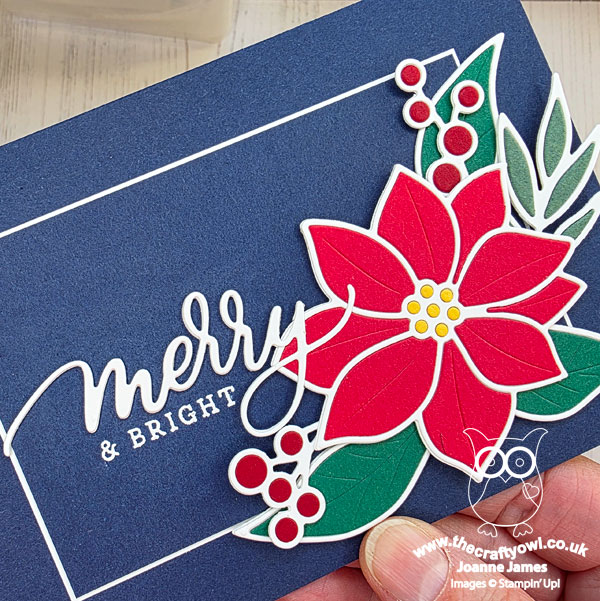
I added my poinsettia and winter foliage to a Night of Navy base, bordering my central panel with a thin edging of white to echo the paper-pieced die cut shapes. A simple festive sentiment using the Merry Script Dies and stamps complete my card.
I really like the simple framed layout and solid colour, which gives the floral quite a clean, modern feel I think. I'm looking forward to using the dies again so stay tuned to see more festive cards featuring them.
Enjoy the rest of your day; I'm heading over to the MFS gallery to link up then my ironing pile is calling! I'll be back tomorrow with another project. Until then, happy stampin'!
067e7863-ecd2-42a4-9991-65a745c4acd6|0|.0|96d5b379-7e1d-4dac-a6ba-1e50db561b04
Tags: Shop Stampin' Up! Online, Stamping Shop Stampin' Up online, Shop online, Stampin' Up, Stampin' Up Card ideas, Stampin' Up Supplies, Stampin' Up Card, Concord & 9th, Kristina Werner, Poinsettia Inlay Dies, Merry Script Dies, Christmas
Cards | Shop Online | Shop Stampin' Up! Online | Stamping
by Joanne James25. October 2026 08:00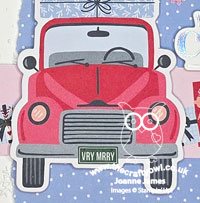
Today it's Sunday and time for this week's new challenge over at The Paper Players! It's the turn of the fabulous Christy to host this week and she has my favourite, a sketch challenge for us to work with:
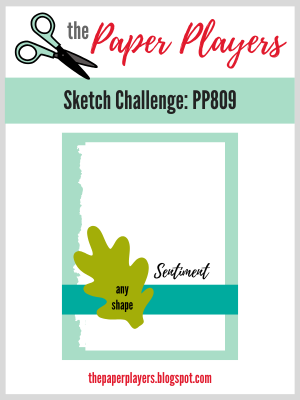
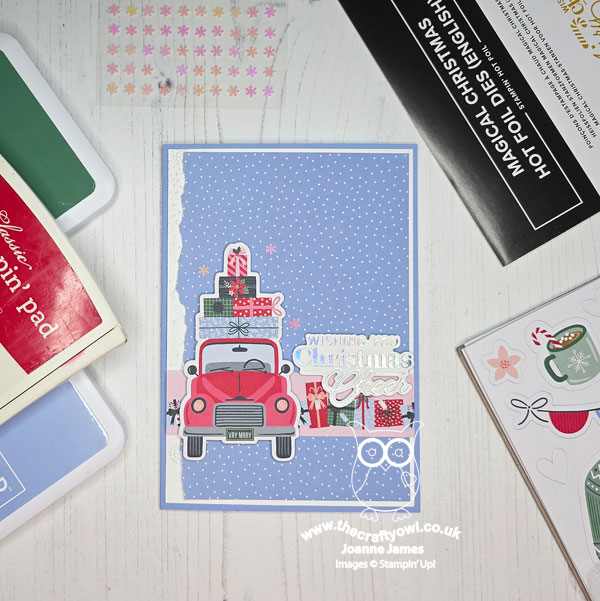
I decided to get out my Creative Celebrations paper and co-ordinating mix & match ephemera packs for today's card as they contain lots of options for that focal point - take a look at which one I chose:
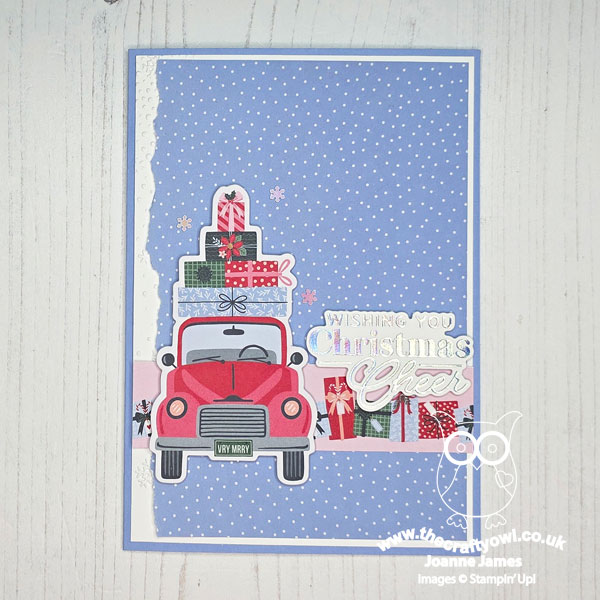
Here's the low-down on today's card:
I used a Hydrangea Hue card base and a co-ordinating DSP that reminds me of a snowy sky, and embossed the edge of the white mat layer with the (retired) Snowflake Sky so that it was visible against the torn edge. I chose a diecut piece of a car stacked with gifts as my focal point. The strip of presents is also from the Creative Celebrations paper pack and was left over from a previous project and was perfect for the horizontal element:
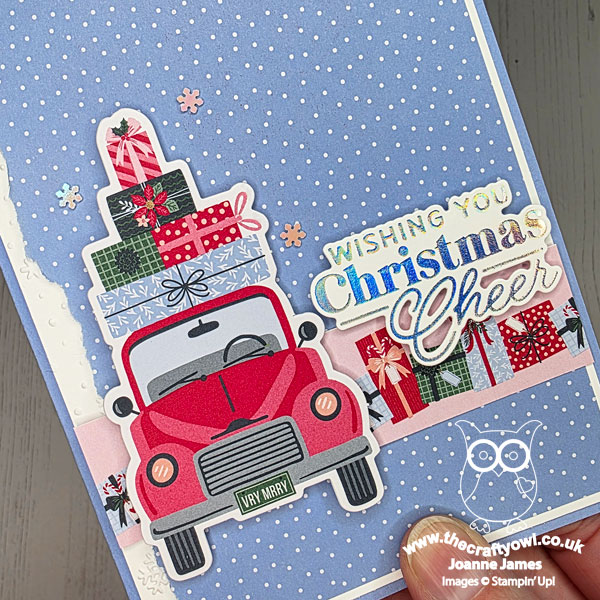
A trio of of sparkly snowflakes and a silver opal foiled sentiment complete my card.
Here is the visual summary of the key products used on today's project for you to pin for easy reference:
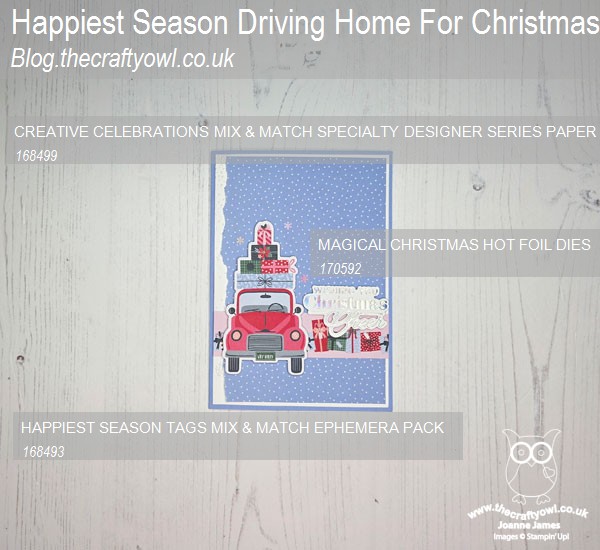
You can see all of my Product and 'How To' summaries on my 'How To - Tips and Techniques' Pinterest board in case you've missed any.
Before you reach for your ink and papers, check out what our amazing team has created to inspire you this week:
The Paper Players Design Team
Here's a quick recap of our challenge rules:
1. Create a new paper project
2. Upload your creation to your blog with a link back to us and provide a direct link to the post featuring your challenge submission.
3. Please link your card to no more than four challenges, TOTAL.
4. Have FUN!
Enjoy your day; I am staying indoors and avoiding the wind and rain that has been battering the UK all weekend. I am cooking pie for dinner and hoping to get more of my cross stitch project completed this afternoon. I'll be back tomorrow with another project. Until then, happy stampin'!
Stampin' Up! Supplies Used:
4e08b453-ed1a-4c87-9b83-3d0b16e25304|0|.0|96d5b379-7e1d-4dac-a6ba-1e50db561b04
Tags: Shop Stampin' Up! Online, Stamping Shop Stampin' Up online, Shop online, Stampin' Up, Stampin' Up Card ideas, Stampin' Up Supplies, Stampin' Up Card, The Paper Players, Christmas, Creative Celebrations, Happiest Season Tags, Snowflake Sky Embossing Folder
Cards | Shop Online | Shop Stampin' Up! Online | Stamping
by Joanne James23. October 2026 19:56
Happy Friday everyone! I had a lunch date cancelled today as my friend was poorly and since it has rained pretty much all day (again!), I retreated to my craft room for a couple of hours this afternoon and made a card inspired by a few challenges:


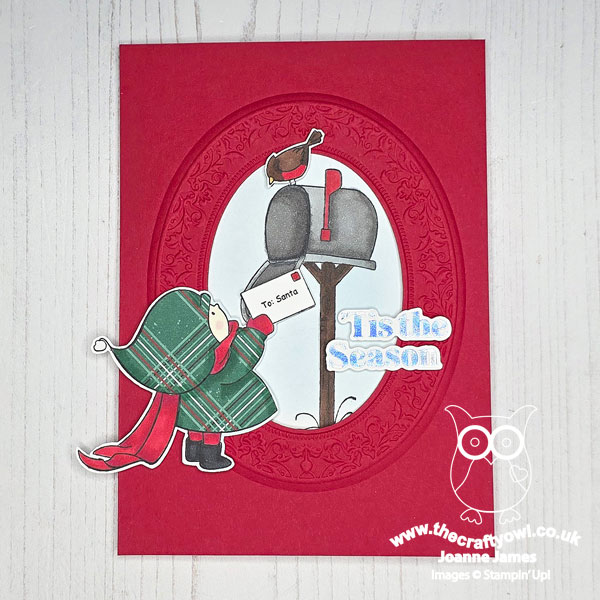
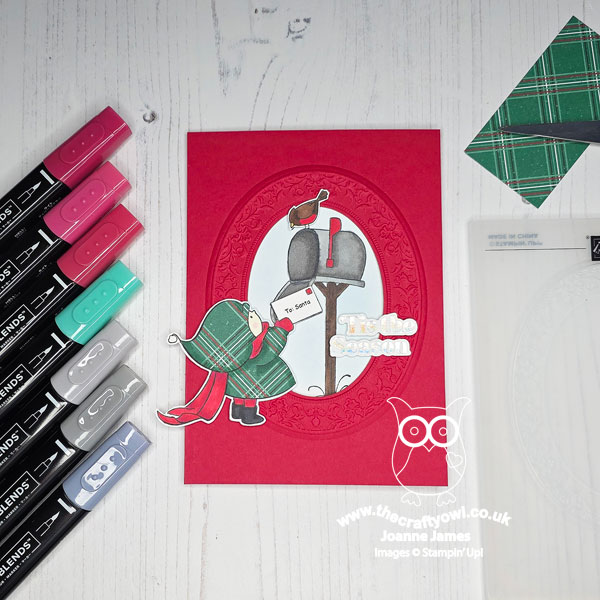
52 Christmas Card Throwdown are looking for cards featuring Christmas mailboxes, so I grabbed the sketch at Sunday Stamps (I mirrored it on the vertical as I needed my sentiment on the other side) and took red, black and paper piecing as my choices from the Festive Friday list and set to work. Take a look at what I came up with:
Here's the low-down on today's card:
I decided to use my Stamping Bella Bundle Girl 'Letter To Santa' stamp for my card, framing the postbox with an embossed frame using the retired oval Heirloom Frames embossing folder and then cutting out the centre of the panel using a retired oval framelit. I stamped the image a second time on white cardstock and coloured and fussy cut both the robin and the little girl, popping them up on dimensionals outside the frame to complete the scene. I stamped the girl a third time onto a scrap of Tis The Season retired plaid DSP and then fussy cut and paper-pieced her coat and hat with it. I finished my card with a silver foiled sentiment from the Magical Christmas Foil Dies (I snipped it in two to fit my card better):
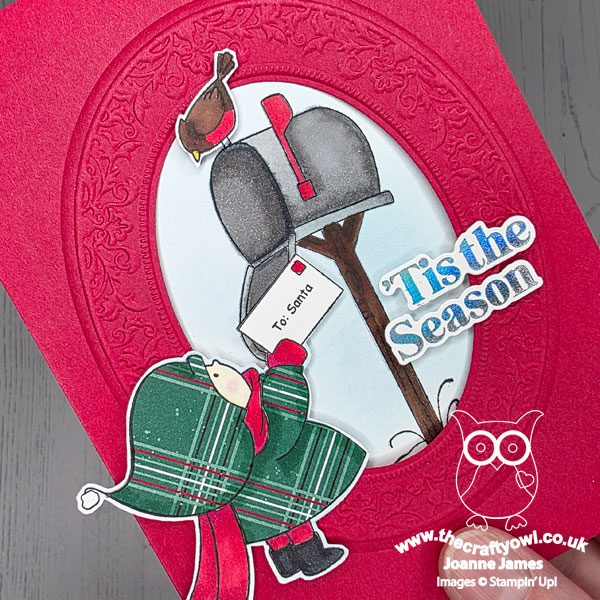
I really love the effect of the embossed frame and it makes for a different way to use this stamp too.
Enjoy your evening - I'm settling in for this week's second instalment of The Traitors! I'll be back tomorrow with another project. Until then, happy stampin'!
Stampin' Up! Supplies Used:

a89a1ab7-76a6-4031-a8b4-4942cd6b6c8c|0|.0|96d5b379-7e1d-4dac-a6ba-1e50db561b04
Tags: Shop Stampin' Up! Online, Stamping Shop Stampin' Up online, Shop online, Stampin' Up, Stampin' Up Card ideas, Stampin' Up Supplies, Stampin' Up Card, Stamping Bella, Bundle Girl, Sending A Letter To Santa, Heirloom Frames, Tis The Season, Christmas
Cards | Shop Online | Shop Stampin' Up! Online | Stamping
by Joanne James23. October 2026 13:00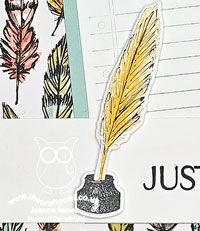
Today I'm sharing my design team card for our new challenge over at As you See It where it's time for a theme challenge chosen by LeAnne:

Feathers! I thought I was going to struggle with this one as I couldn't remember any set I still had with feathers in other than bird sets, but I had a good long trawl through my shelves and managed to find not one but two feathered elements, and not a bird in sight! I grabbed the layout over at Try A Sketch on Tuesday and set to work; take a look at what I came up with:
Here's the low-down on today's card:
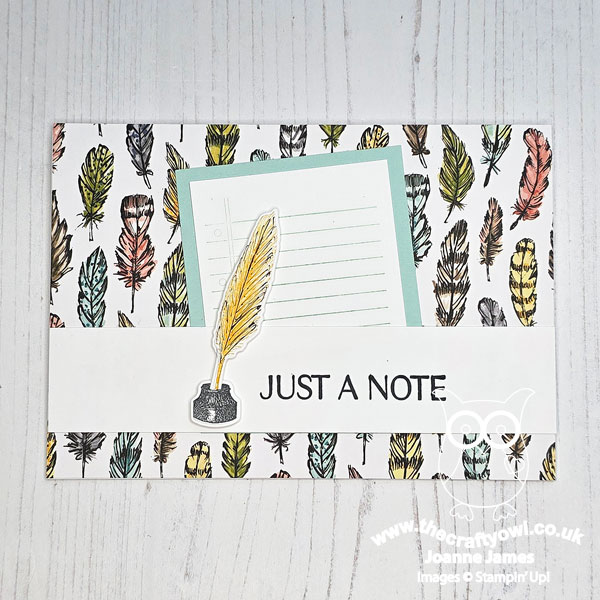
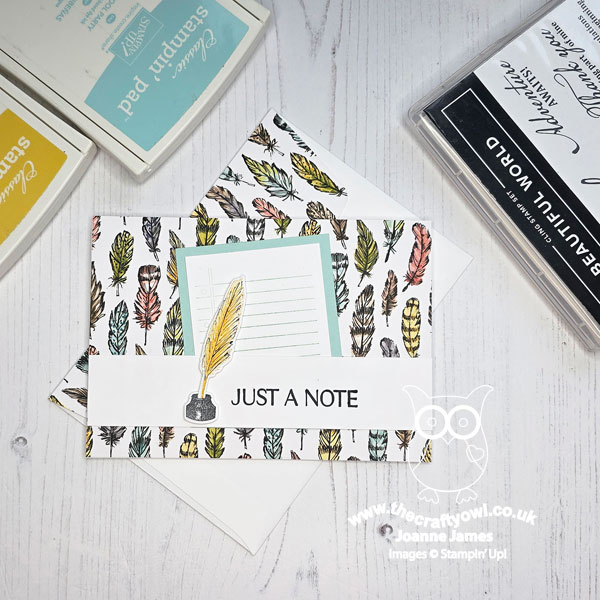
There was a pattern in the retired Bird Ballard designer series paper pack that features feathers and no birds, so I used that for my card base. In addition, the retired stamp set 'Beautiful World', which I actually kept for the globes, contains a feathered quill and inkwell that made the perfect focal accent. I took a slight liberty with the sketch, tilting the central panel as I wanted it to look like notepaper - I stamped it with a lined pattern from the retired 'Tap, Tap, Tap' set to add to the effect:
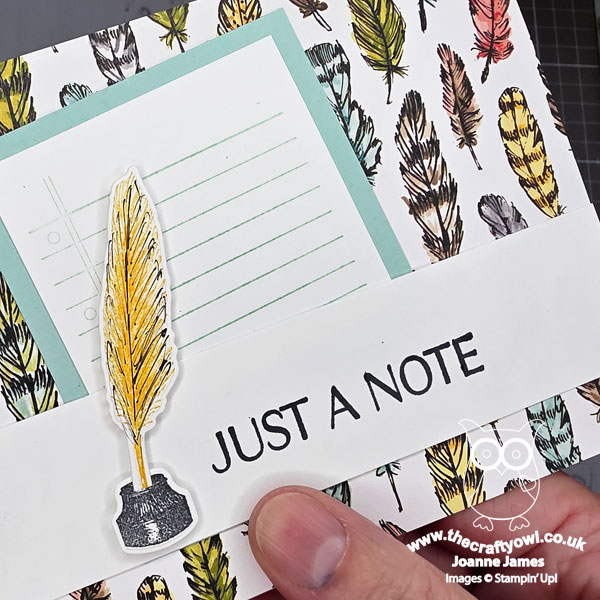
A sentiment from the retired 'Textured Floral' set was all I needed to complete my feathered notecard. I feel like I was quite resourceful this week - it's amazing what you can achieve when you have to really look at your supplies!
Here's a summary of our challenge rules:
- Create any card, scrapbooking page, 3D or packaging project that fits the challenge.
- For a Recipe Challenge use all elements of the recipe - the possibilities within those parameters are endless.
- For a Colour Challenge use all of the given colours and only those colours with these exceptions:
- White and Very Vanilla are free colours.
- In addition, you may use of ONE of these neutrals: Basic Black, Basic Gray, Crumb Cake, Basic Beige.
- For a Speed Stamping Challenge you must tell us the time it took to make your project and it must be finished in under 10 min.
- Please include the challenge graphic and link back to the challenge in your post.
- Make sure you link the specific post and not the whole blog to the Linky. Use AYSI#(insert challenge number) when uploading to a public gallery
- Please turn off word verification so that we can send you lots of feedback.
- You can combine our challenge with up to 3 other compatible challenges.
- We do reserve the right to delete, or not consider for Top Pick and Featured Artist, entries that do not comply with these guidelines.
We look forward to seeing your creations in the AYSI gallery.
Enjoy your day and I'll be back tomorrow with another project. Until then, happy stampin'!
a8455319-1897-446a-9270-fc1405c1eb76|0|.0|96d5b379-7e1d-4dac-a6ba-1e50db561b04
Tags: Stampin' Up, Stampin' Up Card, Stampin' Up Card ideas, Stampin' Up Supplies, Shop online, Shop Stampin' Up online, Shop Stampin' Up! Online, As You See It Challenge, Bird Ballad, Beautiful World, Textured Floral, Tap Tap Tap
Cards | Shop Online | Shop Stampin' Up! Online | Stamping
by Joanne James22. October 2026 10:00
Today I'm sharing a card that was inspired by the navy blue and orange colour combination over at Color Dare:

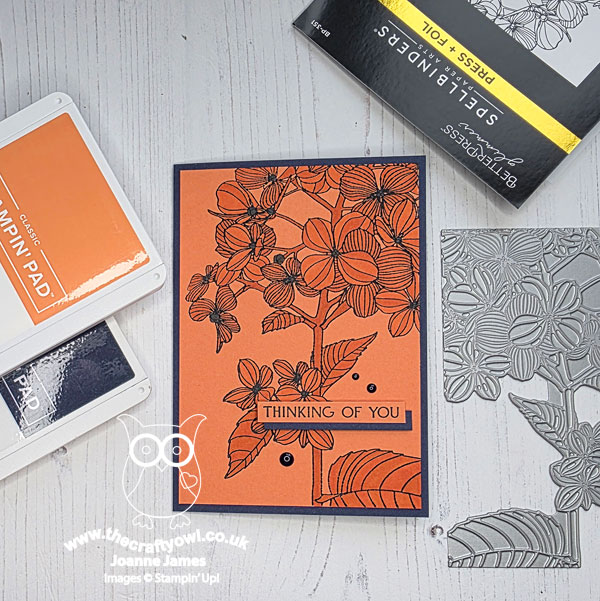
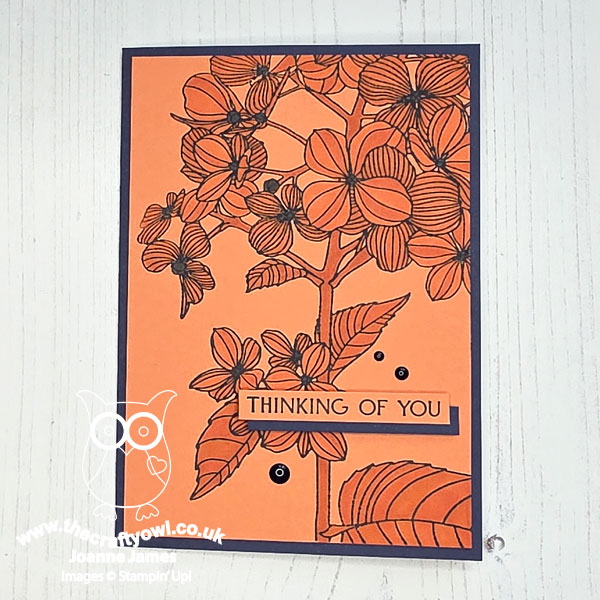
After yesterday's card I decided to see if I could use this colour combo to create something that was not Halloween inspired, so I went with florals and instead had another outing with my Spellbinders Press & Foil 'Thanks In Bloom' Die, this time using as a letterpress die along using ink, rather than foiling. Take a look at my finished card:
Here's the low-down on today's card:
I inked the plate with Night of Navy ink and pressed it directly onto a panel of Timid Tiger cardstock, then used a combination of Stampin' Blends in Timid Tiger and Pumpkin Pie to add a tone-on-tone inked effect to the stamped detail, colouring the flower centres and buds with a Night of Navy Blends marker:
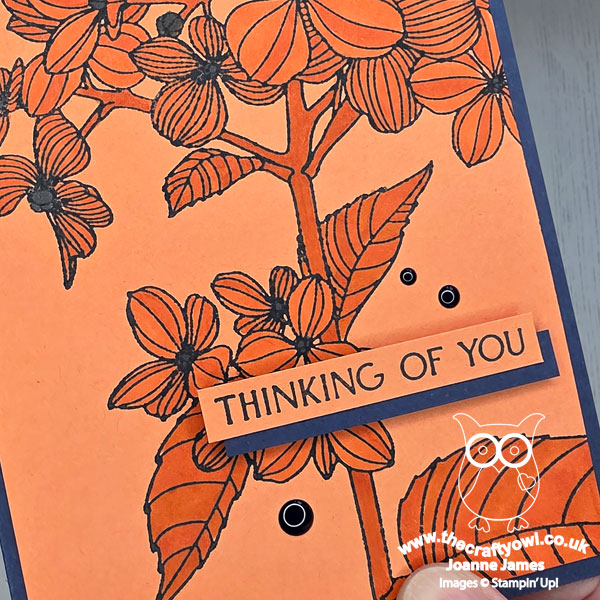
I added a 'thinking of you' sentiment that is also included in the set, with a piece of Navy beneath it to add some added definition and added the whole thing to a navy base. A trio of navy enamel dots complete my card. I considered colouring the leaves and stems in navy for added contrast agsinst the blooms, but decided against it having tried it on a scrap piece; the blue didn't look as sharp given that it was on orange cardstock, as opposed to white. This card does feature a lot of orange, which is not a colour I often feature in anything other than a rainbow or a Halloween card, but with the navy I quite like it!
Enjoy your day and I'll be back tomorrow with another project. Until then, happy stampin'!
Stampin' Up! Supplies Used: