
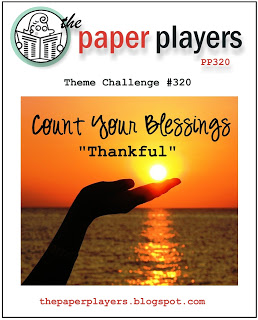
It's Sunday and time for a new challenge over at The Paper Players! It's the turn of the lovely Laurie to host this week and she has a timely theme challenge for you to work with:
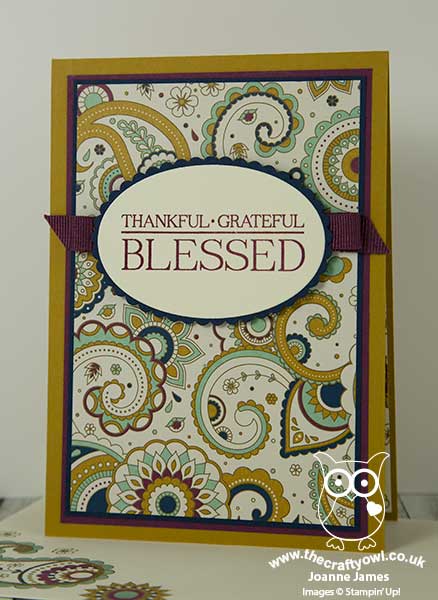
Ultra clean and layered today (no surprise there then!) - I chose to showcase a wonderful sentiment and some fabulous paper on my card today - here it is:
Here's the low-down on today's card:
Petals and Paisleys - I chose to use one of the 'busy' papers from the Petals and Paisleys Specialty Designer Series Paper on my card today - a bold colour scheme with lots going on, so definitely a paper that needs to be allowed to shine on its own.
I Am Blessed - Some lovely paisley stamps in the Paisleys and Posies stamp set, however it also contains great sentiments and this one is perfect to make a statement of thankfulness. I cropped mine with the Layered Ovals Framelits and backed with a scalloped oval, and a simple folded ribbon detail to tie the whole thing together.
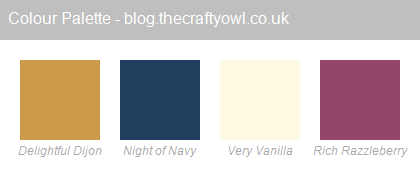
A Rich Autumnal Colour Combination - There are so many wonderful colours in these papers - I focused in on Delightful Dijon, Night of Navy and the addition of Rich Razzleberry to emphasise the rich colours of the season. Feel free to save this combination if it appeals to you too:
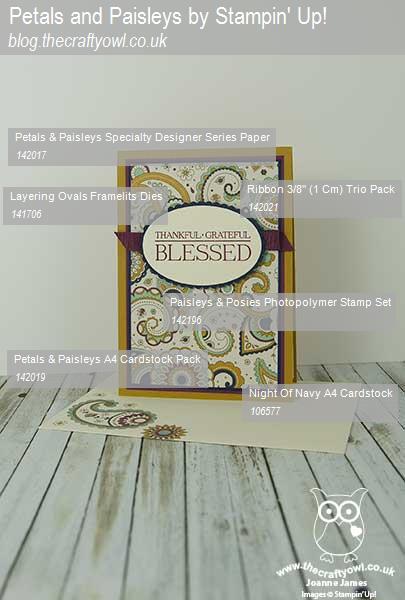
Here is the visual summary of the key products used on today's project for you to pin for easy reference:
You can see all of my 'How To' summaries on my 'How To - Tips and Techniques' Pinterest board in case you've missed any.
Before you reach for your ink and papers, check out what our amazing team has created to inspire you this week:
The Paper Players Design Team
Here's a quick recap of our challenge rules:
1. Create a new paper project
2. Upload your creation to your blog with a link back to us and provide a direct link to the post featuring your challenge submission.
3. Please link your card to no more than four challenges, TOTAL.
4. Have FUN!
I look forward to seeing what you create with this week's theme. As you read this I will be travelling back from a few days away at our regional Stampin' Up! Onstage event in Telford, no doubt bursting with ideas for the Spring and Summer season. Don't worry - I won't be sharing on my blog here for a while, I still have so many Christmas projects to share!
Enjoy the rest of your weekend as it will be over all too quickly; I'll be back tomorrow with another project as my normal blogging schedule will resume; until then, happy stampin'!
Stampin' Up! Supplies Used: