We have just entered the month of October, synonymous with Halloween and the practice of 'trick or treat'. There are no tricks here though, only treats as far as Stampin' Up! us concerned so here is a round-up of everything happening this month.
FREE SHIPPING TODAY ONLY
First up - free shipping on orders over £60 for today only:
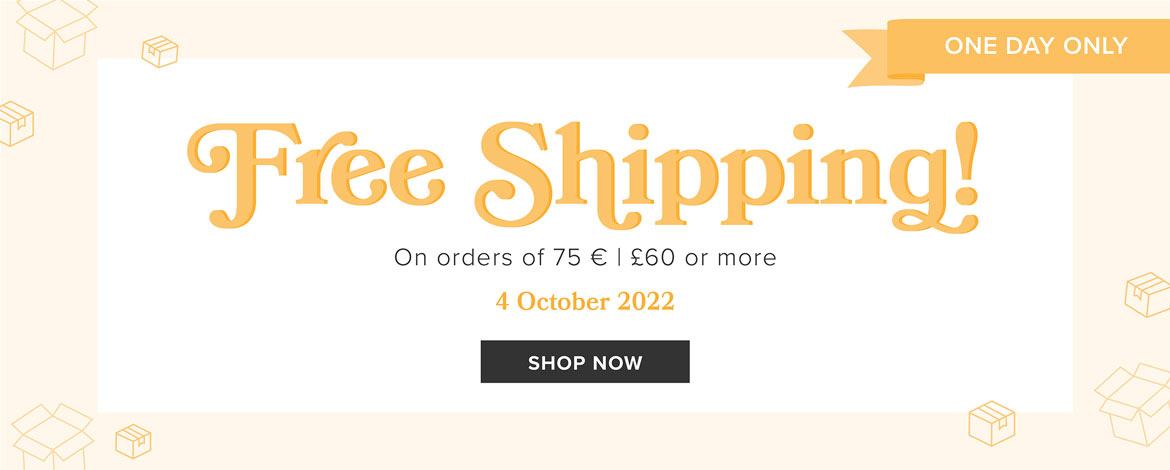
Orders need to be placed before 10.59pm this evening - just click on the image to visit the online store and enjoy the saving. This is a great time to stock up on basics, supplies for Christmas crafting, or a kit or two for Christmas gifting. Remember to add the current hostess code WUN4D92Q for a thank you from me.
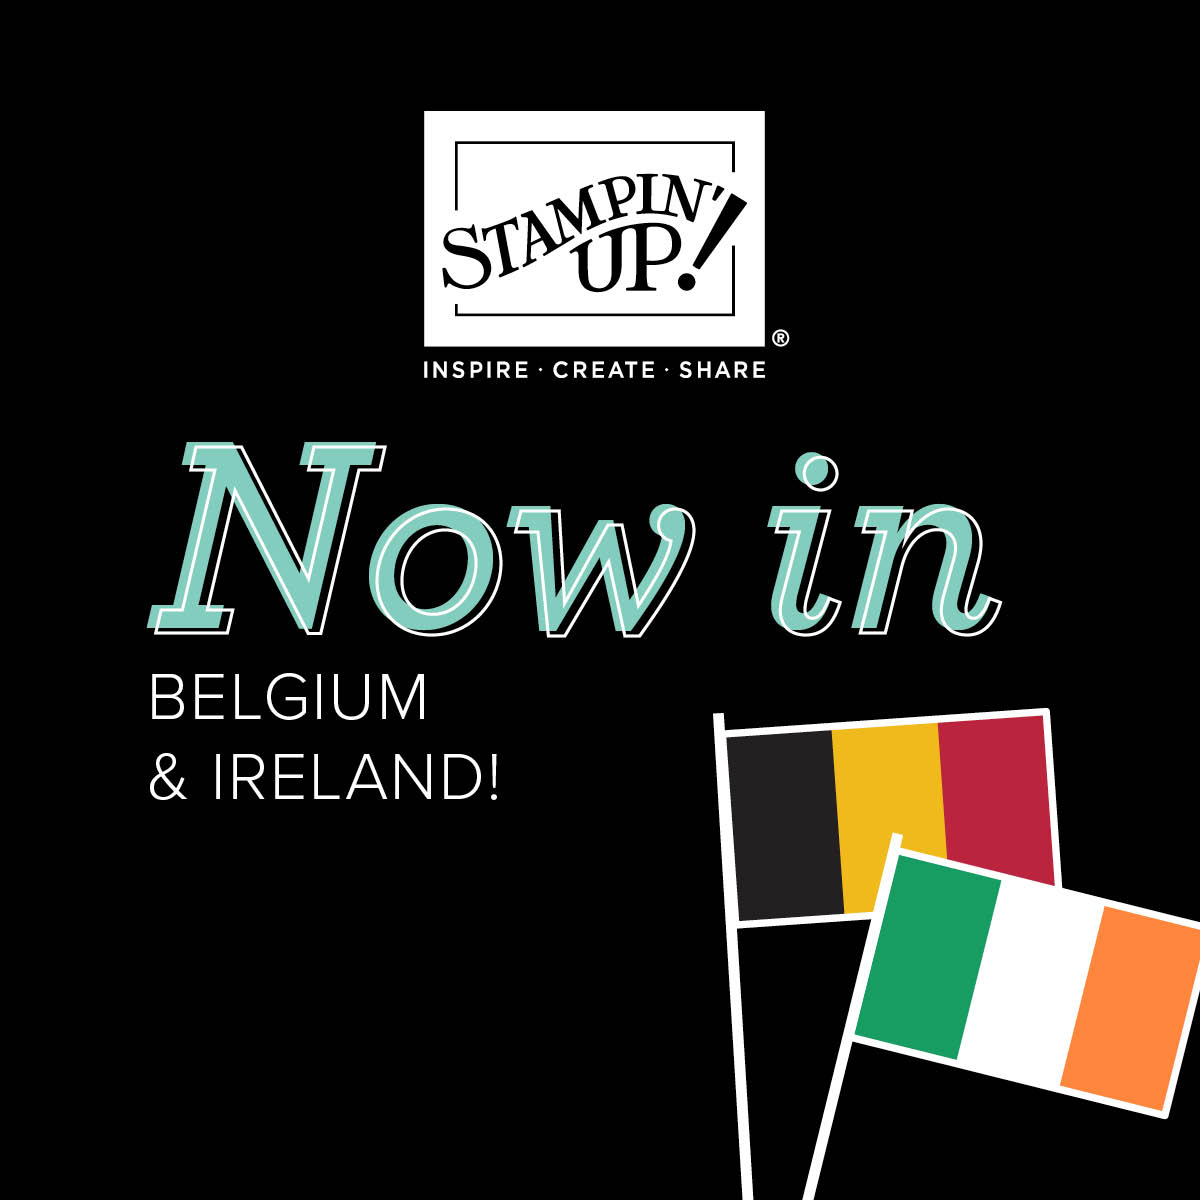
STAMPIN' UP! LAUNCHES IN BELGIUM AND IRELAND TODAY
Secondly, Stampin' Up! Has launched into both Belgium and Ireland today! This means that anyone living in those countries can now both order from my online store and are able to join my team - how exciting! This is a great opportunity for fellow crafters in those countries to discover Stampin' Up! products and if they decide they want to join Stampin' Up!, either as a means to receive a discount on their own purchases or because they would like to embrace a new business opportunity, then there's even more good news:
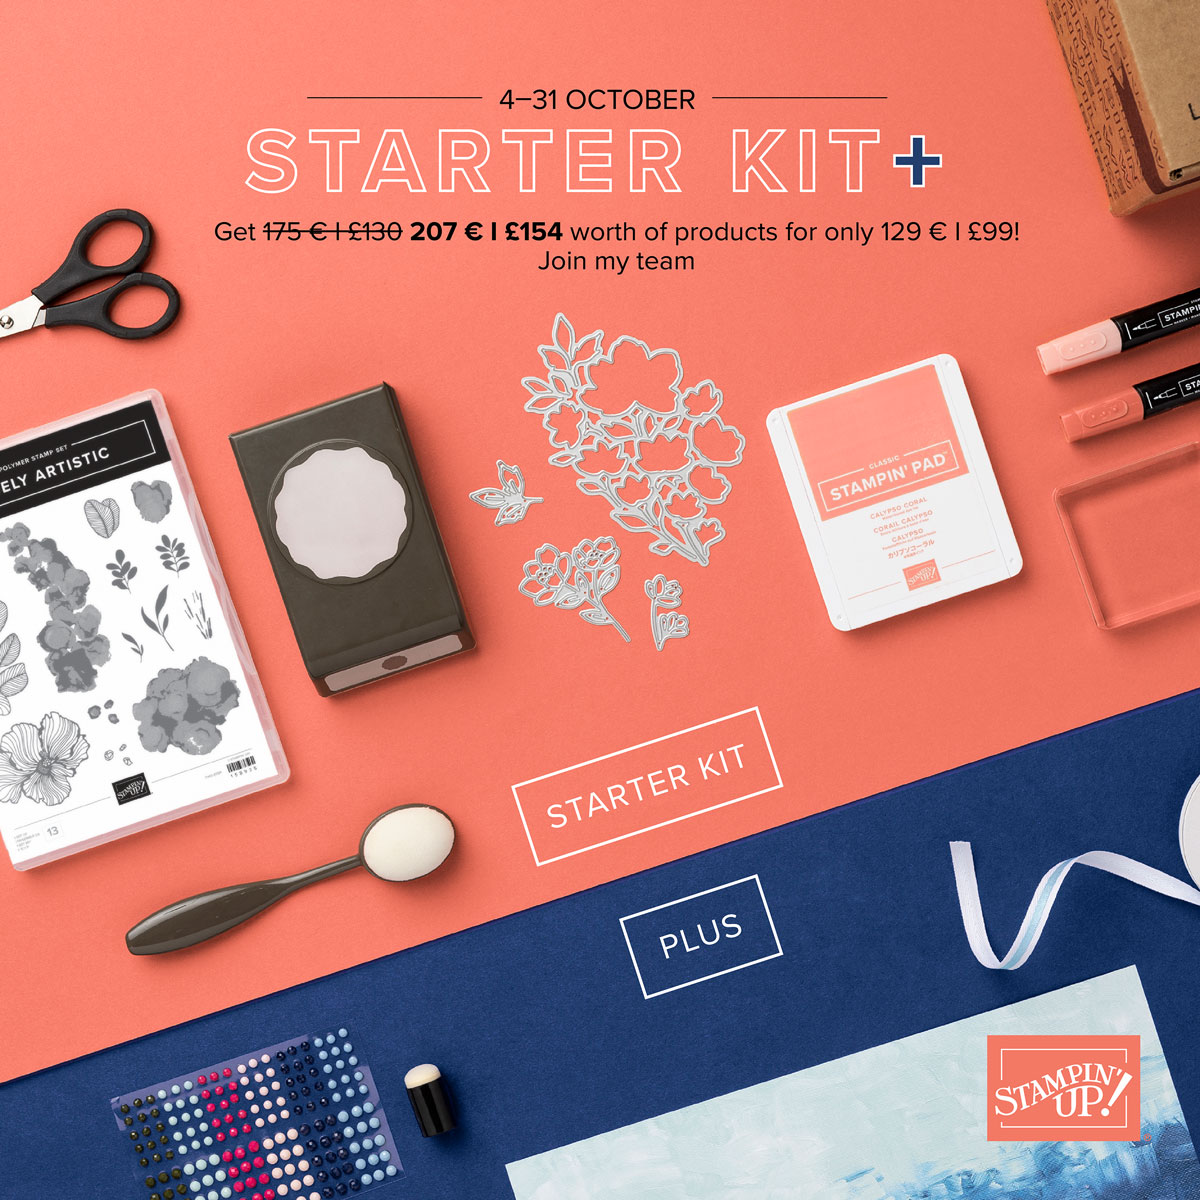
£154 FOR £99 STARTER KIT OCTOBER JOINING OFFER
The Stampin' Up! Starter Kit is on offer this month in all markets: between 4-31 October, the starter kit has an enhanced value of £154! For just £99, you can choose £154 of products from the annual or mini catalogue, the clearance rack, our kits collection or items that are currently available on pre-order too. The starter kit also comes with free postage (and not just today!) and includes free catalogues and other useful business supplies too. There are so many benefits to joining Stampin' Up! right now:
- An ongoing 20% discount on all product purchases, for at least the next 6 months
- See and pre-order new products before they are released to the general market
- An invitation to Stampin' Up!'s exclusive Demonstrator Facebook Group
- An invitation to my Team Facebook Group
- Invitations to exclusive Stampin' Up! events
- The opportunity to build a business that could generate you an income if you wish
Or you could simply enjoy the great offer that is the starter kit itself this month - it's entirely up to you. If you'd like to join my team, then just click here and it will take you to the right place; there is always a 'join me' link in the right-hand column of my blog and if you have any questions or would like to chat through any of the details, just give me a call.
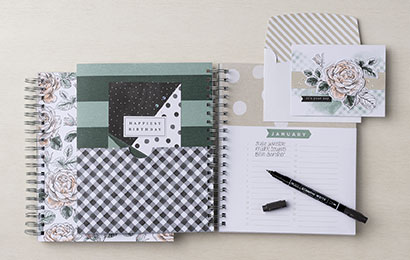
Finally, there are new kits being added to our kit collection today, including a gorgeous Birthday Card Organiser Kit that would make a great gift for yourself or a loved one. I've included a picture above but check out today's other post for more details where I will give a roundup of a few of the newest kits in the collection.
That's all for now - you can see today's creative post here in case you missed it!