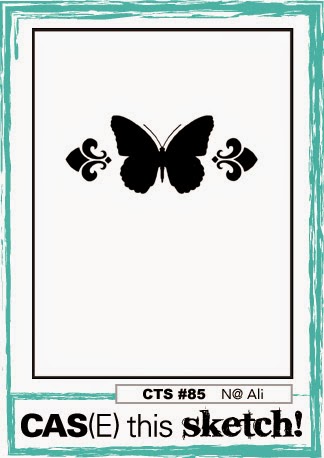
by Joanne James24. July 2014 08:00Today I'm sharing a card I made for this week's challenge over at CAS(E) This Sketch:

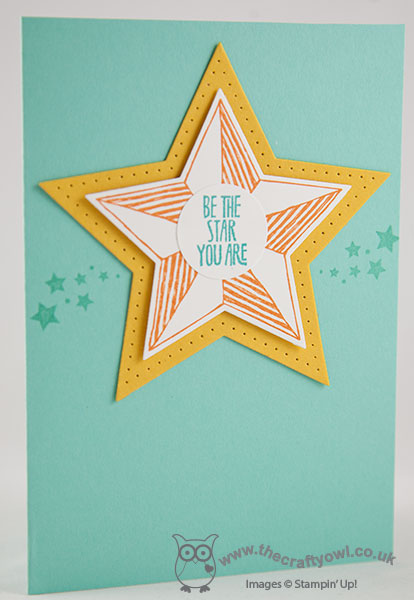
The minute I saw this sketch, I knew exactly what I wanted to do with it - I love it when that happens! I definitely had stars in my eyes with this one - have a look at my card and you'll see what I mean:

I decided to use one of my favourite products from the new annual catalogue, the star framelits, along with some of the images from the co-ordinating 'Be The Star' stamp set for this card. I simply stamped one of the stars in Pumpkin Pie onto Whisper White, then cut it out with the framelit of the same size. Using the framelit the next size up, I cut out another star from Crushed Curry cardstock and paper pierced this around the edge using my Eclectic piercing template. I finished the star with the 'be the star you are' sentiment stamped in Bermuda Bay and punched out with a 1" circle punch. Lastly, I used the small bundle of stars stamp in Coastal Cabana directly onto the base layer of cardstock.
All being well I'll be spending a family day at the beach today - buckets and spades at the ready! Hope you have a fun day however you choose to spend it.
Back tomorrow with another project; until then, happy stampin'!
Stampin' Up! Supplies Used:
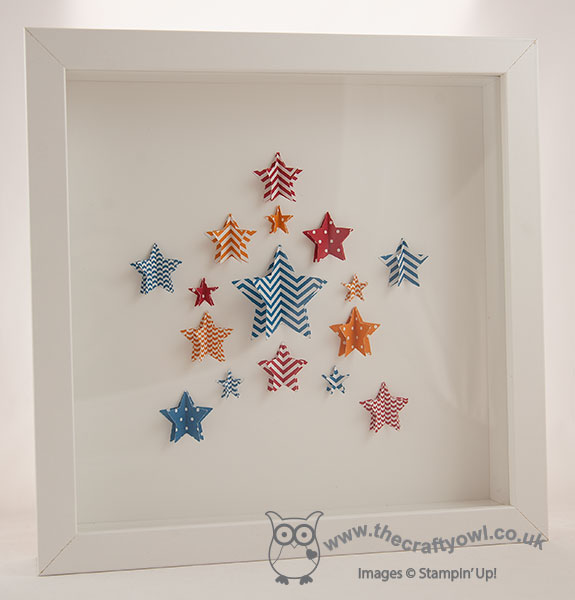
by Joanne James10. July 2014 22:01Another busy day for me today - for those who follow me on Facebook, you will have seen photographs of a class I ran a few weeks ago with a super bunch of ladies making 3D wall art using folded hearts so that they would each have a unique gift for their little girls. Well it just so happens that the same group of ladies also each have one or more sons, so in order that they wouldn't feel left out they wanted to make a similar project with boys in mind. Never one to resist a challenge, I already had an idea in mind using the new Stars Framelits - here it is:

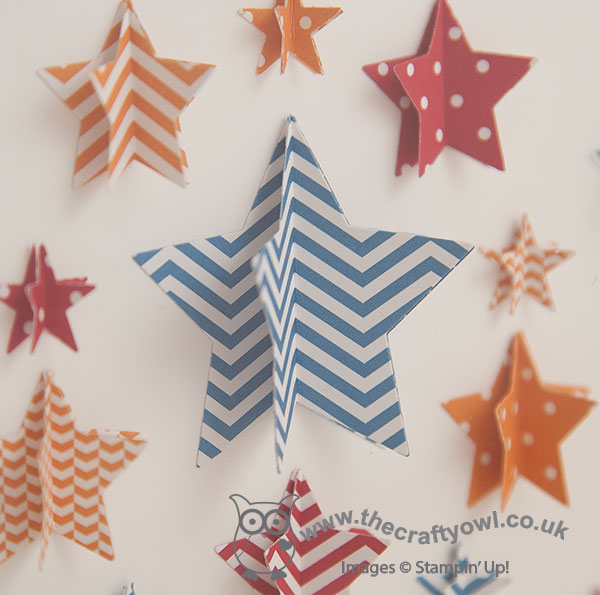
Using a combination of the two smallest star framelits and the mini star punch from the new Itty Bitty punches pack, I cut lots of stars and then having scored them down the middle, adhered them to each other on one half in groups of three and arranged them in a star shape. This close-up shot gives a better explanation of this:

I used a combination of Pacific Point, Pumpkin Pie and Real Red patterned papers from the Brights Designer Paper Stack for my wall art as these colours will look great in Ben's Lego-inspired bedroom, however the ladies in my class used different colour combinations and even created some stunning monochrome designs. The dimensional stars really make this wall art stand out, especially in bold, bright colours. The wall art made in the class will be on my Facebook page in the morning if you would like to pop over and take a look, when I will also be updating the product links for today's post. If you live local to me in Northampton or the surrounding area and you would like to attend a class to make one of these lovely frames, then do get in touch.
This really is a quick post from me as I have a few more jobs to do before I turn in for the night, having been running a class today, sorting my school and after-school club runs and then a pleasant (if brief!) couple of hours with some of my lovely team this evening for one of our regular catch up sessions.
Back tomorrow with another project; until then, happy stampin'!
Stampin' Up Supplies Used: