It's Sunday and time for this week's new challenge over at The Paper Players! My dear friend Claire is the hostess this week and she has a fun and timely theme for us to work with:
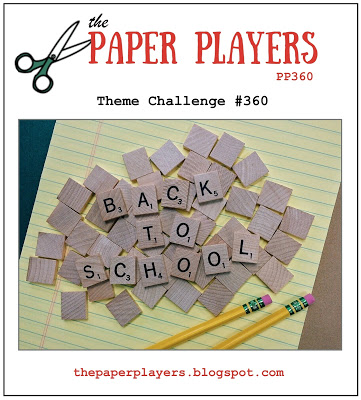
I know some of my readers in other countries have already seen a return to school, but for us this week Wednesday is the day, so this week's challenge is a timely one. Is it me or do all Mums especially get just a little excited at the prospect of the start of a new academic year and a return to school after the long summer break? Don't get me wrong, I love having my two Juniors at home and am thankful for the break from the sometimes relentless activities that comprise the school routine, however all good things must come to an end and so it is that we are getting ready to begin a new school year, with the excitement, opportunities and challenges that this will undoubtedly bring.
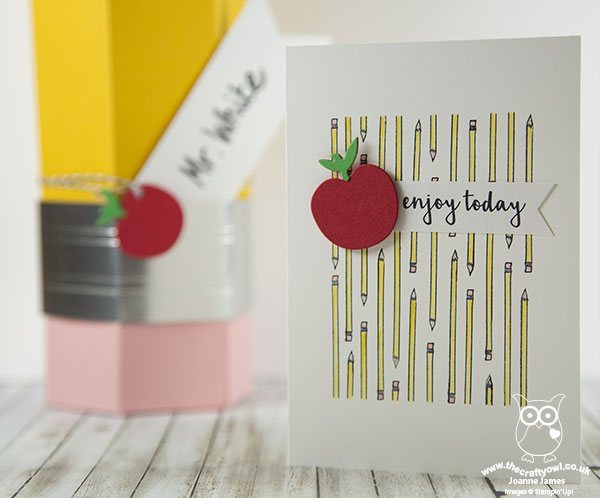
I've double projects for you today as I needed some gift packaging for a teacher gift this week, so took the opportunity to create a fun gift box and co-ordinating card - take a look:
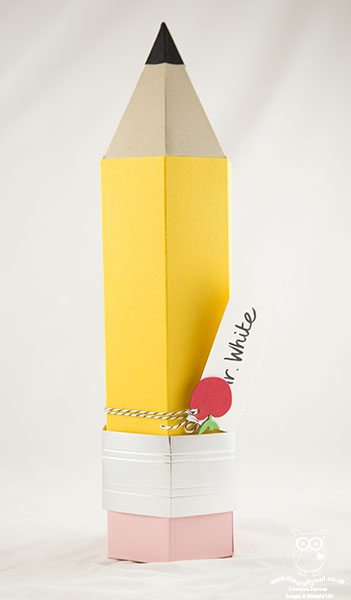
The gift box is rather large (approx. 18 inches long) so was something of a challenge to photograph but hopefully the detail below will enable you to see how I made it. Here's the low-down on today's projects:
A Window Turned Pencil Box - Having made an elongated box with my Window Box previously with the ladies in one of my technique classes earlier this year, I knew that I could use the same idea to create my pencil-shaped box. I cut one piece of the window box without cutting straight through and elongated this for the length of my sheet of A4 Crushed Curry cardstock. I then cut another piece that was the same length and the width of three sides, for the opposite 3 sides of my pencil, but without a bottom/lid. Instead I used some Maths to create a template for my pencil point in Crumb Cake, and adhered this inside the end of the tube to create my pencil point:
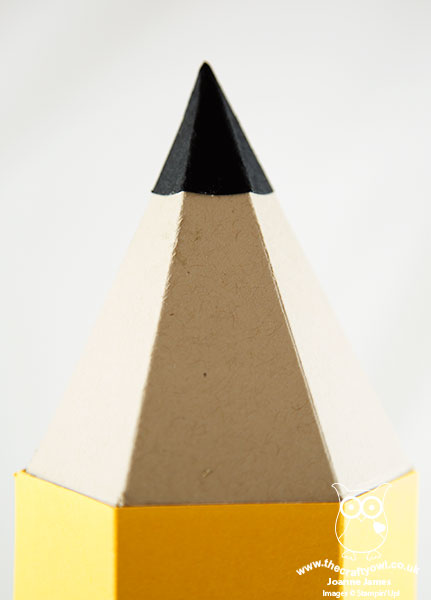
Here's a shot showing you how the main body of the pencil box opens to accommodate the main gift:
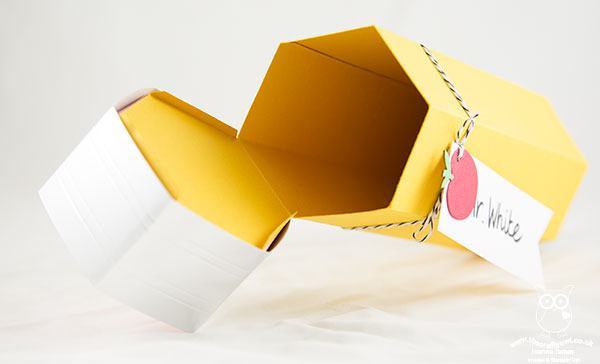
In addition to the main box, I also made a complete box using my Window Box Thinlits in Blushing Bride for my eraser and adhered this to the top of my pencil, which also opens separately - just big enough to add a little treat or two inside to accompany my main gift:
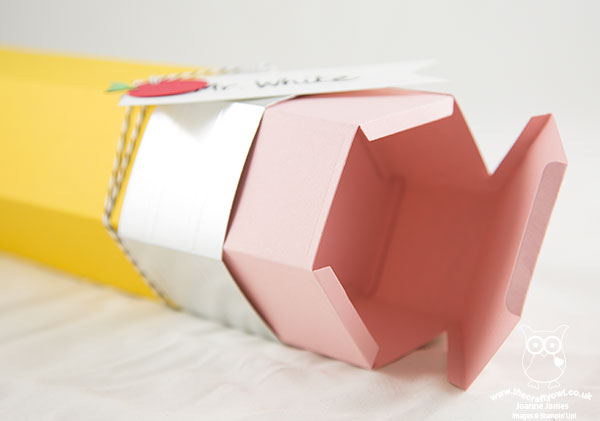
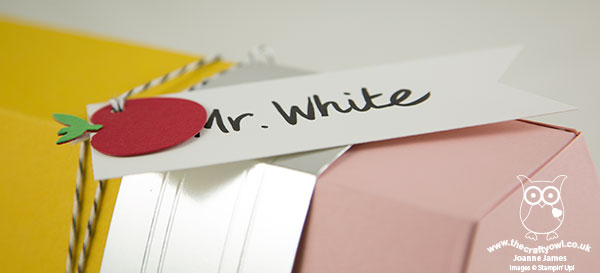
Finally I added a sleeve created from silver foil, to hold the pencil box closed securely - it just slides off to create access to the main box. A banner tag decorated with an apple - every teacher project has to have one, right? - finished my box.
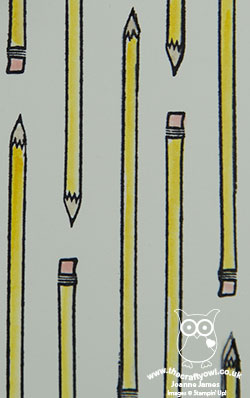
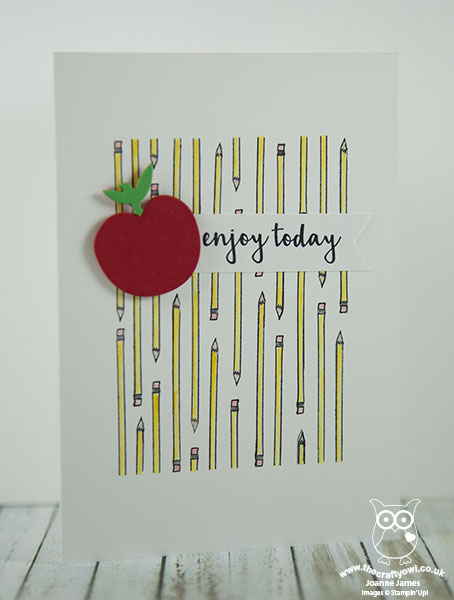
Pieces And Patterns For A Co-ordinating Card - I wanted a card to co-ordinate with my gift box, so decided to replicate the pencil design on a simple card using the pencil stamp from the Pieces and Patterns set. I masked a square and created my own repeating pattern - thank heavens for a stamp-a-ma-jig! - and then added a banner sentiment from the same set, again anchored with an apple (made using an old die I have in my stash):
Back To School Colours - My back-to-school pencil and apple colours fit perfectly with the colour palette and photo inspiration over at The Color Throwdown this week (I hope I'll be allowed my pink eraser and a few neutrals (the pencil really wouldn't be complete without it). I'm also linking my card up with the challenge over at Addicted to CAS where the code word is 'apples' and both of my projects fit the bill over at Paper Craft Crew where they have extended their 'back to school' challenge for another week:


Here is the visual summary of the key products used on today's project for you to pin for easy reference:
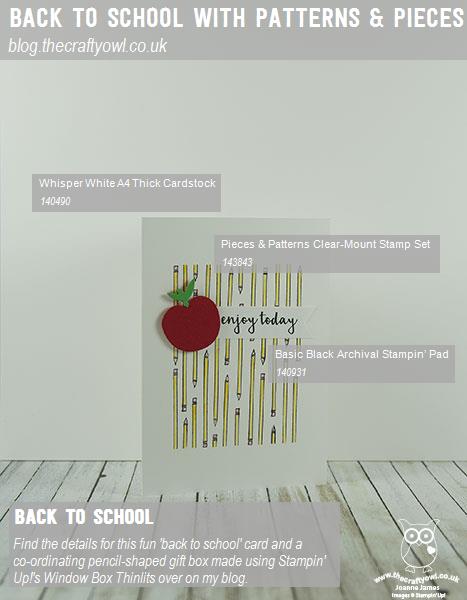
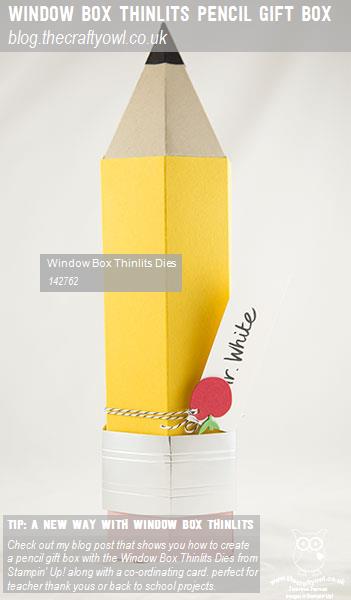
You can see all of my Product and 'How To' summaries on my 'How To - Tips and Techniques' Pinterest board in case you've missed any.
Before you reach for your ink and papers, check out what our amazing team has created to inspire you this week:
The Paper Players Design Team
Here's a quick recap of our challenge rules:
1. Create a new paper project
2. Upload your creation to your blog with a link back to us and provide a direct link to the post featuring your challenge submission.
3. Please link your card to no more than four challenges, TOTAL.
4. Have FUN!
I look forward to seeing what you create with this week's theme. Enjoy the rest of your weekend as it will be over all too quickly; I'll be back tomorrow with another project; until then, happy stampin'!
Stampin' Up! Supplies Used: