It's Thursday and time for a new challenge over at TicTacToe! It's the turn of Team X to host this week and the lovely Felicita is our featured designer this week. This is the fun board that we are playing along with:
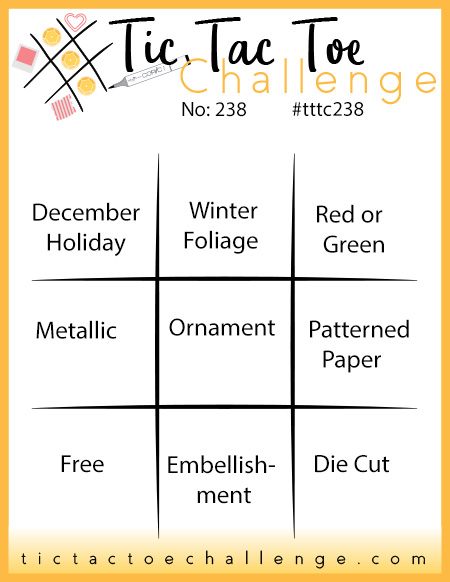


I went down the right-hand column with red or green (I used both), patterned paper and diecut, and paired it with the fabulously festive colours over at Colour Inkspiration and made a card that is perfect for the 'add glitter' challenge over at Inkspirational - there's definitely plenty of that! I'm definitely in full-on Christmas mode still, so couldn't resist another Christmas card - or two! - take a look:
Here's the low-down on today's card:
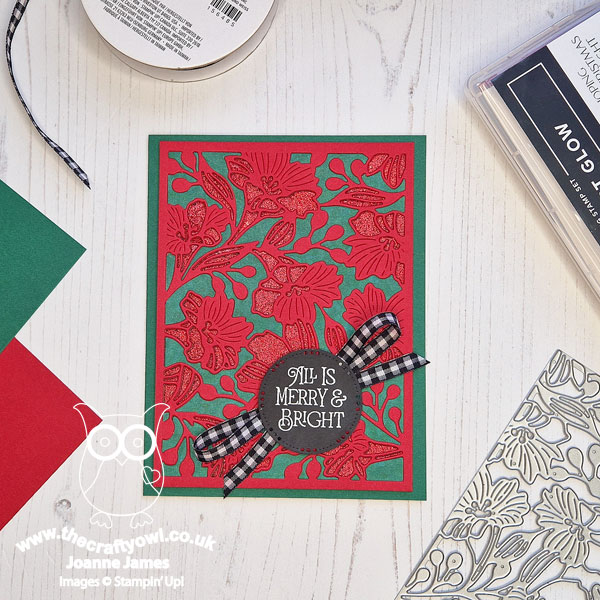
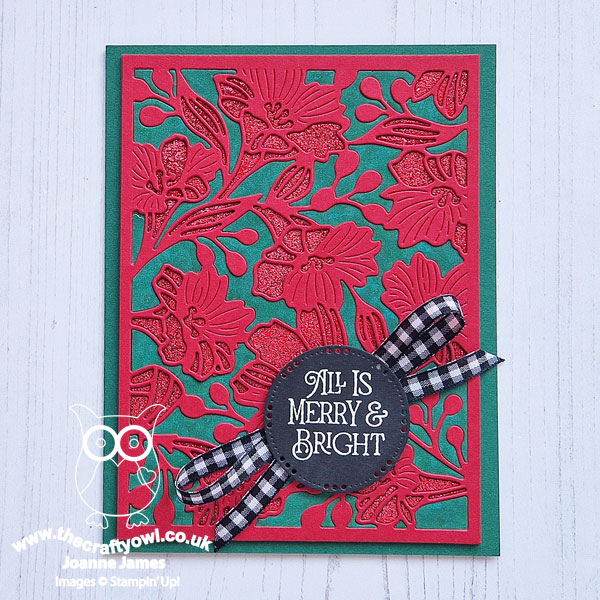
Gorgeous Garden - I decided to use a die that you possibly don't immediately consider as a Christmas one. The Gorgeous Garden Dies feature both a leaf coverplate and a floral coverplate die. The floral die reminds me of amarylllis flowers, that are often associated with the festive season, so I decided to create a card using red and green as my chosen colours to add to the Christmassy feel.
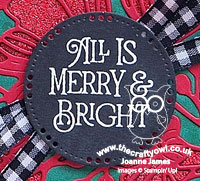
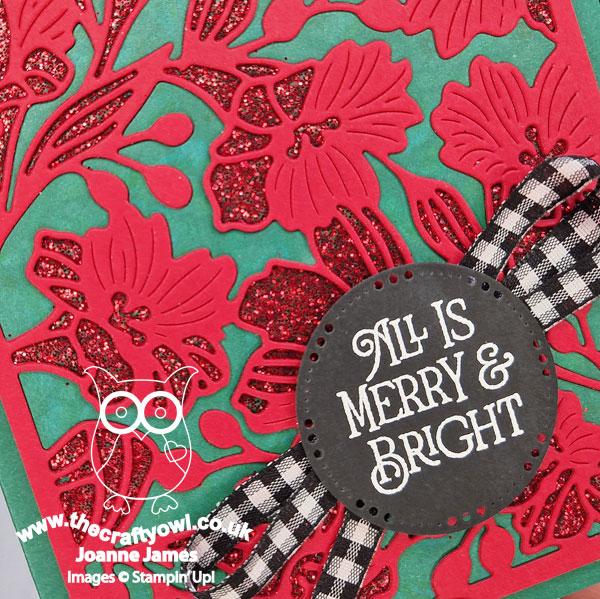
All That Glitters - Whilst my card looks quite simple and straightforward, it actually showcases a neat technique. I covered a two-ply cardstock panel with an adhesive sheet, then placed the die on top and ran it through my diecutting machine so that the adhesive sheet was cut but the cardstock based remained intact. I then firstly removed the backing paper from the green sections, and having diecut another floral plate out of the mottled Shaded Spruce pattern in the Joy of Christmas designer series paper set, added the negative space green diecut pieces to the adhesive background. The pattern is subtle, but it adds just a little more interest than a plain green. Next, I removed the backing paper from the negative space of the flowers themselves, then sprinkled this with some Real Red glittered embossing powder that I found in my drawer. I heated it to set the powder, then finally removed the main piece of backing paper and add a double-layered diecut coverplate in Real Red. I just love the finished effect - check out the sparkle on the close up below:
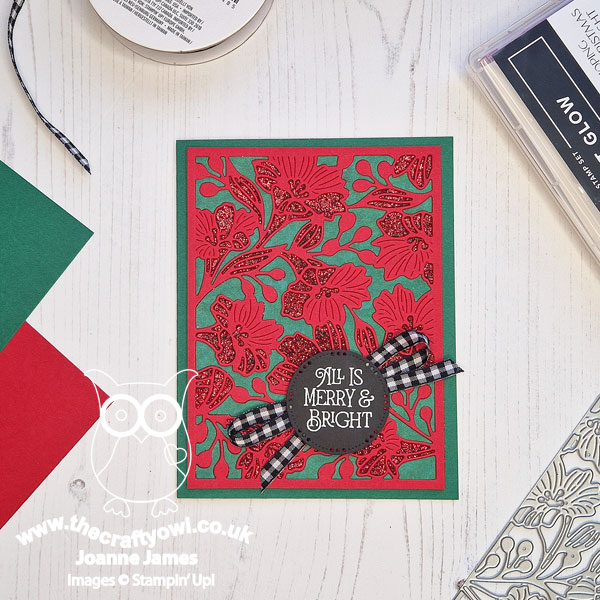
I also made a second version of this card, this time using pure fine red glitter. This wasn't Stampin' Up! branded glitter, so the colour is slightly deeper. I gives a slightly more textured finish - just as effective though:
The glitter just needs to be pressed firmly against the adhesive paper; any stray excess can be removed with the sticky end of your Take Your Pick tool. I know glitter is ecologically out-of-fashion right now (although there are eco-friendly versions available), but if you have old tubs of fine glitter hanging around like I do, this is a fun way to use it up. Here's another photo of both cards together so that you can see the subtle difference between the two:
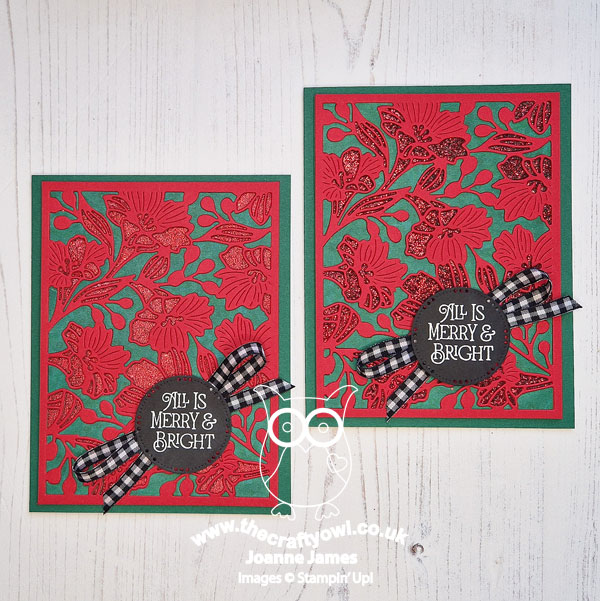
Which one do you prefer? Do leave me a comment below - I'd love to hear your thoughts.
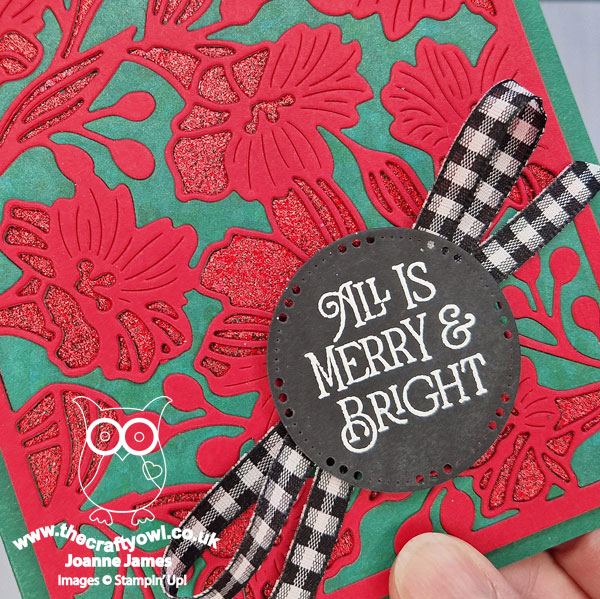
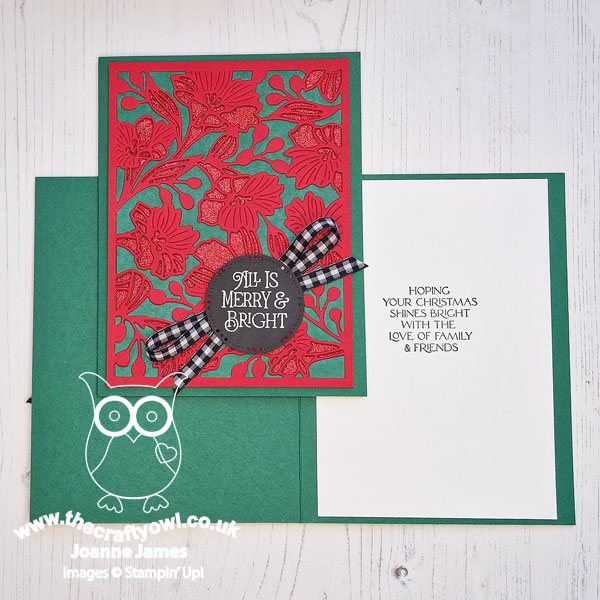
Brightest Glow - Finally, the sentiment on the front of my card is from the oh-so-useful festive sentiment set in the annual catalogue called 'Brightest Glow', heat-embossed in white on Basic Black for a little more emphasis against that red and green background and added some black and white gingham ribbon too. I added another sentiment from the same set to the inside of my card:
So what do you think? I absolutely love these Gorgeous Garden Dies - I think they are one of the unsung heroes of the annual catalogue, since they are standalone dies. You will definitely be seeing more of them in the weeks and months to come - watch this space!
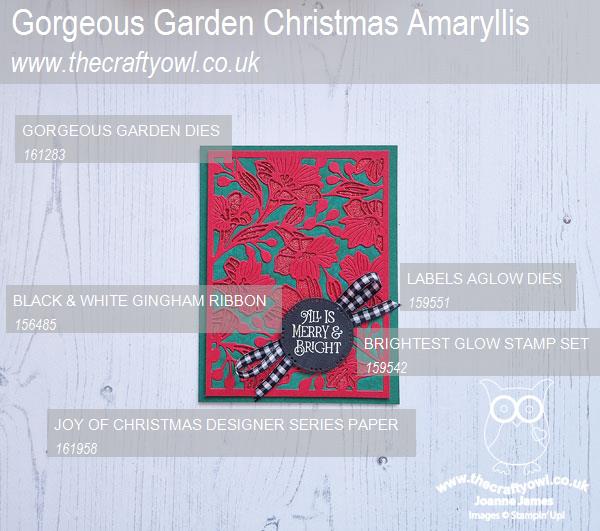
Here is the visual summary of the key products used on today's project for you to pin for easy reference:
You can see all of my Product and 'How To' summaries on my 'How To - Tips and Techniques' Pinterest board in case you've missed any.
One last thing to mention: this will be my last challenge with the TicTacToe Challenge team. I have absolutely loved being a part of this team and will miss Felicita and everyone very much; moving into 2024 I will be reducing my design commitments to allow me to focus on other opportunities. A tictactoe board offers so many creative possibilities - how does this week's board inspire you? Why not have a go? We would love to see you in the gallery and who knows - you might be selected for Designer's Choice and be eligible to be a guest designer on a future challenge.
Enjoy your day; I'll be back tomorrow with another project. Until then, happy stampin'!
Stampin' Up! Supplies Used: