by Joanne James6. April 2015 10:29Happy Monday everyone! I am here nice and prompt today to share a card that I made using the same sketch as yesterday from the Deconstructed Sketch for my old friends over at Colour Me...! as I haven't played along with those lovely ladies in ages:
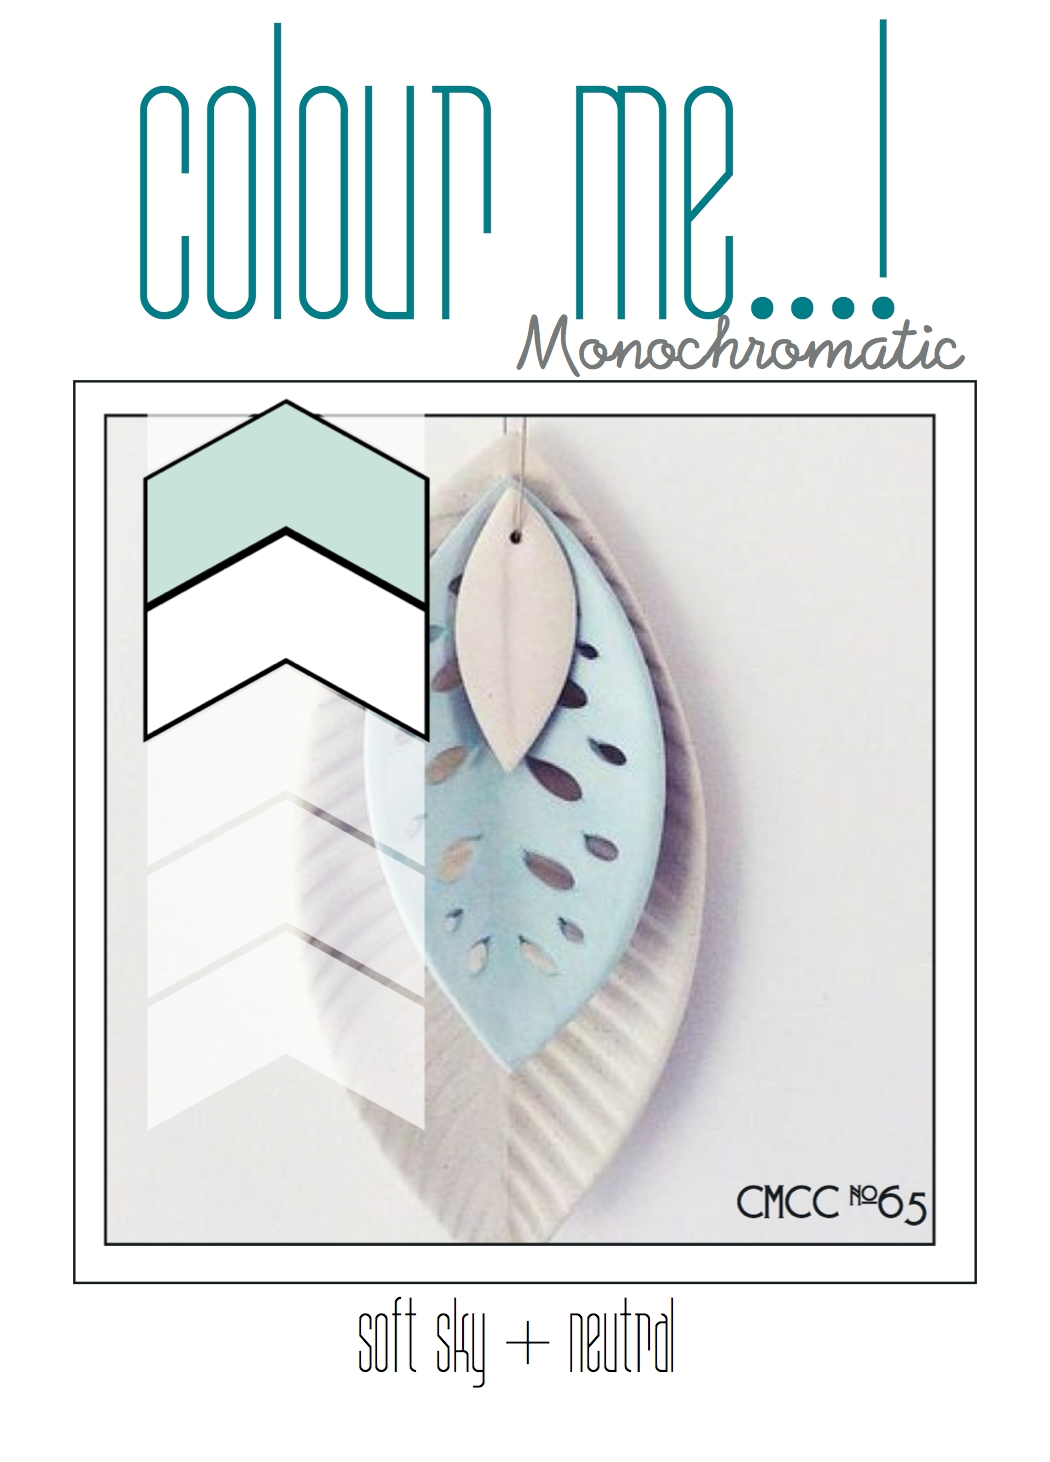
Sandy's card this week is so gorgeous it prompted me to get in the monochromatic groove. Here is my card using this week's colours:
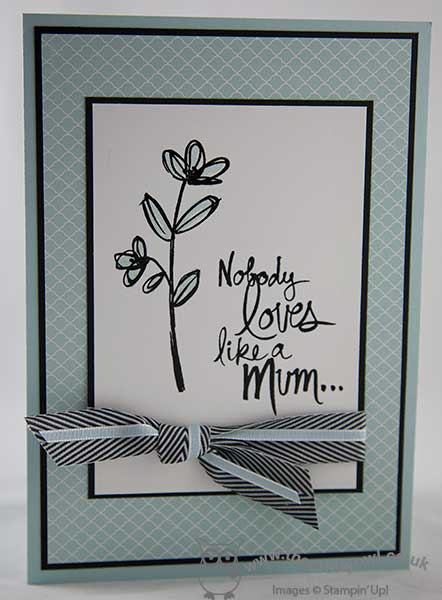
I made a slightly larger card than usual (A5 finished size) as I wanted to have plenty of space on my central panel. I used Soft Sky for my base and a piece of Soft Sky DSP from the Subtles paper stack for my patterned mat, along with some black mats to frame everything, then having stamped the base floral image in Soft Sky, I then stamped the top layer image and the sentiment in Versamark and heat embossed them with black embossing powder, which give a lovely sheen and glossy texture. I finished with a simple knotted bow using some black chevron ribbon overlaid with Soft Sky taffeta ribbon for a little touch of luxury. I decorated the inside of the card with the remaining half of the sentiment and some flowers (apologies - no photo!). I adore this stamp set - I love those two step stamping flowers, so easy to achieve with photopolymer, and the sentiment is just so heartfelt for a card to a mother - for Mother's Day, a birthday or 'just because'.
That's me done for today - I have some jobs to do and lunch to prepare before a pleasant bike ride to look forward to this afternoon, if the day turns out to be as nice as it looks right now. Back tomorrow with another project; until then, happy stampin'!
Stampin' Up! Supplies Used:
by Joanne James5. April 2015 18:00A quick extra post today to share my last Easter card with you - you can see my earlier post for The Paper Players here. I made this one using this week's Deconstructed Sketch for my layout and am also linking up with the 4 Crafty Chicks where the challenge is Easter and The Friday Mashup where their challenge is to use 'Easter Critters' on your card (I chose not to mashup with their colours):
I have yet to share a Cheerful Critter card with you, so since today is Easter Sunday it seemed like a good opportunity:
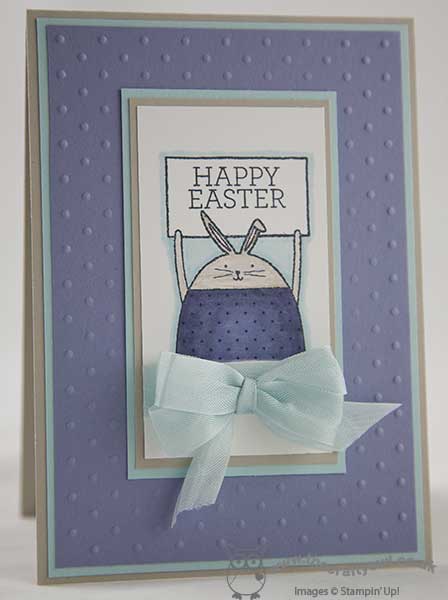
I decided on some simple layering in Sahara Sand, Soft Sky and Wisteria Wonder, with the main frame embossed with the Perfect Polka Dots Embossing Folder to echo the dots on the bunny's top. I coloured my bunny with the now discontinued Wisteria Wonder and Soft Sky Blendabilities and the bunny itself with a Sahara Sand marker and blender pen. I used two of the stamps from the 'Crazy About You' stamp set to create my custom sentiment. Lastly, I added a double bow in Soft Sky seam binding ribbon to finish my rather girly and feminine-looking card.
Before I go, I just thought I would share a quick photo of my very own Easter bunnies in the garden this morning, sporting some fun props we made from a variety of punches and dies:
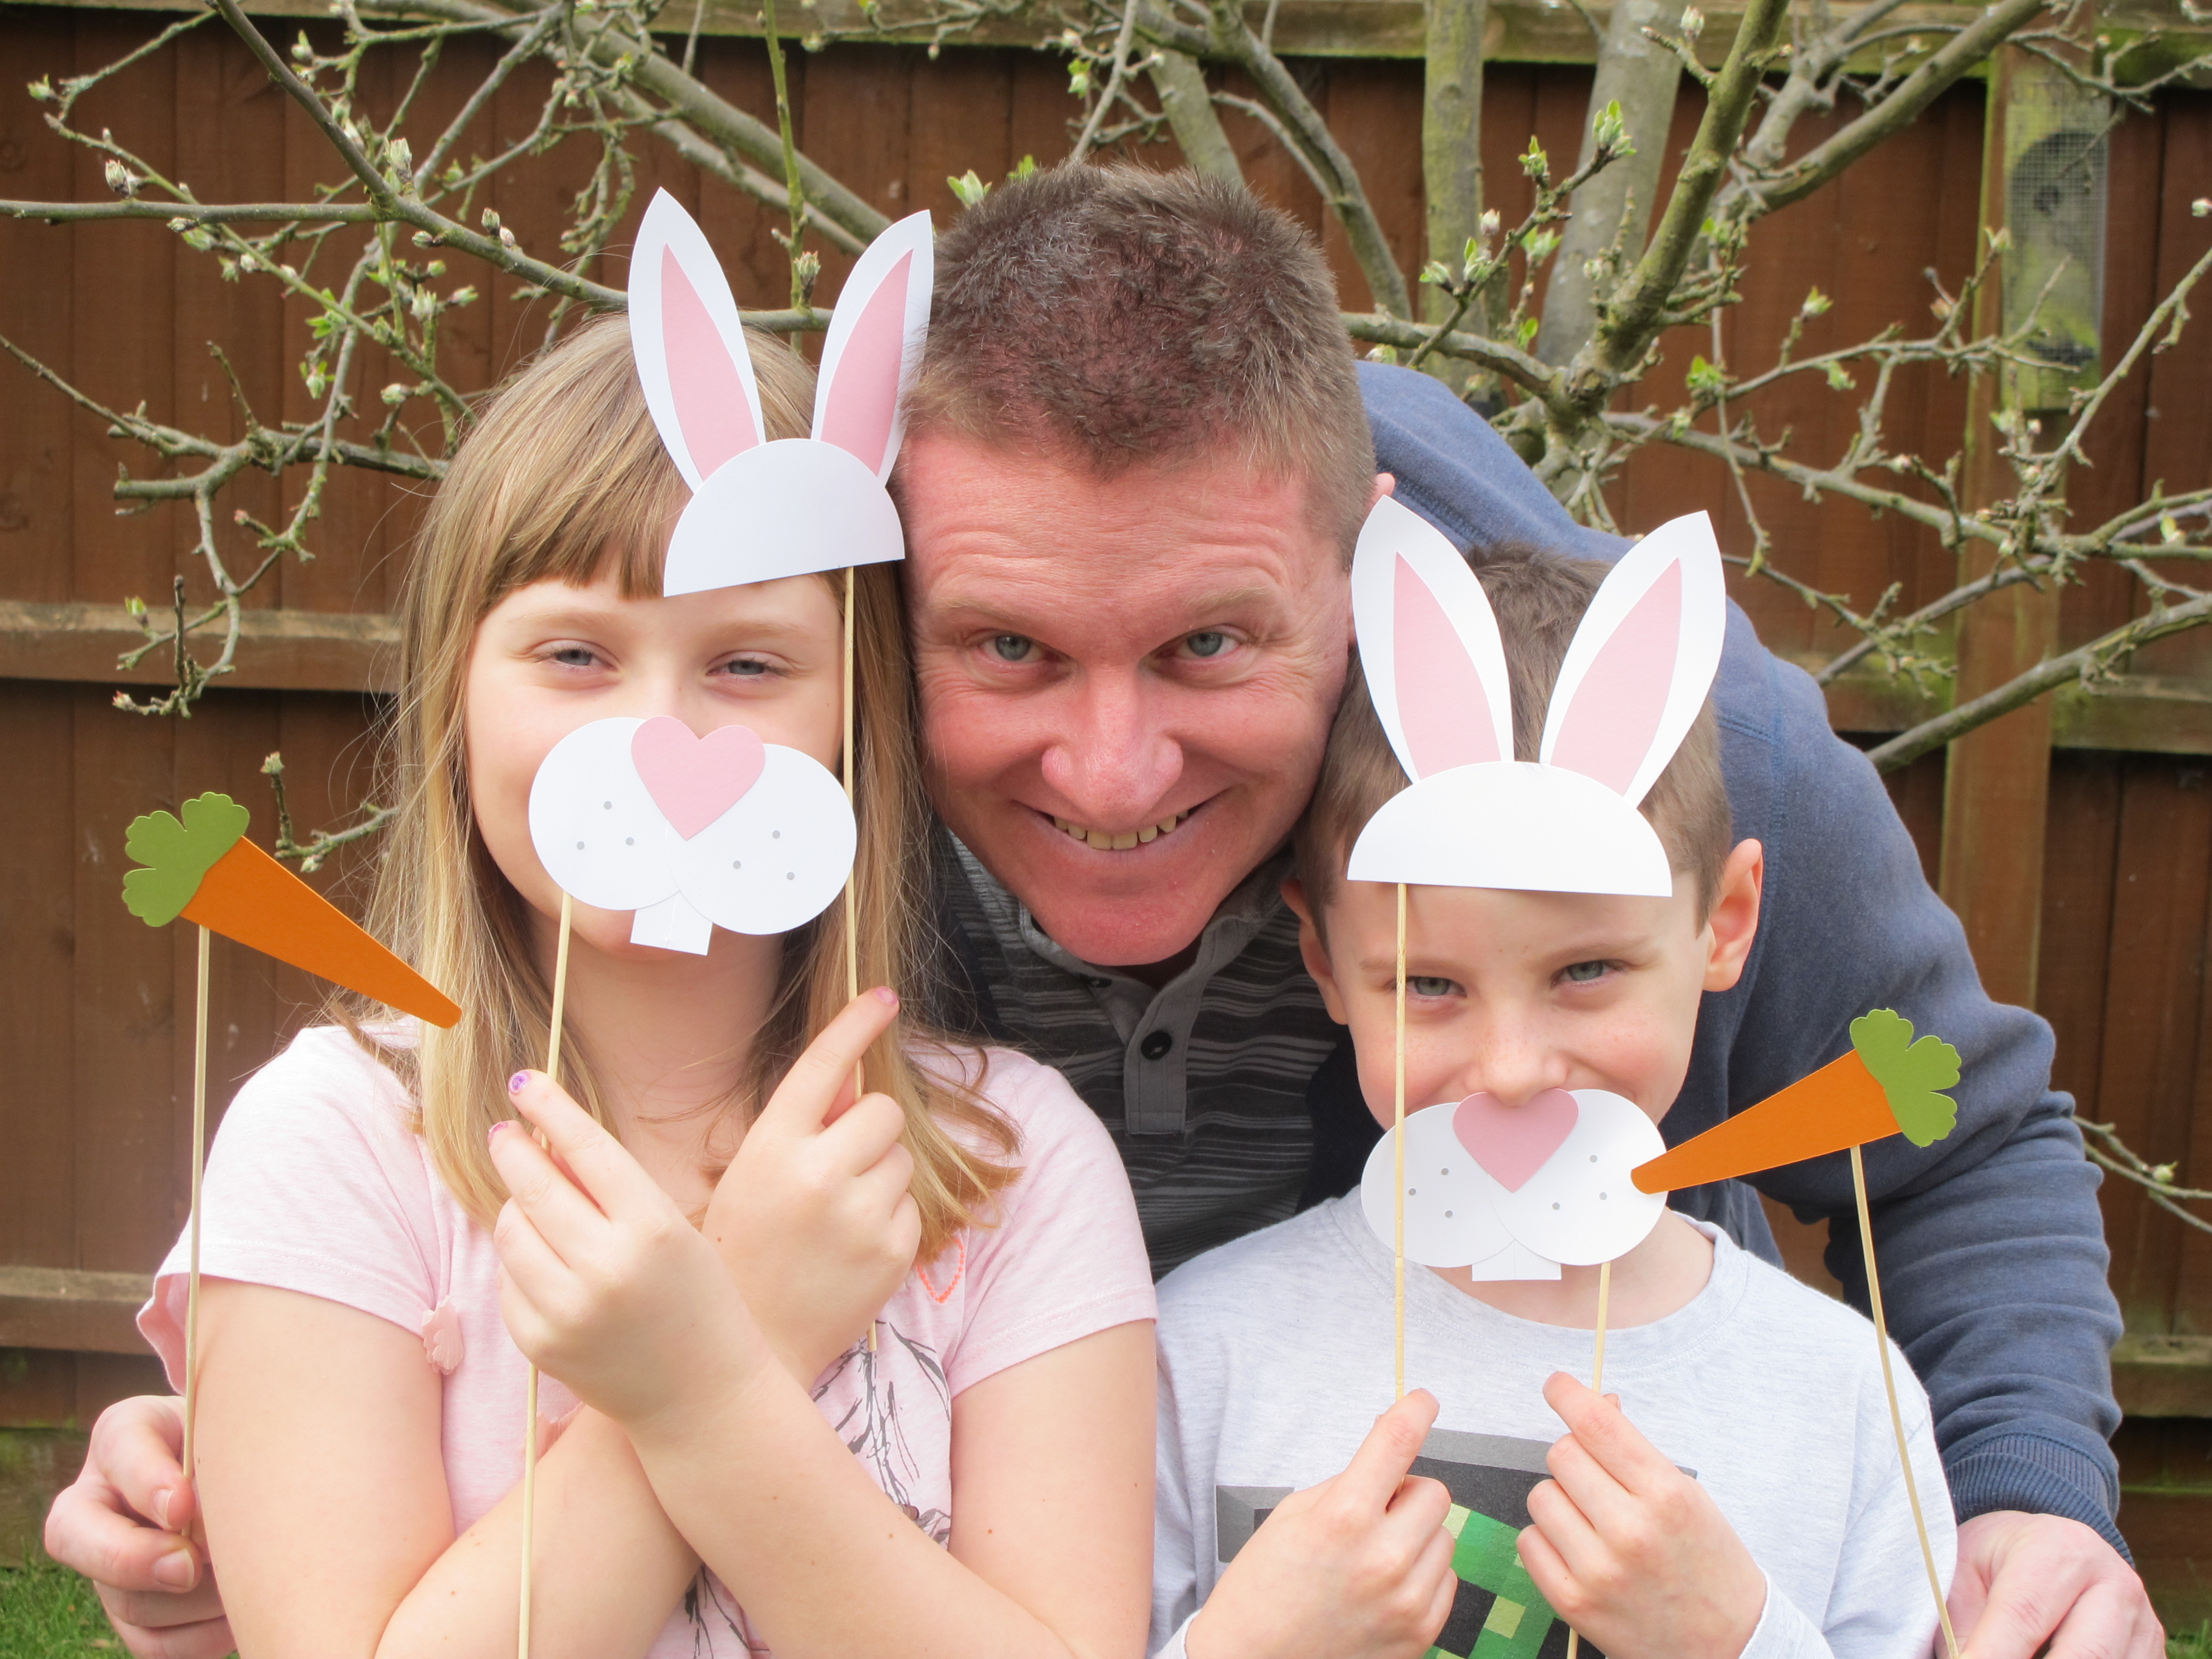
Cute, aren't they?! That really is all from me today; back tomorrow with antoehr project. Until then, happy stampin'!
Stampin' Up! Supplies Used:
by Joanne James5. April 2015 10:00It's Sunday - my favourite day of the blogging week! It's time for a new challenge over at The Paper Players and this week the lovely Jaydee has a fun theme for us:
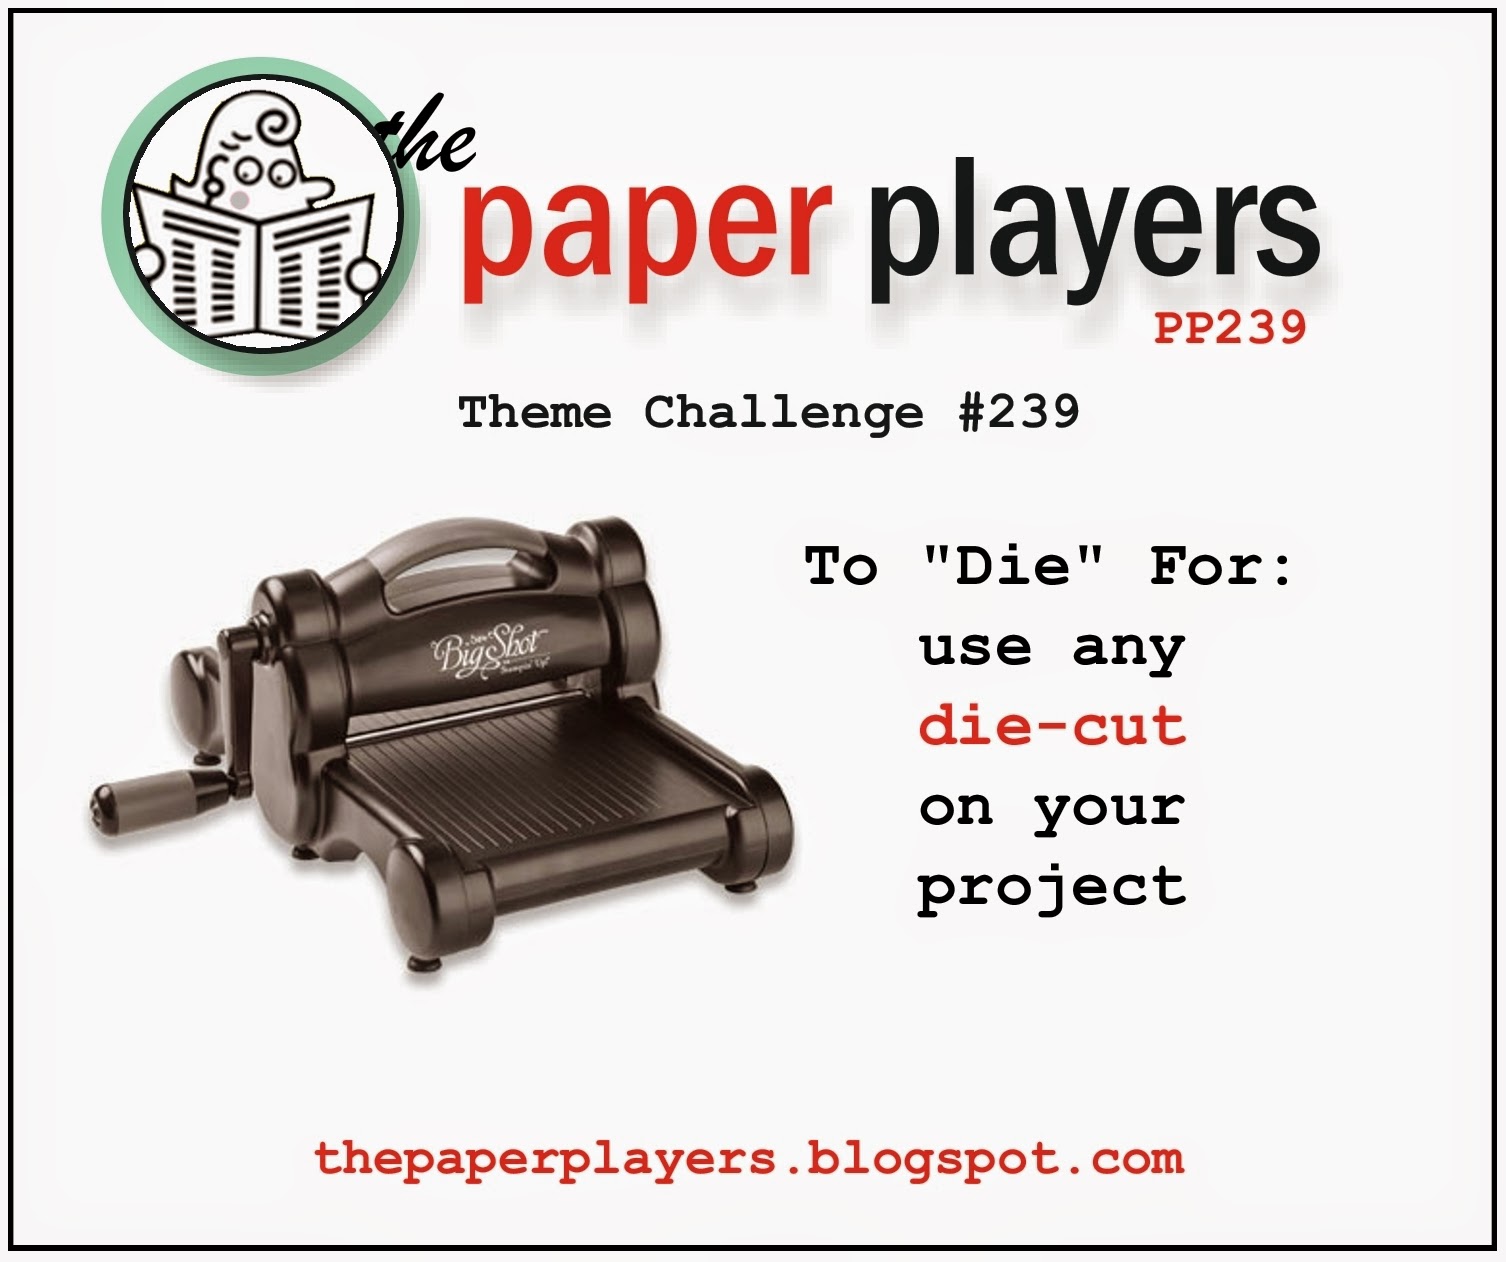
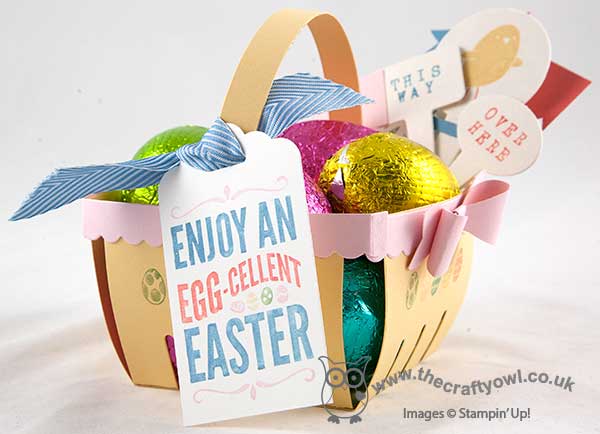
Use any die cut on your project - boy did I deliberate over this! I use die cuts all the time and my Big Shot is my crafting best friend, but what to share? I made several cards, all trying to showcase different aspects of dies and diecuts, but none of them were working for me; I think I was trying too hard! After much deliberating I decided to share a 3D project instead and since it's Easter Sunday today what better than an Easter basket made with the Berry Basket Bigz Die, along with some cute little tags all ready for today's Easter egg hunt:
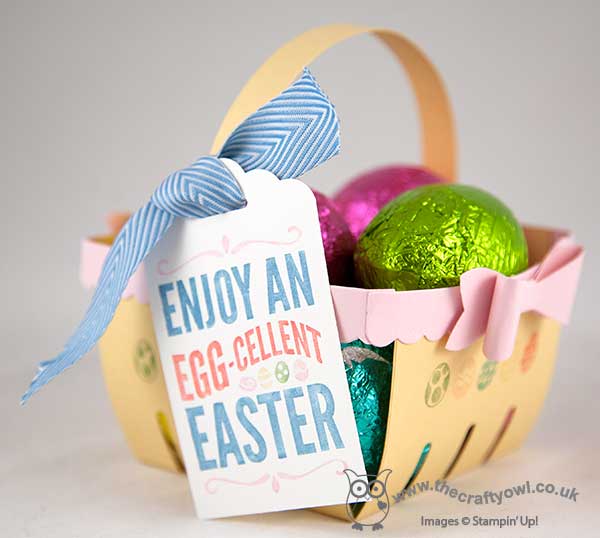
The basket itself is really easy to make using the die: I made mine out of So Saffron cardstock with a Pink Pirouette trim and handle, and having stamped some eggs on the basket using my Subtles Stampin' Write markers, I finished my completed basket with a couple of pink bows punched from the Bow Builder punch and a stamped tag tied on with some Marina Mist chevron ribbon. I then used my Big Shot, Handpicked framelit dies and my Alphabet rotary stamp to make a whole bunch of tags ready to place around the garden for our Easter egg hunt today - here are just a selection:
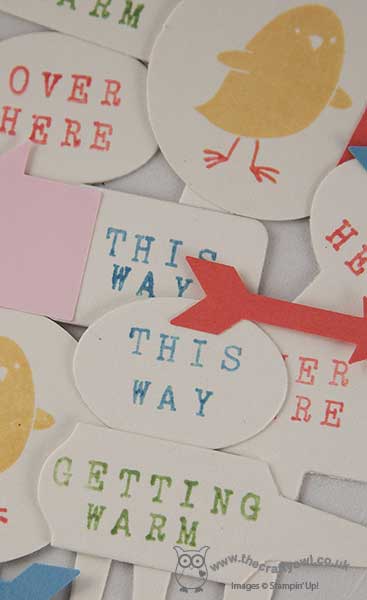
I made them out of coaster board, so that they would be extra-strong and added coloured punched out arrows to some of them to add to the fun.
There are some great projects from the Design Team this week - do pop by their blogs and take a look:
The Paper Players Design Team
Here's a quick recap of our challenge rules:
1. Create a new paper project
2. Upload your creation to your blog with a link back to us and provide a direct link to the post featuring your challenge submission.
3. Please link your card to no more than three challenges, TOTAL.
4. Have FUN!
I hope you like today's project - there are so many different dies to choose from, I can't wait to see what you come up with for your cards and projects in our gallery this week. I'm off to play Easter bunny and follow the James juniors around the garden collecting eggs, then attempt to persuade them to not eat them all before lunch! Back tomorrow with another project; until then, happy stampin'!
Stampin' Up! Supplies Used:
b6939163-881e-4321-8282-202ab3a0c86b|0|.0|96d5b379-7e1d-4dac-a6ba-1e50db561b04
Tags: Bow Builder Punch, Handpicked Framelits, Big Shot, Berry Basket Bigz L Die, For Peeps' Sake, Easter, Scalloped Tag Topper Punch, What's Up Punch, Stampin' Up, Stampin' Up Card, Stampin' Up Card ideas, Stampin' Up Supplies, Shop online, The Paper Players
3D Projects | Shop Online | Stamping
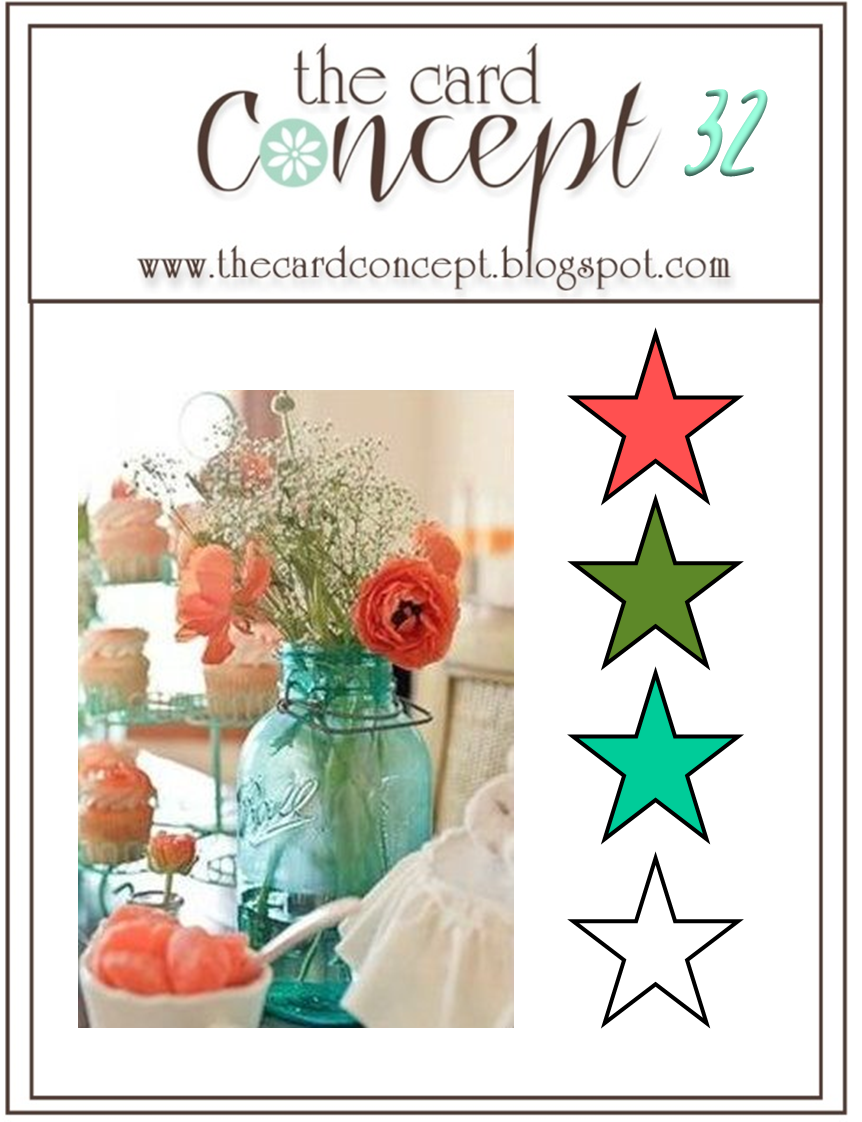
by Joanne James4. April 2015 10:00I have a couple of posts for you today - the first one is for this week's challenge over at SUO Challenges, where they have a 'fun fold' challenge going on. I was also inspired to use the colours over at The Card Concept - don't you just love that inspiration photo?
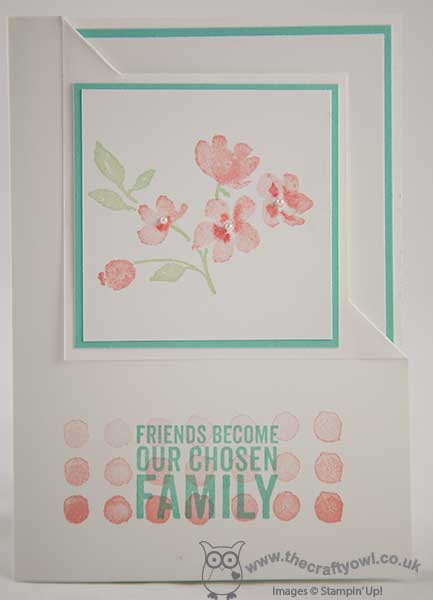
Now I don't often make fun fold cards, although I saw a really 'simple but effective' one over on LeeAnn Greff's blog here a couple of weeks ago (inspired by an original card by Darlene McCallum) that I really wanted to try. When I went to LeeAnn's blog to link up, she has today added a video tutorial here, although I had already made my card and used slightly different measurements to this as I was working in metric. Here is my version:
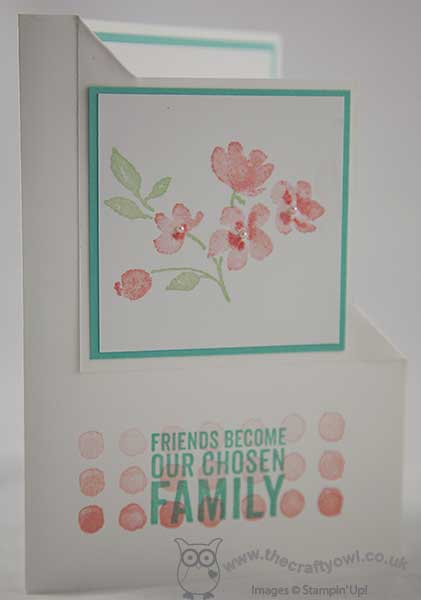
It wasn't too tricky to work out where to make the cuts using my Stampin' Trimmer to make the folded corner and once they were in place I could adhere the front panel, which featured my Painted Petals blooms, stamped in Pistachio Pudding and Crisp Cantaloupe, with a little detail added using a Calypso Coral Stampin' Write marker and some tiny pearls and matted onto a piece of Coastal Cabana. I created an ombre border using the dot stamp in Crisp Cantaloupe along the bottom, starting with the bottom row and working upwards, stamping each time without reinking. I then overstamped my sentiment in Coastal Cabana.
I need to add a couple more photos showing this card from the inside and so that you can better see it with the front face closed against the back panel. I love this fun fold - it enables me to maintain my 'clean and layered' look whilst adding an unexpected twist.
Back later with another fun Easter project; until then, happy stampin'!
Stampin' Up! Supplies Used:
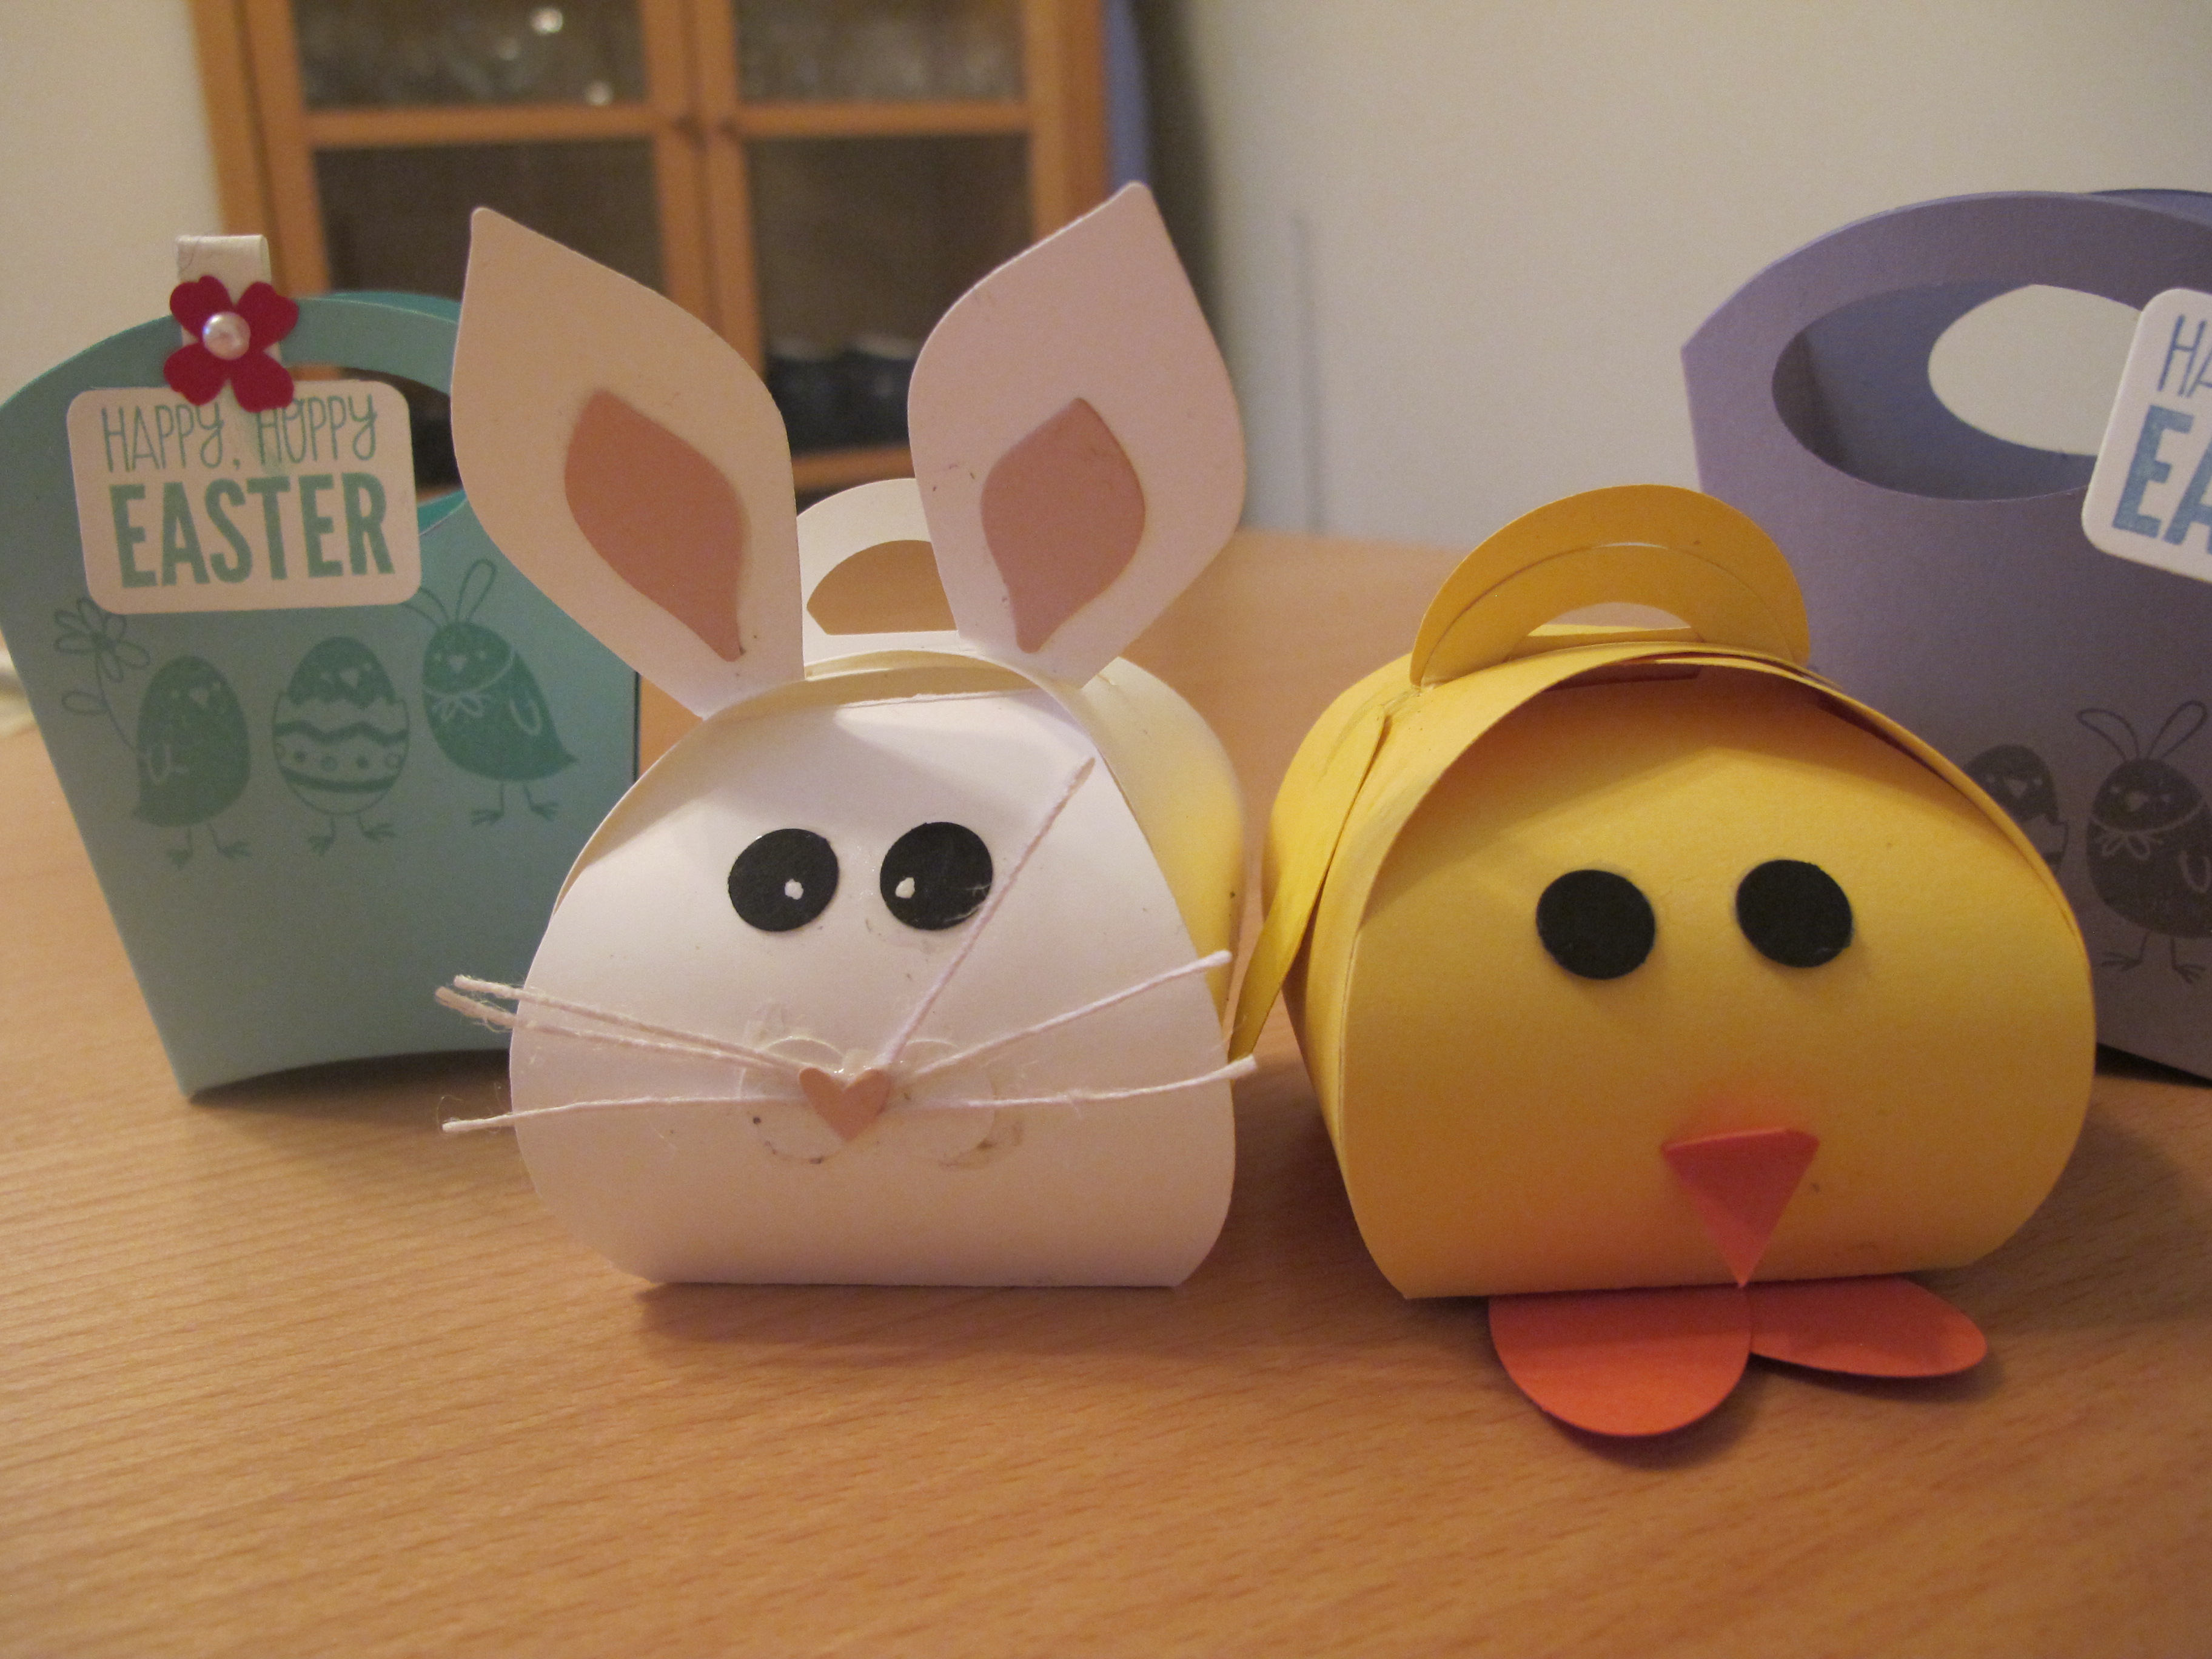
by Joanne James3. April 2015 22:26It's Good Friday already so I thought it was about time I shared with you some of the fun Easter projects that I've been making with my children and their friends in recent weeks. Both James Juniors love to craft and Rebecca especially likes the opportunity to spend some time in my craft room whenever she can. At the start of the Easter holidays, we had a big group of their friends round and spent a fun morning making these cute Easter treat boxes using one of my favourite products, the Curvy Keepsake Box Thinlit Die:
I couldn't resist creating some Easter themed containers using this die, further to the popularity of my Christmas ones - you can see my tips on using this thinlit die in my Stampissimo video with Paula Gorry from Stampin' Up! here.
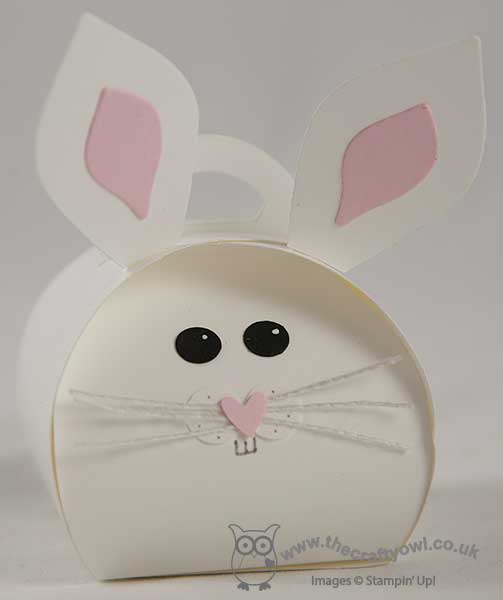
The girls made cute bunnies - I've seen lots of different versions floating around Pinterest, but for mine I decided to use my Flower Fair framelits to create the ears and the various pieces from my trusty Owl Builder punch for the face, along with some strands of split white jute ribbon for his whiskers and some added detail with a Smoky Slate marker and my white gel pen.
The boys made these cute Easter chicks:
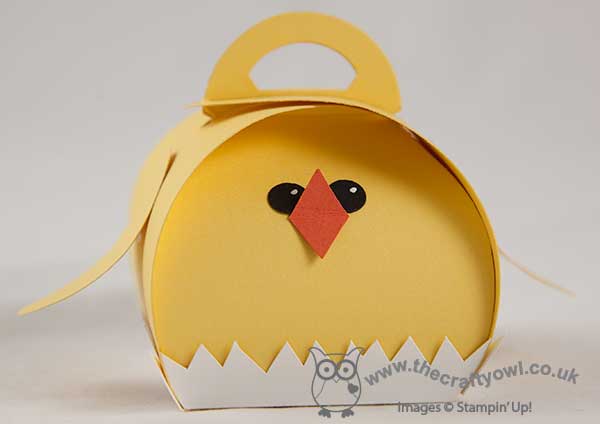
The boys were slightly younger, so we went with something a little less complicated with less small pieces required for the face.
In addition, everyone also made a little Easter bag, inspired by this one created by Brian King and using this fabulous little tutorial by Val Moody to create the basic bag shape:
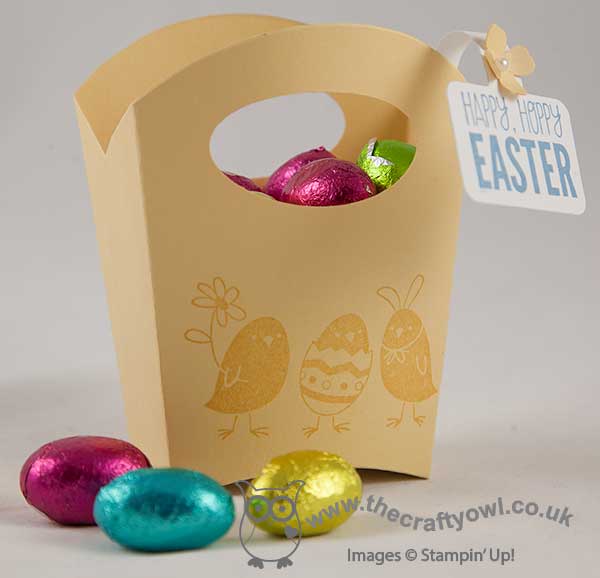
We kept things simple with some tone-on-tone stamping using the 'For Peep's Sake' Easter-themed stamp set and a little tag made with the handpicked framelits. These little bags are so easy to make and the perfect size for your mini Easter eggs. Everyone chose their own colours - here's a couple of pictures I took on the day of some of the children's finished projects:
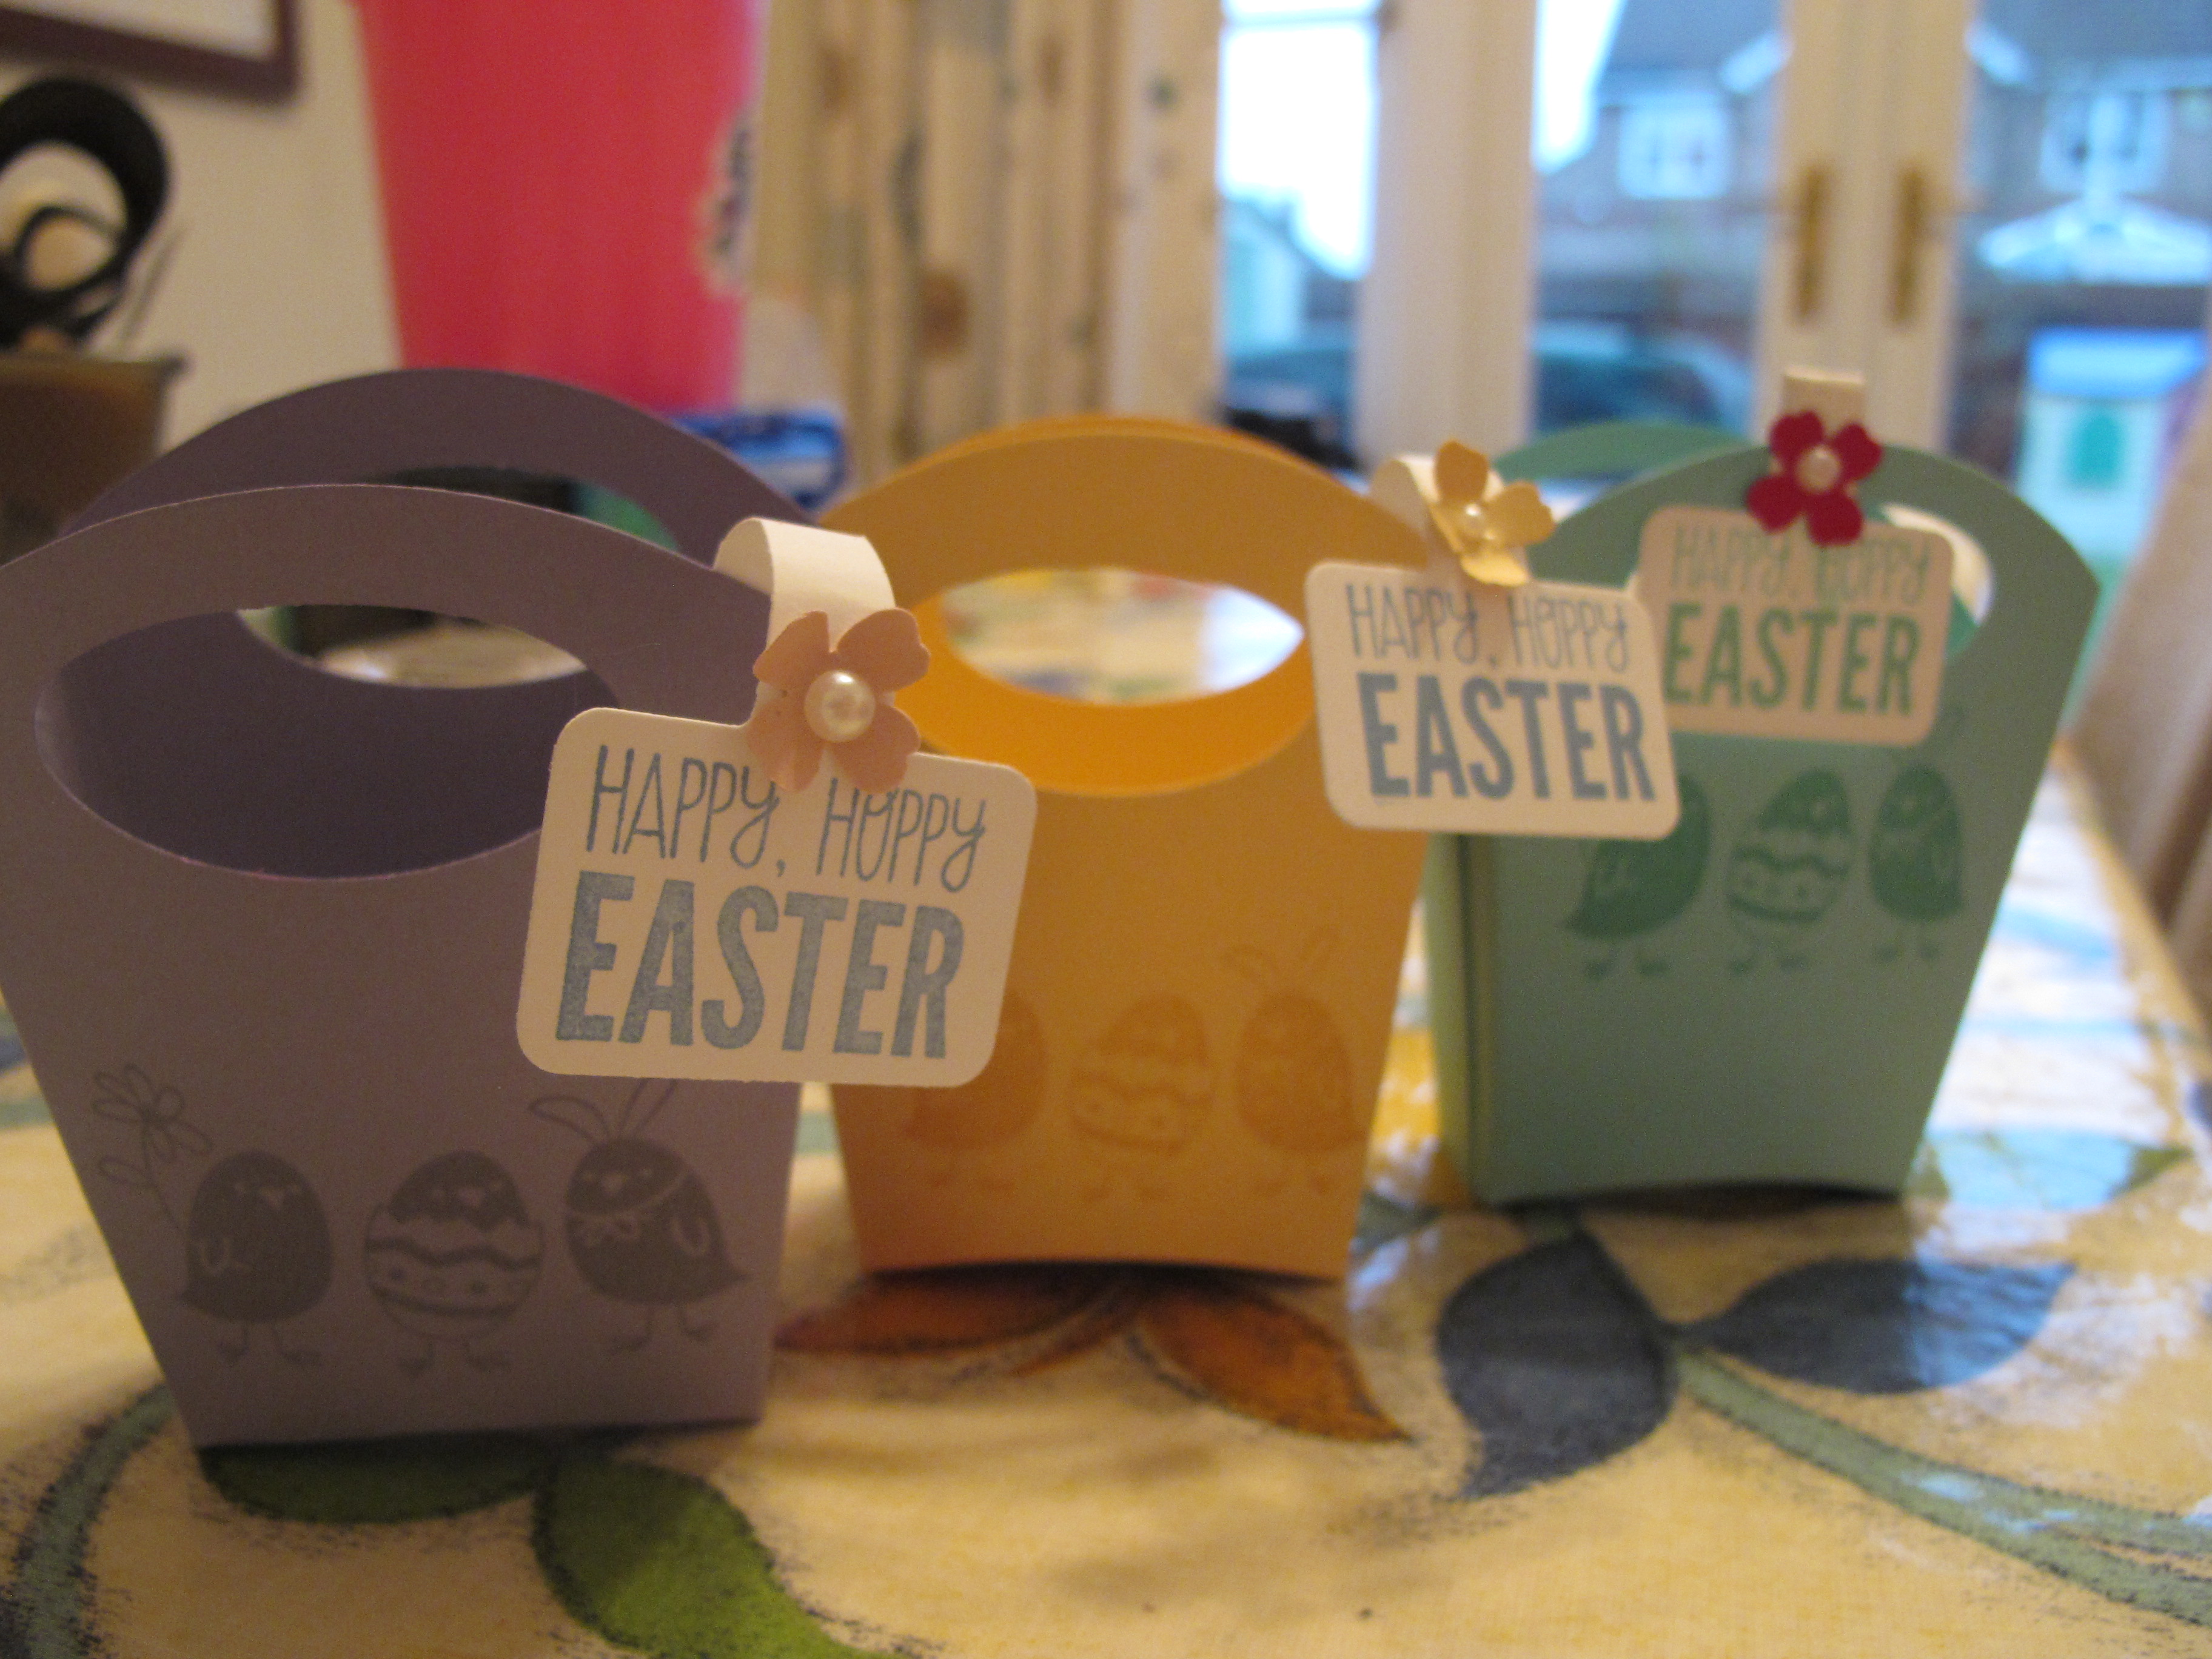
Not many 'action' photos I'm afraid - just too much going on. It was a busy few hours of crafting with 16 children taking part, but they were all so well behaved and thoroughly enjoyed making some great treat boxes to take home. I have another easy Easter-themed project to share with you tomorrow, so do pop back then if you're in need of some last minute Easter inspiration. Until then, happy stampin'!
Stampin' Up! Supplies Used:
For the rabbit box:
For the chick box:
For the Mini Egg Bag:
by Joanne James2. April 2015 08:05It's time for a new Thursday challenge over at Create With Connie and Mary and this week we have a great sketch challenge for you:
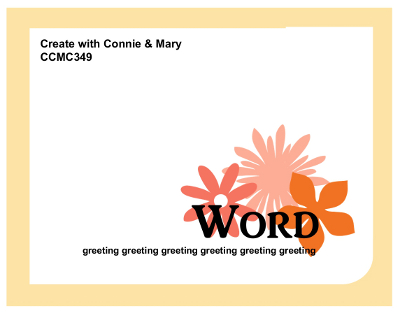
Here is my card today:
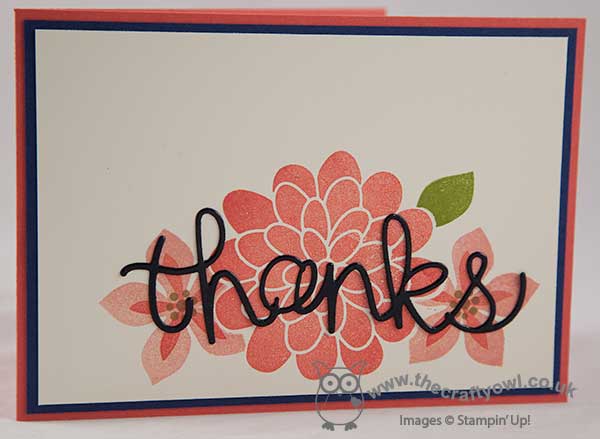
I decided to make a simple floral background for my word with a trio of flowers from the 'Flower Patch' stamp set, stamped in Calypso Coral, Crisp Cantaloupe and Baked Brown Sugar. I stamped the large central flower first, then created a mask using a post-it note and the co-ordinating Flower Fair framelits to create a mask before stamping the outer flowers, so that they appeared behind the central bloom.
For my sentiment, I chose a 'thanks' cut with my 'Hello You' thinlits dies out of Night of Navy cardstock, but before adhering to my card I coated it in Versamark and heat embossed it in clear embossing powder several times, until it became beautifully shiny and glossy. One of those 'it looks much better in real life' moments I'm afraid, as the photo doesn't really show just how pretty this looks!
Don't forget to check out what the rest of the team have in store for you - we look forward to seeing your creations in the gallery this week!
Stampin' Up! Supplies Used:
- Flower Patch Photopolymer Bundle
- Big Shot Die-Cut Machine
- Embossing Buddy
- Versamark Pad
- Clear Stampin' Emboss Powder
- Heat Tool - Uk Plug
- Hello You Thinlits Dies
- Baked Brown Sugar Classic Stampin' Pad
- Crisp Cantaloupe Classic Stampin' Pad
- Old Olive Classic Stampin' Pad
- Calypso Coral Classic Stampin' Pad
- Calypso Coral A4 Card Stock
- Night Of Navy A4 Card Stock
- Very Vanilla A4 Card Stock
by Joanne James1. April 2015 14:07Time for today's creative post and I have a fun masculine card, using this week's layout over at CAS(E) This Sketch and the current challenge over at Less Is More, where the task is to combine any 3 previous challenges:
I haven't managed to play along with the lovely ladies over at Less is More for a few weeks, so today's card was a great opportunity to combine some of their previous challenges for my card - I chose:
- Week 7 - theme - masculine
- Week 121 - recipe - humour
- Week 127 - colour - 50 shades of grey
Here's the card I came up with:
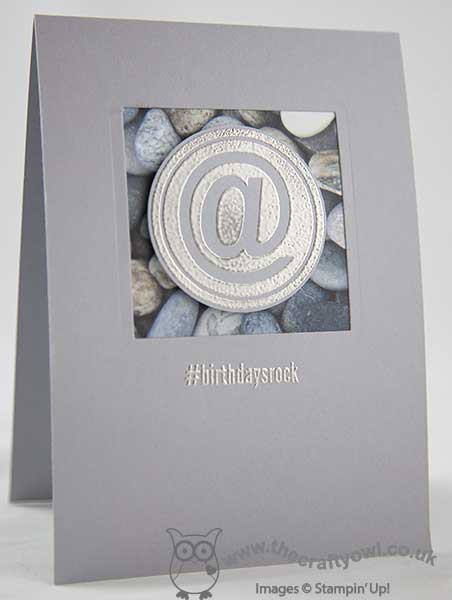
I decided the sketch was perfect to use a small piece of DSP, something I don't often use on my LIM cards, but this card has sufficient 'white space' that I can get away with it. I love the natural patterned papers in the 'Adventure Bound' DSP stack and having seen so many with a fun 'play on words' with those pebbles, I thought it was about time I shared my version. My card really is quite simple: a base of Smoky Slate and an aperture cut using my Big Shot and the Squares Framelits - on offer as one of this week's Wednesday Weekly Deals for just £17.21, bargain! - and backed with a piece of the pebble-patterned paper (there must be at least 50 shades of grey in there!) and a simple sentiment consisting of an '@' stamped in Versamark and heat embossed in Pewter embossing powder, punched out with a 2" circle punch and popped up on some dimensionals and paired with the '#birthdaysrock' sentiment from the same #Hello stamp set, also heat embossed in pewter.
A simple yet fun card, perfect for a man with a sense of humour!
Back tomorrow with this week's card for the new Thursday Challenge over at Create With Connie and Mary. until then, happy stampin'!
Stampin' Up! Supplies Used:
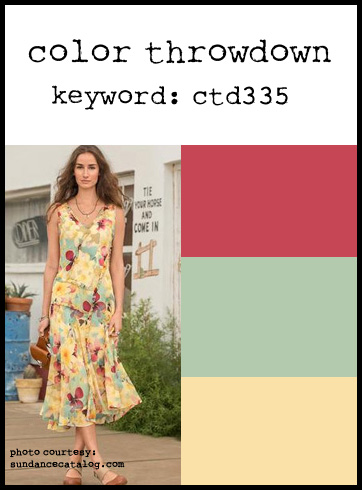
by Joanne James30. March 2015 07:00It's Monday 30th March and that means only one thing - only 2 days left to go until the end of this year's Sale-A-Bration promotion! With this in mind, today's cards features one of the additional products introduced as a free gift when you spend £45 - sheer perfection vellum. I am entering today's card into both the Freshly Made Sketches and Color Throwdown challenges:
I love this sheer vellum - it is printed with a variety of different patterns that are great for colouring with Stampin' Write markers. The sheet with the butterflies is a favourite, but today I chose one of the floral patterns - here is my card:
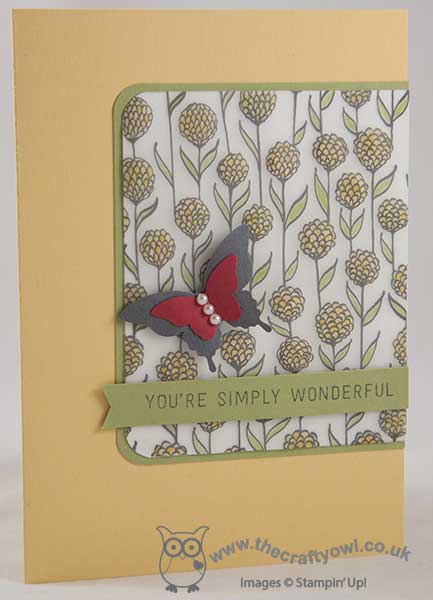
I used So Saffron for my base and then used a mat of Pear Pizzazz and a piece of Whisper White beneath my piece of vellum so that my colouring would be true. I coloured the flowers on my vellum piece with So Saffron and highlighted some areas with Daffodil Delight, then coloured the leaves with my Pear Pizzazz Stampin' Write marker. Before adhering my vellum to my base layer, I turned it over and rubbed over the reverse wide with my stylus to create a slightly raised effect when viewed from the front. It's quite difficult to see in the photograph, but adds a nice texture in real life. I finished my card with a banner, stamped in Basic Grey with the sentiment from another Sale-A-Bration free stamp set 'Simply Wonderful', and a layered butterfly, punched with my Elegant Butterfly and Bitty Butterfly punches and using a scrap of retired 'Riding Hood Red' cardstock for my pop of red. A few pearls to finish and done!
This Sheer Perfection Vellum really is lovely; it's such a shame that it's only available for two more days! You still have until 10pm tomorrow night to place an order for £45 and get yours for free - if you shop online with me and use the current code 4AHTZQVW, you will also receive an extra gift from me to say thank you (shipped separately) - so now there's two reasons to shop!
Right - I'm off to make a whole bunch of thank you cards and bag tags for this month's local customer orders - I'm using another Sale-A-Bration freebie this time, the 'For Being You' stamp set - getting inky is always fun and with free product, it's even better!
Back tomorrow with another project; until then, happy stampin'!

Stampin' Up! Supplies Used:
66d398e8-d5fd-46fe-9955-79c1a5ff1ab3|0|.0|96d5b379-7e1d-4dac-a6ba-1e50db561b04
Tags: Sale-A-Bration 2015, Sale-a-bration, Sheer Perfection Vellum, Earn Free Products, Earn Free Product, Elegant Butterfly punch, Bitty Butterfly Punch, Shop online, Stampin' Up, Stampin' Up Card, Stampin' Up Card ideas, Stampin' Up SuppliesSimply Wonderful, Simply Wonderful
Cards | Stamping
by Joanne James29. March 2015 20:52Good evening blog readers - I am sneaking in an extra post today - you can see my earlier Paper Players post here - to make up for my lack of one yesterday. I had my card ready and had fully intended to write up my post last night, when I got back from taking both James juniors to their swimming gala, however the swim meet was really busy and we didn't get home until much later than usual and I was beyond writing anything other than gibberish at that point!
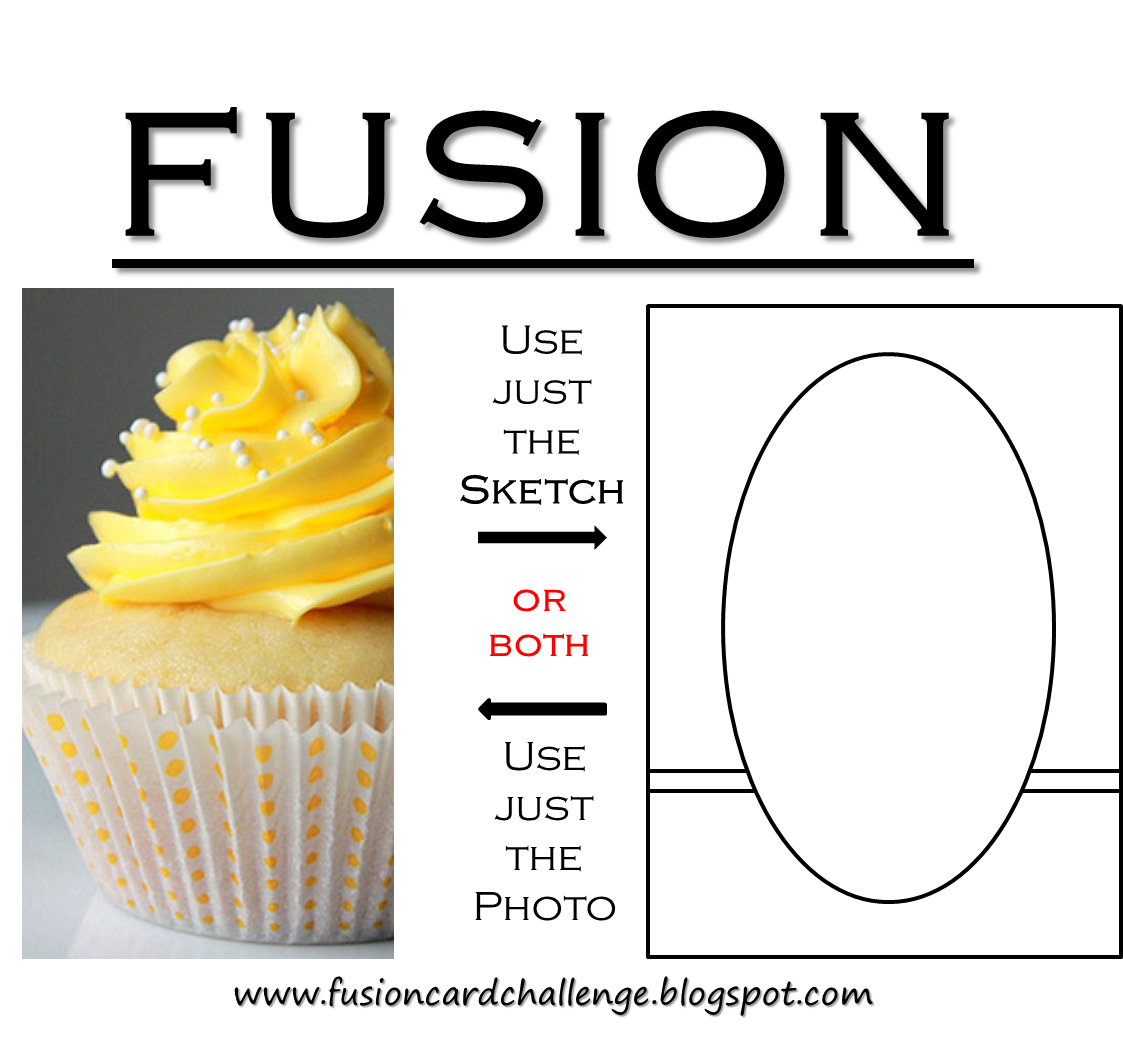
So this card is for a couple of challenges: I used the sketch only over at Fusion and the colours from Colour Q this week:
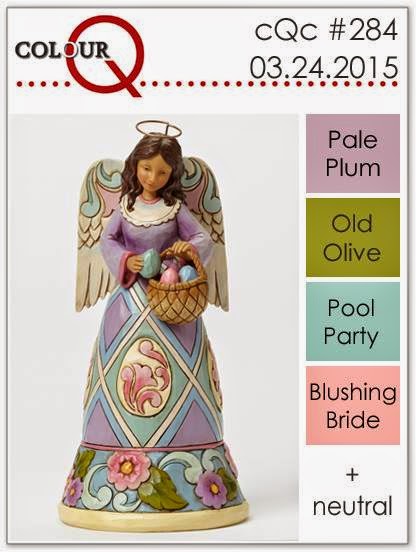
I love this week's Colour Q palette, so perfect for an Easter card, which I still need a few more of. This card is something I've been playing around with for a while. My daughter had a colouring book for Christmas that was full of animals, made from patterns, and I wondered if I could make an abstract bunny using floral images. I've had a few attempts, and this is my favourite so far:
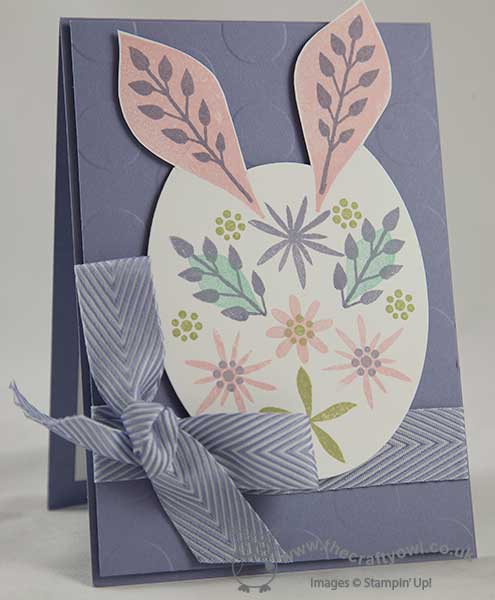
I used Wisteria Wonder for my base and mat layer, embossing this with the large polka dot embossing folder, then cut an oval using my Big Shot and Oval Framelits, having partially cut the ears with the leaf shapes from the Flower Fair framelits first and allowed them to overhang. I then stamped the various flower stamps from the Flower Patch set to make an abstract face, with ears, eyes and nose.
So, opinion in our house is divided over this card: both James juniors recognised it as a rabbit immediately; my abstract art is however lost on my husband, who thinks this is just a bunch of random flower patterns! Either way, with the addition of some Wisteria Wonder chevron ribbon and a bow, I like it! Do leave me a comment and let me know what you think to my unusual creation.
Back tomorrow with another project; until then, happy stampin'!
Stampin' Up! Supplies Used:
1ac1e2a3-7141-42d0-8d96-b9fa6db3b7b7|0|.0|96d5b379-7e1d-4dac-a6ba-1e50db561b04
Tags: Easter, Flower Patch, Flower Fair Framelits, Ovals Framelits, Big Shot, Shop online, Stampin' Up, Stampin' Up Card, Stampin' Up Card ideas, Stampin' Up Supplies, Large Polka Dot TIEF
Cards | Stamping
by Joanne James29. March 2015 10:00It's Sunday and time for a new challenge over at The Paper Players and this week my good friend and talented papercrafter Claire has a fun tic-tac-toe challenge for us:
I decided to go with the first vertical line - yellow, die-cut and flowers (or in my case, flower!) - and this week's sketch over at Pals Paper Arts:
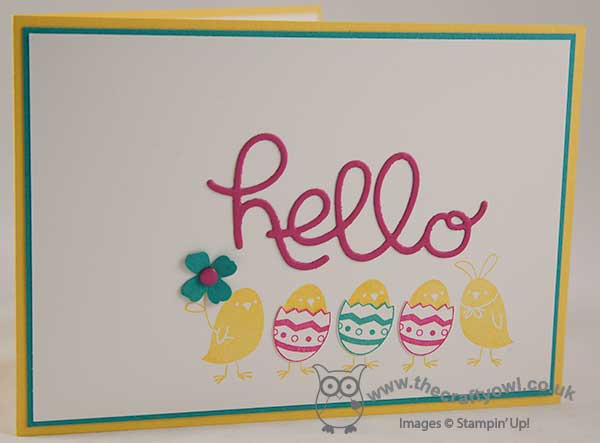
I am still in need of a few Easter cards, so I thought those five circles on the sketch would make some cute Easter chicks, bright yellow and chirpy. I decided on the chick trio from the 'For Peep's Sake' stamp set but I needed five chicks, not three. My solution? I stamped the first two chicks on the right, then masked the outer chicks and just masked the central one, lining up with my stamp-a-ma-jig, then lastly stamped the two chicks on the left, masking off the one I didn't need. I stamped the chicks again a few times on some scrap cardstock, twice in Melon mambo and once in Bermuda Bay, and fussy cut out the eggshells and adhered them on top of the ones on my card. I punched a Bermuda Bay flower using the flower punch from the Itty Bitty Accents Punch Pack and added a Melon Mambo candy dot for the centre. lastly, I added my die cut 'hello'; this might seem a little odd in the context of an Easter card, but it is destined for the mail and someone I don't get to see in person, so combined with the inside greeting works just fine.
I hope you like my card today. There are some great cards from the Design Team this week - so many different ways of combining the elements of the grid. Do pop by their blogs and take a look:
The Paper Players Design Team
Here's a quick recap of our challenge rules:
1. Create a new paper project
2. Upload your creation to your blog with a link back to us and provide a direct link to the post featuring your challenge submission.
3. Please link your card to no more than three challenges, TOTAL.
4. Have FUN!
I look forward to seeing your tic-tac-toe combinations in our gallery this week. Back tomorrow with another project; until then, happy stampin'!
Stampin' Up! Supplies Used: