Today it's Sunday and time for this week's new challenge over at The Paper Players - yay! It's the turn of my wonderful friend Claire to host this week and she has a timely theme challenge for you to work with that I know she would love you to play along with:
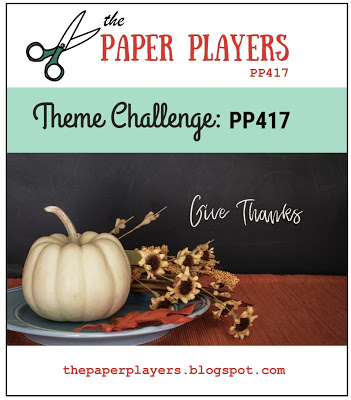
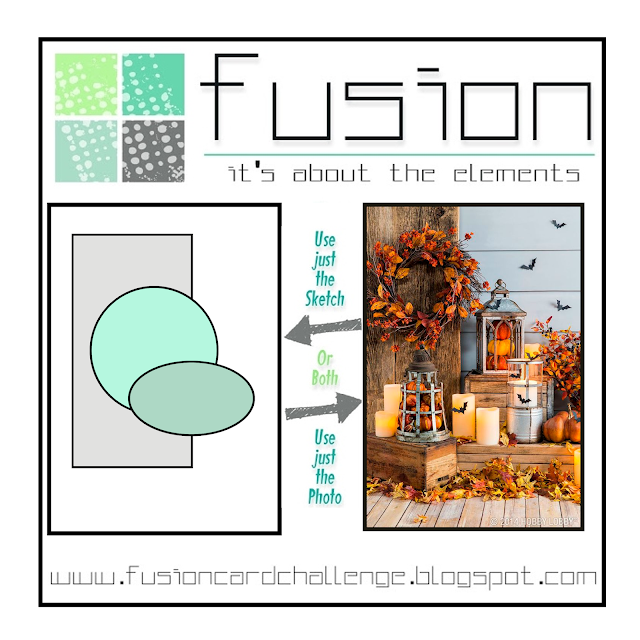

I know that Claire loves Thanksgiving and whilst it isn't something we celebrate here in the UK, the underlying theme of being grateful and thankfulness is one we should all celebrate. I used both the sketch layout and photo inspiration over at Fusion and CASual Fridays as starting points for today's card: warm autumn leaves and wood textures feature heavily on my card this week - take a look:
Here's the low-down on today's card:
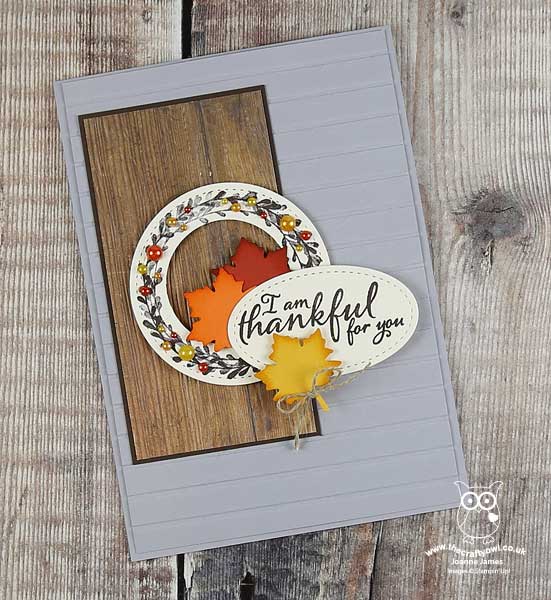
Textured Layers - I wanted to create texture on my card and did something quite unusual for me: used not one, but two embossing folders on my background panels. To recreate the grey weatherboard effect, I used my Simple Stripes embossing folder on a panel of Smoky Slate. For my feature panel, I used a piece of Wood Textures Designer Series Paper and added further texture by running this through my Pinewood Planks embossing folder. I love the effect this gives - it adds so much interest and detail.
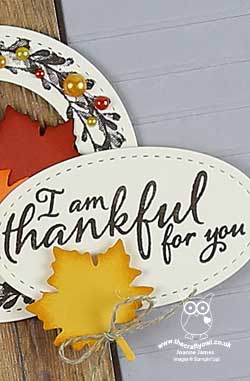
A Wreath of Twigs and Leaves - I stamped the wreath from the Wishing You Well stamp set in Early Espresso onto a stitched circle of Very Vanilla and punched out the middle using my 1 1/4" circle punch, so that more of the textured wood panel could be seen. I coloured a selection of pearls in various sizes with my Pumpkin Pie, Daffodil Delight and Cajun Craze Blends markers to suggest leaves and then added a trio of actual leaves cut with my Seasonal Layers Thinlits to frame my sentiment (I sponged the edges of the leaves to add depth).
Something For The Thanksgiving Table - When I started my card, I wanted to create a wreath like the one in the Fusion inspiration photo. I made a wreath in autumnal colours using my sprig punch that I really loved, but when it came to adding it to my card, it was a little too bulky so I went back to the drawing board. I didn't want my punched wreath to go to waste though, so instead I attached it to a band of Very Vanilla stamped with my Buffalo Check stamp in Crushed Curry, added a banner sentiment and a braided linen twine bow and made a napkin ring - perfect for the Thanksgiving table. Here's a photo of my finished napkin ring:
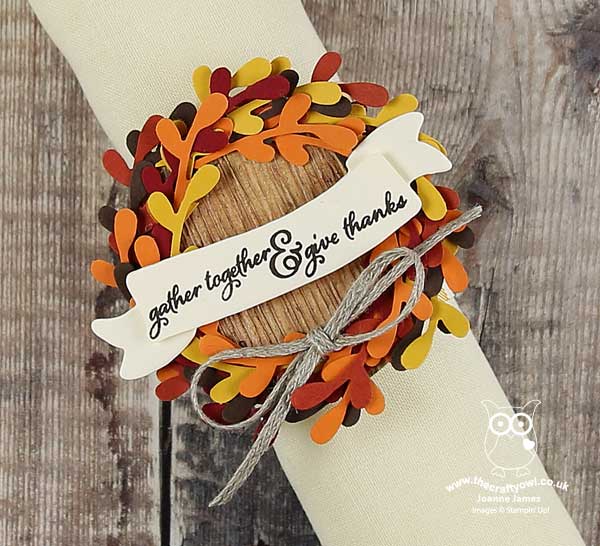
I'm linking my napkin ring up with the ladies over at SUO Challenges where they are looking for home decor items for the Thanksgiving table. This was so easy to make yet really effective - you could make a while bunch of these to decorate the Thanksgiving table in a relatively short space of time.
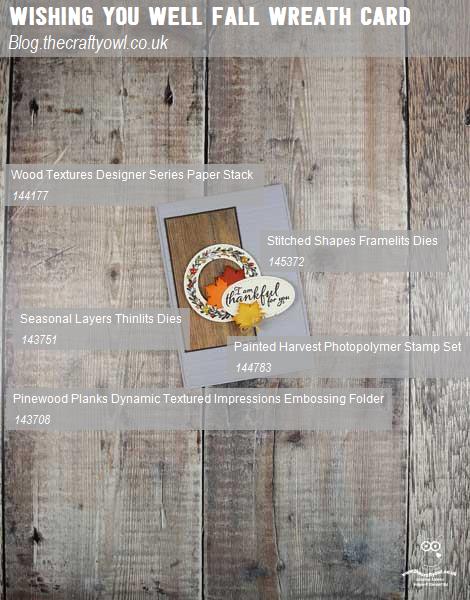
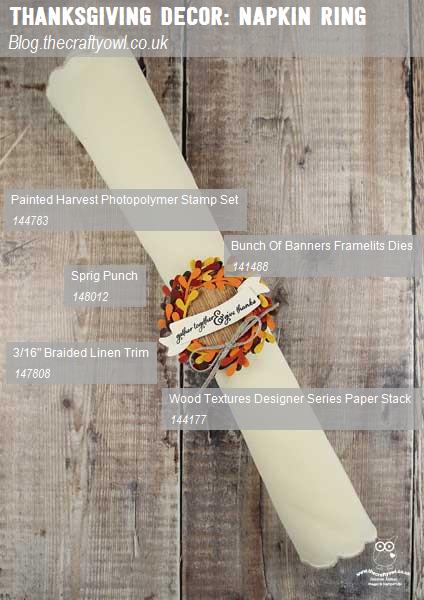
Here is the visual summary of the key products used on today's project for you to pin for easy reference:
You can see all of my Product and 'How To' summaries on my 'How To - Tips and Techniques' Pinterest board in case you've missed any.
Before you reach for your ink and papers, check out what our amazing team has created to inspire you this week:
The Paper Players Design Team
Here's a quick recap of our challenge rules:
1. Create a new paper project
2. Upload your creation to your blog with a link back to us and provide a direct link to the post featuring your challenge submission.
3. Please link your card to no more than four challenges, TOTAL.
4. Have FUN!
You can see all of my 'How To' summaries on my 'How To - Tips and Techniques' Pinterest board in case you've missed any.
Enjoy your day; it is the last day of the James Juniors' half term and there is hockey to be played along with a little down time before the return to school tomorrow. I'll be back here tomorrow with another project. Until then, happy stampin'!
Stampin' Up! Supplies Used - For the card:
Stampin' Up! Supplies Used - For the napkin ring: