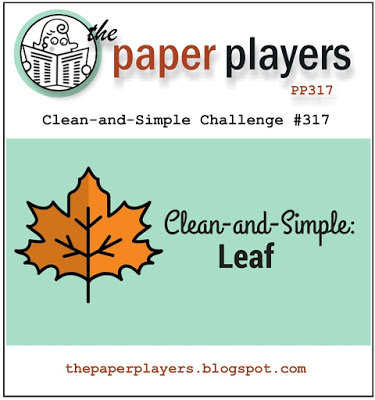
It's Sunday and time for a new challenge over at The Paper Players! It's the turn of the lovely Nance to host this week and she has a great clean and simple challenge for you to work with:

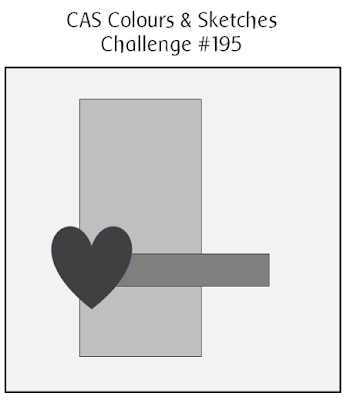

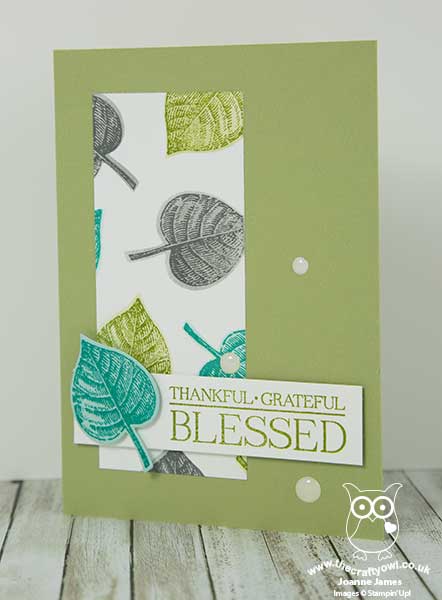
What a great challenge for Autumn! I just had to dig out my old favourite Vintage Leaves for this one and my Leaflets Framelits along with the colours over at Color Throwdown for my card today; they are somewhat unorthodox for Fall yet they enabled me to try a fun inlaid die masking technique that I've been wanting to experiment with to add interest to my clean and simple card today. I used this week's sketch layout over at CAS Colours and Sketches - here's my card:
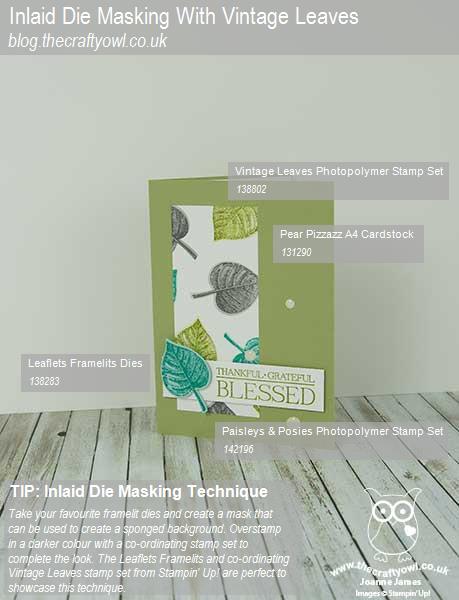
Here's the low-down on today's card:
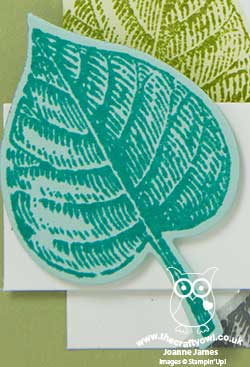
A Vintage Leaf - Vintage Leaves is a favourite stamp set of mine at this time of year and is perfect for Fall cards. I used a single leaf, stamped in Bermuda Bay onto Pool Party cardstock, as the anchor for my sentiment banner.
Inlaid Die Masking - The vertical strip on my card uses a fun technique called inlaid die masking. I made a stencil mask by cutting out a number of random leaf shapes using the Leaflet Framelit that corresponds with the leaf stamp I used, then sponged a combination of Pool Party, Smoky Slate and Pear Pizzazz inks through the mask, then over-stamping these sponged areas with the detailed leaf stamp in Bermuda Bay, Basic Grey and Old Olive respectively. This adds a soft hue of colour to each leaf which I really like.
G is for Grateful - My sentiment from the Paisleys and Posies stamp set is perfect for the season and the challenge over at Just Add Ink this week where the theme is to 'Just Add G'. This is the time of Harvest Festivals here in the UK, with Thanksgiving for our American friends around the corner and celebrated by Canadians recently and as such is a time of year when we are reminded to be grateful. I enjoyed a school assembly on this very theme last Friday, where pupils expressed thanks for everything from the food they eat, to the opportunities given to them by their parents and their favourite footballer, amongst other things! We all have much to be grateful for and it is all too easy to take for granted those around us who enrich our lives and make the world a better place for the greater good.
Here is the visual summary of the key products used on today's project for you to pin for easy reference:
You can see all of my 'How To' summaries on my 'How To - Tips and Techniques' Pinterest board in case you've missed any.
Before you reach for your ink and papers, check out what our amazing team has created to inspire you this week:
The Paper Players Design Team
Here's a quick recap of our challenge rules:
1. Create a new paper project
2. Upload your creation to your blog with a link back to us and provide a direct link to the post featuring your challenge submission.
3. Please link your card to no more than four challenges, TOTAL.
4. Have FUN!
I look forward to seeing what you create with this week's clean and simple theme. We are off for our usual Sunday morning of sport, followed by lunch with friends and an afternoon of crafting of a different kind - Rebecca has been working on some dolls clothes so some supervision of the sewing machine is in order!
Enjoy the rest of your weekend as it will be over all too quickly; I'll be back tomorrow with another project; until then, happy stampin'!
Stampin' Up! Supplies Used: