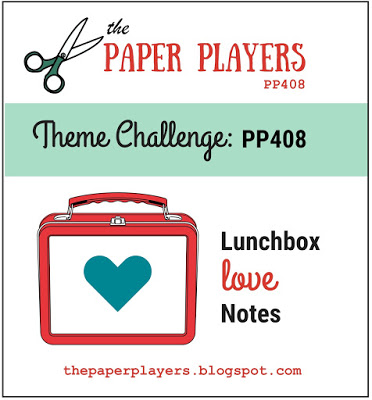
Today it's Sunday and time for this week's new challenge over at The Paper Players - yay! It's my turn to host this week and I have a fun theme challenge for you to work with:
This week is back-to-school week here in the UK and so it's the time that I start thinking about little notes to put in the lunchboxes and pencil cases of my James Juniors to let them know I'm thinking of them during the school day, hence my chosen theme this week.
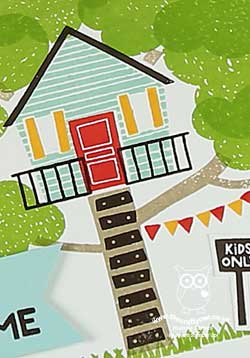
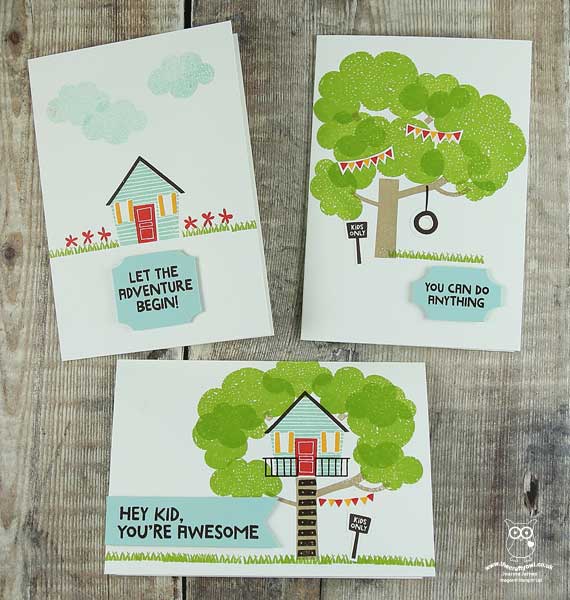
When I think about lunchbox love note cards, I like to create something that is slightly smaller than usual that can be slipped into a pocket or pencil case (or lunchbox!) and 'discovered' during the day. One of the sets I couldn't wait to get my hands on when the new annual catalogue went live was 'Treehouse Adventure' - so perfect for these types of cards! So I decided to create a little trio of cards using this set for the challenge this week - take a look:
Here's the low-down on today's cards:
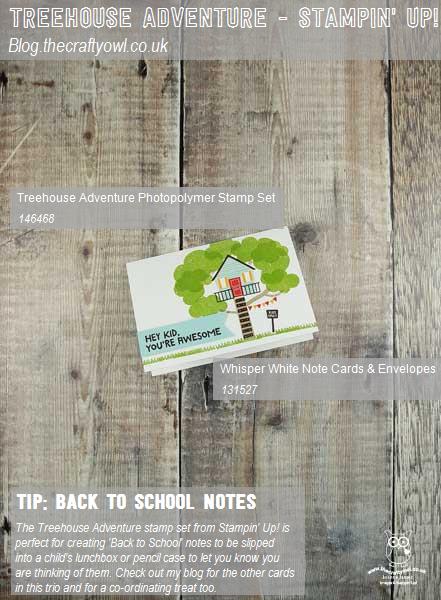
Take A Simple Notecard - If I am making lunchbox notes, I generally like them to be quick and easy to create and tend to make them smaller than a standard card as they are easier to slip into a lunchbox, blazer pocket or pencil case. At 5 1/4" x 3", Stampin' Up!'s notecards and envelopes are just perfect for this. I took a trio of notecards and stamped three simple designs, mostly one layer apart from the smallest amount of fussy cutting (the signs, flags and tyre swing) and some punched sentiments. Easy peasy!
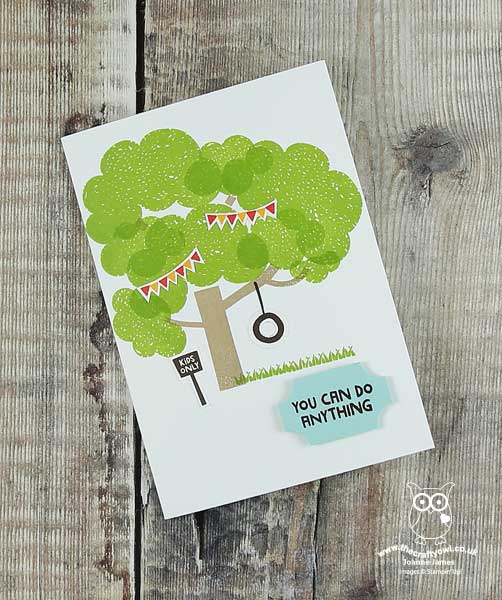
Here are each of my cards individually:

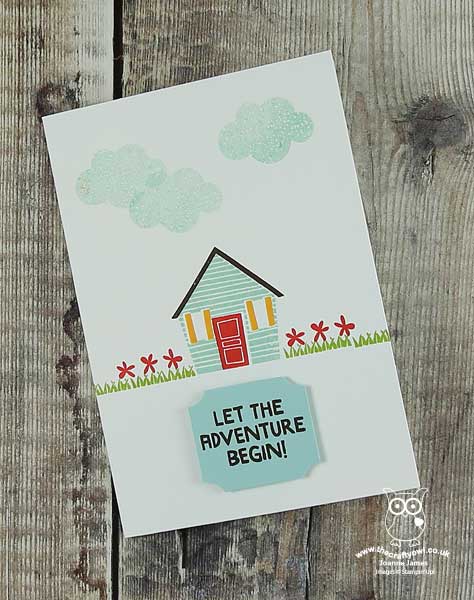
I just love this card - what a great sentiment! This next one is a perfect uplifting phrase for the start of a new school year:
And this final one is perfect for the start of a new year and all the changes that this brings:
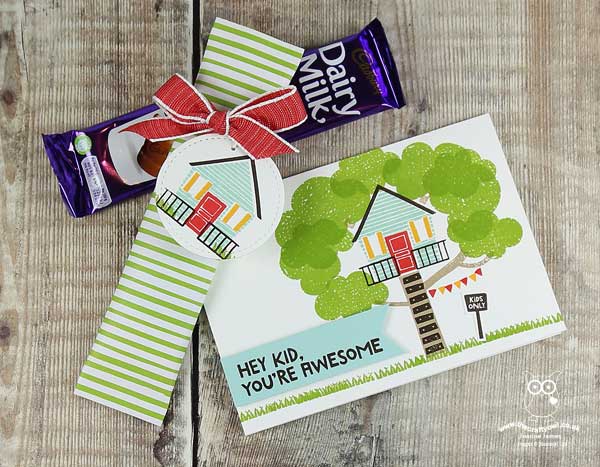
Treehouse Adventure Colour Combo - I chose a bright and cheery colour combo for my child-friendly notecards - here it is if you would like to save it to use on your projects:
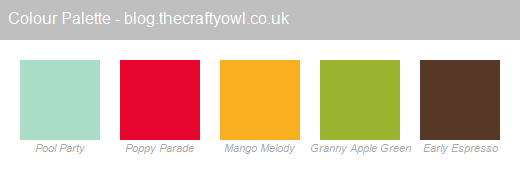
A Little Treat Too - In addition to my notecard trio, I decided to make a quick and easy co-ordinating treat too. I wrapped a small chocolate bar in a piece of Brights DSP and stuck it top and bottom and added a simple ribbon and tag - you can see the wrapped and an unwrapped version below:
These cards will be for Ben and I often bring him a little treat on a Friday afternoon to celebrate the end of the school week and give him a little pick-me-up before his Friday evening swimming lesson. We often play a game of '10 questions', where he has 10 questions to try and guess what the treat inside the packaging is, by asking questions that can have only 'yes' or 'no' answers. If he guesses within the 10 questions, he gets his treat - I don't think he's never not managed it, but it has enabled him to develop some astute questioning skills, not to mention his knowledge of sweet treats, brands and packaging! It is one of the little games we play to make our car journey pass quickly - I can highly recommend it!
Here is the visual summary of the key products used on today's project for you to pin for easy reference:
You can see all of my Product and 'How To' summaries on my 'How To - Tips and Techniques' Pinterest board in case you've missed any.
I am also linking today's notecards up with the challenge over at SUO Challenges where the theme is 'Babies and Kids' this week. And just in case you think my older James Junior is missing out, not so - I made some slightly more sophisticated notes for her which were inspired by a rather unlikely object which I will share with you later this week!
Before you reach for your ink and papers, check out what our amazing team has created to inspire you this week - the lovely Ann Schach is back with us too as a permanent design team member again following an extended break, so be sure to pop by her blog and say hi:
The Paper Players Design Team
Here's a quick recap of our challenge rules:
1. Create a new paper project
2. Upload your creation to your blog with a link back to us and provide a direct link to the post featuring your challenge submission.
3. Please link your card to no more than four challenges, TOTAL.
4. Have FUN!
You can see all of my 'How To' summaries on my 'How To - Tips and Techniques' Pinterest board in case you've missed any.
Enjoy your day and I'll be back tomorrow with another project. Until then, happy stampin'!
Stampin' Up! Supplies Used: