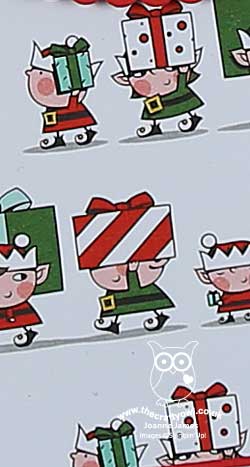
I so enjoyed making my cards for this week's challenge over at The Paper Players that I shared with you yesterday, that I just had to make more with those fabulous little elves. As such today I'm sharing another card that I made using products from the Santa's Workshop Suite, along with a gift voucher holder made using the Envelope Punch Board. Both of these use the current sketch over at Freshly Made Sketches as the basis for my layout:

First up is my card - full of busy elves! Take a look:
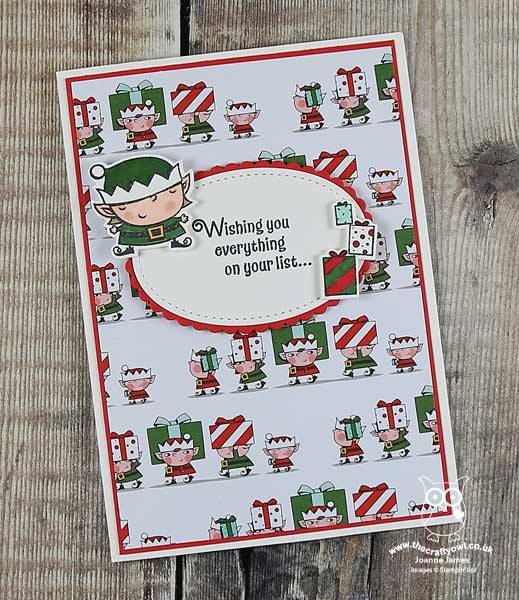
Here's the low-down on today's card:
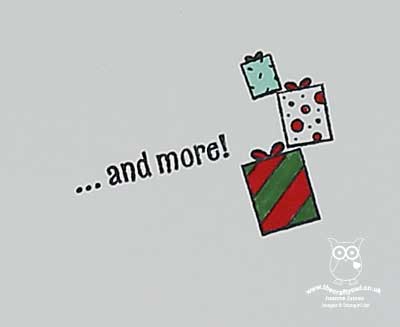
More Santa's Workshop - I'm loving this elf patterned paper and whilst it's busy, it seemed the perfect background to accompany my sweet elf and his accompanying pile of Christmas presents. I love how the sentiment is in two halves and carries over neatly to the inside of my card:
Stitched Shapes and Layered Ovals - With all those elves, I wanted to keep the rest of my card fairly simple, so used a large stitched oval to create some additional white space around my sentiment, layered on a scallop-edged oval in Poppy Parade for definition. Whilst I don't often use ovals, preferring circles or squares generally, sometimes an oval is the shape that works best for balance. One thing I do use lots though are my Stitched Shapes Framelits - these are on my Top 5 Framelits Of All Time list (I must publish that list one of these days!) - a must have for adding subtle detail to your frames.
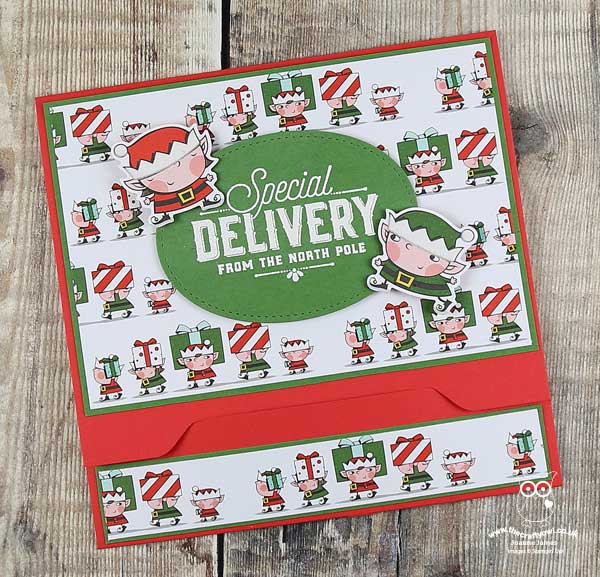
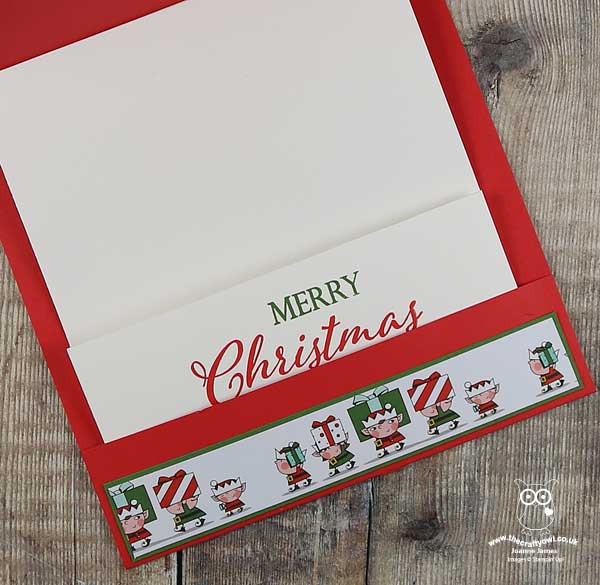
Envelope Punch Board Gift Card Holder - having made my card, I still had a couple of elves with flocked hats left that I had diecut from the Santa's Workshop DSP and decided that I would use the same basic layout but in a landscape orientation to get a headstart on my Christmas Gift Voucher holders. I created a simple wallet using my trusty Envelope Punch Board to create the closure; this is similar to ones I've created previously, only I decided to 'go large' this time and create a wallet large enough to hold £10 notes - I have growing nieces and nephews and these days, only cash will do so I am finding I need to come up with ever more creative ways to gift it! This wallet measures 6" x 6" square and again uses the sketch for the front layout (the stamp I used is from last year's retired Merry Little Labels set):
The wallet opens to reveal a sliding pocket insert, where the money sits in the pocket flap which opens to reveal Christmas wishes and with enough space above to include a personalised message:
I love this style of wallet and make them often. If you would like the dimensions, then just leave a comment below - I'm thinking this might be worth another blog post in itself!
This wallet would also be great to fill with Stampin' Up! gift vouchers for a crafty friend or even to treat yourself - if you would like to order Stampin' Up! gift vouchers for Christmas and receive them beautifully packaged in a wallet like this, then do get in touch and place your order.
Here is the visual summary of the key products used on today's project for you to pin for easy reference:
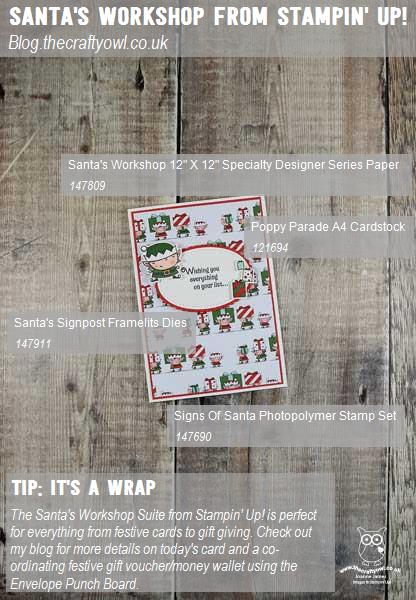
You can see all of my 'How To' summaries on my 'How To - Tips and Techniques' Pinterest board in case you've missed any.
Enjoy your day and I'll be back tomorrow with another project. Until then, happy stampin'!
Stampin' Up! Supplies Used: