
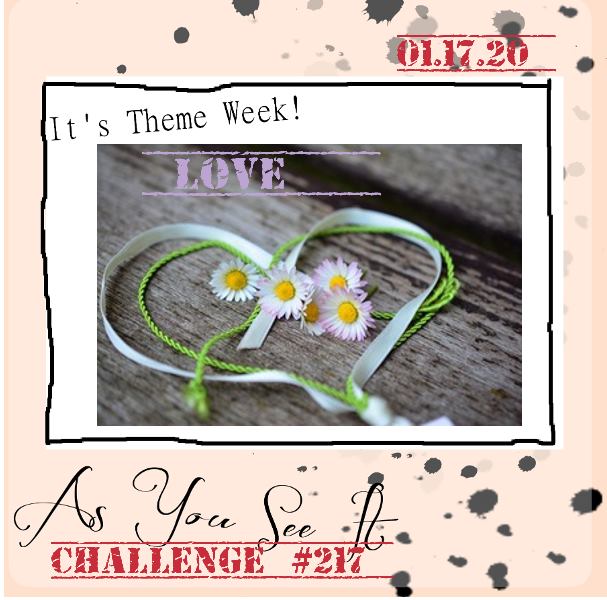
Today I'm sharing my design team card for our new challenge over at As you See It where it's time for a timely theme challenge:
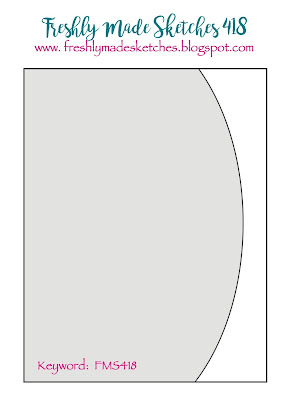
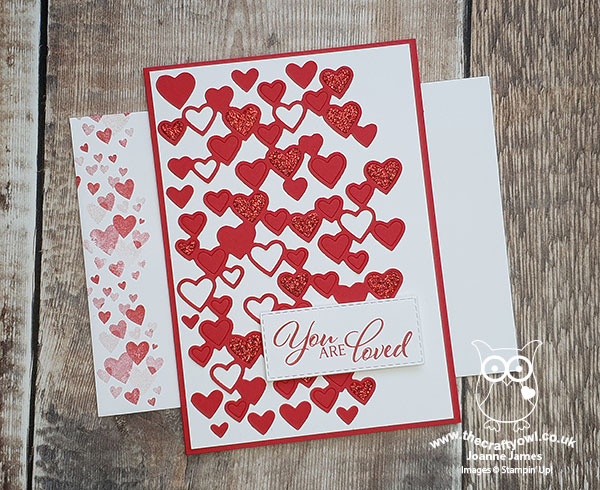
I used the current Freshly Made Sketches layout for my card and despite Heather's beautiful rustic heart image on today's badge, I chose to go full on red for today's love theme - take a look:
Here's the low-down on today's card:
A Card That Is All Heart - When I saw the new Detailed Hearts Die in the Stampin' Up! Spring-Summer mini catalogue, I knew I would have to have it! This is such a versatile die for layering and works not only for Valentine's Day but lots of other occasion cards too. It's also great for making multiple cards at a time: by running it through the die cutting machine with a few different colours of co-ordinating cardstock, you can switch out and mix up the hearts and have a few cards made with relatively little extra effort - and I'm all for saving time! Here I paired mine with some retired Real Red Glimmer paper left over from my Christmas crafting and switched out some of the hearts and left others empty for the white mat layer to show through. I like the added texture this gives whilst retaining the monochromatic look.
A Crafty Curveball - Whilst I love the Detailed Hearts Die 'as it comes', I feel obliged to point out that I didn't use it that way on today's card! I saw Jacquie's sketch over at FMS this week and paled at that vertical curve, knowing that I didn't have any dies that would work. Whilst considering my options (one of which was sponging - check out Amy O'Neill's card on the FMS challenge page (link above) to see a great example of this) I suddenly had a brainwave! The Detailed Hearts Die has an irregular edge to it anyway, but I carefully strategically snipped away some of the hearts along the right hand side to create a more defined curve. I also stuck some of the hearts that I'd removed elsewhere to my base in some of the gaps, to further emphasise it. Clever, right? Well, I thought so ;-) You can see the actual pattern of the die in the product table link below, so be sure to check that out.
You Are Loved - I wanted my hearts to be the star of today's card, so kept my sentiment simple. I didn't want to use this card as a Valentine's card, so by using the 'You are loved' sentiment from the 'Forever Lovely' stamp set, I can use it anytime to let someone know how much they mean to me. This card will probably make it's way to Rebecca in her school bag at some point - even as a teenager, she still has a soft spot for anything with sequins, sparkle and glitter!
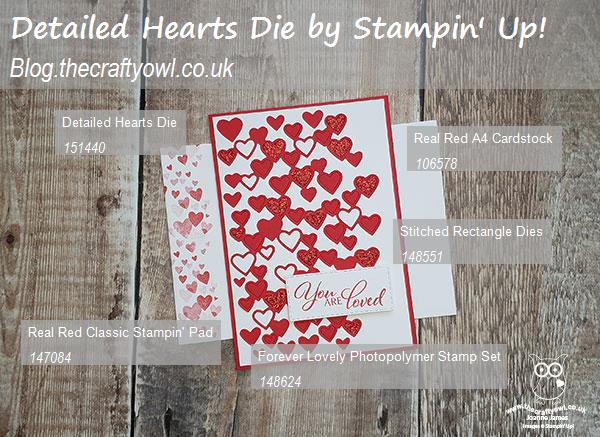
Here is the visual summary of the key products used on today's project for you to pin for easy reference:
You can see all of my 'How To' summaries on my 'How To - Tips and Techniques' Pinterest board in case you've missed any.
Before you put your creative thinking caps on, why not check out the blogs of the other As You See It team members:
Amy Jasper
Heather Cooper
Jan Clothier
Jane Knudsen
LeAnne Pugliese
Here's a summary of our challenge rules:
- Create any card, scrapbooking page, 3D project or packaging project that fits the challenge.
- Fill in the blanks with the words that are right for you and then create your project with those words in mind. Tell us, in your blog or on your site, what words you used.
- Please include the challenge graphic and link back to the challenge in your blog post. Turn off word verification so we can leave you lots of lovely comments. Make sure you link the post not the whole blog to the Linky. Use #AYSIXXX when uploading to a public gallery.
- If you’re unsure about ‘the rules’, check the details under the Challenge Guidelines tab on the As You See It Challenge homepage.
- In a colour challenge, black or other neutral can be used in outlines and sentiments but no other colours should be included. Stampin’ Up colours are used for reference but colours that are a close match are welcome.
- In a sketch challenge, you are welcome to rotate or flip a sketch. You can replace shapes used such as substituting a circle panel for a square panel. However, we must be able to still see the basis of the original sketch in your finished product.
- In a Fill in the Blank challenge, complete the sentence in the Challenge Banner with the phrase that is true for you and create your project using the words you used. Tell us what you said in your blog or on your site.
We look forward to seeing your creations in the AYSI gallery.
Enjoy your day; I'm still wading through paperwork, but will be taking a break to visit the hairdressers for my monthly trim - my one luxury that I look forward to each month! Not only does it keep my hair looking good, it's a great opportunity for a natter - I've known my hairdresser for 20 years and now consider her a good friend! We often joke that she could cut my hair with her eyes closed, although thankfully she's never tried it! Anyone else out there have a hairdresser who they wouldn't want to give up? If mine ever shut up shop, I'd be beside myself! I'll be back tomorrow with another project. Until then, happy stampin'!
Stampin' Up! Supplies Used: