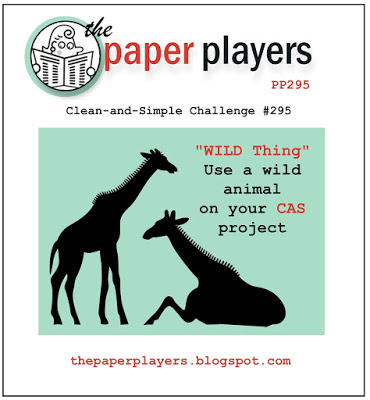
It's Sunday and time for a new challenge over at The Paper Players! It's the turn of my good friend LeAnne to host our challenge this week and she has a fun clean-and-simple theme for you to play along with:
For my card this week I wanted to use my 'From Land To Sea' stamp set. I bought this set for the turtle - I love turtles! - but to date have only used the lighthouse stamp, so this week's challenge gave me the opportunity to change that. The ladies over at Less is More have a one layer challenge with the theme 'At Sea' so I'm linking my card with them too, along with the challenge over at Just Add Ink where the theme is 'masking'. I've a new product 'sneak peek' for you today as well! Without further ado, here is my card:
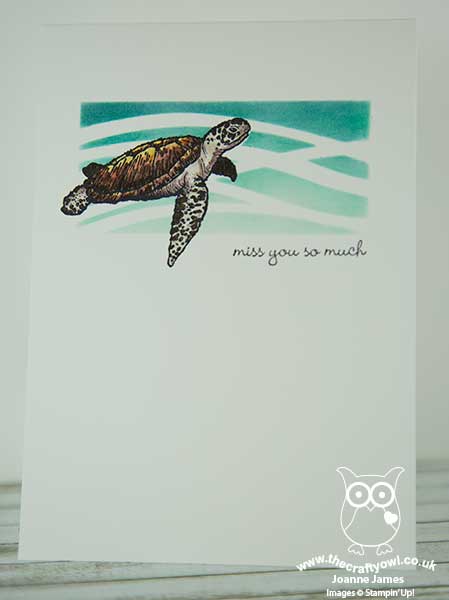
This isn't the first card I made for this week's challenge: I remembered 'wild animal' but forgot 'clean and simple' on my original card, so I will share that one with you later. As far as this card goes though, I just love it! Here's the low-down on how I created my card:
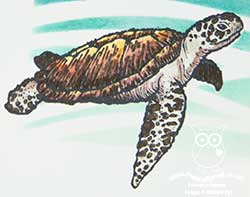
Sea-faring Turtle - Turtles are the one species of sea creature that has always captivated me. I have spent many hours BC (before children!) scuba diving in the warm waters of the Caribbean and nothing ever thrilled me more than to come across a turtle in its natural habitat. They really are so graceful and fascinating to observe. I stamped my turtle in Archival Black ink, once directly onto my extra-thick Whisper White card base, and again onto a post-it note. I cut the second one out and used it as a mask to cover the one on my card base, whilst I sponged in the sea behind.
Swirly Scribbles Stencil - Secondly, the 'sneak peek'! I made a stencil with the wavy die in the new Swirly Scribbles Thinlits set from the forthcoming new annual catalogue by cutting one and then placing across a masked rectangle behind my turtle. With my turtle masked, I sponged through the stencil with Pool Party, Bermuda Bay and Island Indigo inks to create the seascape and then removed both the stencil and turtle mask and coloured my turtle with inks and a blender pen.
A Teeny Tiny Sentiment - To finish my card, I added a sentiment from the Teeny Tiny Sentiments set. This stamp set has a great variety of sentiments for each and every occasion that are suitably small and work perfectly with this layout. I chose my sentiment with the recipient of my card in mind; we haven't had a diving holiday with our good friends Cathy and Andy in such a long time, so this card is perfect to send to them to remind them that one day we will all dive together again!
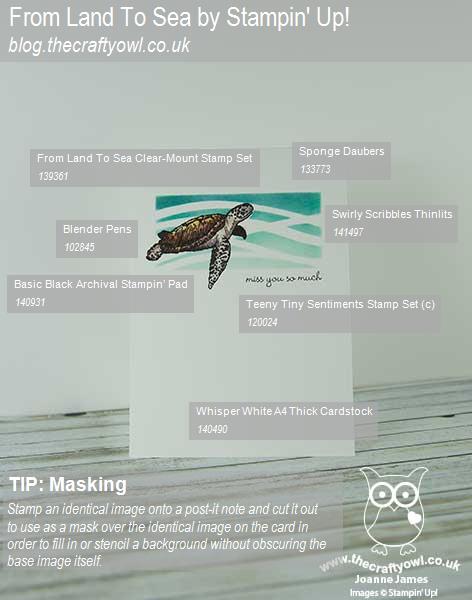
Here is the visual summary of the key products used on today's project for you to pin for easy reference:
You can see all of my 'How To' summaries on my 'How To - Tips and Techniques' Pinterest board in case you've missed any.
Before you reach for your ink and papers, check out what our amazing team has created to inspire you this week:
The Paper Players Design Team
Here's a quick recap of our challenge rules:
1. Create a new paper project
2. Upload your creation to your blog with a link back to us and provide a direct link to the post featuring your challenge submission.
3. Please link your card to no more than four challenges, TOTAL.
4. Have FUN!
I look forward to seeing your wild animal CAS creations this week. We have double basketball today: training this morning them both James Juniors are playing at a tournament this afternoon - on opposing teams! One is playing for school and the other for club, so that should be interesting!!
Back tomorrow with another project; until then, happy stampin'!
Stampin' Up! Supplies Used: