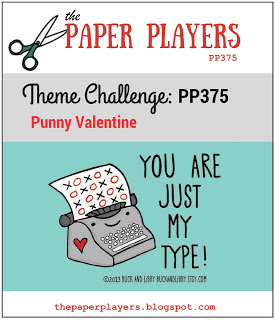
It's Sunday and time for this week's new challenge over at The Paper Players! I hope you have all enjoyed a restful Christmas and are ready to join us for some crafty fun. The super-talented Sandy is kicking off a new year of Paper Player challenges for us with a seasonal theme with a little humour too:
Now I love a good pun, yet I initially had a little panic when I saw Sandy's theme this week as I couldn't find a single 'punny Valentine' stamp on my shelf. I thought I was going to have to get really creative and 'think outside the box' when I was saved by my lovely downline Helen, who was coming over for a 'planning and play' session and brought with her the perfect stamp set for this week's theme - take a look:
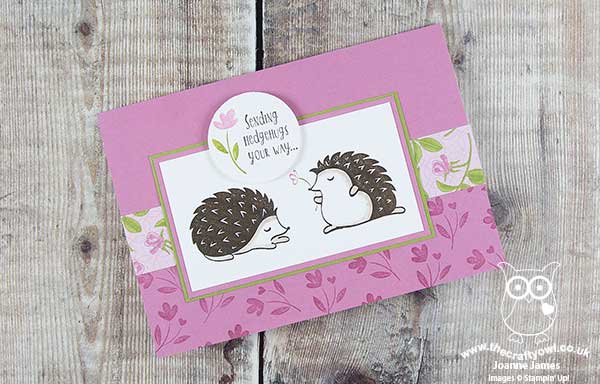
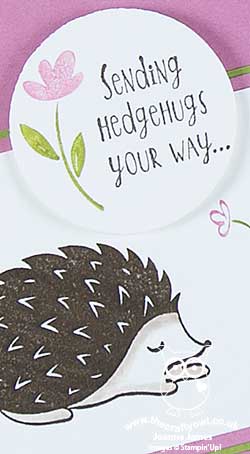
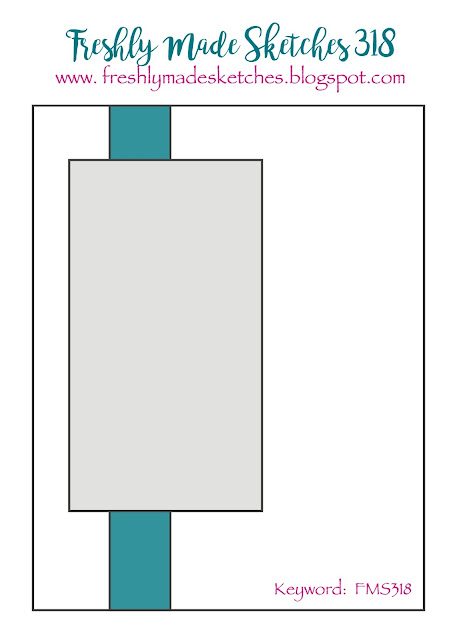
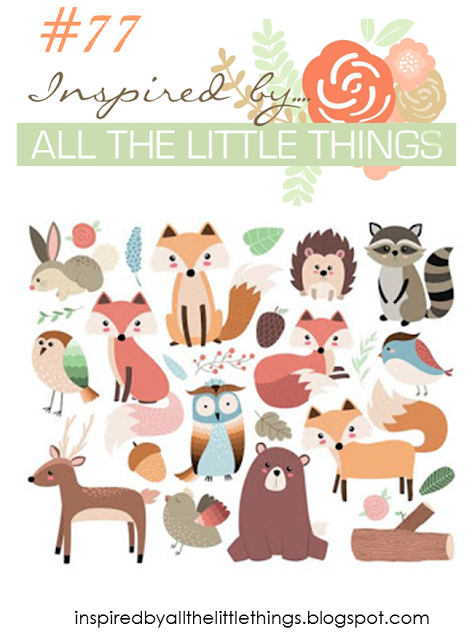
Hedgehugs - how cute is that?! I grabbed the current Freshly Made Sketches sketch and set to work. I inked up my prickly pair with my Stampin' Write markers, colouring the hedgehogs in Early Espresso (I added a little Crumb Cake with a blender pen afterwards) and the flower in a combination of Sweet Sugarplum and Old Olive, to compliment the florals of the strip of Petal Garden designer series paper that I used behind. I stamped my punny sentiment along with another flower and popped it up on a circle between my hedgehogs - this is one of those cards where if you can't see the sentiment, it kind-of doesn't make sense! A little floral tone-on-tone stamping on the bottom half of my card was added for extra interest. I'm also linking my card up with the team over at Inspired By All The Little Things, where this week's inspiration is all about wild animals. My inspiration was the hedgehog but I might have to have another go over there this week as there are so many little woodland cuties to choose from!
Here is the visual summary of the key products used on today's project for you to pin for easy reference:
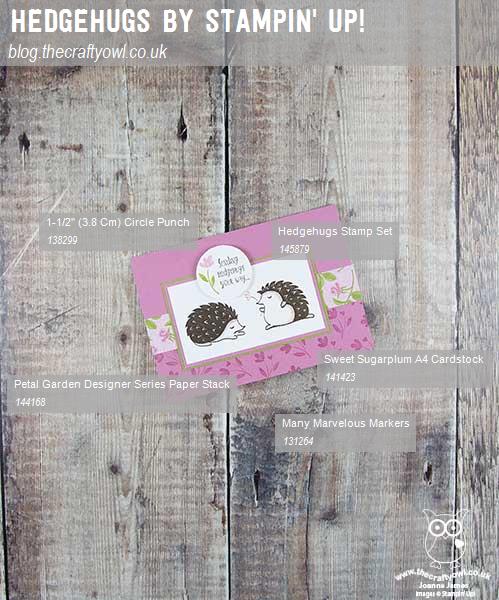
You can see all of my Product and 'How To' summaries on my 'How To - Tips and Techniques' Pinterest board in case you've missed any.
I love a punny sentiment and this little hedgehog pair is super cute - thanks to Helen for helping me out too! If you'd like to see what else we got up to, check out this post on Helen's blog this week. As one of a special team of demonstrators at Stampin' Up!, I was fortunate to receive my much-anticipated Stamparatus this week and having shared a video with my team already, Helen was keen to have a play. I videoed Helen in action - you can see the full version and the card we made, along with lots of her other creations, over on her blog, Love-A-Duckie.
Back to today's challenge! Before you reach for your ink and papers, check out what our amazing team has created to inspire you this week, including the lovely Eliz Stewart of My Paper Sweetness who is joining our team of guest designers for the next six months for the first time today. Some of the team have created some truly inspiring and inspired cards with their stamps this week, so do check them out:
The Paper Players Design Team
Here's a quick recap of our challenge rules:
1. Create a new paper project
2. Upload your creation to your blog with a link back to us and provide a direct link to the post featuring your challenge submission.
3. Please link your card to no more than four challenges, TOTAL.
4. Have FUN!
I look forward to seeing what you create with this week's theme. Enjoy the rest of your weekend as it will be over all too quickly; I'll be back tomorrow with another project; until then, happy stampin'!
Stampin' Up! Supplies Used: