Today I have another kit based project to share with you: the 'To You And Yours Shaker Cards' project kit featured on page 4 of the current seasonal catalogue. Whilst I love creating my own cards from scratch, I am also a huge fan of Stampin' Up!'s card kits. Like the rest of the Stampin' Up! product range they are always of a very high quality and represent great value for money and for me are a great way to relax as I craft, as all I have to do is follow the instructions and put them together!
I don't always blog my kit projects because often they are completed then straight out the door (they make great last minute cards for busy crafters too!) however I often get the feedback when people see them made up at classes, parties or open house events that they look so much better in real life than the catalogue images. So, with that in mind I have been making a concerted effort, along with one of my downlines and fellow 'kit fan' Barbara, to get my kits put together ahead of time and share them with you. So here goes!
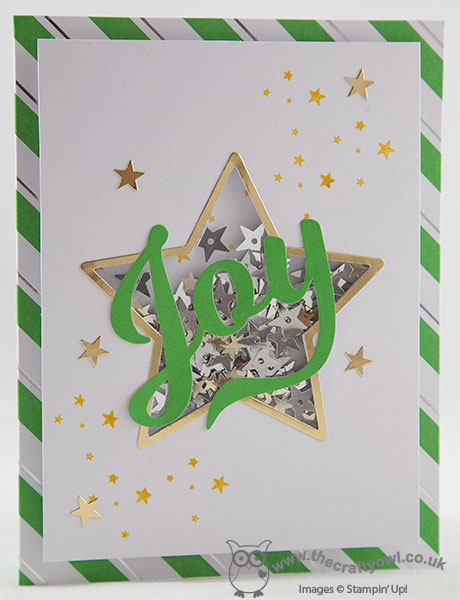
The 'To You And Yours Shaker Cards' Project Kit contains everything you need to make 18 cards, 6 each of three designs. You can make them with or without the additional stamping - for this you will need the 'To You And Yours Too' co-ordinating stamp set and a few ink pads (see product table below). The first card features a star shaker, complete with star-shaped sequins:
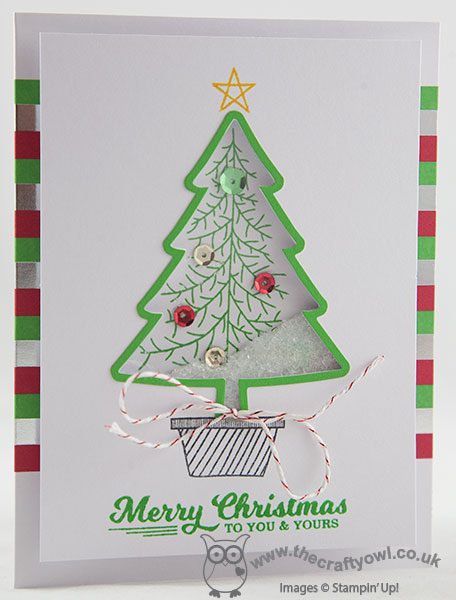
The second card features a Christmas tree, with sequin baubles and glitter glass shaker:
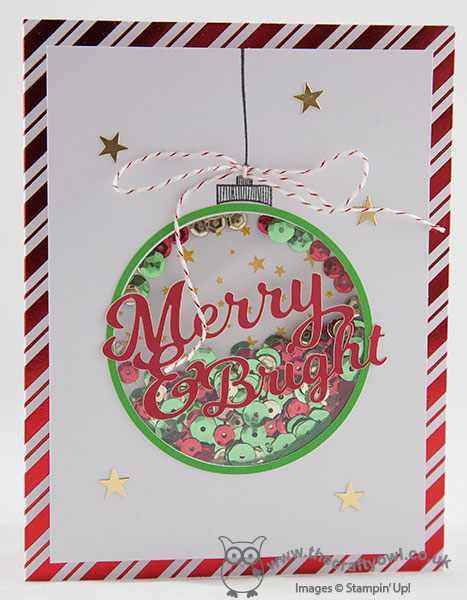
The last card features a bauble, in gorgeous green and red (in case you're wondering, I swapped the sentiments on the front of each of the star and bauble cards because I preferred them this way) - I think this one is actually my favourite:
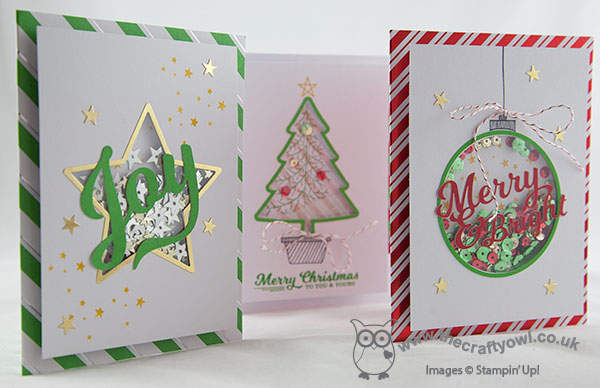
Aren't they just gorgeous?! And not tricky to put together at all! So much so that I am running a couple of children's classes to make these cards during the forthcoming half-term holiday; you can check out the details by clicking on the 'events' tab on my Facebook page here or alternatively send me an email or give me a call - spaces are limited and they are filling up fast! Likewise, if you would like to get together with a group of grown up friends to make this kit then let me know - I'll bring along the inks and stamp sets, you just need to purchase the kits!
If you are purchasing this kit to craft at home, (or need more convincing!) the lovely people at Stampin' Up! have even made a video showing you step by step how to put the kit together:
I hope you enjoyed the review of this fantastic little kit; I'll be back with details of the other kits we offer in due course. That's all from me today - back tomorrow with details of this week's new Wednesday Weekly Deals and a creative punch art project. until then, happy stampin'!
Stampin' Up! Supplies Used: