It's Sunday and time for this week's new challenge over at The Paper Players! I'm back following my week off and raring to go. It's the turn of the wonderful Laurie to host this week and she has a clean and simple challenge for you to work with:

Remember in addition to the theme of "blooms", this week is a Clean-and-Simple (CAS) challenge! What do we mean by CAS?
- Minimal layers and embellishments
- Plenty of open space, aka "white" space
- Simple and uncluttered
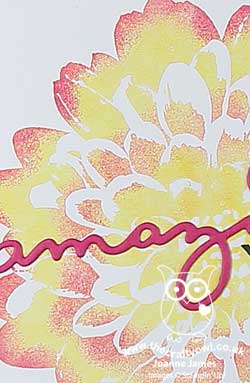
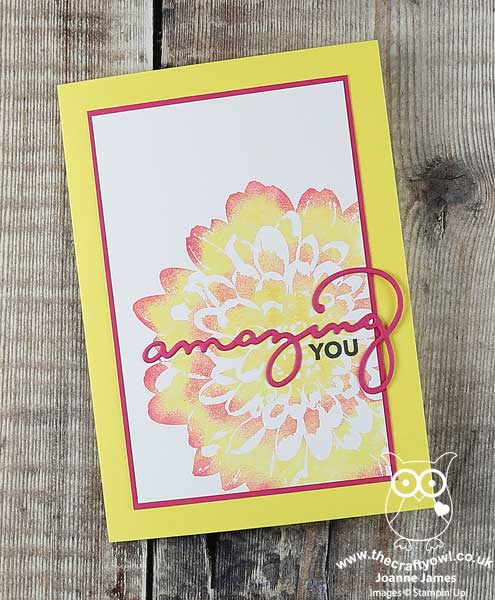
I have a couple of cards of cards to share with you today (and another tomorrow!) that fit this week's theme. I decided to use the retiring 'Definitely Dahlia' stamp for my cards today, and was very much inspired by our badge this week created by the oh-so-talented Nance. Here's my single clean and simple bloom:
Here's the low-down on today's card:
Farewell Definitely Dahlia - I will miss the 'Definitely Dahlia' background stamp, as it is so great for CAS cards. Whether you simply stamp 'as is' (see my uber-CAS card below) or do as I have here, where I inked with two colours to create a two-tone effect, this is a stamp that needs little else for a clean and simple card - the stamp really does much of the work.
Hello Pineapple Punch - I used one of the new in-colours, Pineapple Punch, to create the base layer of colour for my dahlia, stamping off once before adding some Melon Mambo pink with a sponge dauber to the petal edges to create a pretty two-tone effect. This adds a little more depth and interest to the final stamped image. I really like the new in-colours this year - they work so well as a collection and compliment many of the other colours in our palette.
Amazing You - I finished my card with a stamped and diecut sentiment from the 'Celebrate You' thinlits set - can't wait for these to become available in the new catalogue, you know how much I love a diecut thinlit :-)
Here is the visual summary of the key products used on today's project for you to pin for easy reference:
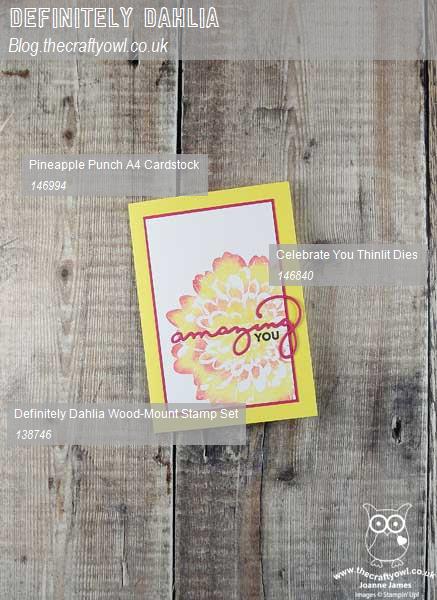
You can see all of my Product and 'How To' summaries on my 'How To - Tips and Techniques' Pinterest board in case you've missed any.
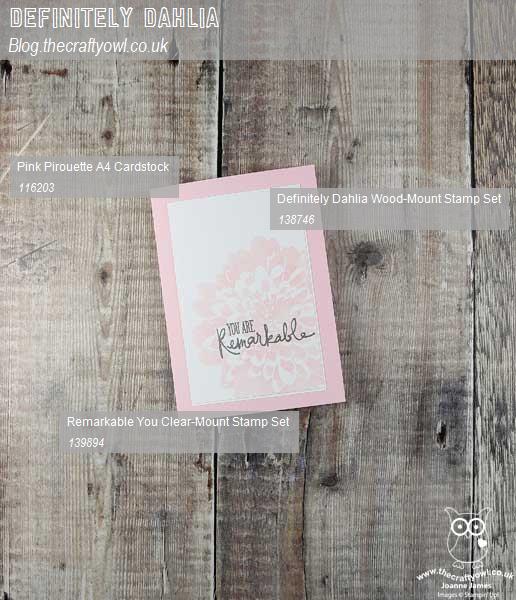
Before I go, here's another version of the same card, this time super clean-and-simple in style, that I made for the current mix it up challenge over at Sugar Pea Designs, using both sketch and photo inspiration:

Whilst I didn't choose a rose for my flower, I did go with the pale pink and a single bloom, and I used the sketch. Here's my card:

I simply stamped my dahlia in retiring Pink Pirouette ink, stamping off once to get a pale flower, heat embossed my sentiment from another retiring stamp set, Remarkable You, in silver and mounted on a Pink Pirouette card base.
Here is the visual summary of the key products used on today's project for you to pin for easy reference:
Before you reach for your ink and papers, check out what our amazing team has created to inspire you this week:
The Paper Players Design Team
Here's a quick recap of our challenge rules:
1. Create a new paper project
2. Upload your creation to your blog with a link back to us and provide a direct link to the post featuring your challenge submission.
3. Please link your card to no more than four challenges, TOTAL.
4. Have FUN!
I can't wait to see your clean and simple creations and look forward to visiting your blogs this week! Enjoy the rest of your weekend - it looks like we are going to enjoy another day of sunshine here in the UK so I will be looking forward to spending some time in my garden, amongst other things. I'll be back tomorrow with another project; until then, happy stampin'!
Stampin' Up! Supplies Used: