Another busy week in the James household with little time for crafting - boohoo! I did have a great technique class earlier this week where we made cards using the 'Share What You Love' Suite and have had the opportunity to chat with lots of my lovely customers this week as they have been collecting their new catalogue orders, so it's not all bad. And today it's Sunday and time for this week's new challenge over at The Paper Players - yay! It's the turn of our very own queen of diecuts, the lovely Laurie, to host this week and she has my favourite, a sketch challenge, for you to work with:
I decided that the sketch layers lent themselves to featuring some new designer series paper and having just taken delivery of the Animal Expedition papers I had to start cutting them up for my card this week - take a look:
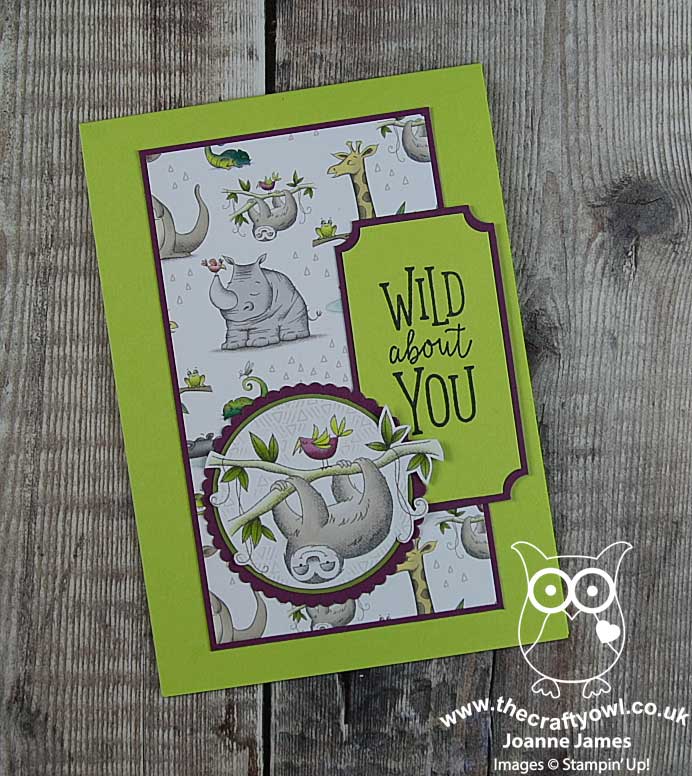
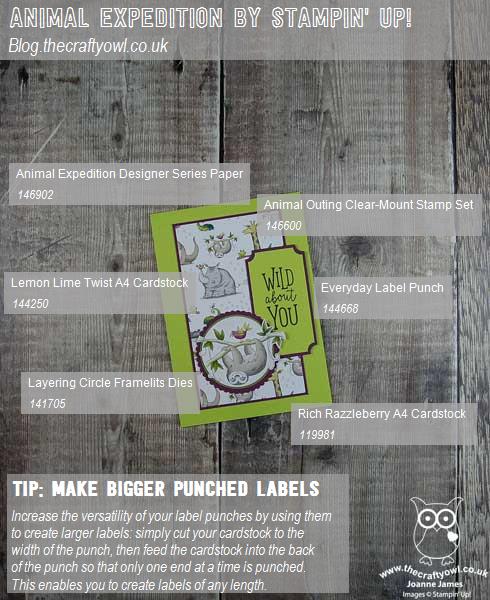
Here's the low-down on today's card:
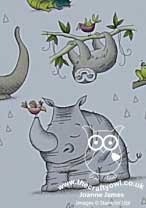
Animal Antics - My card today contains very little stamping - it really is all about the paper. Oh and how I love designer series paper! I used two different designs from the Animal Expedition DSP on my card: a background panel featuring a selection of cute animals, including the animals to be found in the co-ordinating 'Animal Outing' stamp set along with a few extras too, including crocodiles and a sloth. For my circle element, I used one of the other paper designs featuring larger versions of the same animals and cut out a sloth with a circle framelit, allowing the fussy cut edges to overhang the border of my mount - isn't he just the cutest?
Wild About ... My Everyday Label - The only stamped element on my card is the sentiment. I punched this out using my Everyday label punch by feeding the cardstock into the punch from the back in order to create the longer rectangle, then snipped off the circular elements top and bottom in order to create a uniform shape that was easier to mount.
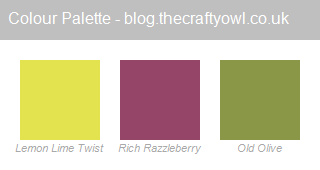
A Bright Colour Combo - I chose to use Lemon Lime Twist for my card base and label, to provide a bright contrast to my busy patterned paper. I mounted all of my panels on Rich Razzleberry, pulling the colour from the little purple bird that is chatting to the sloth. I also added a thin border of Old Olive to frame my sloth. Feel free to save this colour combination for your future projects:
Here is the visual summary of the key products used on today's project for you to pin for easy reference:
You can see all of my Product and 'How To' summaries on my 'How To - Tips and Techniques' Pinterest board in case you've missed any.
Before you reach for your ink and papers, check out what our amazing team has created to inspire you this week:
The Paper Players Design Team
Here's a quick recap of our challenge rules:
1. Create a new paper project
2. Upload your creation to your blog with a link back to us and provide a direct link to the post featuring your challenge submission.
3. Please link your card to no more than four challenges, TOTAL.
4. Have FUN!
I can't wait to see what you create with this week's sketch and look forward to visiting your blogs this week! Enjoy the rest of your weekend as it will be over all too quickly. We have the last bits of the kitchen to pack away before major building work starts tomorrow on the new one, along with another school project - last week it was Eid cards, this time a map of the Tour de France route - to assist in the completion of. Thank heavens for Stampin' Up! and a ready stash of onhand craft supplies! I'm hoping to get some crafting done this week in between making copious cups of builders tea so will be back soon with more projects sharing some new makes.
Either way, you are definitely going to want to pop by next Sunday for the next Paper Players challenge; we will be celebrating our 400th anniversary and have a ton of fun in store for you! Until next time, happy stampin'!
Stampin' Up! Supplies Used: