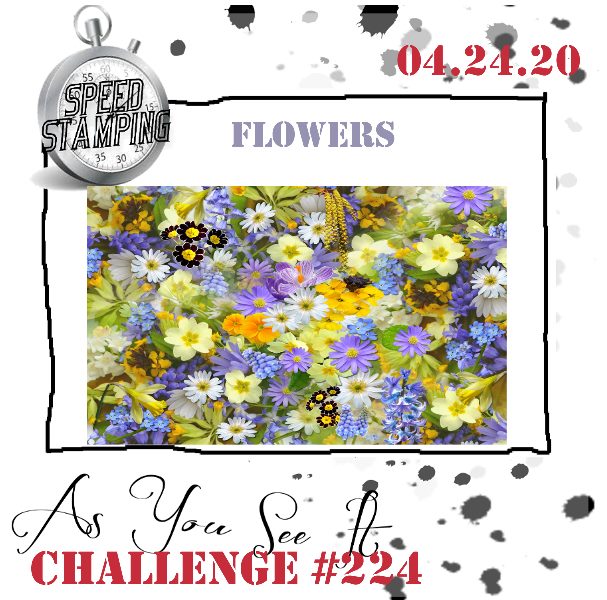
Today I'm sharing my design team card for our new challenge over at As you See It where it's time for a speed challenge:
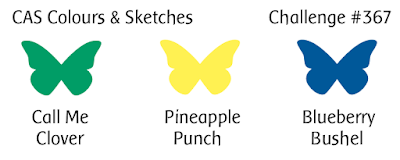
I also decided to inject a shot of bright colour with the CAS Colours and Sketches colour palette that I felt strangely drawn to this week for my speedily stamped card and pulled out an old favourite - take a look:
Here's the low-down on today's card:
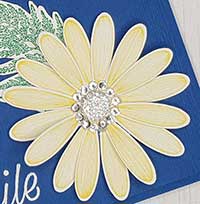
Top Speed Tip: Pick A Punch - So this is really my top mass-production tip, but the reason I would always use a punch rather than die-cutting machine when mass producing is really because it saves time. Punches make light work and the Daisy Punch is a case in point. I've used it today with the Daisy Lane stamp set and I can confirm that both of these items are carrying over to the new Stampin' Up! annual catalogue in June; the other stamp that co-ordinates with the Daisy Punch, Daisy Delight, is not - so if you want to add this to your collection, do it now before it's gone forever.
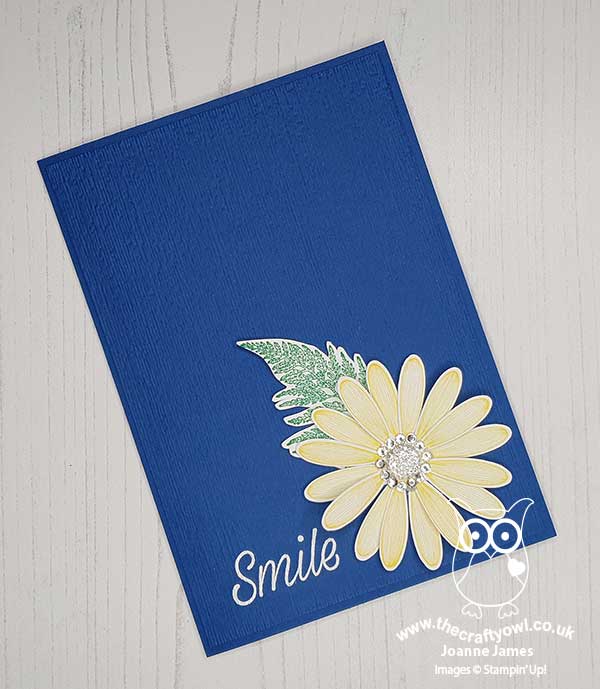
Always Be Prepared - Of course, if you want to create a card in under 10 minutes, the main thing is to be prepared! I had a clear idea of what I was going to create and made sure I had all of the items I needed to hand before I started the process. It's also worth keeping the design simple; this doesn't necessarily mean it needs to be one layer, but it shouldn't be overly complicated. I managed to achieve a number of different elements on my card in a short space of time: dry embossed background, heat embossed sentiment, stamped and punched flowers (x2) and a stamped and fussy cut fern, along with gemstone decoration. I was doing so well on time I decided to add a ring of rhinestones around my central clear faceted gem (I will miss these - they make such lovely daisy centres) - I just so happened to have a long strip from a retired rhinestone pack, so didn't need to place them individually which would have taken longer - I just adhered the strip in one motion.
A Time Triumph - I am always pushing the time limit on a speed challenge, so imagine my surprise when I managed to finish this one in record time:
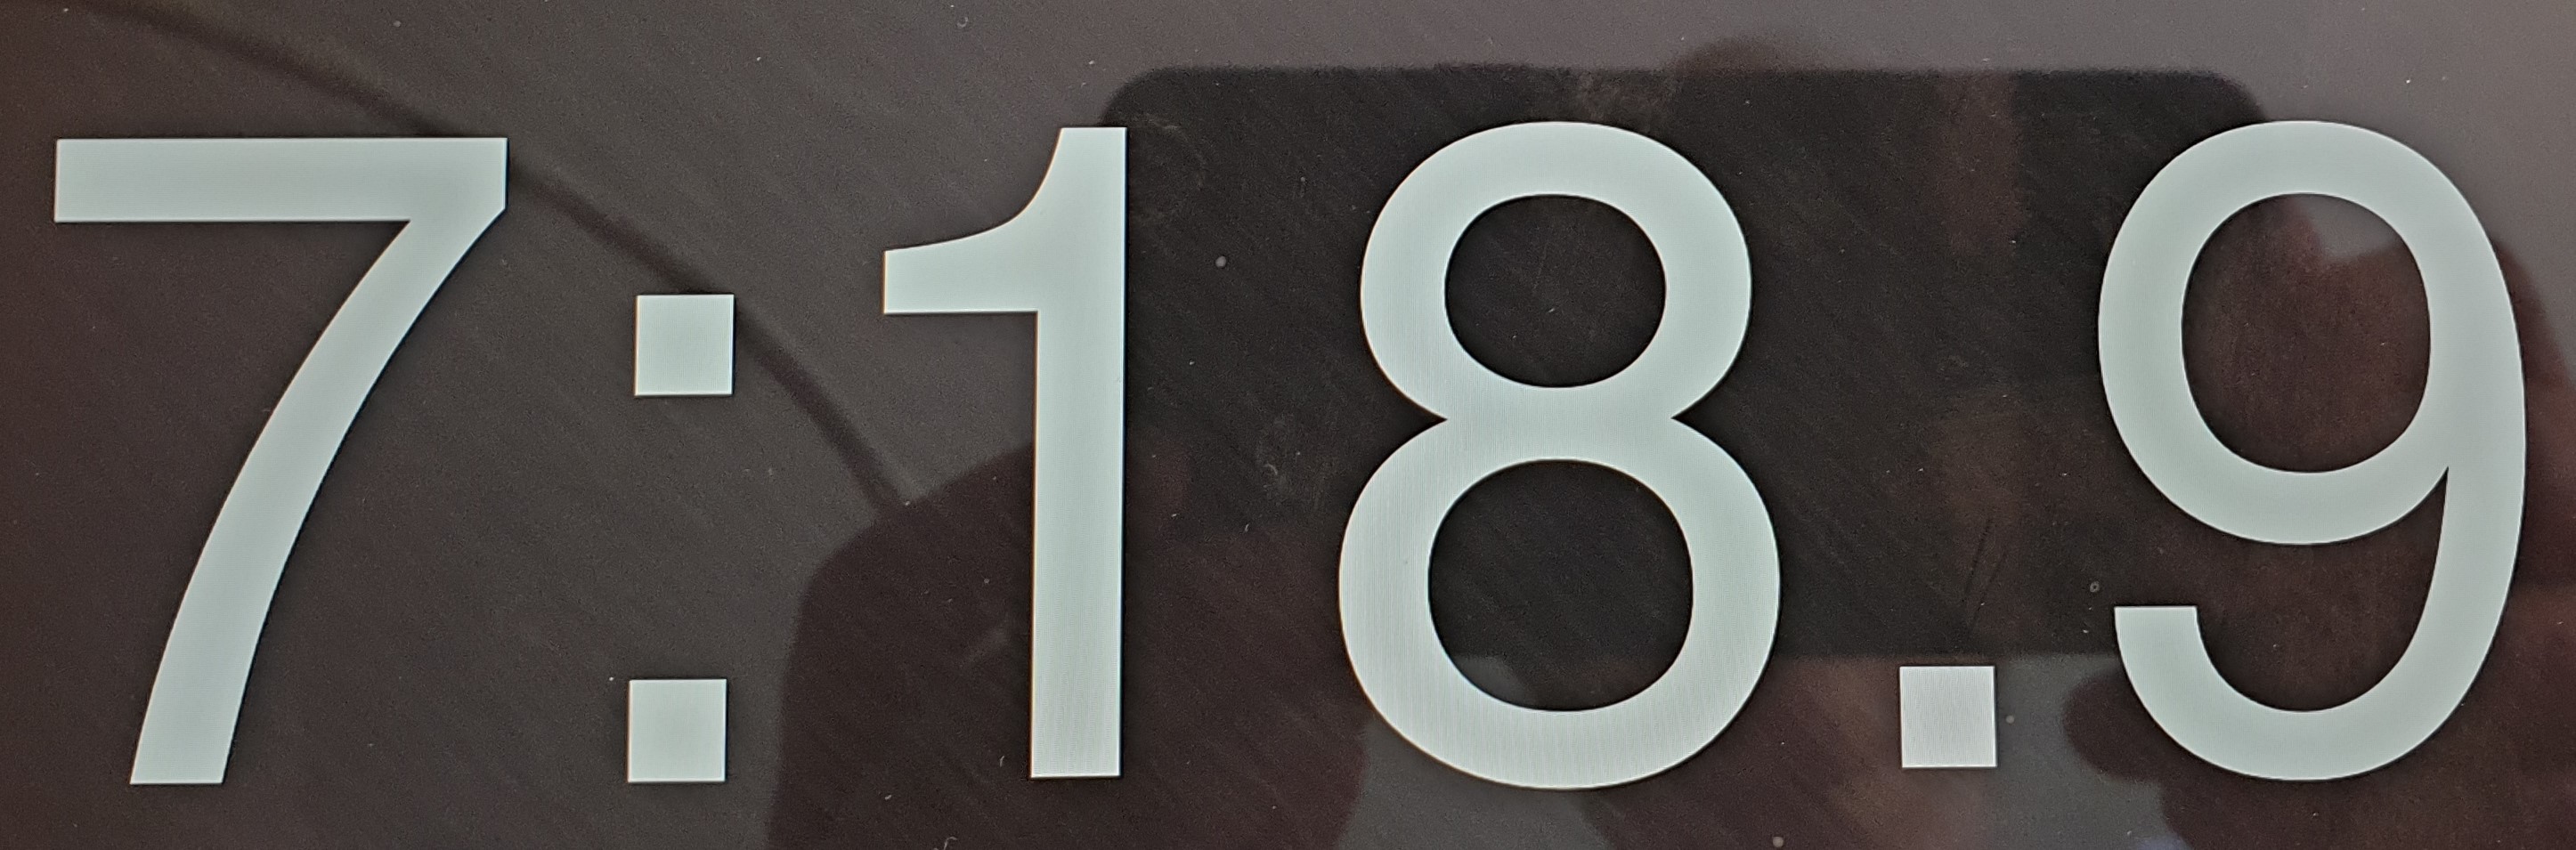
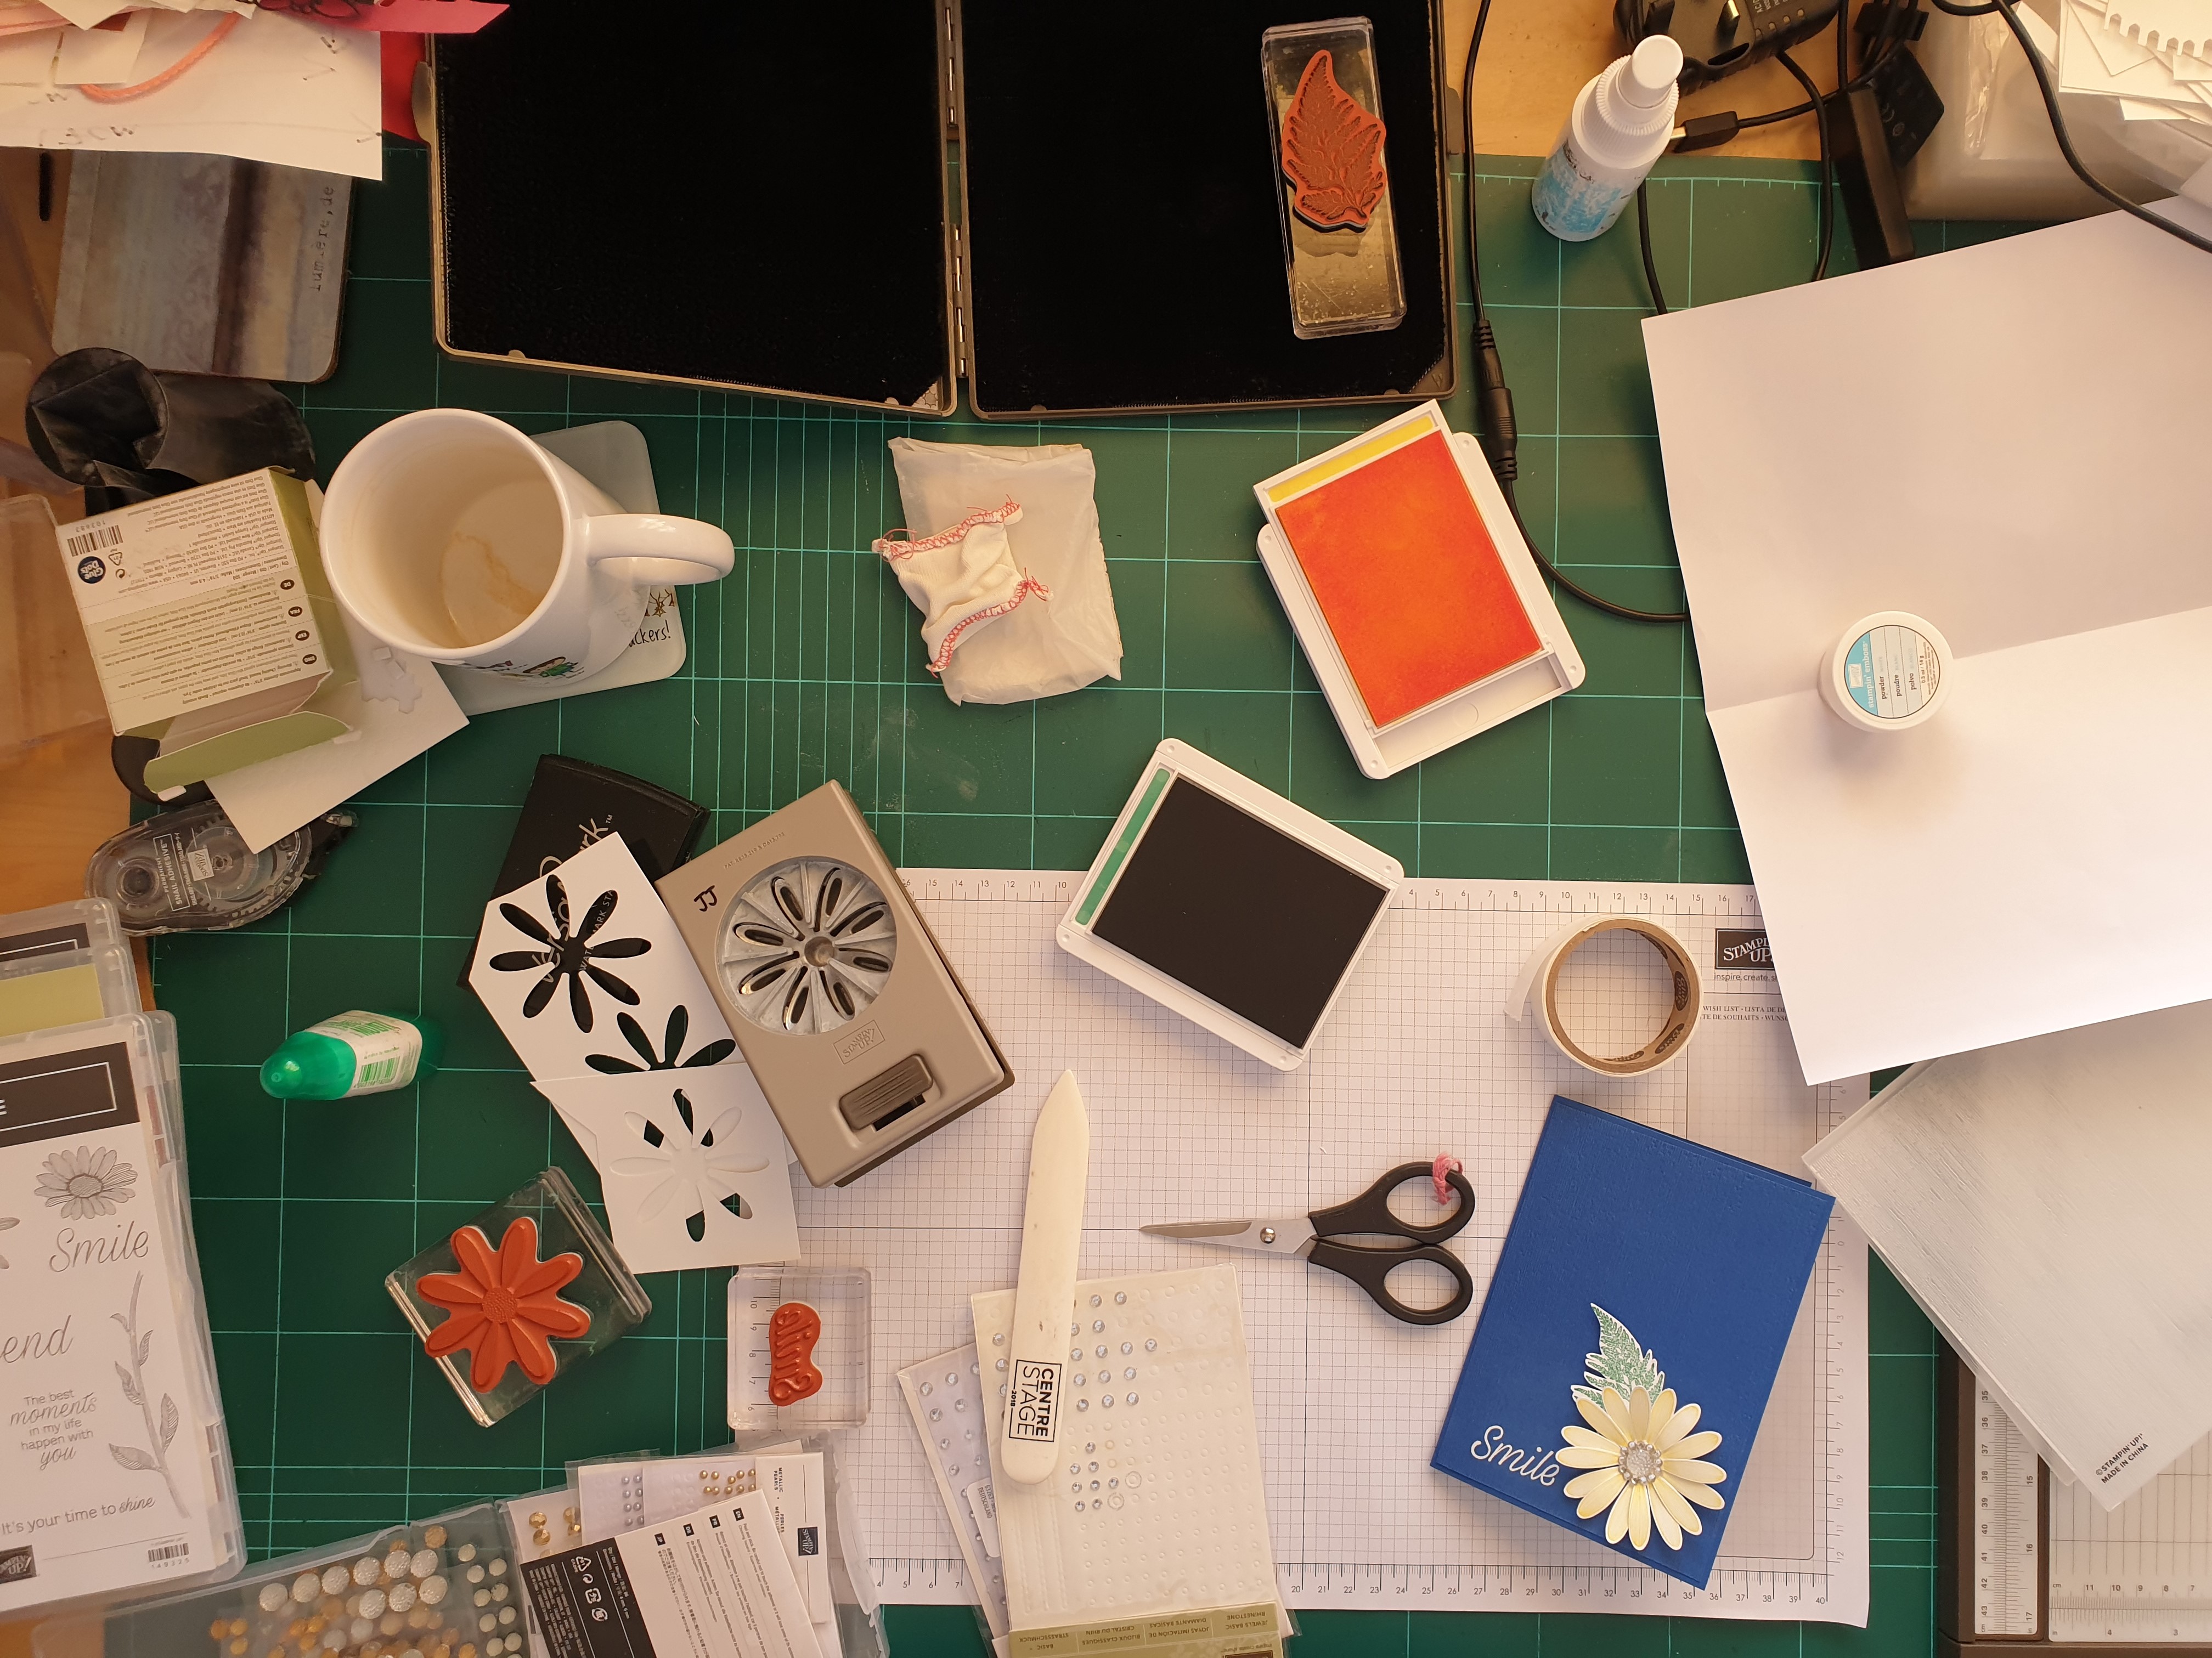
Yes, 7 minutes and 18 seconds, and that included stamping and punching a third daisy too, as I tore a petal off my first one as I curved the petals in haste with my bone folder! I was so pleased with myself I thought I would share a picture of my stopwatch!! How did I use my remaining minutes? Well, I took an aerial shot of my desk so that you can see the absolute chaos that creating in 7 minutes and 18 seconds takes:
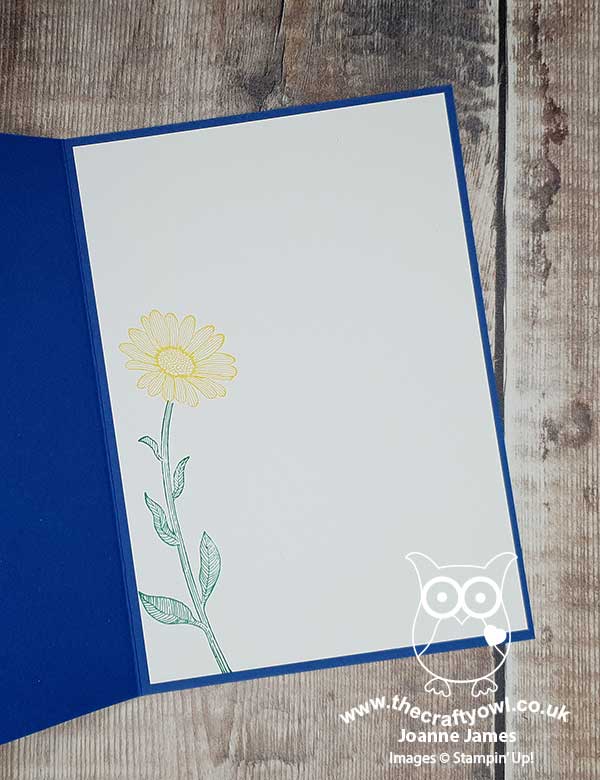
Then I brushed the craft-a-math to one side to stamp a quick daisy on the inside panel too:
I really love this card - I think the bright blue background makes this bright daisy pop.
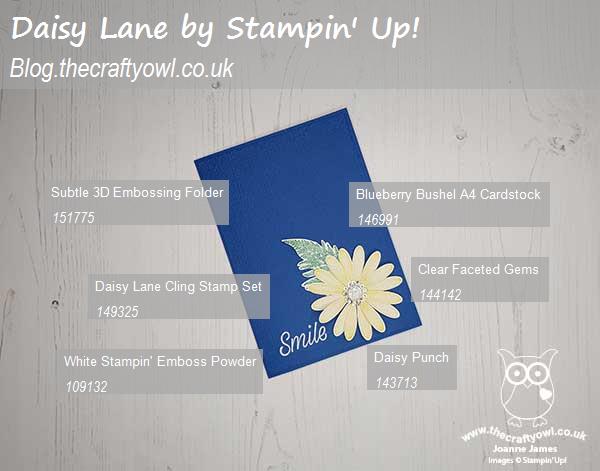
Here is the visual summary of the key products used on today's project for you to pin for easy reference:
You can see all of my 'How To' summaries on my 'How To - Tips and Techniques' Pinterest board in case you've missed any.
Before you put your creative thinking caps on, why not check out the blogs of the other As You See It team members:
Amy Jasper
Heather Cooper
Jan Clothier
Jane Knudsen
LeAnne Pugliese
Here's a summary of our challenge rules:
- Create any card, scrapbooking page, 3D project or packaging project that fits the challenge.
- Please include the challenge graphic and link back to the challenge in your blog post. Turn off word verification so we can leave you lots of lovely comments. Make sure you link the post not the whole blog to the Linky. Use #AYSIXXX when uploading to a public gallery.
- If you’re unsure about ‘the rules’, check the details under the Challenge Guidelines tab on the As You See It Challenge homepage.
- In a colour challenge, black or other neutral can be used in outlines and sentiments but no other colours should be included. Stampin’ Up colours are used for reference but colours that are a close match are welcome.
We look forward to seeing your creations in the AYSI gallery.
Enjoy your day and I'll be back tomorrow with another project. Until then, happy stampin'!
Stampin' Up! Supplies Used: