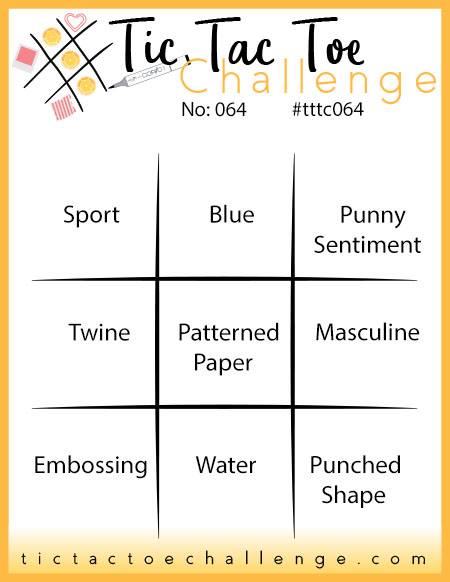
It's Thursday and time for a new challenge over at TicTacToe! It's the turn of Team X to host this week and I am the featured designer this week. This is the fun board that we are playing along with:


I had another crack at Brian's CAS(E) This Sketch layout today and my card also uses the colours over at The Card Concept, and whilst I have stripes they aren't of the patriotic kind - take a look:
I chose the right-hand column of Punny Sentiment - Masculine - Punched Shape for my card today and this is how I achieved it:
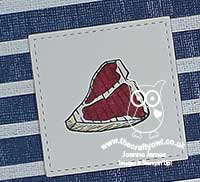
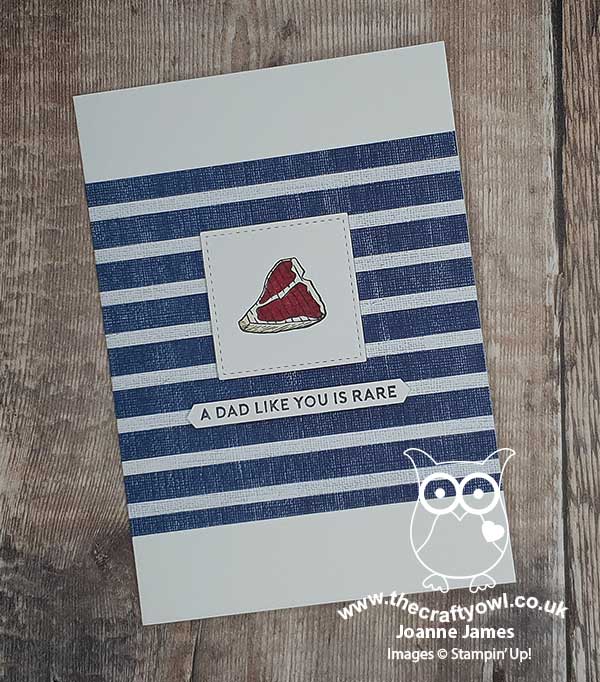
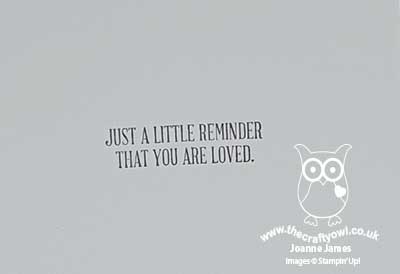
Punny Sentiment - I love a punny sentiment and the 'Outdoor Barbeque' set in the current Spring-Summer catalogue has a few of them! I especially love this one with the picture of a steak - I mean, who puts a steak on a card, right?! This is perfect for the Dad of the James household - this is exactly how he likes his steak cooked and he is a rare breed indeed (read into that what you may!) I finished the sentiment inside my card with this stamp from the 'A Wish For Everything' set:
Masculine - I'm not sure many females would relish a juicy streak on the front of a card - I'm more a hearts and flowers girl myself! - so that definitely puts this card into male territory. Besides, our Dad is most definitely the king of the BBQ - a very masculine domain! That's where my blue striped paper comes in too; it's from the now retired Come Sail Away DSP but on my card serves as a nod to my husband's navy and white butcher-striped BBQ apron.
Punched Shape - Lastly, I used the Classic Label Punch to punch out the sentiment on the front of my card and pop it up on dimensionals; I cut a long thin strip of cardstock to stamp my sentiment on then fed it into each end of my punch in turn, as the punch was too short to get it in one go.
Here is the visual summary of the key products used on today's project for you to pin for easy reference:
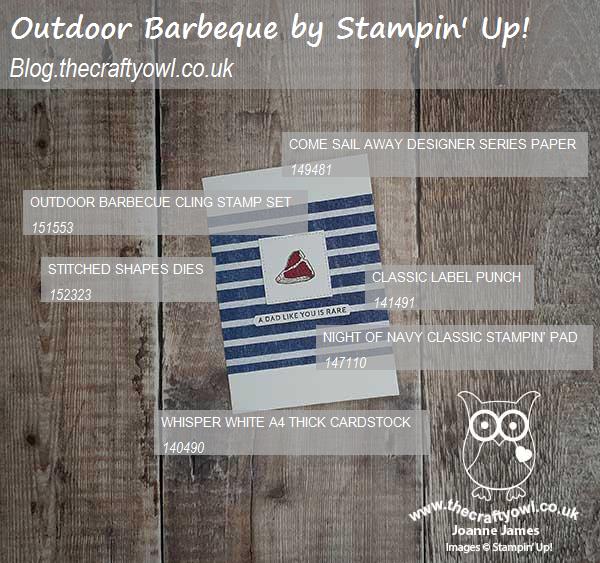
You can see all of my Product and 'How To' summaries on my 'How To - Tips and Techniques' Pinterest board in case you've missed any.
A tictactoe board offers so many creative possibilities - how does this week's board inspire you? Why not have a go? We would love to see you in the gallery and who knows - you might be selected for Designer's Choice and be eligible to be a guest designer on a future challenge.
Enjoy your day; my day today revolves around laundry, craft, CE revision - the usual! I am also expecting visit number 2 from the oven repair man (my oven is actually in bits on the kitchen floor as we speak - it seems no other Neff oven has experienced the same fault as mine, go figure!!) and a socially distanced interaction with one of my friends and neighbours, who excitedly called me yesterday to say she had managed to get her hands on some plain four and would be bringing some round for me - sometimes the little things are so exciting and this will undoubtedly be the highlight of my day today! I'll be back tomorrow with another project. Until then, happy stampin'!
Stampin' Up! Supplies Used: