Happy Monday everyone! Today I have a couple of cards for you - hence my somewhat random blog title! The first for the current colour challenge over at Color Throwdown, using the sketch over at TGIF Challenges and with a stamp and embossed background that also fits the bill over at Christmas Kickstart who are partnering with a new-to-me challenge Squash It this time around:


That is a fairly hefty set of linkups, but when you look at my card it's super easy to see how each and every one inspired my project - take a look:
Here's the low-down on today's card:
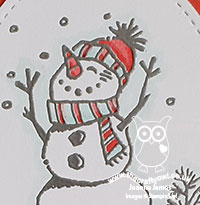
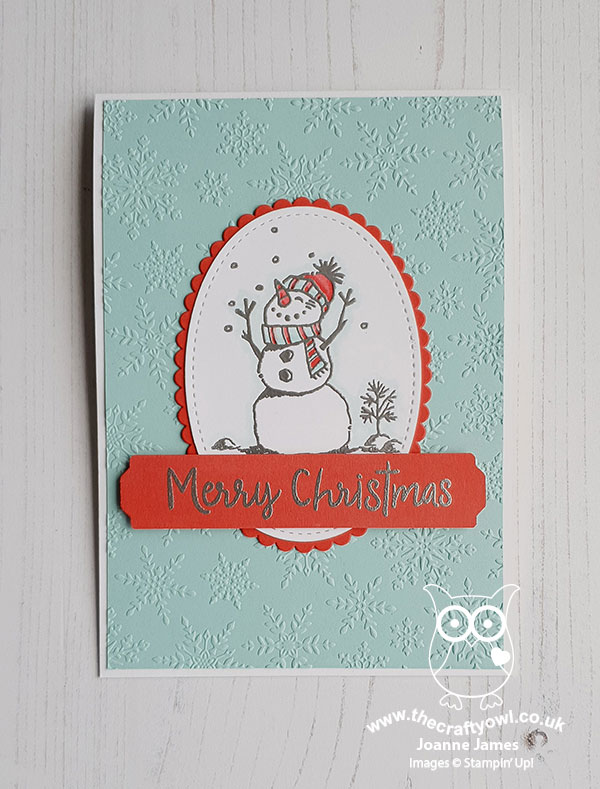
Snowman Season - When I saw those Color Throwdown colours, I immediately thought 'snowman' and was delighted that they gave me an excuse to break out one of my much-loved stamp sets from last year, 'Snowman Season'. This set was carried over into the annual catalogue, but hasn't seen any love from me yet this season, with so many new stamp sets taking precedence! Today's card rectifies that though - how adorable is this chap, heat embossed in silver and carefully coloured with Pool Party and Poppy Parade Blends?
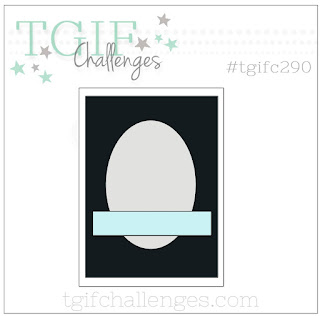
Oval Centrepiece - The sketch over at #TGIFC290 was just perfect to showcase my snowman and it also encouraged me to use another shape I don't naturally gravitate towards - ovals! I went with a stitched oval to frame my snowman and added a Poppy Parade scallop-edged oval background mat, to allow it to pop against the Pool Party embossed background.
Winter Snow - Lastly, to the embossed background! I ran my Pool Party layer through Stampin' Up!'s Winter Snow embossing folder to create a pretty background of delicately embossed snowflakes, which I felt complimented my snowman perfectly. Check out the detail on the angled shot below:

I love that something old can pair so well with something new - it's almost as if they were meant for each other!
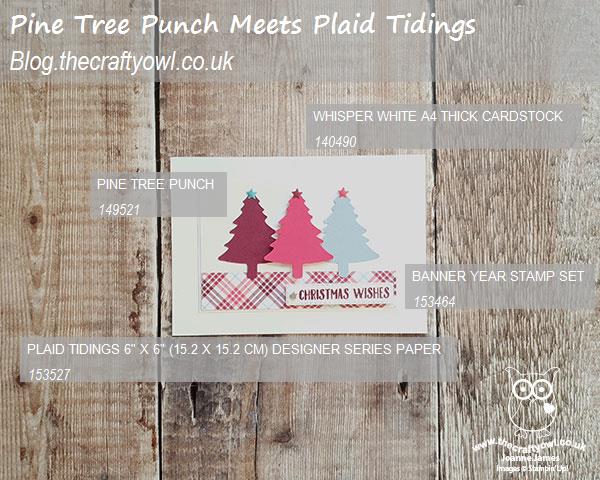
Here is the visual summary of the key products used on today's project for you to pin for easy reference:

You can see all of my 'How To' summaries on my 'How To - Tips and Techniques' Pinterest board in case you've missed any.
And for my second card today I am playing along with this week's Freshly Made Sketches challenge and the photo inspiration over at Just Add Ink:


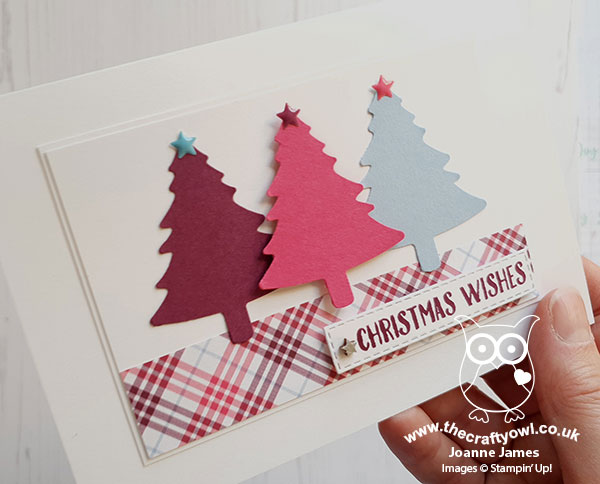
Karren's FMS sketch is a real go-to for me (if you search my blog you'll see lots of cards with this layout) so I thought I would challenge myself to rotate the sketch and work with it in the horizontal orientation and, inspired by those brightly coloured trees in the JAI photo, I created an unconventionally coloured Christmas card, again pairing something old with something new - take a look:
Here's the lowdown on this card:
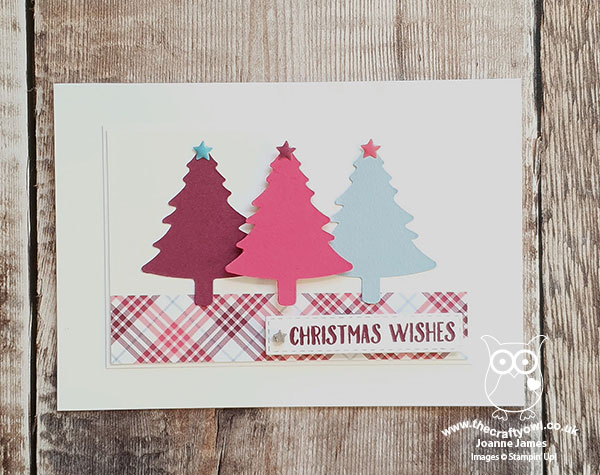
Pine Tree Punch - I decided to use my Pine Tree Punch to create some bold block-colour Christmas trees, and went with a layered white background to allow the colours to really pop. I used a single (retired) enamel star in an alternating colour to top each one.
Plaid Tidings - In the absence of any dotty paper like the background trees in the inspiration photo, I decided to take inspiration for my bright colour combination from the trio of colours featured in my chosen design of Plaid Tidings designer series paper: Rich Razzleberry, Melon Mambo and Seaside Spray. I love that this paper pack contains some unusual plaid colours and whilst unconventional, I like the effect of these colourful trees.
Banner Year Sentiments - The sentiment on my card is from the 'Banner Year' sentiment set, embellished with a silver-painted (retired) wooden star from my stash, and finishes inside my card as follows:

I really like the way this card turned out - unconventional colours on Christmas cards really change things up and I'm pleased I managed to stretch my use of this great layout too.
Here is the visual summary of the key products used on today's project for you to pin for easy reference:
You can see all of my 'How To' summaries on my 'How To - Tips and Techniques' Pinterest board in case you've missed any.
That's me done for today! Enjoy your evening and I'll be back tomorrow with another project. Until then, happy stampin'!
Stampin' Up! Supplies Used - Card 1:
Stampin' Up! Supplies Used - Card 2: