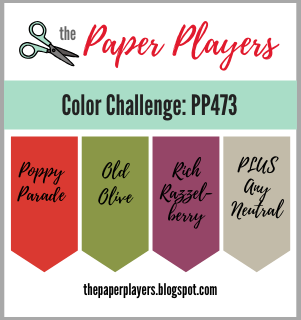
Today it's Sunday and time for this week's new challenge over at The Paper Players! It's the turn of the fabulous Anne Marie to host this week and she has what I'm sure will be a popular colour challenge for you to work with:

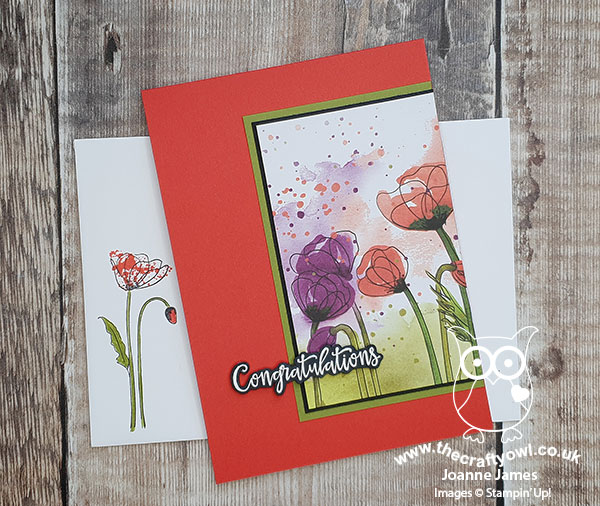
The reason I think Anne Marie's colour palette will be popular this week is that all of her key colours feature in the new Peaceful Poppies designer series paper from Stampin' Up! and try as I might to go in a different direction, I couldn't help but cut into my pack for today's card. With the help of Judy's great sketch over at Freshly Made Sketches this week, I was able to let the paper do all the talking - take a look:
Here's the low-down on today's card:
Peaceful Poppies - Peaceful Poppies is one of the headline suites of the new Stampin' Up! Spring Mini Catalogue and it appears on the front cover. Beautiful line-art images accented by watercolour effects, all inspired by a field of poppies, the suite contains not one, but two bundles along with a range of co-ordinating accessories. My regular readers will know that I am a lover of designer series paper and I think the Peaceful Poppies paper is some of the most beautiful I've ever seen. One of the designs looks just like a painting and is perfect for card fronts and I cut a piece of this, featuring both Poppy Parade and Rich Razzleberry coloured poppies.
Neutral Black - My paper choice was so pretty, I couldn't bring myself to add much more to the front of my card. I used a Poppy Parade card base and added a double mount to frame my patterned paper, in Old Olive and Basic Black. I also decided to heat emboss my sentiment in white on black, as opposed to stamping the other way around - using black to 'frame' my picture and sentiment ties in to the black line-drawn design of the paper, so whilst used sparingly my neutral choice plays an important role.
Beautiful Inside And Out - Having done very little stamping on the front of my card, I decided a little interior decoration along with my split/masked sentiment was needed to redress the balance:
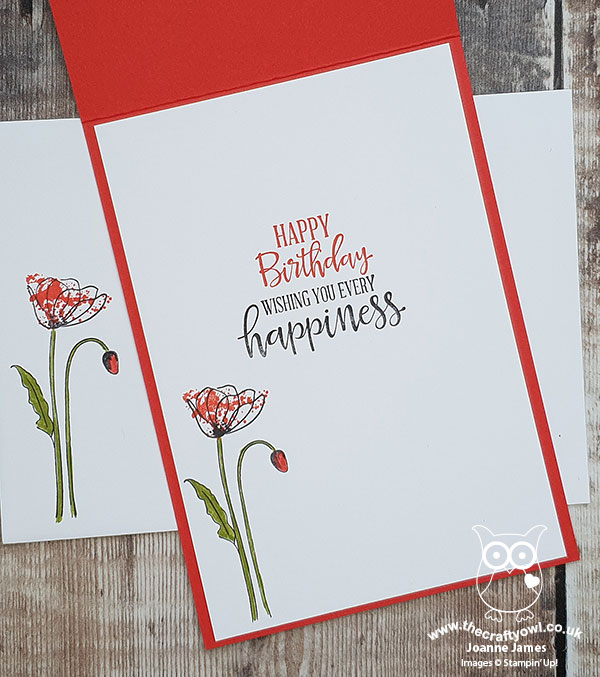
I added a poppy to the front of my envelope too - no naked envelopes here this week!
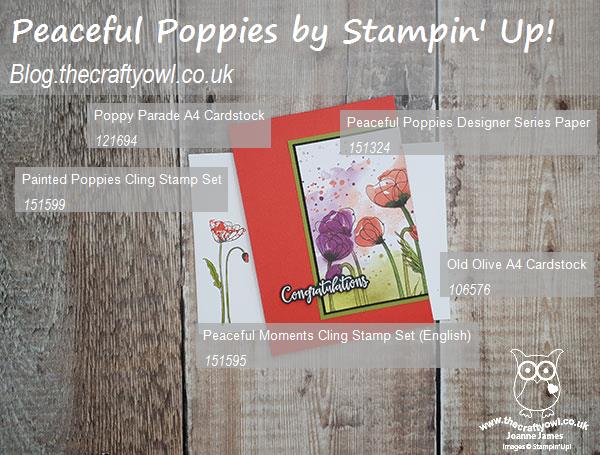
Here is the visual summary of the key products used on today's project for you to pin for easy reference:
You can see all of my Product and 'How To' summaries on my 'How To - Tips and Techniques' Pinterest board in case you've missed any.
Before you reach for your ink and papers, check out what our amazing team has created to inspire you this week:
The Paper Players Design Team
Here's a quick recap of our challenge rules:
1. Create a new paper project
2. Upload your creation to your blog with a link back to us and provide a direct link to the post featuring your challenge submission.
3. Please link your card to no more than four challenges, TOTAL.
4. Have FUN!
You can see all of my 'How To' summaries on my 'How To - Tips and Techniques' Pinterest board in case you've missed any.
Enjoy your day; we had a day of sport yesterday so today should be a quieter one. I spent yesterday making final preparations for my class tomorrow, however if I'm lucky I might squeeze in a little extra crafting today - here's hoping! I'll be back tomorrow with another project. Until then, happy stampin'!
Stampin' Up! Supplies Used: