Sending Good Thoughts Your Way!

by Joanne James20. May 2014 21:20

Good evening blog readers! Well, I really feel like I'm in catch-up mode this week, but I guess I shouldn't be too hard on myself - it is only Tuesday after all! Today I'm sharing a card I made for this week's sketch challenge over at Create with Connie and Mary. I kept the flower as per the sketch so I will also be linking up with The Paper Players, where this week's challenge from Ann is a clean and simple floral card and Less is More where the challenge theme is flowers:


Having played around with various floral sets, eventually I decided to dust off my 'Too Kind' set, as I haven't used it in a while and set about creating my card - here it is:

I chose an unconventional floral colour scheme, using blues and greys, but I think it works! I love the flowers in this stamp set - the two-step stamping really adds an extra dimension, which is perfect when you're trying to create a clean and simple card. A stamp-a-ma-jig makes light work of aligning the images though - this little tool is so useful! I decided to create a banner from the banner shape in the sketch and use it to highlight my sentiment which I heat embossed in pewter embossing powder, finished with a pewter button threaded with retired Pool Party baker's twine - here's a close-up:

I also added Dazzling Diamonds to my flower petals to give a little sparkle and shimmer. A really clean and simple floral card; not where I started out at all, but I really like the end result.

Back tomorrow with another project; until then, happy stampin'!


Stampin' Up! Supplies Used:

Table built using Product Table Builder by The Crafty Owl - Independent Stampin' Up! Demonstrator.


Tags: , , , , , , ,

Cards | Stamping

Make a Wish Simple Pop-up Card

by Joanne James19. May 2014 19:19

I haven't had any time for crafting today, so I'm going to share with you a simple pop up card designed by Monica Gale that I made at our quarterly training session last month and that I made with my ladies at our recent Fresh Prints All Day Craft Event - here is the outside of the card:

I added a few layers of Fresh Prints papers onto a Coastal Cabana card base, then stamped the 'Make a Wish' stamp from the Perfect Pennants set in Crumb Cake and punched out with a 2 3/8" Scalloped Circle punch layered onto a 2 1/2" circle out of Real Red cardstock, The banner was cut from a scrap of DSP and the 'a' stamped on red card and punched out and popped on a dimensional for added dimension. To decorate, I stamped a star from 'Simply Stars' in Real Red on Whisper White cardstock, added a DSP star using the Merry Minis star punch and secured with a gold glimmer brad with a twist of gold threaded baker's twine behind for a little added sparkle.

Inside the card there is a really simple little pop up made by cutting two short horizontal slits in the liner, which is made out of a notelet:

A few more stars and a simple birthday greeting and it's done - a fun little pop card suitable for either gender. I'm hoping to get into my craft room tomorrow and catch up on my crafting, although there is a big basket of ironing competing for my attention, so might need to get that out of the way first!

Either way, back tomorrow with another project; until then, happy stampin'!


Stampin' Up! Supplies Used:

Table built using Product Table Builder by The Crafty Owl - Independent Stampin' Up! Demonstrator.


Stampin' Up! UK Telford Regional Day Update - My Day!

by Joanne James18. May 2014 20:50

Apologies for no blog post yesterday - and only a late and quick one today! - but yesterday was a big day for me! I know I shared with you that I was attending the Stampin' Up! UK Regional event at the Telford International Centre yesterday, but what I didn't share was that I was actually one of the demonstrators presenting!! I had the honour of presenting a 10 minute WOW technique using one of the new stamp sets from the forthcoming new annual catalogue due out on 1st July but had been sworn to secrecy.

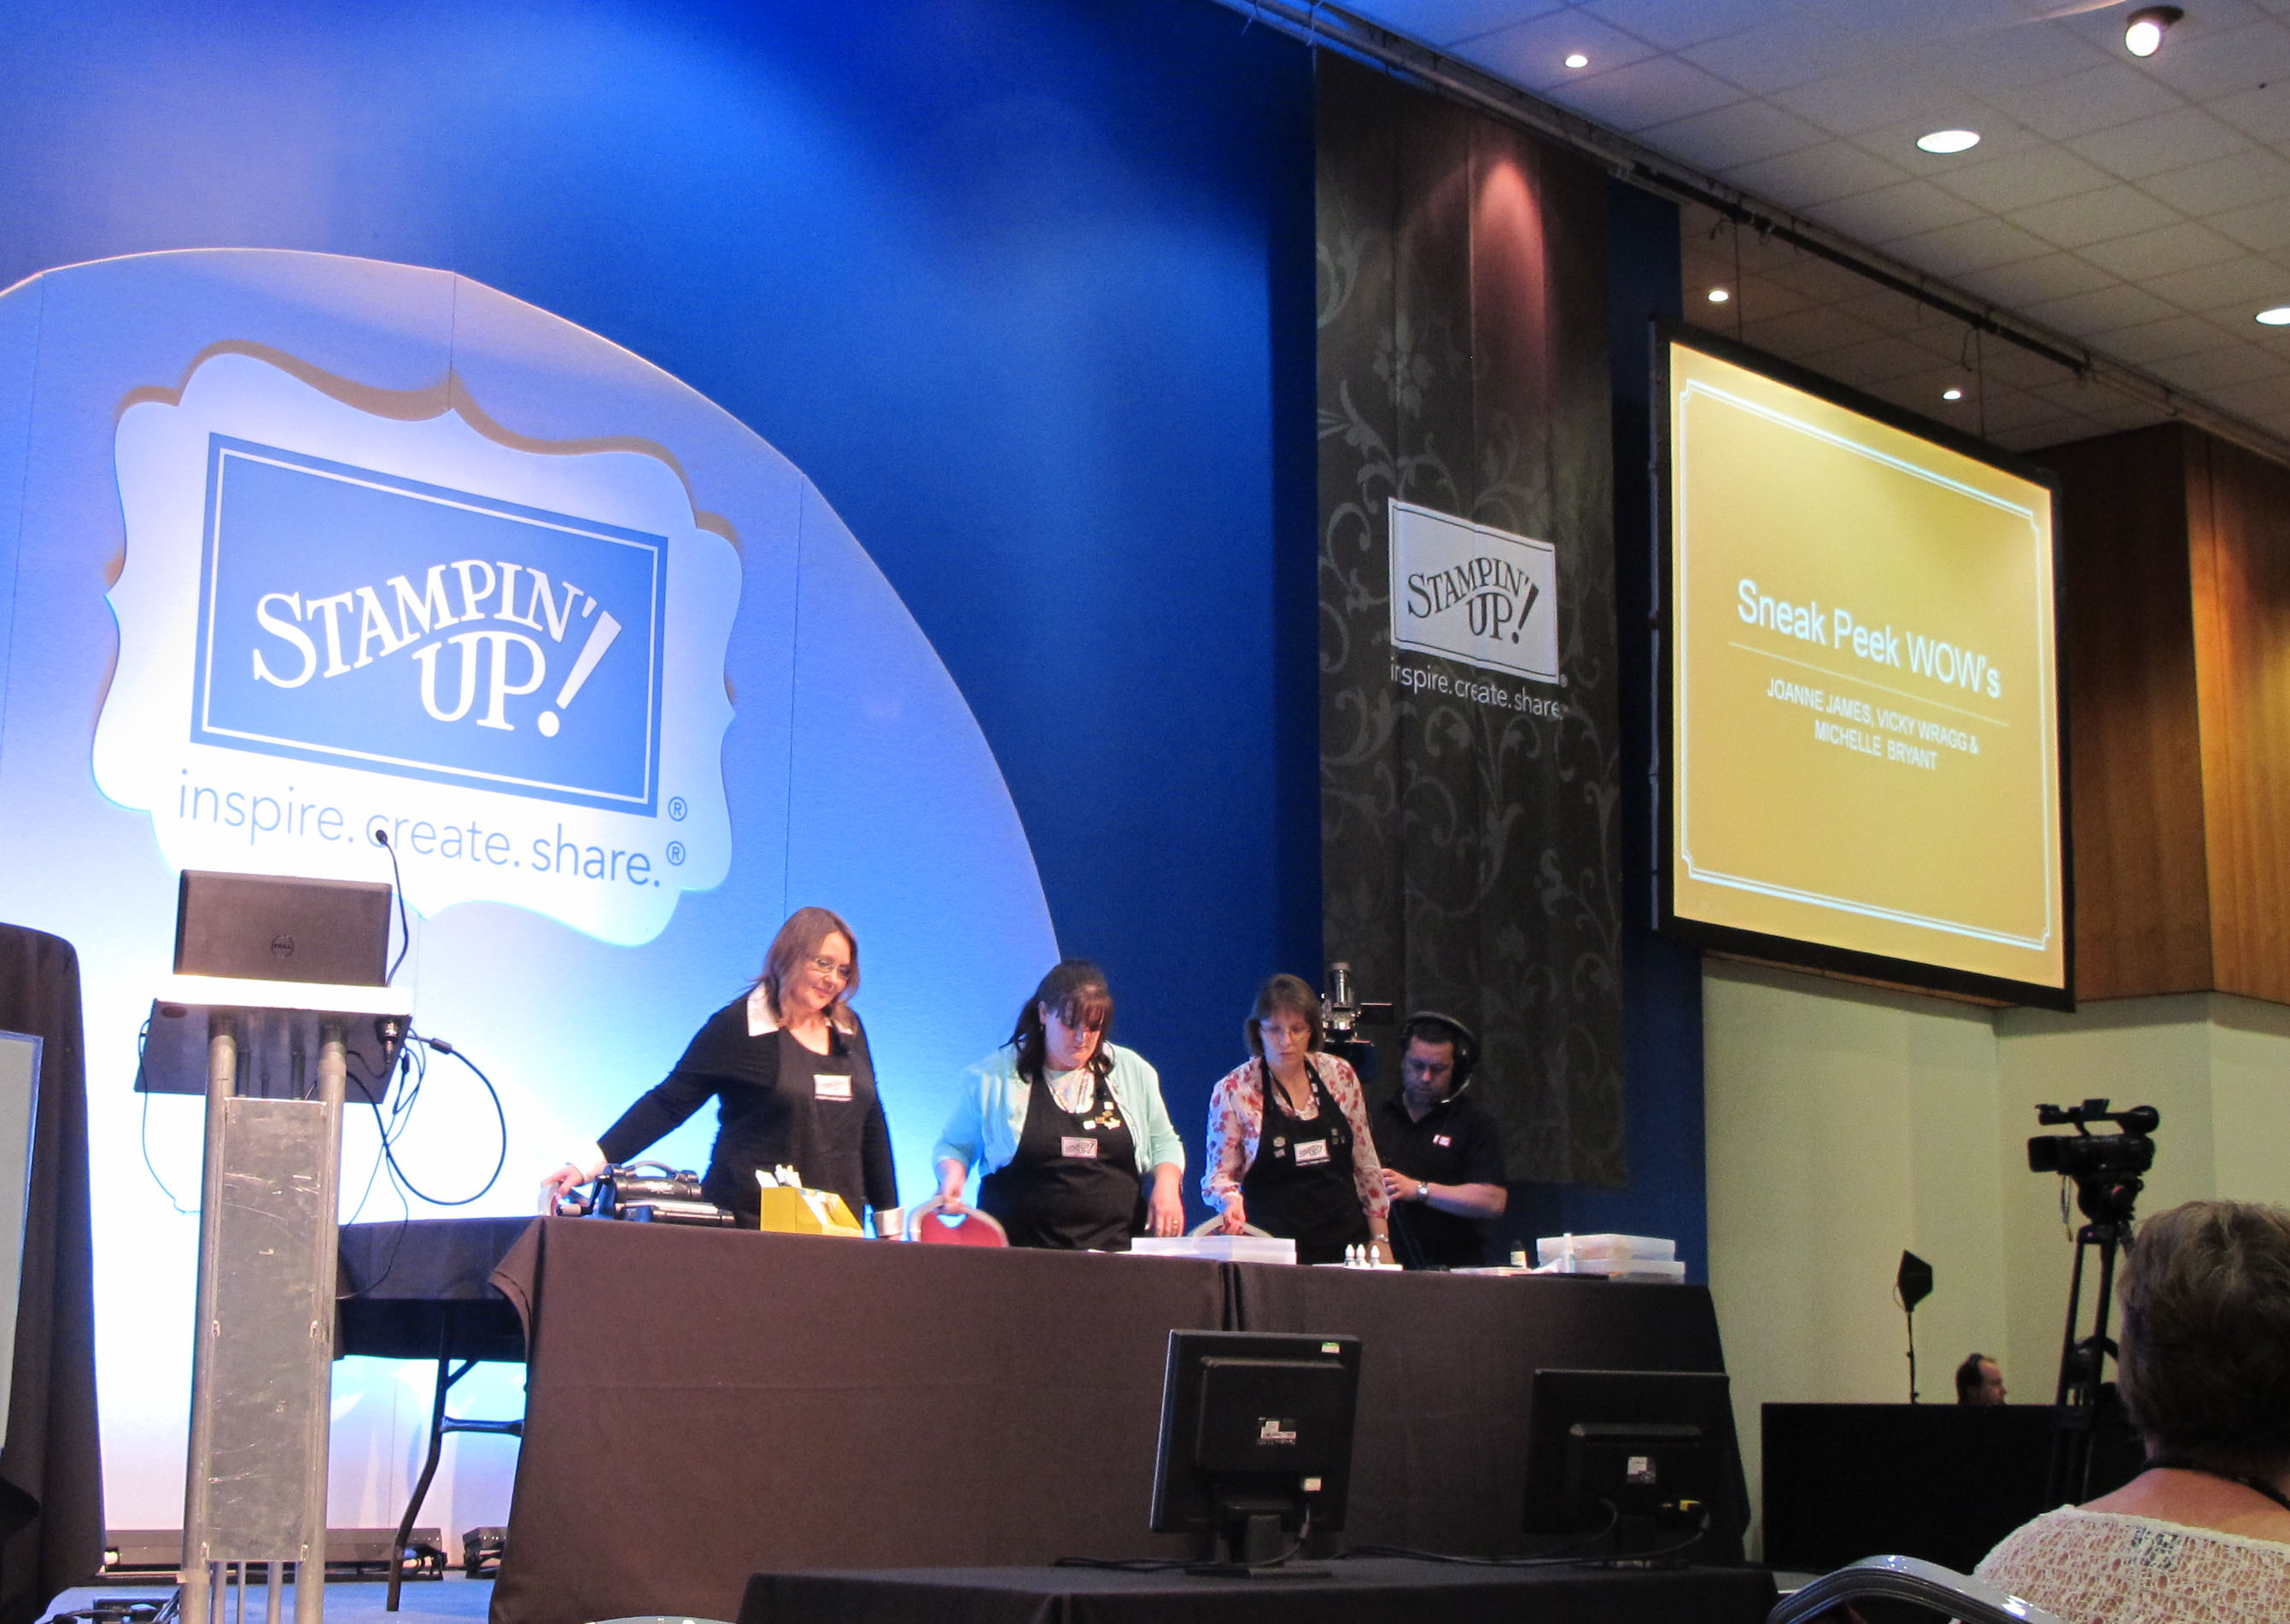
Unfortunately I can't share any of the presentation details or project pictures with you until the 30th May when the new catalogue moves into pre-order for us lucky SU! demos (you needed to be in the room yesterday to get the scoop on that I'm afraid!) but thought I would share a few photos from the day of my big moment. I didn't actually present until 3.30pm, so had most of the day to enjoy (or should that be get nervous?!) before heading on stage. So here I am with two other SU! demonstrators from my extended team, Vicky Wragg and Michelle Bryant, getting ready to start my technique slot:

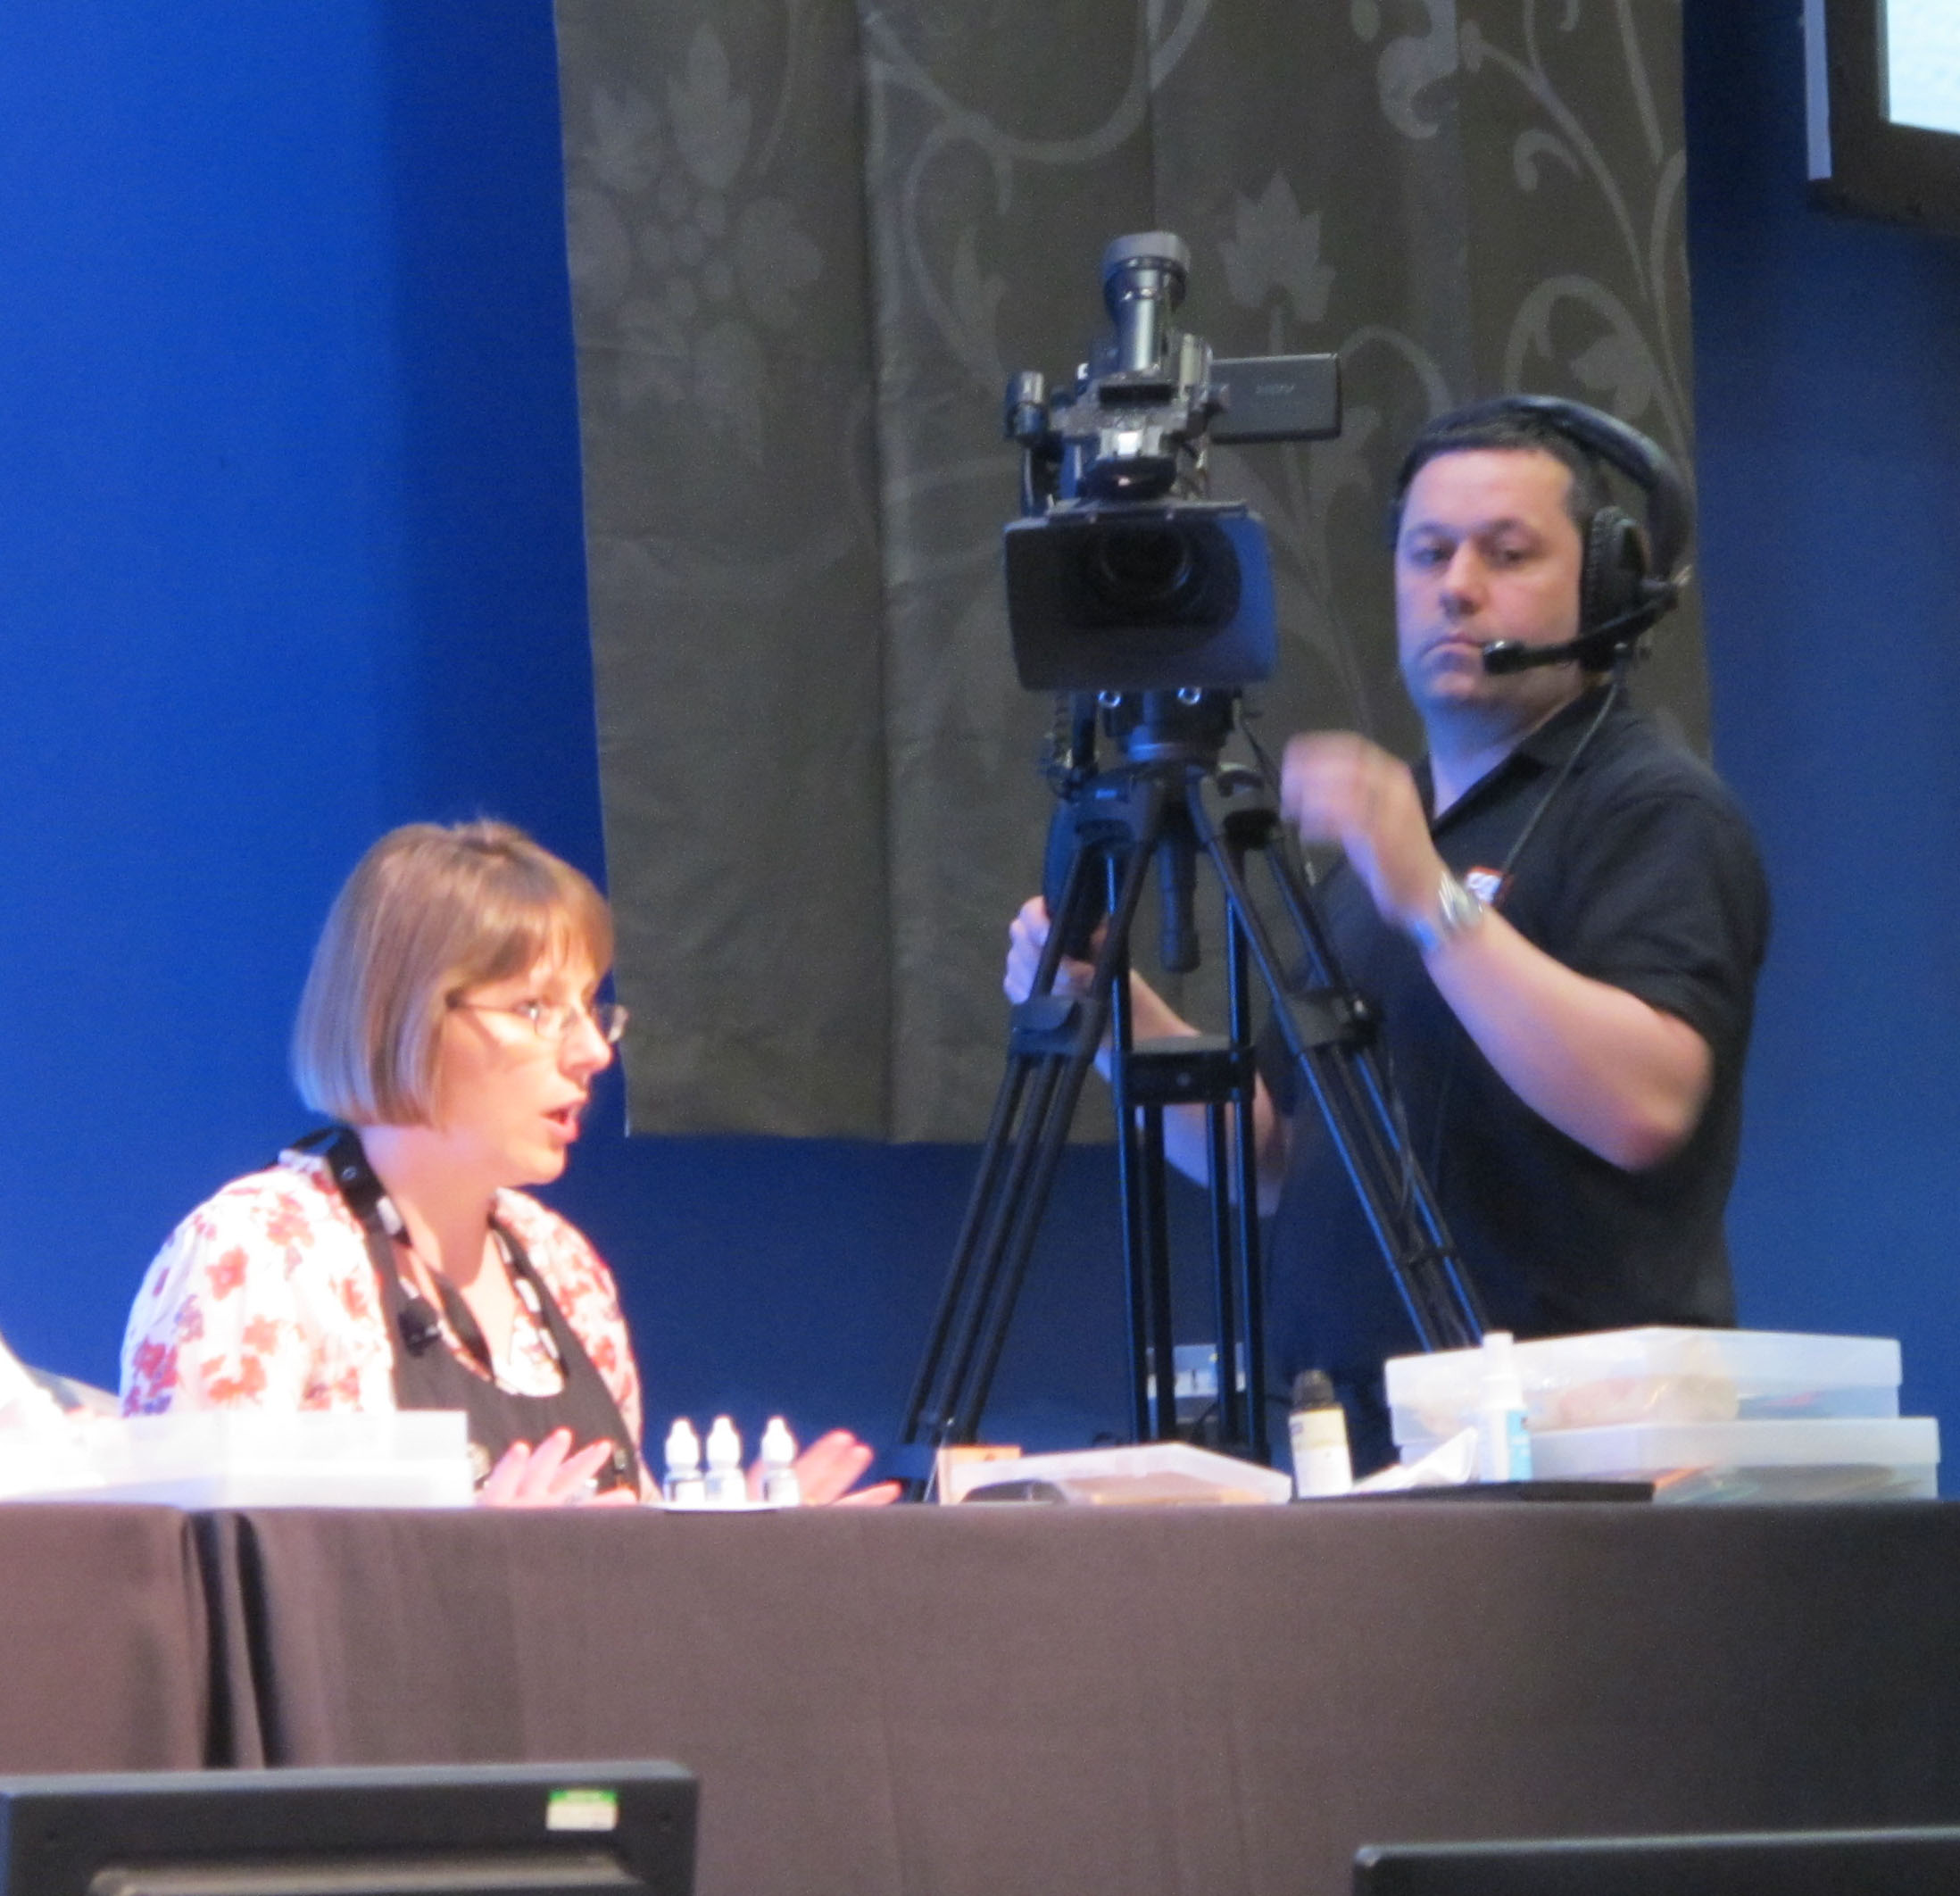
Here's me talking through my demonstration:

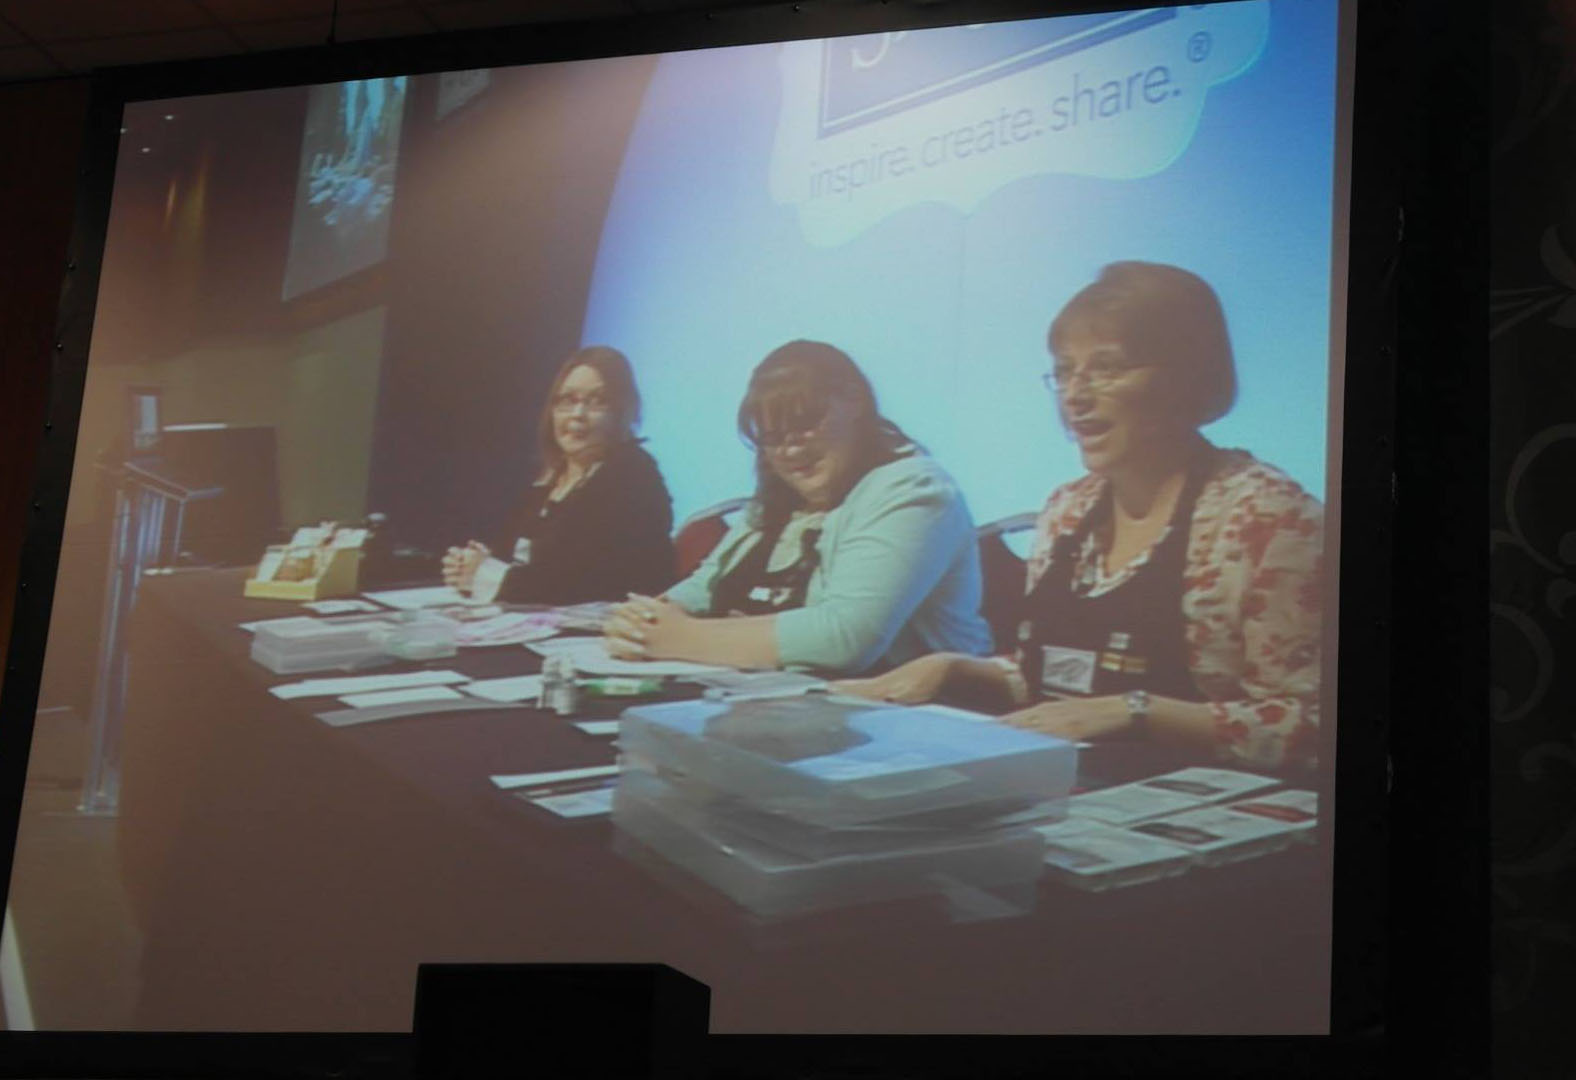
And here it is live on the big screen: 

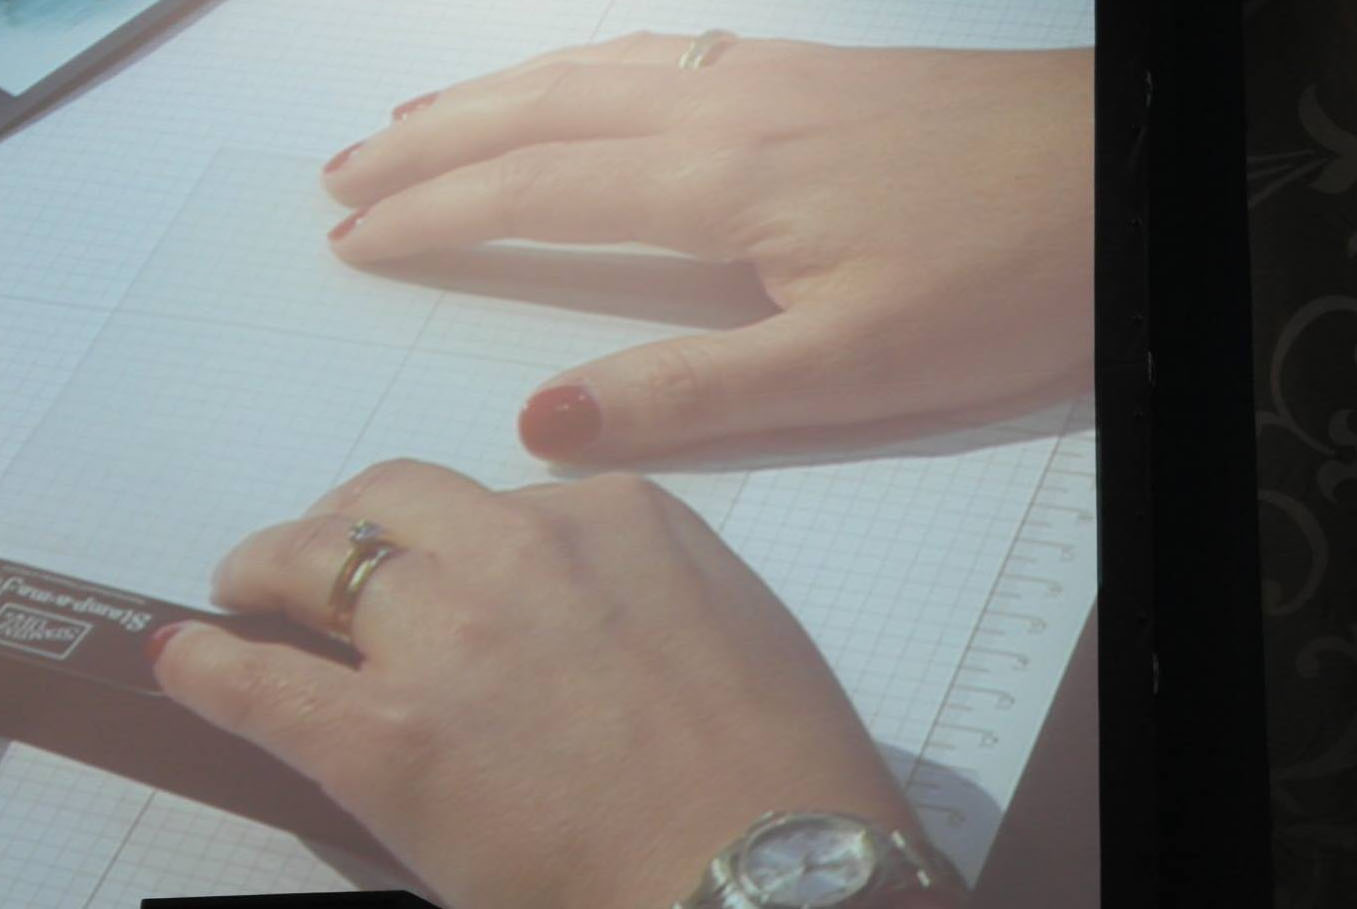
Lastly, for those of you who saw my Facebook post on Friday - here are those nails , still looking good!

Thank you to my lovely downline team members Samantha and Helen and my ultimate upline Monica Gale for these photographs (well, you just can't take photos of yourself can you?!) I may have a few more to add in due course.

I will be sharing the technique that I demonstrated and lots of the samples I made in due course, so if you couldn't attend the Telford event and would still like a sneak peek, do pop back from the 30th May to find out more - only 12 days to go!

Lastly, it wouldn't be a blog post without a creative share - so here's a photo of the lovely thank you card made using My Digital Studio that I received from Charlotte Harding, European Training and Events Facilitator and Paula Gorry, Stampin' Up! UK Business Development Manager, to thank me for sharing my creative skills and ideas at yesterday's event: 

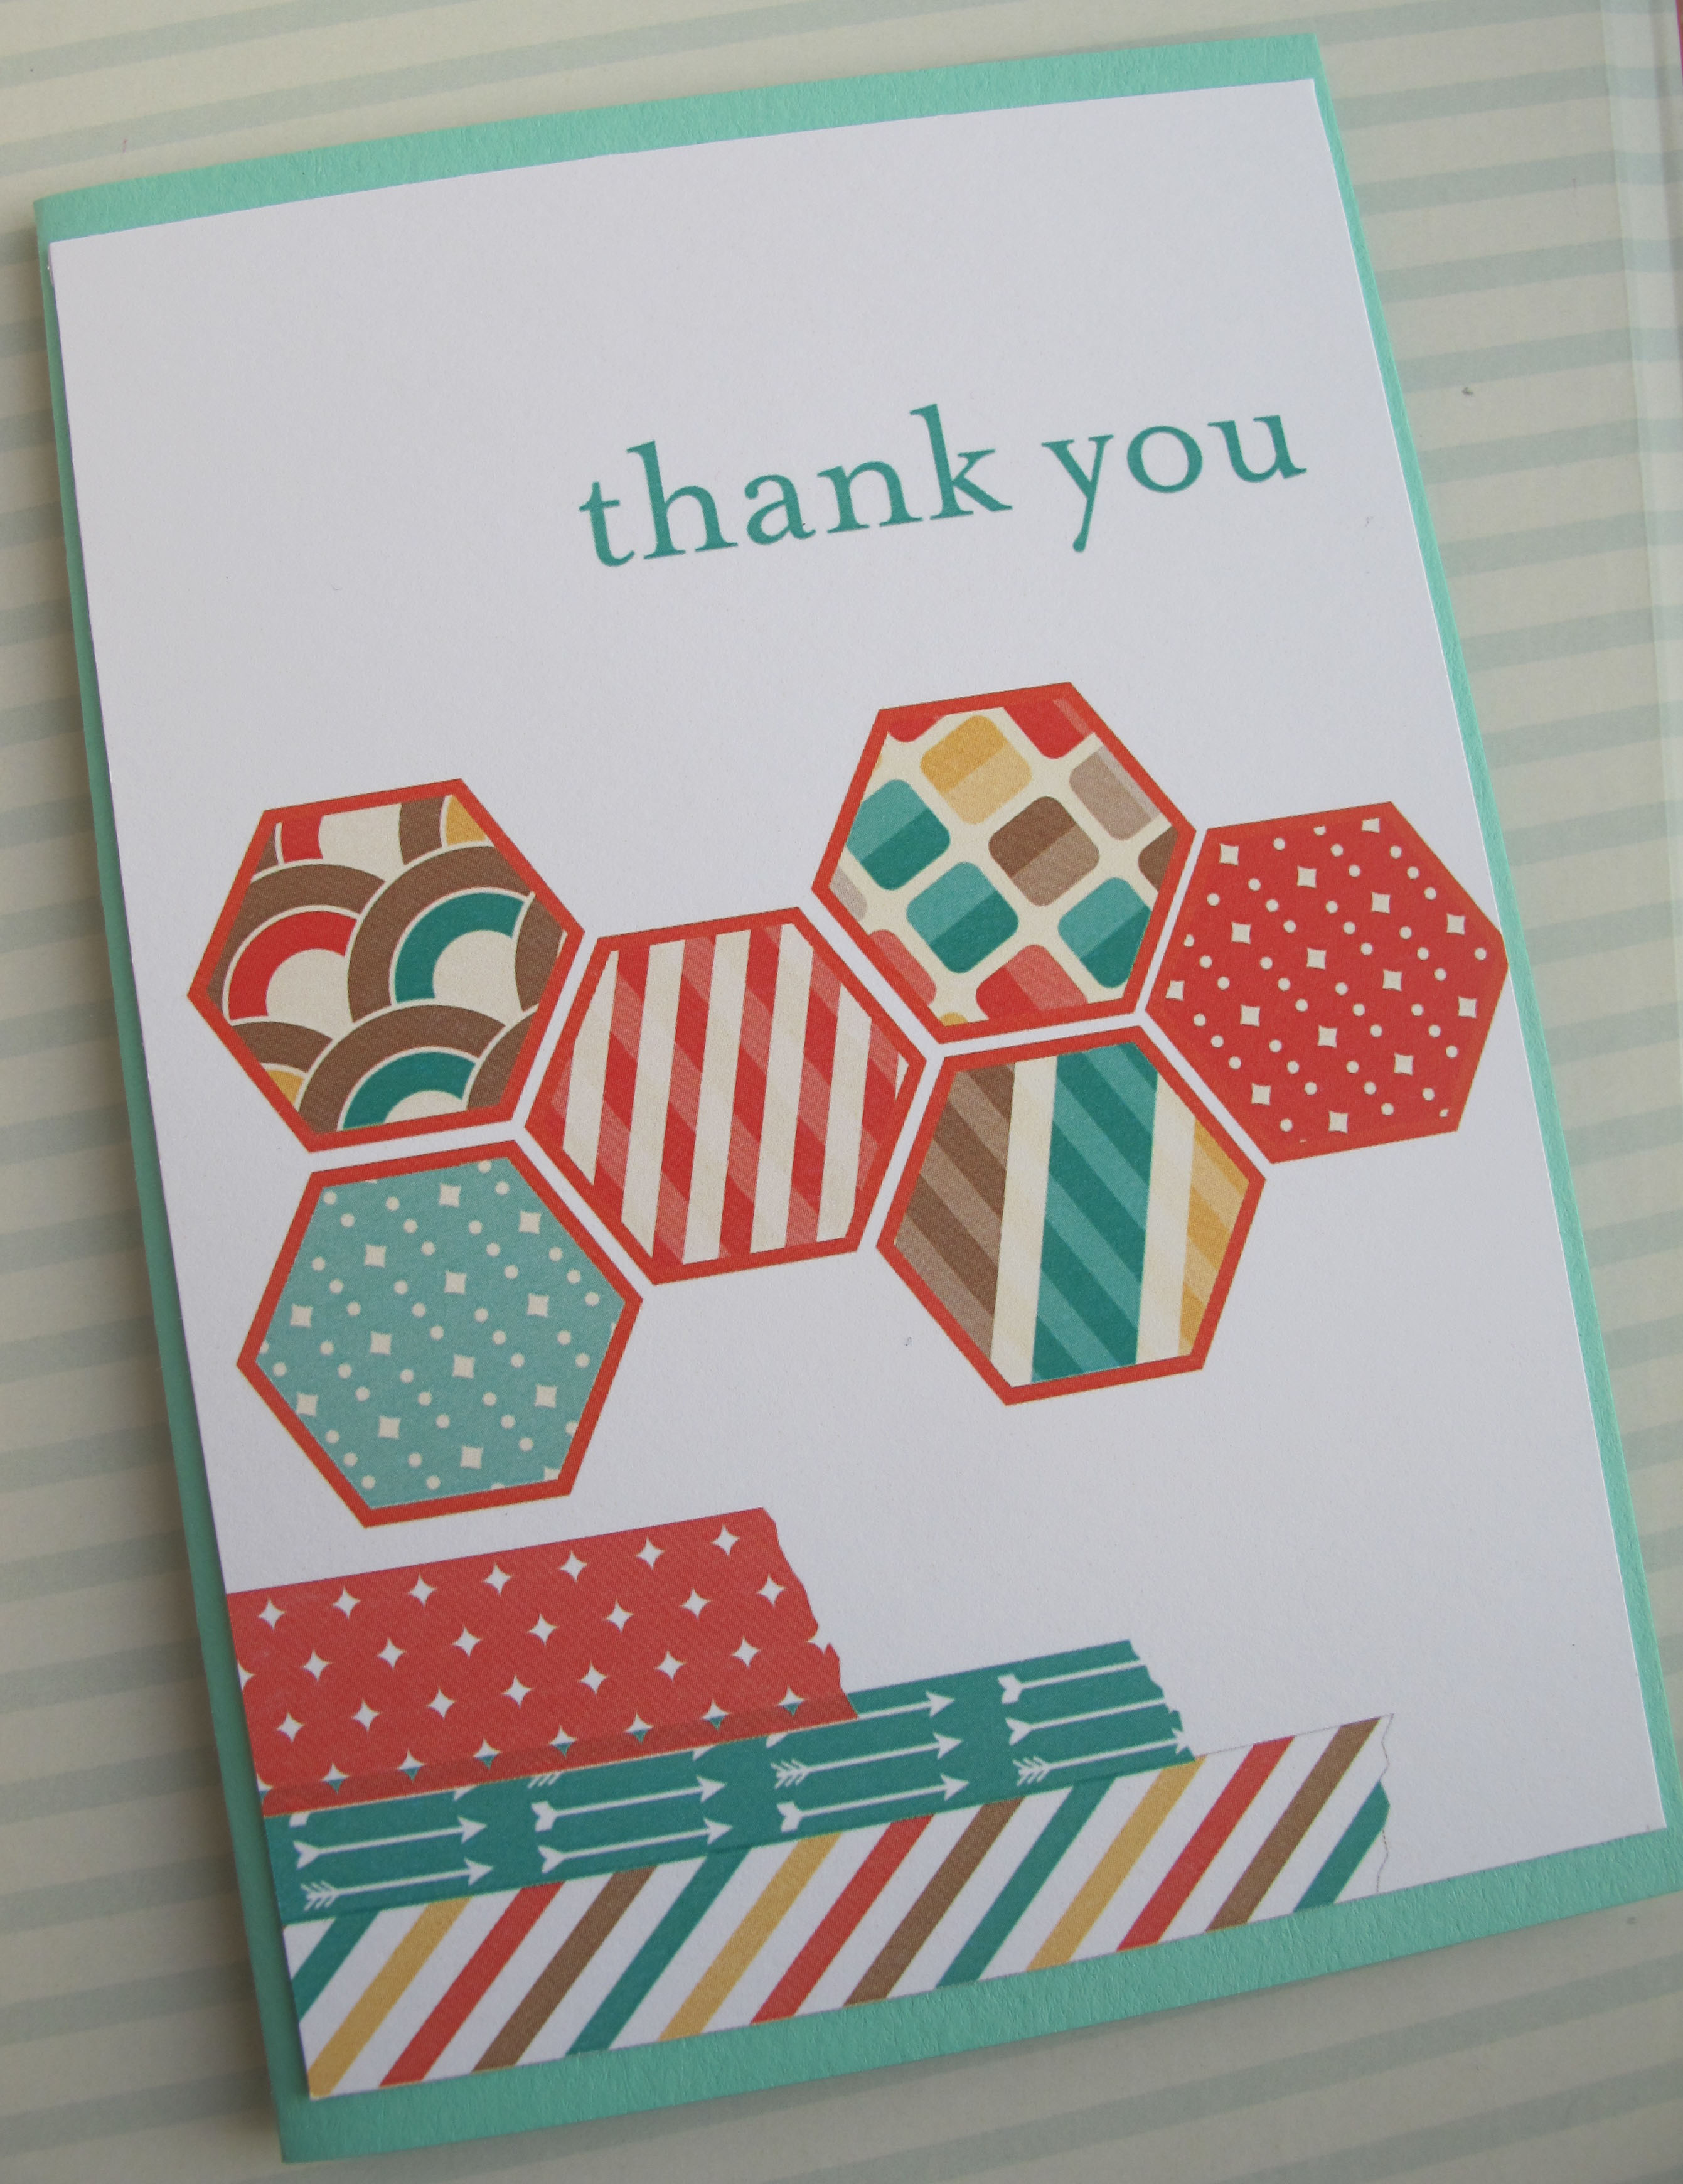
A bright combination of Retro Fresh, washi tape and hexagons - what a lovely gesture. After all, I was sharing something I loved!

I had a super fun day with my downlines Samantha and Helen and amanged to catch up with lots of members of my extended team. As demonstrators, these events are such a great opportunity to meet new people, but also gain lots of ideas, tips and inspiration for ways in which you can build your Stampin' Up! business. Not to mention the 'sneak peeks' and new product information - there is so much fun coming your way, believe me!

If you would like to get ahead of the curve and be part of my stampin' Up! team, watch this space for some new and exciting information about joining Stampin' Up! within the next week or so - trust me, you won't want to miss it!

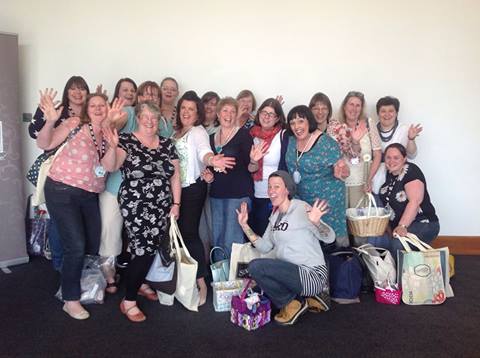
Lastly, I want to share this great group photo that we took of the wider team at the end of the day - it shows just how much fun was had by all!

Normal blog service should resume tomorrow; until then, happy stampin'!

Tags: , , , ,

Join My Team | Stampin' Up! Events

Monochrome Baby Boy Card - Baby We've Grown

by Joanne James16. May 2014 17:55

I have had the busiest day today - last minute preparations for the Stampin' Up! UK Regional Training Event in Telford tomorrow coupled with lots of little jobs. Best part of my day though was getting to spend an hour in the sunshine watching Rebecca's team win their second rounders match of the week (go girls!) and I'm even managing to squeeze in a quick blog post, which I thought might be touch and go today!

I have had a few baby cards to make lately, all of them girls, but I know someone who is due a baby boy anytime soon so thought I would get ahead for once and make my card ready. I decided to make a monochrome boy card to pair with the monochrome girl card I designed a couple of weeks ago for the Pals Paper Arts 200th anniversary challenge (you can see my original baby girl card here). Here is today's card:

Using a Soft Sky base, I matted both of my cardstock layers on Whisper White and used a piece of Polka Dot DSP from the Subtles DSP stack for panel 2, whilst for panel 3 I stamped the 'sweet baby' stamp repeatedly in Whisper White onto Soft Sky cardstock - a stamp-a-ma-jig is essential for this - and coloured the word 'baby' with my chalk marker to give it a powdery look. Lastly, my focal point is the cute little boy shoes that I fussy cut and decorated with my chalk marker; to finish I layered this circle on a blue starburst mat and a further white circle.

Another pastel monochrome creation - not quite as fussy as the little girl one, but then in my experience boys never are!

Back tomorrow with another card and news of what's been happening at the regional event; until then, happy stampin'!

Stampin' Up! Supplies Used:

Table built using Product Table Builder by The Crafty Owl - Independent Stampin' Up! Demonstrator.


One Layer Thank You

by Joanne James14. May 2014 21:40

I've had a busy couple of days preparing swaps and finishing my preparations for the Stampin' Up! event at Telford on Saturday and I've still got more to do! Today I'm sharing my card for this week's challenge over at Less is More, where Chrissie and the team are looking for one layer thank you cards. I decided to try something something a little different, using my retired but never-to-be parted with Expressions Thinlits. Here is my card:


I decided to make a thank you card that would be suitable for a male, or at the very least gender neutral - so I went for a nice bright blue. Now I know the eagle-eyed amongst you are thinking - but the framelit says 'thankful', right? Well that's true - as I only wanted the 'thank' part, I positioned it over the edge of the card and cut it to the edge so that it looks as if the writing is going off the edge of the card. I adhered the cut-out pieces from the middle of the word to the inside of the card, to maintain the definition of the lettering - you can see it more clearly on the photo below:

To finish my sentiment, I inked up the 'you' from the 'thank you' sentiment in the 'Simply Celebrate' set and heat embossed it with silver embossing powder. A clean and simple thank you card that's just a little bit different! I'm also linking my card up to 'Addicted to CAS', where the current challenge is appropriately 'off the edge'. Right, I'm off to get my nails done!

Back tomorrow with another project; until then, happy stampin'!

Stampin' Up! Supplies Used:

Table built using Product Table Builder by The Crafty Owl - Independent Stampin' Up! Demonstrator.


So Very Grateful in Spring Subtles

by Joanne James14. May 2014 11:00

I'm having a love affair with my heat gun this week as this is my second card that features heat embossing and I've another cued up for tomorrow too! Today's card is my entry for this week's challenge over at The Paper Players where Sandy has chosen some lovely subtle spring colours to work with; I've also used this week's layout over at Retrosketches as the basis for my card:


I thought that The Paper Players colours were just asking to be used on a floral card - this is what I came up with:

I stamped the corner flower image twice in Versamark onto my vellum panel then heat embossed in white and coloured the reverse of the images with my So Saffron, Calypso Coral and Pear Pizzazz markers. I then adhered this to a panel of Calypso Coral and heat embossed my 'thank you' sentiment in white onto a panel of So Saffron and placed this across the middle on dimensionals.

This card came together quite quickly and I love the subtle effect of the colouring behind the vellum.

That's all from me today - I have to go and get on with my swaps in readiness for Stampin' Up!'s UK regional training event in Telford on Saturday, in order to be finished in time to go and watch Rebecca's first rounders match of the season later on this afternoon!

Back tomorrow with another card; until then, happy stampin'!


Stampin' Up! Supplies Used:

Table built using Product Table Builder by The Crafty Owl - Independent Stampin' Up! Demonstrator.


Tags: , , , , , , ,

Cards | Stamping

Weekly Wednesday Deals are Here!

by Joanne James14. May 2014 09:00

It's Wednesday again and they're here: today's Wednesday Weekly Deals! This week's deals are included below - they will be available for one week only, before a new collection of deals is announced.

As always, if you want to take advantage of any of the deals on offer, you can support my business by placing your order online by clicking here or using the link to my store on the right hand side of my blog page where it says 'Shop Online' or with me in person. Don't forget to add the Hostess Code for May (you can find this under the 'Shop Online' section on the right). 

Here's a summary of this week's one-week only Wednesday deals - click on each item to go to the online store to purchase:

Table built using Product Table Builder by The Crafty Owl - Independent Stampin' Up! Demonstrator.

More great offers on Designer Series Paper this week - including one of my personal favourites, Gingham Garden, now just £7.46 a stack; a great time to stock up I think! 

Back shortly with today's creative post; until then, happy shopping!

Tags: , , , ,

Promotions | Shop Online

Watercolour Wonder Hello

by Joanne James13. May 2014 21:06

Today I'm sharing a card I made for this week's challenge over at Create with Connie and Mary, where they have a lovely vibrant colour palette to play with; I also used the layout over at CAS(E) This Sketch:

This card gave me the perfect opportunity to make a feature of a lovely piece of Watercolour Wonder paper that I've had in my box for a while and also to try something different with the tab panel. Here is my card:

I used Calypso Coral for the base of my card, topped with a piece of Watercolour Wonder DSP. Now I know that, strictly speaking, the paper pack says that Daffodil Delight and Tangerine Tango are the feature colours in the Watercolour Wonder papers, however the watercolour effects mean that on some of the sheets the blending means that there are also opportunities to match with other colours, such as Calypso Coral for example - I just chose an area of paper that avoided the darkest orange tones so it fits perfectly with the rest of my card. I cut my inverted banner from a piece of Bermuda Bay cardstock and used a 1 1/4" circle and the Label Bracket punch to create the Daffodil Delight aperture to showcase my Petite Petals flower - I've been wanting to use this framing idea ever since I saw it on one of Connie Babbert's cards a while ago (you can see Connie's original card here). I also stamped my 'hello' sentiment in Versamark and heat embossed in Whisper White. Lastly, I stamped my flower in Calypso Coral on some Whisper White cardstock and finished it with a Bermuda Bay candy dot.

I really like how this card turned out; I almost stamped a sentiment onto the DSP instead of the banner, but in hindsight I'm really glad I didn't - I love that the watercoloured panel is on show and uninterrupted by any other stamping or design.

Back tomorrow with another project and this week's new Wednesday weekly deals; until then, happy stampin'!


Stampin' Up! Supplies Used:

Table built using Product Table Builder by The Crafty Owl - Independent Stampin' Up! Demonstrator.


'I *Heart* You Dad!' with New Photopolymer Stamps

by Joanne James12. May 2014 21:29

Good evening everyone! Firstly, can I say a big than you to Helen, Dotty and Granny for your lovely comments on Rebecca's blog post yesterday - it's always nice to get comments and she was very touched by your kind words and asked me to say thank you to you all today.

On to today's post! I wanted to play with my new photopolymer stamps that arrived last week (free with each order of £60 or more - read all about the May offer here) and am just managing to squeeze in my entry to this week's Pals Paper Arts challenge, where this week there is a colour challenge. I also loosely based my card on the sketch over at Fab Friday:

Whilst the PPA design team came up with a great variety of cards suitable for both men and women this week, this colour scheme led me to make a masculine card. As I mentioned, I wanted to use my photopolymer stamps to try out an idea inspired by a printed card I saw recently on Pinterest (you can see that card here) - here is my card:

Clearly without the absolute pinpoint accuracy of the printed medium, yet this alphabet was relatively easy to stamp and align using the Sans and Stripes photopolymer stamps without the need for a stamp-a-ma-jig. I cut the word bubble by hand (another reason to add to my list of 'Why I need an e-cutter'!) and backed this with a contrasting coloured panel that I embossed with the Chevron embossing folder, rounding the corners to echo the shape of the word bubble. Lastly, I punched a contrasting heart and popped it on a dimensional. I liked this card so much, I also made one in the reverse colourway:

I think I like my Cajun Craze base the most, but this alternative version comes a close second. What about you - which one appeals to you most? I made this card with Father's Day in mind - still a good month away, but it pays to be organised! It would equally make a good birthday card for a special Dad.

That's all from me today; back tomorrow with another project. until then, happy stampin'!


Stampin' Up! Supplies Used:

Table built using Product Table Builder by The Crafty Owl - Independent Stampin' Up! Demonstrator.


And The Fox says "Thanks a Million!"

by Joanne James11. May 2014 20:42

Today I have a special blog post for you - a guest blogger, none other than my 8 year old daughter! As I was eating my breakfast and minding my own business one day, she was reading over my shoulder and fell in love with the card featured - this fabulous card featuring the fox from the Life in The Forest set, by the talented Erica Cerwin.  She promptly announced she just HAD to copy the card and as Rebecca has always fancied the idea of writing her own blog, I asked if she would like to write the blog post for it and she jumped at the chance! So here is her CASE of Erica's card and a few words about how and why she made it:

"I really liked this card when I saw it and decided it would make a perfect card for my singing teacher, to say thank you for her help in enabling me to get a distinction in my recent grade one singing exam. I stamped lots of foxes on the card base, and coloured in the white bits with a chalk marker. I love how you can see them through the vellum. I then stamped another fox and cut him out and stuck him on the front behind the grass, which I cut with fringe scissors. I made the banner with 'You're one in a million' but added a row of gold sequins to mine too, for extra sparkle. I also stamped a fox on the card envelope and coloured him in with a Cajun Craze marker pen. my singing teacher loved her card!"

I hope you like Rebecca's card - normal blog service resumes tomorrow! until then, happy stampin'!


Stampin' Up! Supplies Used:

Table built using Product Table Builder by The Crafty Owl - Independent Stampin' Up! Demonstrator.


Shop Online

Access my online shop 24 x 7, 365 days of the year:

Current May hostess code:

VDKNV7BH

Shop Online

2024-25 Annual Catalogue

BROWSE THE CATALOGUE

Click on the image to download your copy of the 2024-25 annual catalogue. For a full list of current SU! supplies, go to my online store. If you would like any help or advice, please drop me a line at [email protected] or give me a call on 07773 421446 - I'd be happy to help.

Join My Team

It's always a great time to join Stampin’ Up but during May it's even better! New team members can get £78.25 of new In Color products for FREE! That's in addition to another £130 worth of products of your choice for only £99 + free business supplies + free shipping + all the fun being a part of Stampin’ Up! Stampin' Up! has something for everyone: join my growing team and benefit from my support to enjoy Stampin' Up! however you choose.

If you're interested, call me for a chat to understand how I can help you realise your goals. Alternatively, if you have already decided to sign up and you just can't wait, please click here for the link to the online form where you can sign up and order your starter kit right away! 

Latest Kits!

Stampin Cut and Emboss

The City Sights Kit has all you need to make 8 cards with coordinating envelopes for £20. Along with the new Happy Hollyhocks Kit, a no stamping kit including 9 cards for just £14, both are available from May 1st - get yours here!

New Online Exclusives

There are new products available exclusively in the online store from 5 March - check them out here.

About Me

Hi I'm Joanne and live in Northampton and when I'm not looking after my husband and two beautiful children, am an avid crafter with a passion for all things Stampin' Up!

I must confess that I have never been a big rubber stamper - until I discovered Stampin' Up! that is. I love the fact that I can get such great results with co-ordinating stamps, inks, papers and punches - the possibilities are endless! Join me on my stamping journey as I share the things I love and be inspired to create amazing things yourself!

Follow Me

Monthly Newsletter

Box Builder

Click the button above to use Box Buster to create your custom box design using the Envelope Punch Board!

Kits Collection Now Available!

Stampin Cut and Emboss

The new Kits Collection from Stampin' Up! is now available!

Click here to see the current kits available and order yours online today.

I Design For


Mini Catalogue


The next mini catalogue will be live in September! 

Stampin' Up Stuff

This is my personal blog and is not endorsed by Stampin’ Up! I hope you find it a plentiful source of ideas and personal inspiration but please don't copy my designs for contest submission or use for classes, publication or sale without express permission.