Today I'm sharing my design team card for our new challenge over at As you See It where it's time for the dreaded speed challenge, with the theme chosen by Deborah:
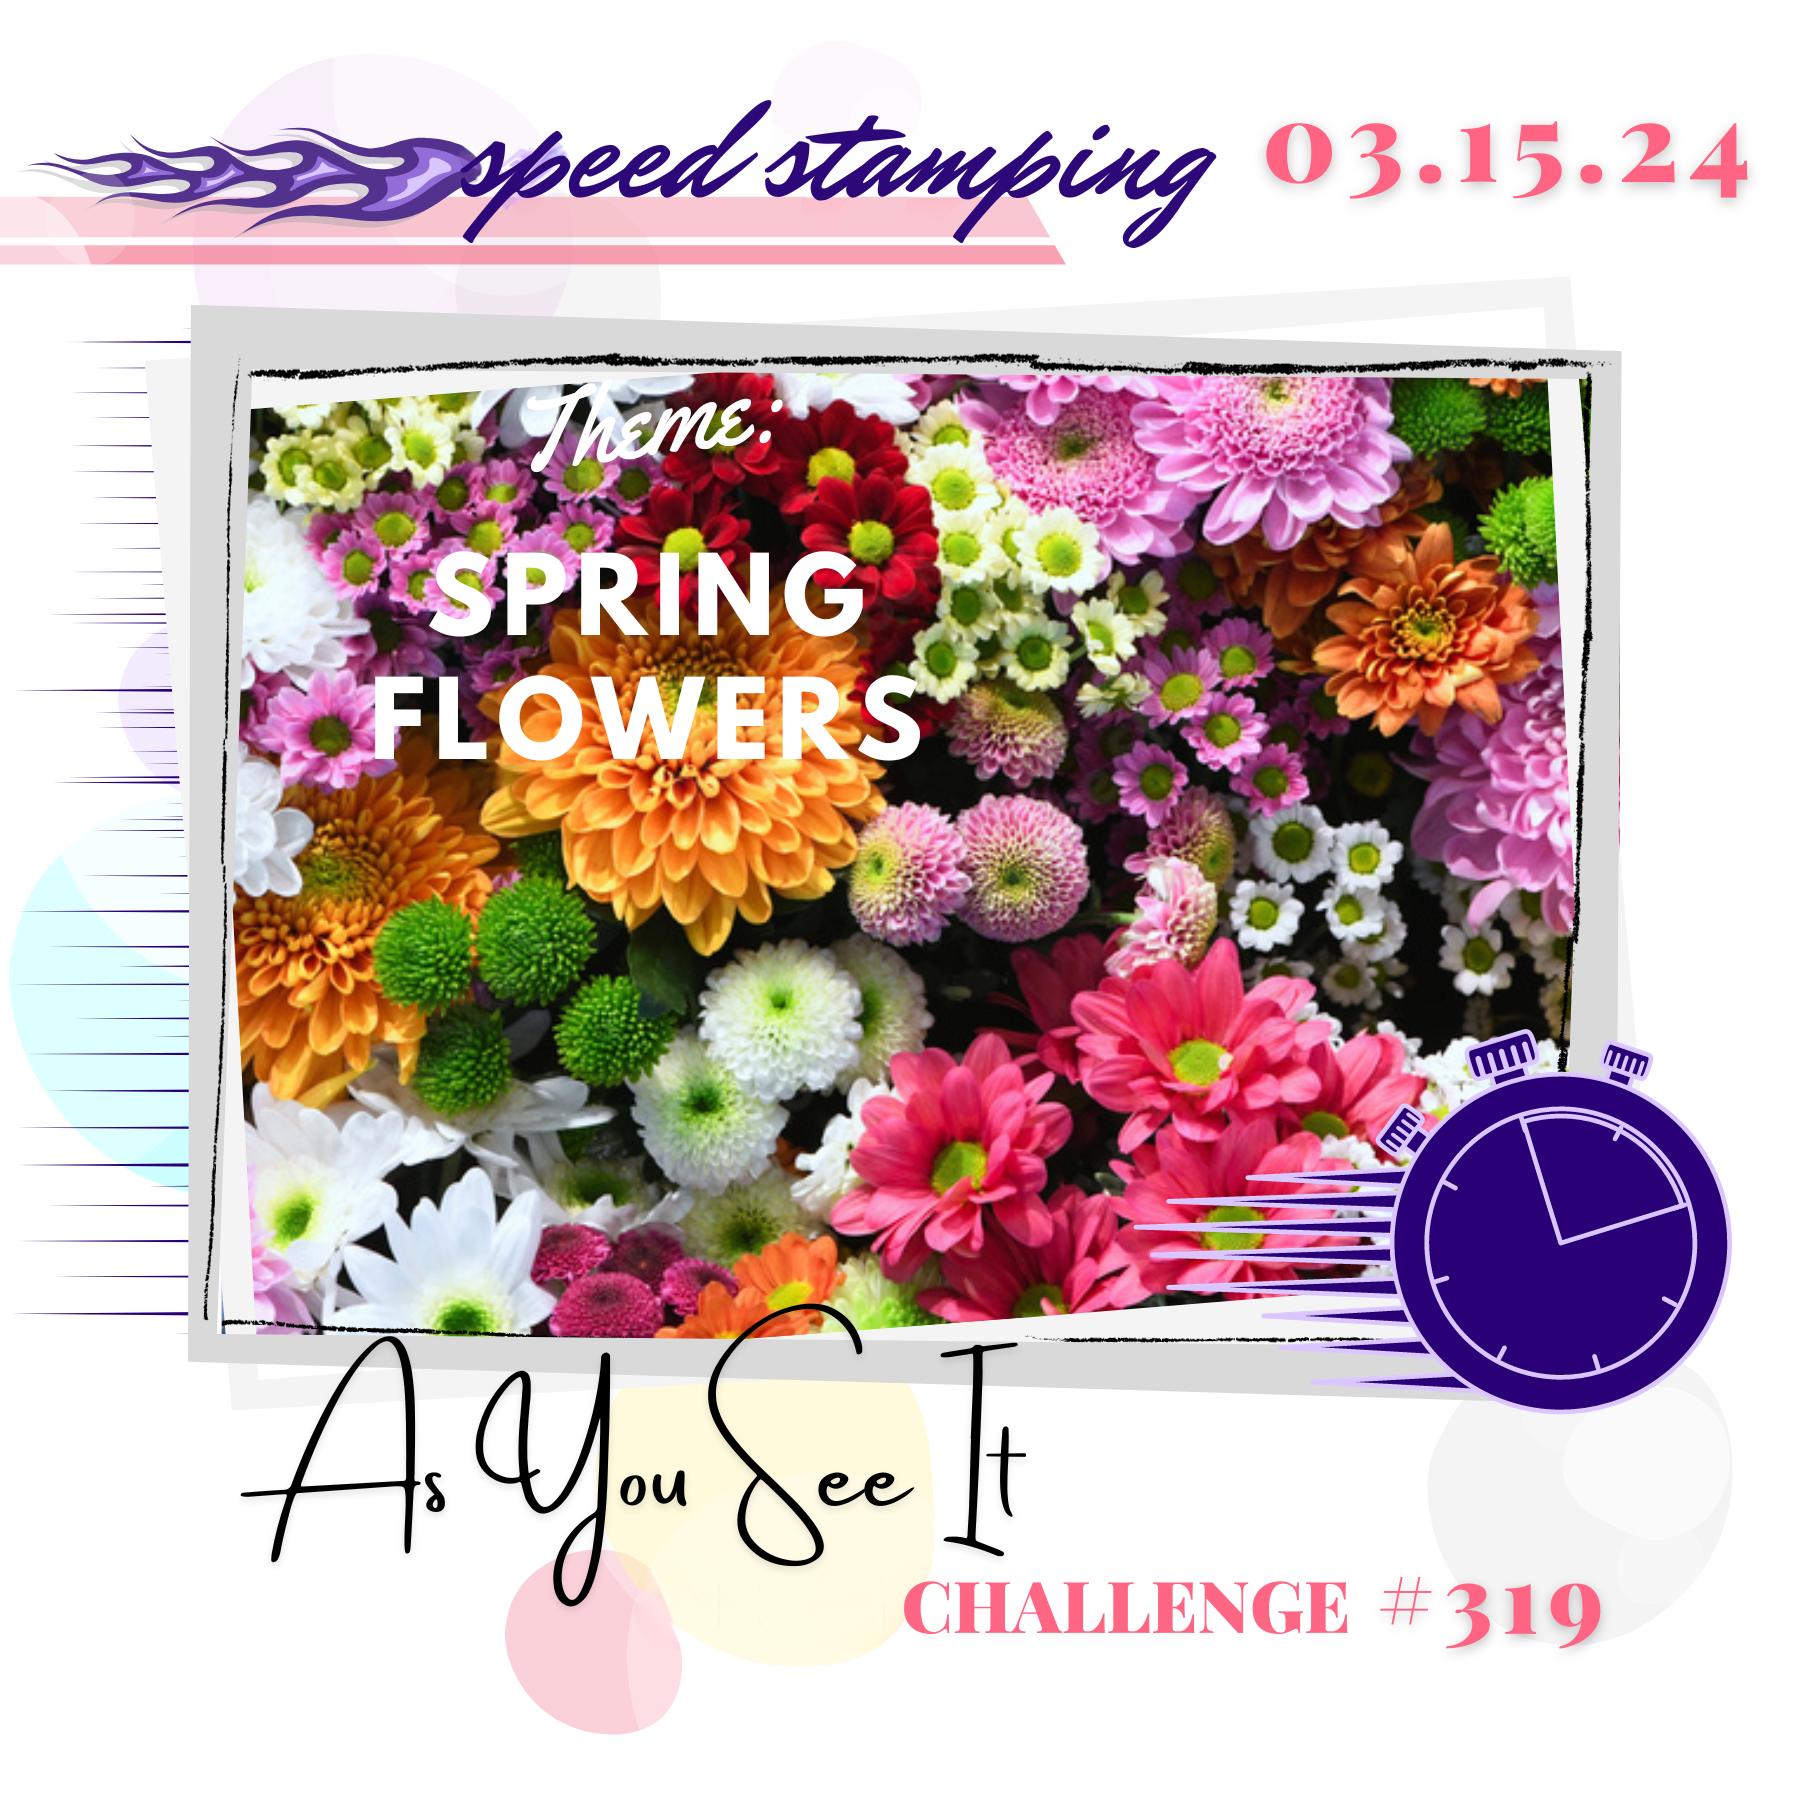
Spring flowers - how lovely it is to see them starting to appear in the garden! My daffodils are out and my tulips and lavender are coming along behind. My lavender in the garden doesn't usually bloom until late spring, so I'm taking the opportunity to create some of my own whilst I wait!
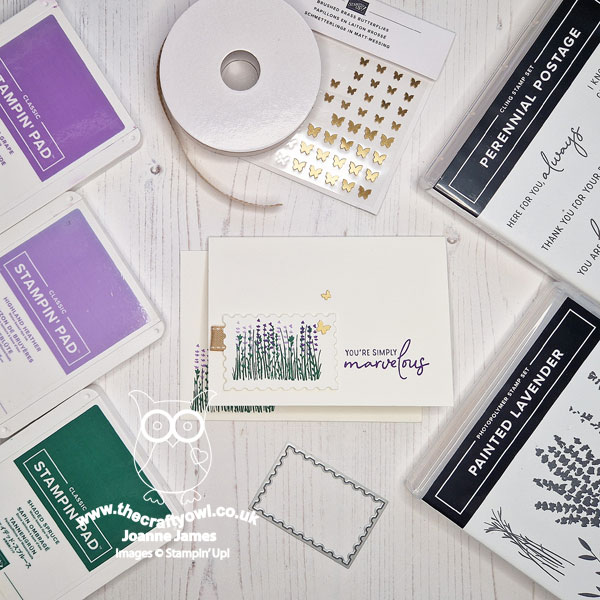
This week is speed stamping week, where we need to gather our supplies, set our timers and create our cards in 10 minutes or less. Being the designer series paper fan that I am, it's not uncommon for me to reach for some when I need to make a big impact in a hurry, however I've used designer paper for the last few speed challegnes so today I thought I'd challenge myself to stick to stamping only (ok, with maybe a little diecutting!) When you need a speedy card, the main thing needs to be to keep things simple - and be very organised! So here are my supplies laid out before I started:
Stamps mounted, ink cases opened, timer set - and go! This is the finished card that I created:
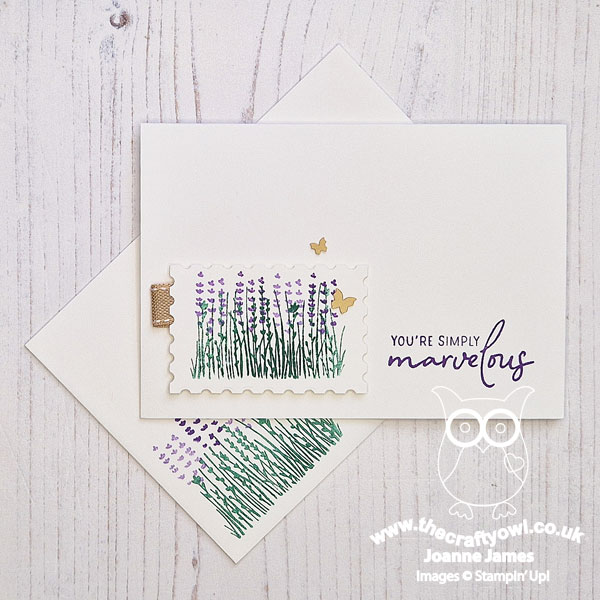
Now for the details! Here's the low-down on today's card:
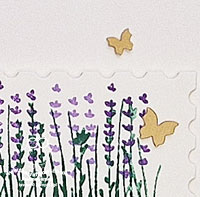
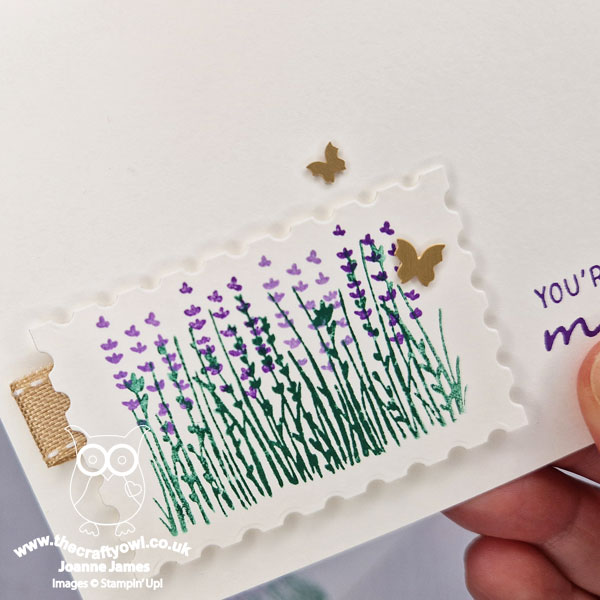
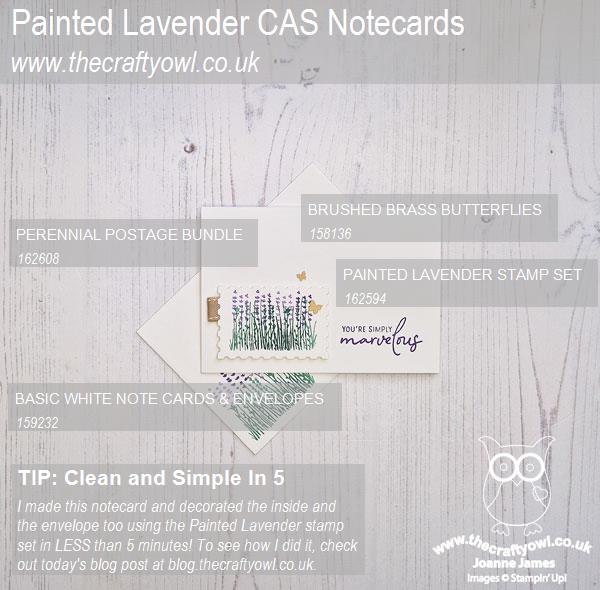
Painted Lavender Speed Stamping - I used the tiny lavender stems from the 'Painted Lavender' stamp set on my card today - I think this is my favourite stamp in the set. It's great for quick stamping: I diecut my postage stamp first, then stamped the stems in Shaded Spruce, followed by the flowers - first two in Highland Heather then two in Gorgeous Grape (by doing light then dark, I didn't need to clean my stamp in between - another time-saving tip!). So easy to position as it's photopolymer, so you can see exactly where you're stamping. For my base, I used one of the Stampin' Up! white notecards and envelopes - another time saver, as no cutting required! I stamped my sentiment directly onto my notecard base, then added a snippet of ribbon to the back of my stamped diecut before adhering to my notecard using dimensionals. Finally, I added a couple of brass butterflies for a little extra embellishment:
How long did all this take? Just 3 minutes and 38 seconds! So with so much extra time to go, I added some stamped butterflies to the inside of my card and added the same lavender design to the front of my envelope too before calling it a day. Total time used:

Less than 5 minutes for the win - result!
The Multiplier Effect - At under 5 minutes, this little notecard is a great speedy make. You could even shave a little time off that total by stamping the envelope and the same time as the diecut, rather than afterwards. Which brings me to my next point - cards that are quick to create but still showcase lots of new products are just what I'm looking for when I'm making multiples to send out to my customers with a new catalogue. And that may just be where today's card came from; I haven't shared it until now, but these were the cards that my customers received in the post with their mini catalogues before they launched in January. Here's a quick shot of some of them laid out together:
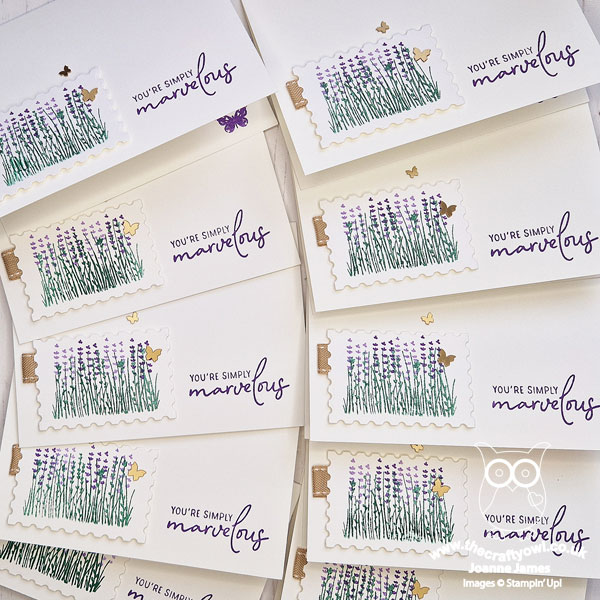
Lots of lavender loveliness!
Make It With Me - Now this is where you might think me completely mad: I haven't made a video for you in a while and I chuckled when my friend and fellow teamie Jan mentioned that had decided to video her undertaking her speed stamping challenge. Whilst I did think her rather mad, the more I thought about it, I decided I'd have a go too. I haven't made a video in ages so be kind! So here you go:
Room for improvement to be sure, but I hope you found it useful.
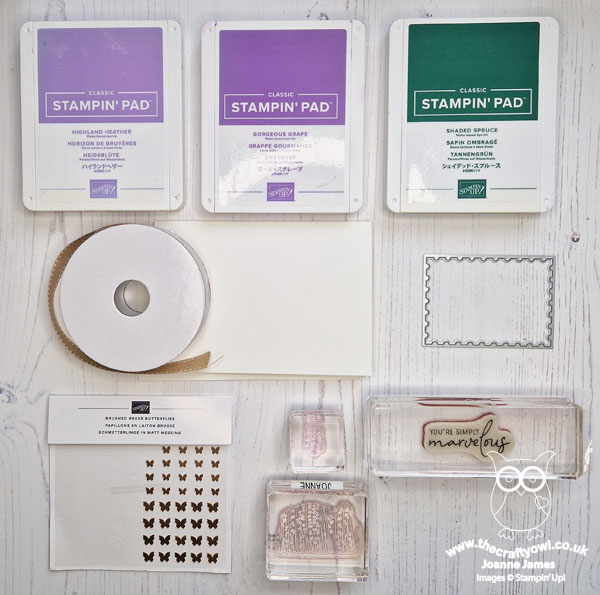
Here is the visual summary of the key products used on today's project for you to pin for easy reference:
You can see all of my 'How To' summaries on my 'How To - Tips and Techniques' Pinterest board in case you've missed any.
Here's a summary of our challenge rules:
- Create any card, scrapbooking page, 3D project or packaging project that fits the challenge.
- Please include the challenge graphic and link back to the challenge in your blog post. Turn off word verification so we can leave you lots of lovely comments. Make sure you link the post not the whole blog to the Linky. Use #AYSIXXX when uploading to a public gallery.
- If you’re unsure about ‘the rules’, check the details under the Challenge Guidelines tab on the As You See It Challenge homepage.
- In a speed stamping challenge, please time yourself and say in your post how long your card took to complete.
We look forward to seeing your creations in the AYSI gallery.
Enjoy your day and I'll be back tomorrow with another project. Until then, happy stampin'!
Stampin' Up! Supplies Used: