
Today I'm sharing my design team card for our new challenge over at As you See It where it's time for a recipe challenge:


I feel like I need to start off with an apology for the sheer amount of different stamp sets and general bits and pieces that I've used on today's card! The truth is, I pulled out everything I had that fitted the recipe ... then used most of it on my card! Take a look:
Here's the low-down on today's card:
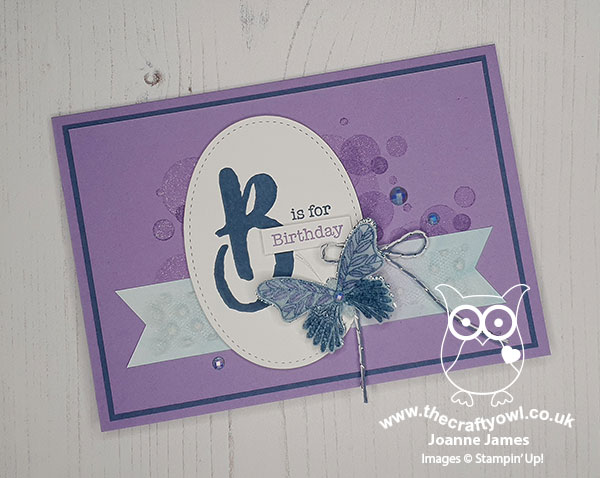
Blue Birthday Wishes - I couldn't resist the colours over at Global Design Project #GDP257 this week - they were my favourite colour duo that I used for the last AYSI Challenge, with the addition of Misty Moonlight, so I decided to use them on my card for this challenge, but this time to create a card that was anything but Christmas, even though it does use some seasonal product. I used the sketch at Paper Craft Crew for my layout, where the oval was perfect for showcasing a birthday 'B' from the Monogram Messages set.
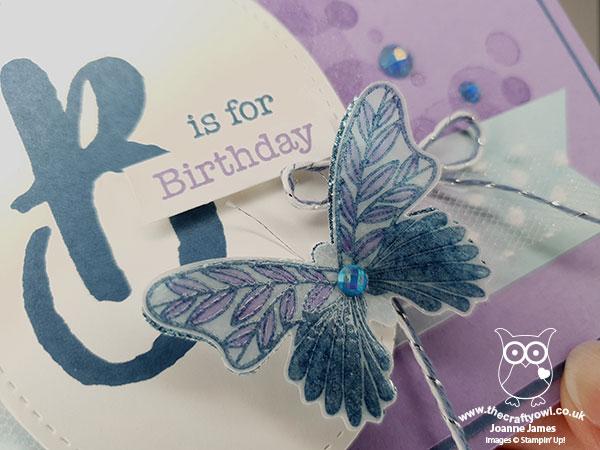
Butterfly Gala Beauty - I originally intended to use the little butterfly in the Monogram Messages set for my butterfly, but it was too small. Instead I went for a layered butterfly from 'Butterfly Gala', with one punched in Balmy Blue Glimmer Paper for a sparkly base and then another stamped in Misty Moonlight and clear embossed on vellum, with the detail coloured with Highland Heather Blends and embellished with a Balmy Blue Gilded Gem - so pretty:
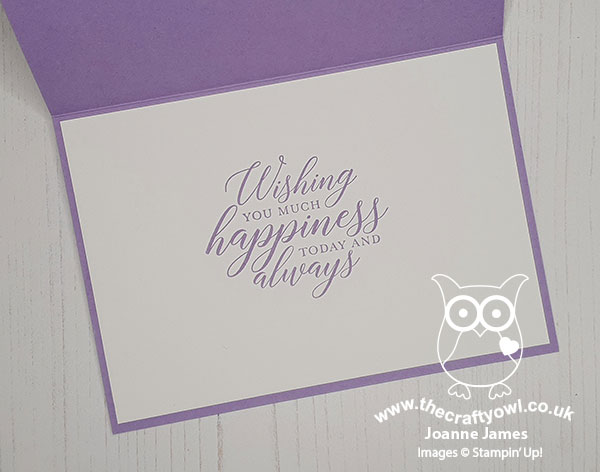
Recipe Check and An Inside Finish - So that has birthday sentiment and butterfly covered, along with both diecut (stitched shapes oval) and punch. The circles were courtesy of the bokeh dots from another butterfly stamp set, 'Beauty Abounds'; I stamped them tone-on-tone in Highland Heather on my card base, and carefully went over each one with my clear Wink of Stella pen for extra sparkle. For my DSP I used a strip of Balmy Blue/Highland Heather watercoloured paper from the Snowflake Splendor pack, and overlaid it with some polka dot tulle ribbon (more circles!). That was my recipe complete - and as if I didn't have enough out on my desk already, I added a sentiment from yet another stamp set, 'So Sentimental', for my inside greeting:
A twine bow and some blue gilded gems as well, I really went to town with this card - you can only imagine the state of my desk when it came to clear up time!!
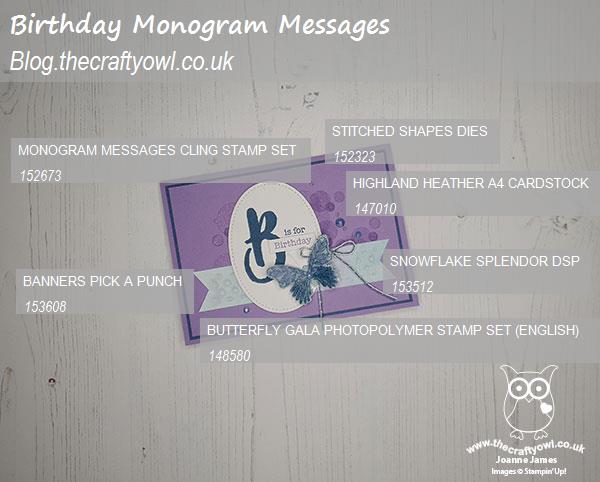
Here is the visual summary of the key products used on today's project for you to pin for easy reference:
You can see all of my 'How To' summaries on my 'How To - Tips and Techniques' Pinterest board in case you've missed any.
A pretty result though that show the versatility of these colours I think too. An interesting challenge for me too - I've decided I don't use butterflies much on my cards these days, so I really need to try and use them more often!
Here's a summary of our challenge rules:
- Create any card, scrapbooking page, 3D project or packaging project that fits the challenge.
- Please include the challenge graphic and link back to the challenge in your blog post. Turn off word verification so we can leave you lots of lovely comments. Make sure you link the post not the whole blog to the Linky. Use #AYSIXXX when uploading to a public gallery.
- If you’re unsure about ‘the rules’, check the details under the Challenge Guidelines tab on the As You See It Challenge homepage.
We look forward to seeing your creations in the AYSI gallery.
Enjoy your day and I'll be back tomorrow with another project. Until then, happy stampin'!
Stampin' Up! Supplies Used: