Today I'm sharing a card for the current challenge over at Festive Friday where they are celebrating National Dog Day which i'm also linking up over at The Card Concept where they have a cute inspiration photo featuring a dog front and centre:


I have been looking for an opportunity to break into the products in my Pampered Pets suite and this challenge gave me the perfect reason - take a look:

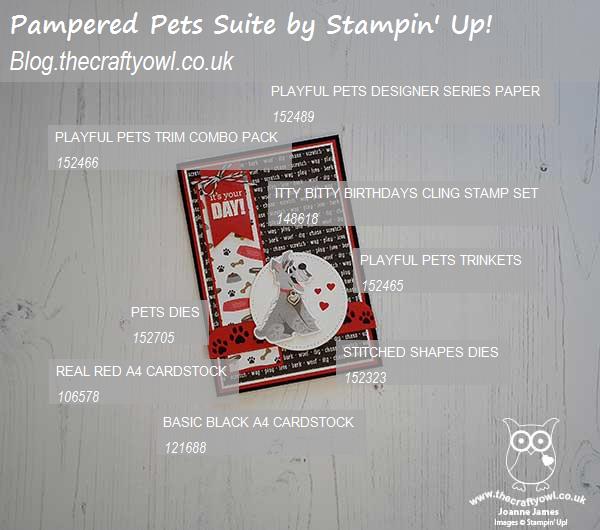
Here's the low-down on today's card:
Pampered Pets - A collection featuring cute cats and dogs, the Pampered Pets Suite is perfect for cards for animal lovers. I decided to make a birthday card for a dog-mad friend of one of the James Juniors. She loved it! Today's card is definitely all about the layers - there are 11 in total!
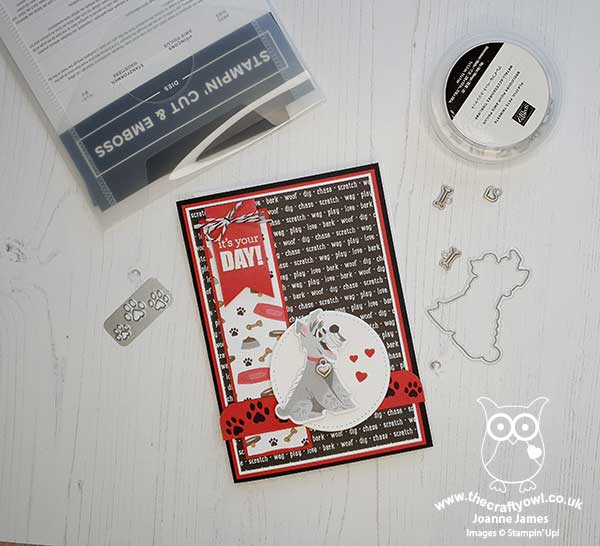
Pets Dies - The dies in the suite not only cut out the images in the stamp set, but also fit some of the dogs on the DSP and since I was featuring several of the paper designs on my card today, I also die cut one of the cute dogs too. Check out another neat die trick - did you notice that the horizontal die piece that features pawprints? Don't throw away the inside pieces if you are going to use the negative space diecut - the 'paws' also make cute hearts when turned the other way up - I used mine in front of my dog. You're welcome ;-)
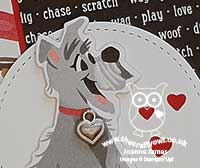
Suite Treats - The Pampered Pets Suite has a ton of cute elements that can be used to decorate your creations, including ribbon, twine and these cute heart and bone trinket embellishments, one of which I added to my dog's collar:
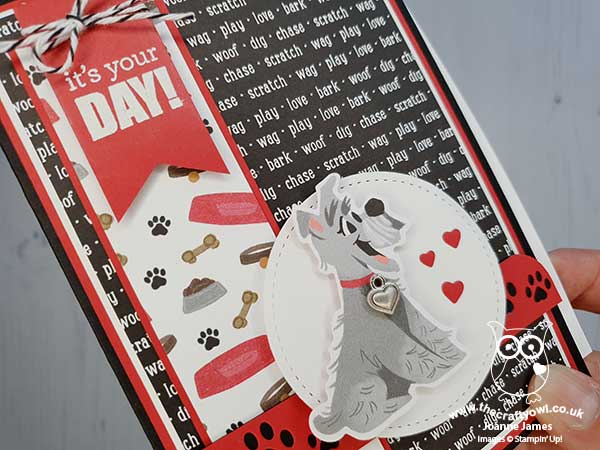
I know I only needed three items from the inspo list on my card today, but I couldn't resist going to town on this card: I included red, black, baker's twine, heart, paw print, dog, bone and embossing (heat-embossed sentiment). I think stripes and a love/loyalty sentiment are the only two things I didn't include!!
Here is the visual summary of the key products used on today's project for you to pin for easy reference:
You can see all of my 'How To' summaries on my 'How To - Tips and Techniques' Pinterest board in case you've missed any.
Enjoy your evening and I'll be back tomorrow with another project. Until then, happy stampin'!
Stampin' Up! Supplies Used: