Today it's Sunday and time for this week's new challenge over at The Paper Players! It's the turn of the fabulous Anne Marie to host this week and she has my favourite, a sketch challenge for you to work with:
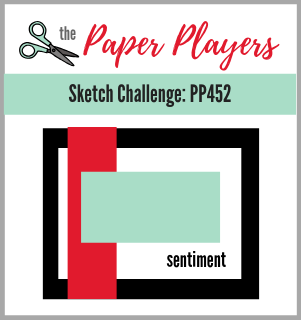
I love all the layers on Anne Marie’s sketch and thought that central panel would be perfect for me to break open a new stamp set and create with florals - take a look:
Here's the low-down on today's card:
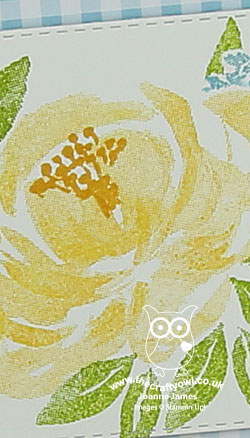
A Beautiful Friendship - I must confess the stamp set I used on my card today, ‘Beautiful Friendship’, is one I totally overlooked on my first pass of the catalogue. I always tell myself I don’t need any man re floral stamps, but for this one I just had to make an exception once I’d seen some of the lovely cards others had created with it - it has some great sentiments and a fab collection of florals that are so easy to use to create so many different floral arrangements and in so many different colours - I am officially hooked!
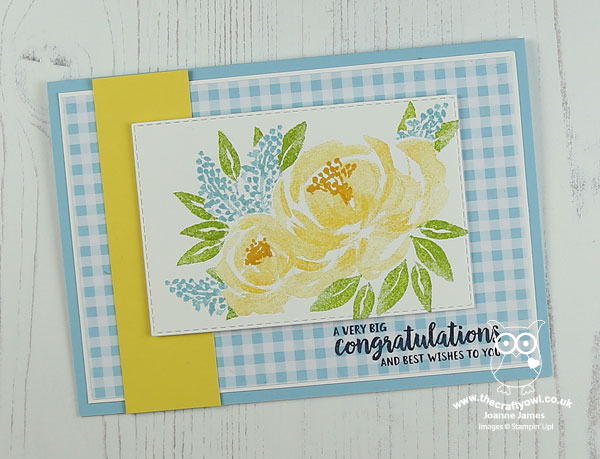
#SimpleStamping Without The Stitched Rectangle - I stamped my florals (with a little bit of post-it note masking, because I wanted to fit a lot onto my panel) and cut out with a Stitched Rectangle die as I didn’t want to add another mat to this central piece, however you could just as easily not and this would be perfect for this month’s Stampin’ Up! challenge to create a card using nothing more than stamps, inks, paper and DSP. ‘Beautiful Friendship’ is a great set for #SimpleStamping - it works on a multi-or single layered card and can be easily ‘dressed up’ or used alone to create some fabulous cards.
Color Collection DSP - I decided on a fresh and summery blue and yellow colour combo for my card today, using a strip of yellow and a base of blue and white gingham for my framed layer. I used a piece of retired gingham paper from the Spring catalogue, but we are so lucky that we now have it in every colour in the in-Color and Color Collection - yay! I’ve linked to the Subtles Color Collection below if you need to stock up! I stamped my sentiment in Night of Navy directly onto my DSP frame, as I didn’t want to use a label.
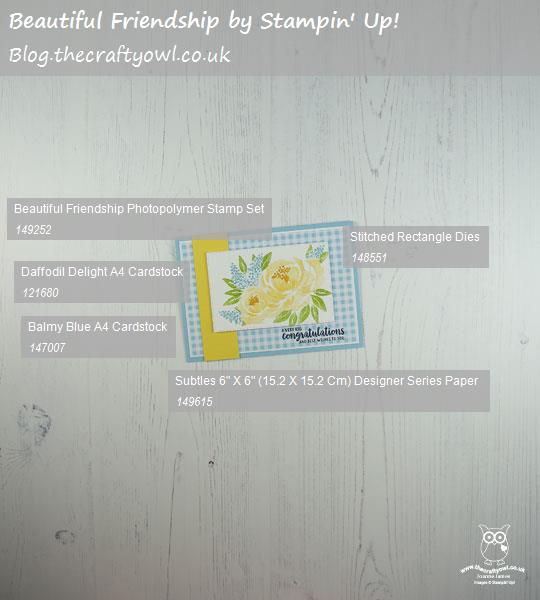
Here is the visual summary of the key products used on today's project for you to pin for easy reference:
You can see all of my Product and 'How To' summaries on my 'How To - Tips and Techniques' Pinterest board in case you've missed any.
Before you reach for your ink and papers, check out what our amazing team has created to inspire you this week:
The Paper Players Design Team
Here's a quick recap of our challenge rules:
1. Create a new paper project
2. Upload your creation to your blog with a link back to us and provide a direct link to the post featuring your challenge submission.
3. Please link your card to no more than four challenges, TOTAL.
4. Have FUN!
You can see all of my 'How To' summaries on my 'How To - Tips and Techniques' Pinterest board in case you've missed any.
Enjoy your day; I am spending day 2 at the London Aquatic Centre and the 2012 Olympic pool for the second day of Rebecca’s swimming meet. Yesterday was a good day and not too hot (I am thankful we cut a break in the heatwave here in the UK because poolside would otherwise have been unbearable!). Enjoy the rest of your weekend; I'll be back later with another project. Until then, happy stampin'!
Stampin' Up! Supplies Used: