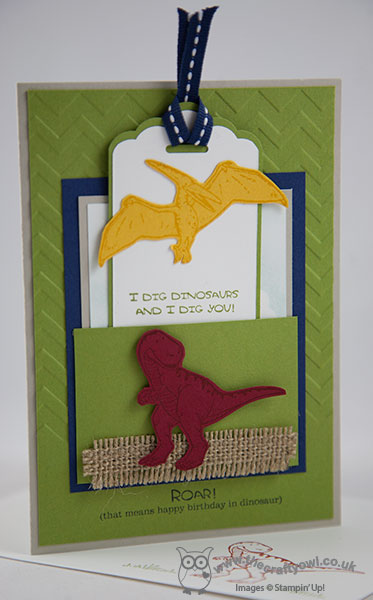
by Joanne James12. July 2014 22:43Well what a day! The highlight has definitely been Ben's birthday party with his class mates at Bugtopia, an insect and reptile centre near here. He had the most amazing time, holding everything from stick insects and tarantulas to chameleons and crickets! I will share some photos with you when I've had a chance to download them from my camera, but for today thought I would share the cards I made for Ben's two fellow 'birthday boys' with whom he shares his special day and some of the sweet treats that made it into the party bags. So first up, one of Ben's frineds is currently dinosaur mad, so I made a card using the new retired 'Dinoraur' stamp set (with a soon to be 7 year old son, I couldn't possibly part with my set, retired or otherwise!). I decided to create a fun card with a removable dinosaur bookmark made with the Scalloped tag Topper punch. Here is the card with the bookmark in its little pocket:
And here is the bookmark when removed, showing Triceratops on the bottom too:
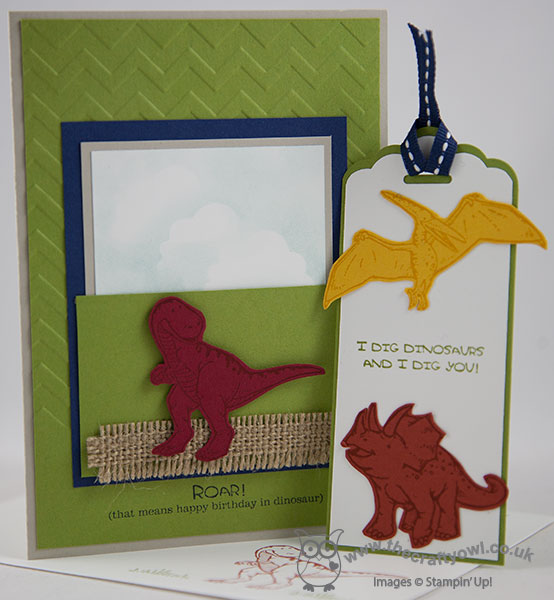
This card was such fun to make and perfect for a would-be palaeontologist. I have a bonus share for you today too: given the theme of our party, I used the Goodie Gear Simply Created Treat Kit for some suitably themed sweet treats - take a look:
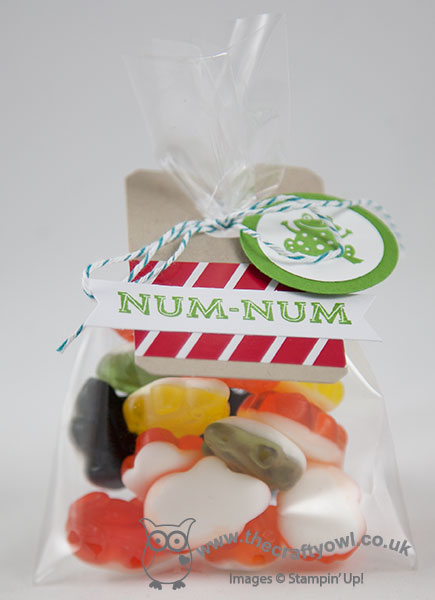
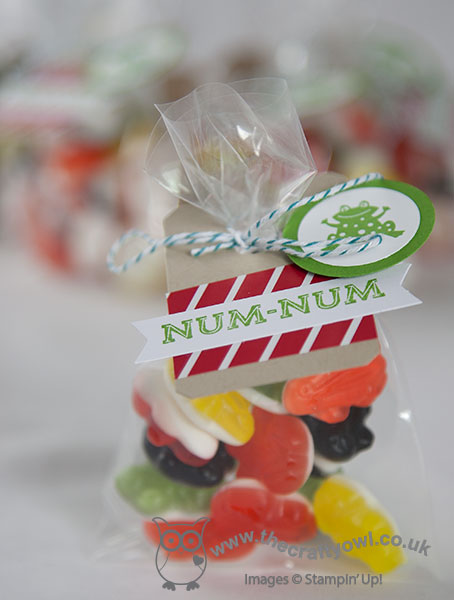
I bought a box of jelly frogs and tied them into the kit bags, decorated the labels and made a little stamped frog button (this is also from the retired 'Spring Sampler' stamp set). I thought I would share these with you as these bag kits are currently available on the Clearance Rack for just £1.79, and the Pumpkin Pie versions too - bargain or what?! Go and snap up a few to add a little 'wow' factor to your party treats! We also gave each child their very own butterfly garden to enable them to hatch their own caterpillar eggs into Painted Lady butterflies - a perfect project for the forthcoming long school summer holidays!
I'll be back tomorrow nice and early with my Paper Players post for the week; until then, happy stampin'!
Stampin' Up! Supplies Used:
faa5a1ce-954f-46e4-84e7-ac0ed448c20c|0|.0|96d5b379-7e1d-4dac-a6ba-1e50db561b04
Tags: Big Shot, Chevron Textured Embossing Folder, Dinoroar, Goodie Gear Simply Created Kit, Scalloped Tag Topper Punch, Stampin' Up Supplies, Stampin' Up Card ideas, Stampin' Up Card, Stampin' Up, Shop online, Clearance Rack
by Joanne James12. July 2014 21:19Well what a day! The highlight has definitely been Ben's birthday party with his class mates at Bugtopia, an insect and reptile centre near here. He had the most amazing time, holding everything from stick insects and tarantulas to chameleons and crickets! I will share some photos with you when I've had a chance to download them from my camera, but for today thought I would share the cards I made for Ben's two fellow 'birthday boys' with whom he shares his special day and some of the sweet treats that made it into the party bags. So first up, one of Ben's frineds is currently dinosaur mad, so I made a card using the new retired 'Dinoraur' stamp set (with a soon to be 7 year old son, I couldn't possibly part with my set, retired or otherwise!). I decided to create a fun card with a removable dinosaur bookmark made with the Scalloped tag Topper punch. Here is the card with the bookmark in its little pocket:
And here is the bookmark when removed, showing Triceratops on the bottom too:
This card was such fun to make and perfect for a would-be palaeontologist. I have a bonus share for you today too: given the theme of our party, I used the Goodie Gear Simply Created Treat Kit for some suitably themed sweet treats - take a look:
I bought a box of jelly frogs and tied them into the kit bags, decorated the labels and made a little stamped frog button (this is also from the retired 'Spring Sampler' stamp set). I thought I would share these with you as these bag kits are currently available on the Clearance Rack for just £1.79, and the Pumpkin Pie versions too - bargain or what?! Go and snap up a few to add a little 'wow' factor to your party treats! We also gave each child their very own butterfly garden to enable them to hatch their own caterpillar eggs into Painted Lady butterflies - a perfect project for the forthcoming long school summer holidays!
I'll be back tomorrow nice and early with my Paper Players post for the week; until then, happy stampin'!
Stampin' Up! Supplies Used:
11817e7b-5a4d-4100-9a43-b4ab2fe39fd2|0|.0|96d5b379-7e1d-4dac-a6ba-1e50db561b04
Tags: Big Shot, Chevron Textured Embossing Folder, Dinoroar, Goodie Gear Simply Created Kit, Scalloped Tag Topper Punch, Stampin' Up Supplies, Stampin' Up Card ideas, Stampin' Up Card, Stampin' Up, Shop online, Clearance Rack
3D Projects | Cards | Children's Parties | Stamping
by Joanne James10. July 2014 22:01Another busy day for me today - for those who follow me on Facebook, you will have seen photographs of a class I ran a few weeks ago with a super bunch of ladies making 3D wall art using folded hearts so that they would each have a unique gift for their little girls. Well it just so happens that the same group of ladies also each have one or more sons, so in order that they wouldn't feel left out they wanted to make a similar project with boys in mind. Never one to resist a challenge, I already had an idea in mind using the new Stars Framelits - here it is:
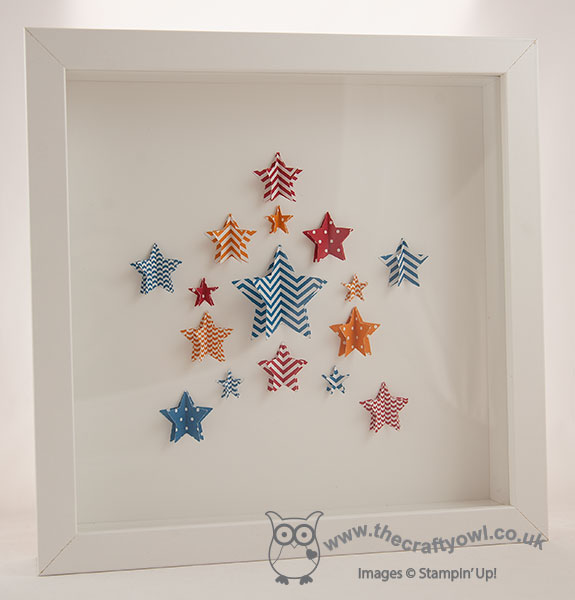
Using a combination of the two smallest star framelits and the mini star punch from the new Itty Bitty punches pack, I cut lots of stars and then having scored them down the middle, adhered them to each other on one half in groups of three and arranged them in a star shape. This close-up shot gives a better explanation of this:
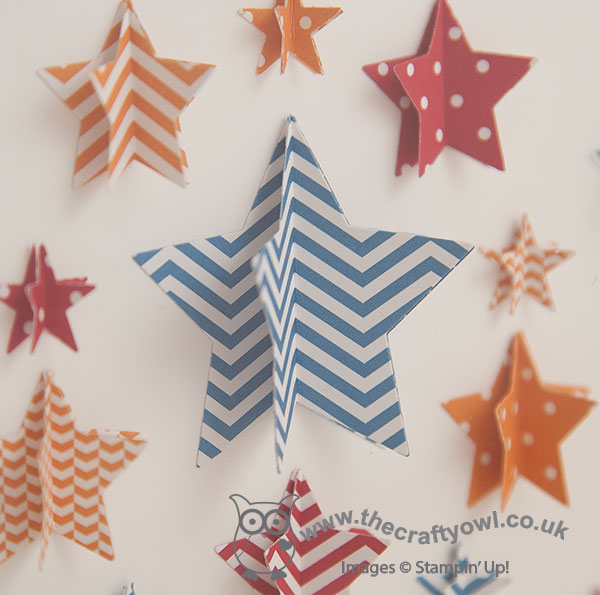
I used a combination of Pacific Point, Pumpkin Pie and Real Red patterned papers from the Brights Designer Paper Stack for my wall art as these colours will look great in Ben's Lego-inspired bedroom, however the ladies in my class used different colour combinations and even created some stunning monochrome designs. The dimensional stars really make this wall art stand out, especially in bold, bright colours. The wall art made in the class will be on my Facebook page in the morning if you would like to pop over and take a look, when I will also be updating the product links for today's post. If you live local to me in Northampton or the surrounding area and you would like to attend a class to make one of these lovely frames, then do get in touch.
This really is a quick post from me as I have a few more jobs to do before I turn in for the night, having been running a class today, sorting my school and after-school club runs and then a pleasant (if brief!) couple of hours with some of my lovely team this evening for one of our regular catch up sessions.
Back tomorrow with another project; until then, happy stampin'!
Stampin' Up Supplies Used:
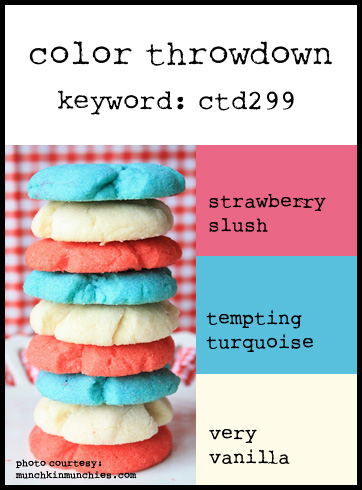
by Joanne James7. July 2014 08:00It's Monday and the start of a busy week for me, beginning with sports day for both James juniors today. So a nice early post is in order and today I'm sharing a card inspired by the colours over at Color Throwdown this week:
I thought these colour would make a fun baby card, but which way to go - girl or boy? In the end I decided to have some fun and use a little of both - take a look and see what I mean:
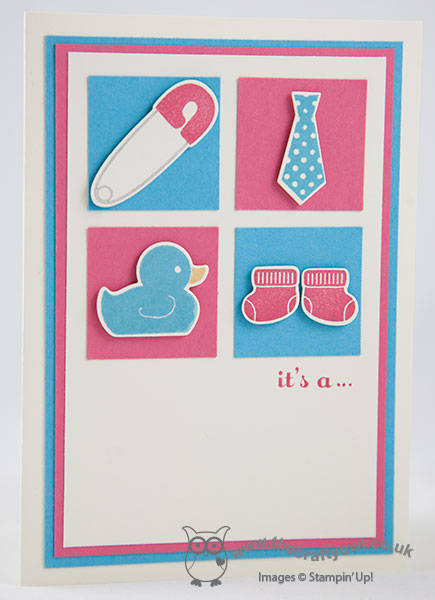
I decided to create a fun 'gender reveal' card that could be handed out to guests at a baby shower or similar, when the baby's gender has been kept a secret but it's time for the big reveal. I used Very Vanilla as my card base and created mats in Tempting Turquoise, Strawberry Slush and Very Vanilla, then punched 4 squares using my retired 1 1/4" square punch (you could cut these by hand), 2 blue and 2 pink, and attached one of the cute images from the 'Something for Baby' set, stamped in alternating pink and blue, and cut out with the co-ordinating framelits and mounted on dimensionals on the coloured squares. I then took one of the baby sentiments from the 'A Dozen Thoughts' stamp sets and partially inked it up so that the start of the sentiment was on the front, with the final 'reveal' on the inside. So what did I choose for my card - well, here's the inside where the truth is out:
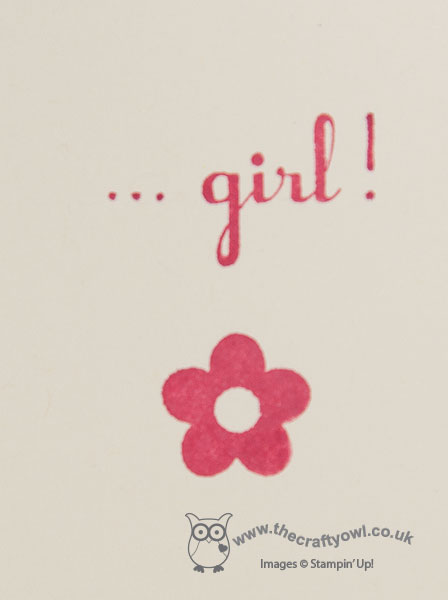
I made mine for a little girl, adding in the leading dots and the exclamation mark with my Strawberry Slush marker pen. You could just as easily create a similar card with alternate wording for a boy - cute, eh?!
We are making a card similar to this one in my monthly card class which is being held this week, which is featuring lots of products from the new Stampin' Up! 2014-15 Annual Catalogue. If you live in Northampton and are interested in attending card, home decor or Project Life classes, do get in touch - new faces are always welcome!
Right, I'm off to avoid being attacked by a javelin or alternative sporting object! Back tomorrow with another project; until then, happy stampin'!
Stampin' Up! Supplies Used:
by Joanne James6. July 2014 08:00 
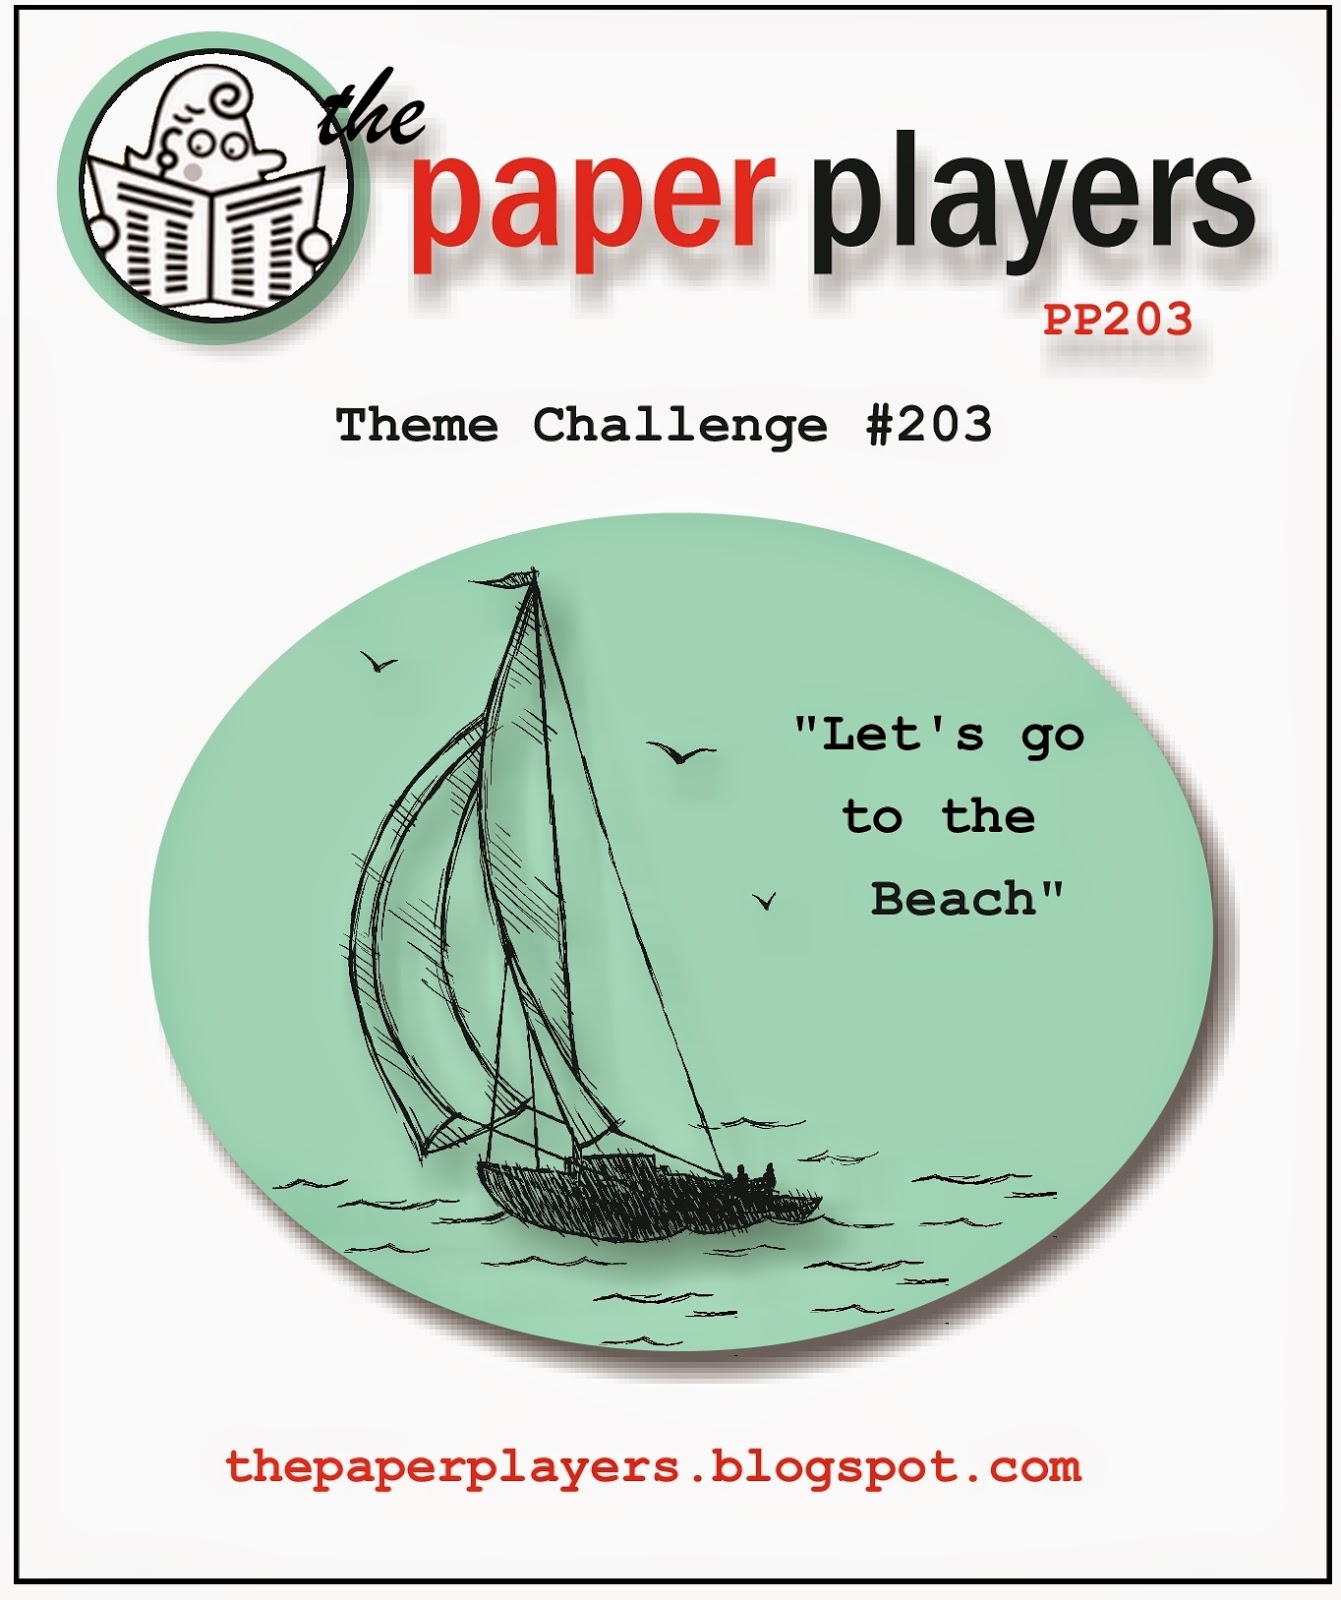
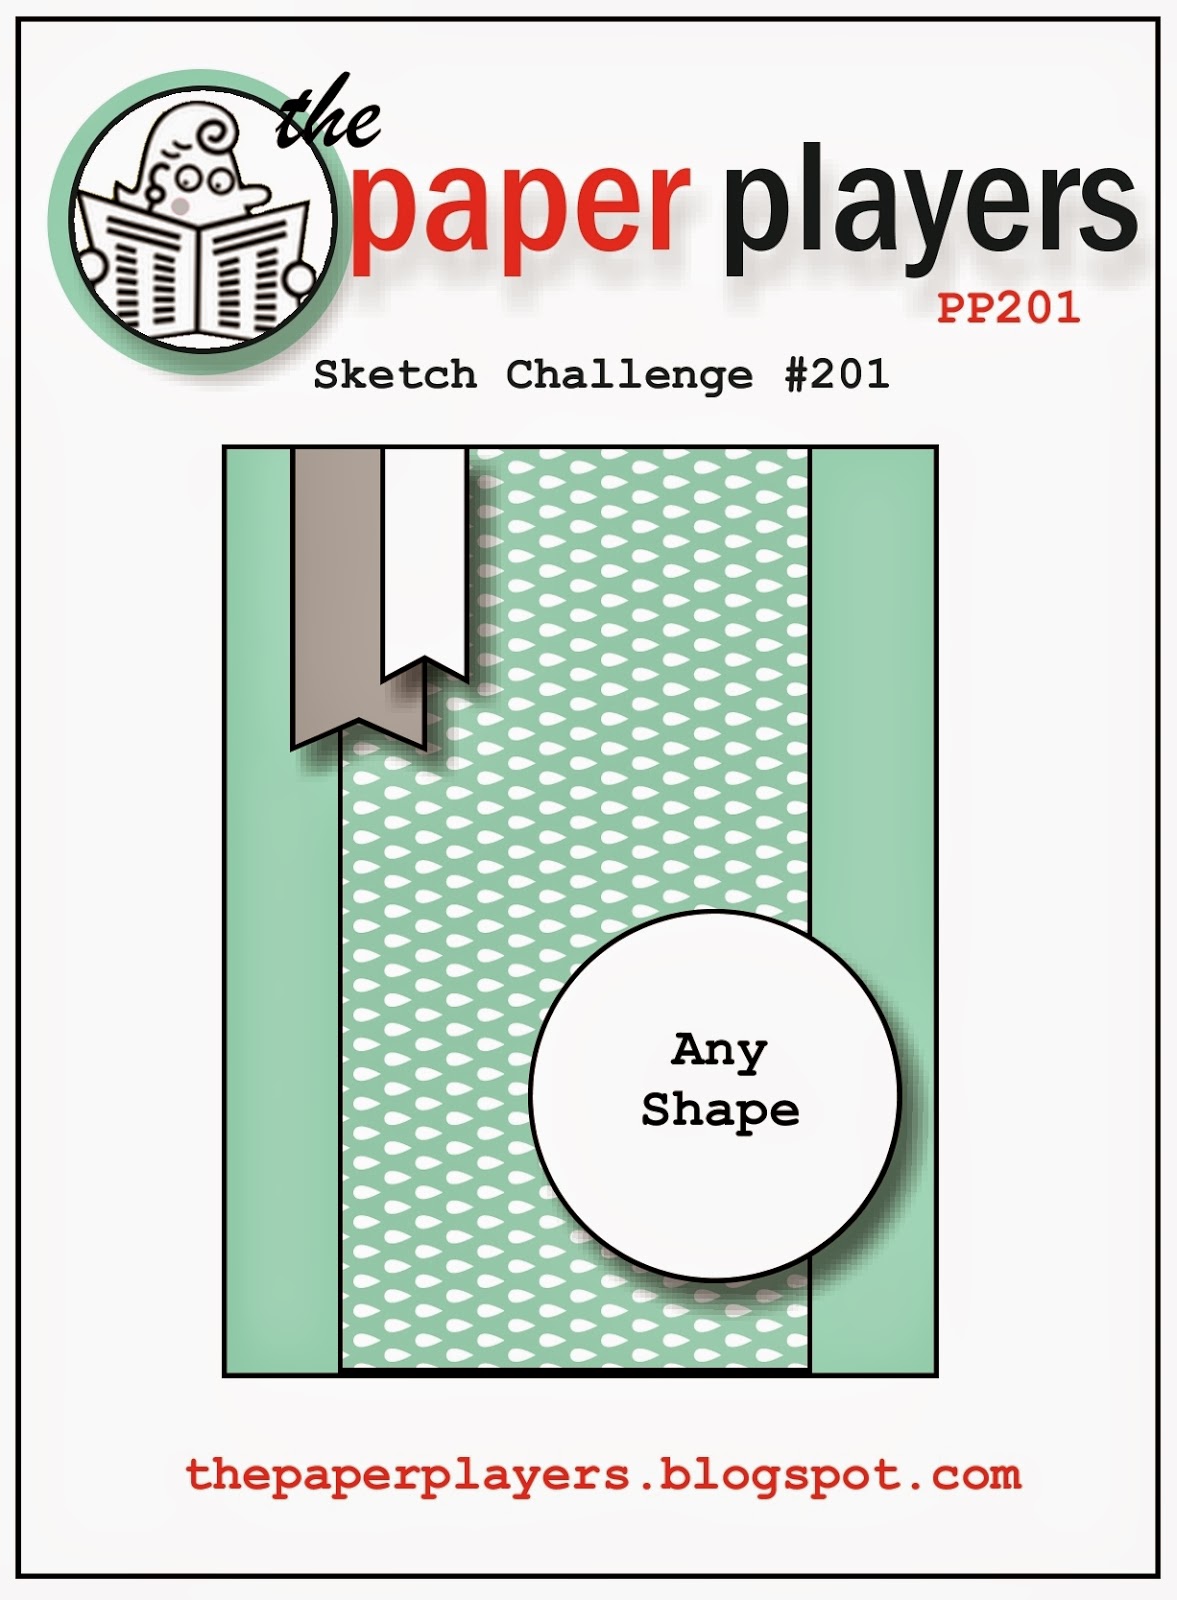
Today is a very exciting day - my first official post as a Guest Designer with The Paper Players! I am very pleased to be joining this talented group of ladies for the next three months, along with the other amazing guest designers: Claire Broadwater, Yapha Mason, Andrea Whisman and Mike Funke - I'm really looking forward to working with you all. So today's challenge is from Nance and requires projects with a beach theme:
When I think 'beach' I immediately am drawn to the bold and bright colours of the Caribbean, where, as a keen scuba diver I've spent some of my best beach holidays. However, for today's card I decided to opt for something that shows a more traditional British beach scene and took the opportunity to use one of the new in-colours, Lost Lagoon. I also used this week's Freshly Make Sketches layout (turned through 90 degrees) for my card - take a look:
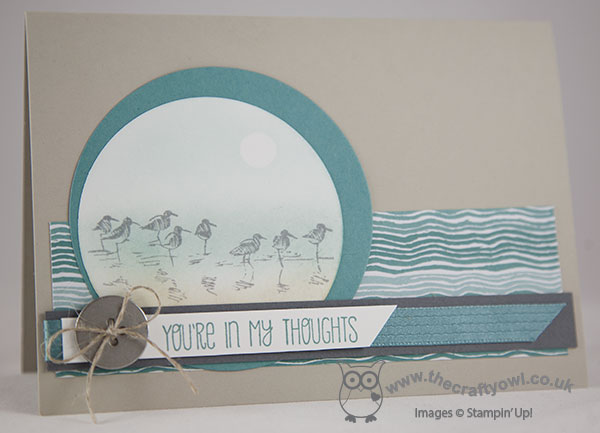
I took out the seagulls from my recently acquired 'Wetlands' set and with a Sahara Sand card base, stamped them in Basic Grey on a circle of Whisper White cut out with my Big Shot and circles framelits and sponged in the background using Soft Sky, Lost Lagoon, Sahara Sand and a little So Saffron masking the sun using a little punched circle of spare cardstock. I mounted this circle slightly offset onto a larger circle cut from Lost Lagoon and used a piece off paper from the new Moonlight Designer Series paper stack as a partial background - this paper so reminds me of waves! The pattern actually runs across the short side of the stack, so to make it extend along the whole of the long side of my card I simply matched the pattern and created a join, that is hidden behind the circular focal point - clever, eh? I then finished with a strip of Basic Grey cardstock wrapped with a piece of Lost Lagoon stitched satin ribbon, my sentiment stamped on a narrow flag and a basic metal button tied with linen thread to add to the natural feel.
I love the circular elements on this card and the muted colour scheme - it takes me back to my childhood when I lived quite near to some of the best of the British coastline and would often spend warm sunny days building sandcastles and paddling in the sea. I currently live right in the centre of 'middle England' and couldn't be further from any stretch of coastline than anywhere else in the country; I'll have to make do with watching the barges and moorhens on the local canals instead!
I hope you like my card today and that it inspires you to hop on over to the Paper Players challenge blog to join in and upload your challenge creations. The Paper Player challenge takes place weekly, opening on a Sunday at 8am (PST) and closes at noon on Friday (PST). Here's a quick recap of our challenge rules:
1. Create a new paper project
2. Upload your creation to your blog with a link back to us and provide a direct link to the post featuring your challenge submission.
3. Please link your card to no more than three challenges, TOTAL.
4. Have FUN!
We look forward to seeing your seaside-themed creations! We are having a restful family day today, having had a busy day yesterday with a theatre visit and swimming gala and the next two weeks choc full of things going on as the end of the school term draws near. Back tomorrow with another project; until then, happy stampin'!
Stampin' Up! Supplies Used:
5665b1b2-9516-4b05-819d-53b292f1af3e|0|.0|96d5b379-7e1d-4dac-a6ba-1e50db561b04
Tags: Big Shot, Circles Framelits, A Dozen Thoughts, Wetlands, Shop online, Stamp-a-ma-jig, Stampin' Up, Stampin' Up Card, Stampin' Up Card ideas, Stampin' Up Supplies, Midnight DSP Stack
Cards | Stamping
by Joanne James4. July 2014 21:54Today's card is my entry for this week's Summer Collection challenge over at Create with Connie and Mary where they have the following colour challenge:
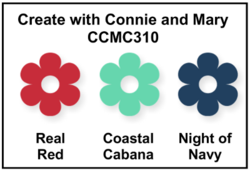
I love this colour combo and couldn't pass up the opportunity to make something with it. All of these colours can be found in the new Sea Street designer series paper, so I decided this would be my starting point. Here's my card:
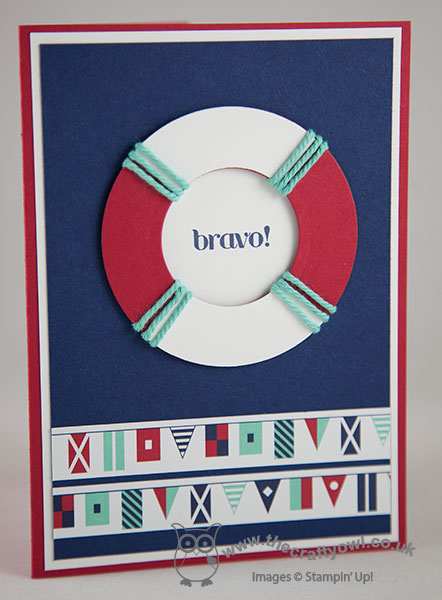
I've been wanting to make a life-buoy on a card with this paper that would enable me to use the new thick baker's twine too and this card provided the perfect opportunity. Using a Real Red base, I then used a mat of Whisper White and a further mat for the top layer in Night of Navy. I created my life buoy by cutting two rings using my circle framelits, one in red and one in white, then cutting the white one into quarters and overlaying two of the sections onto the red one. I wound Coastal Cabana baker's twine around this and adhered it to my card using dimensionals, having first stamped my sentiment onto a circle of Whisper White and adhered that directly to the card base. I then finished the front of my card with two strips of Sea Street DSP showing multi-coloured sailor's flags and stamped the co-ordinating stamp onto the inside card panel.
As my regular blog readers will know, both James juniors are keen swimmers and whilst only Rebecca currently races competitively, Ben is improving all the time as he grows older and stronger and is gaining on her all the time. He often undertakes distance swimming badges and skills-based certifications, so I made this card with him in mind - I think it will make a lovely congratulations card for my little swimmer the next time he achieves a milestone and I like that the card has a masculine feel that would suit both young and old alike.
I'll be back tomorrow with another project and I will be posting early as I will be watching the last swimming gala of the season tomorrow evening. Wish me luck - with the warmer weather we've been having the swimming baths will be roasting, so it will be all I can do to stop myself diving into the water too! Until then, happy stampin'!
Stampin' Up! Supplies Used:
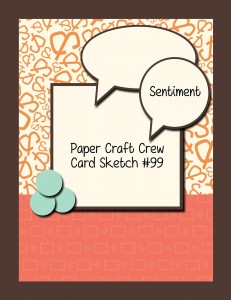
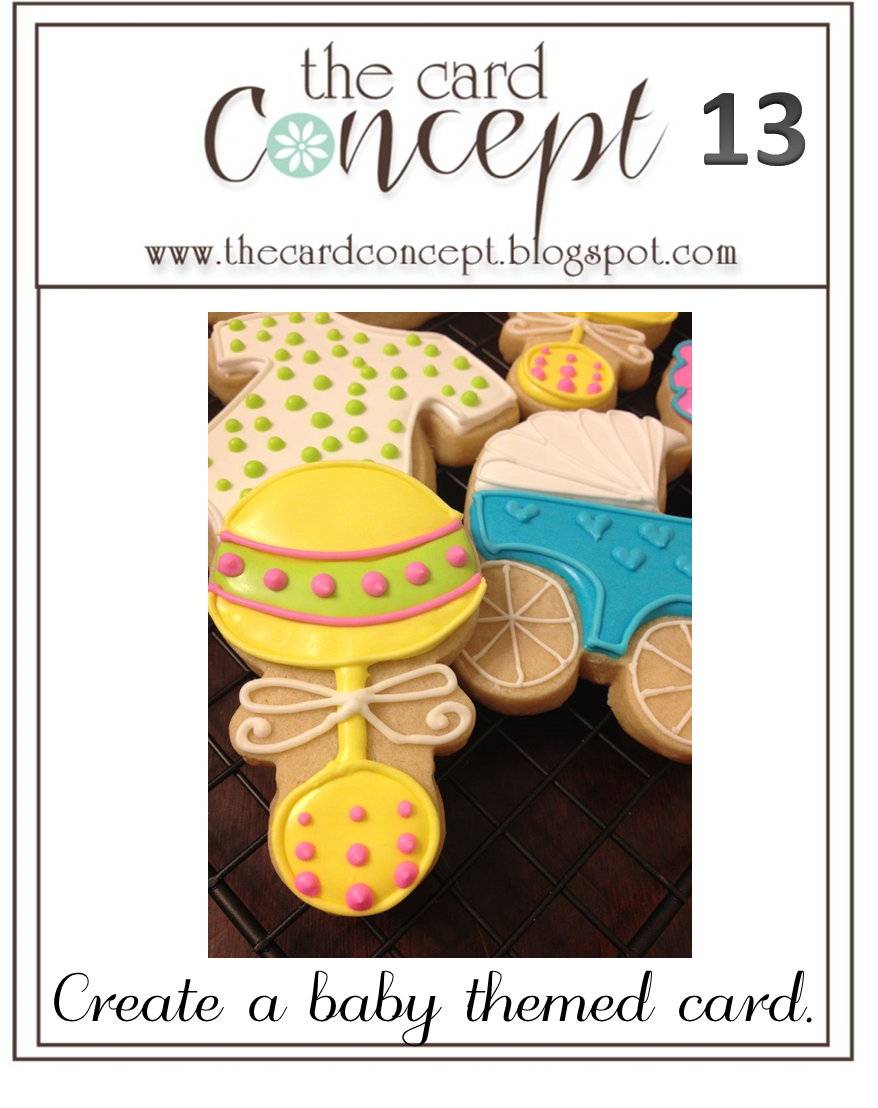
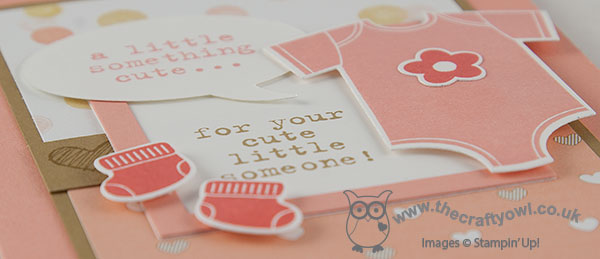
by Joanne James27. June 2014 10:18Yay it's Friday - what more is there to say?! Today I have another new catalogue sneak peek to share with you, this time a cute baby card that I made using this week's sketch layout over at The Papercraft Crew (I haven't managed to play along with these guys for a while and this week's sketch layout really appealed!) and I'm also linking up with The Card Concept, where the challenge is to create a baby-themed card (mine is in the 'clean and layered' style):
I wanted to use a set from the new catalogue called 'Something for Baby' - a lovely set with lots of baby motifs; not only that, it also has a set of matching framelits - perfect! My card is in fact stacked with new product - see if you can spot it all:
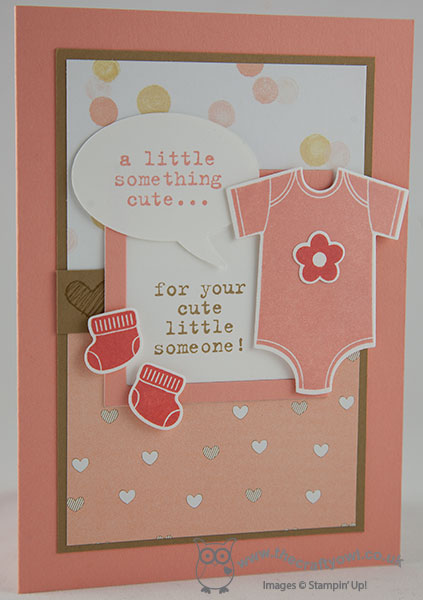
Did you get it all? My card base is Crisp Cantaloupe and I then matted two of the different patterns in one of the new DSP paper packs called 'Lullaby' onto a base of Baked Brown Sugar, and used a strip of the same colour to tie them together. I stamped the central strip with the heart stamp from the 'Something to Say' stamp set to echo the hearts on the bottom panel, although you can't really see them as they are obscured by the frame. I then created a frame using my Big Shot and square framelits and stamped the second half of my sentiment in the box. The first half I stamped in a contrasting colour onto a word bubble cut out with my framelits - I cut first and stamped second, which I don't usually do but I wanted my word bubble to 'hang' the opposite way (hope that makes sense!) - another sentiment from the 'Something To Say' set. I then embellished my card with a cute Crisp Cantaloupe babygro, complete with a Calypso Coral flower, and pair of booties, all popped up on dimensionals.
Hope you like my cute little baby girl card - lots of great sneak peeks there; only 5 more days to go until the new annual catalogue is here! And only 4 more days until my 2014-15 catalogue launch party: full details here and lots more to see so do come along!
Back tomorrow with a special project; until then, happy stampin'!
Stampin' Up! Supplies Used:
* Something for Baby stamp set and co-ordinating framelits - available 1st July
* Something to Say stamp set - available 1st July
* Lullaby Designer Series Paper - available 1st July
79323120-4cbb-44a9-b76b-5b88a30663df|0|.0|96d5b379-7e1d-4dac-a6ba-1e50db561b04
Tags: 2014 Annual Catalogue, Something To Say, Something For Baby, Lullaby, Word Bubbles Framelits, Square Framelits, Stampin' Up, Stampin' Up Card, Stampin' Up Card ideas, Stampin' Up Supplies, Shop online, Big Shot
Cards | Stamping
by Joanne James25. June 2014 13:00Today I was all set to share the card I made for this week’s challenge over at The Paper Players, where Nance has this great sketch for us to work with:
But before I get to my card, there is an exciting news announcement over on the Paper Players blog today involving yours truly: I have been asked to feature as one of their guest designers, starting July 6th - how great is that?!

I am excited and truly honoured that this wonderful bunch of papercrafters have asked me to join them for a three month period through to September. You can check out the details and the other guest designers that will be featuring at the same time by clicking on the link here and you will of course be able to see my weekly submissions right here on my blog in weeks to come.
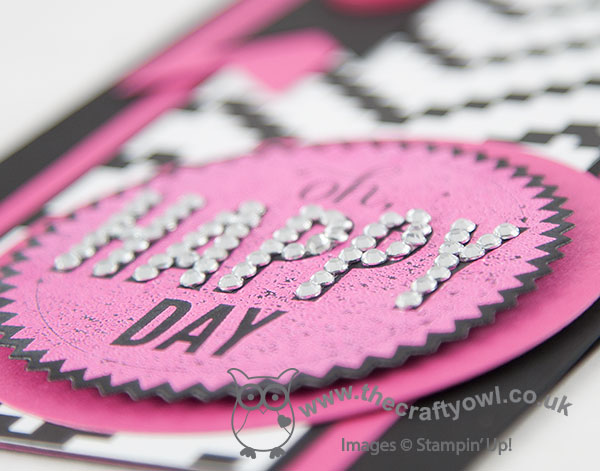
Anyway - back to today's card! I love a good sketch challenge and Nance's sketch can be used in so many ways. Given that we are transitioning between catalogues, my choices for my card today were driven by the (relatively!) fewer stamps that I currently have in my collection and also a desire to use another piece of Designer Series Paper that hasn’t yet made the cut – here’s my card:
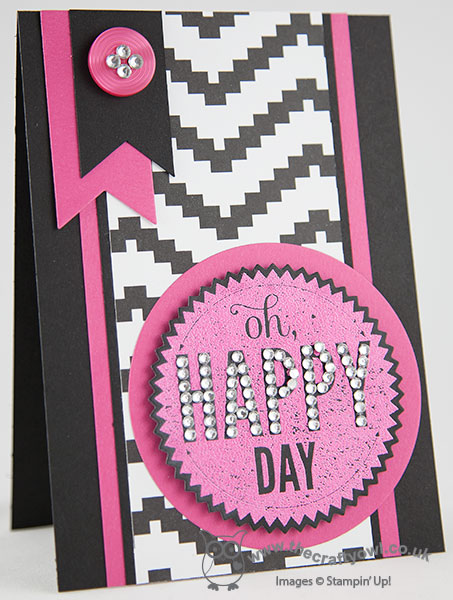
I decided to use the ‘Oh Happy Day’ stamp from the Starburst Sayings stamp set and wanted to use the bold black and white zebra-like pattern from the Kaleidescope DSP set; this layout allows for the use of a bold patterned paper without it overwhelming the rest of the card. Black and white alone was a little stark for me though – but I had the perfect antidote with a burst of Melon Mambo, a great hot pink to liven things up a bit! I used the black and white DSP for my central panel, matting this on a piece of Basic Black and then a strip of Melon Mambo, before adhering to my Basic Black card base. I stamped my sentiment focal point in Versamark on Basic Black and then heat embossed in Melon Mambo, which adds great texture and sheen, and cut out using the co-ordinating framelit. I then popped the starburst onto a Melon Mambo circle cut with my Circle Framelits using dimensionals to give added depth. I also decided this card was worthy of some serious ‘bling’ and adhered small rhinestones to each of the circles on the word ‘happy’ – this made this card so sparkly! To finish, I added two small banners cut with framelits as per the sketch, finished with a Melon Mambo button and a few extra rhinestones for good measure.
I think this card has a real ‘rock chick’ feel to it and would be great for an uber-cool teenager; I have a very discerning teenage niece that this card will be perfect for and as her birthday isn’t until October, I guess that makes me look super organised too – win, win! Or I could just send it to myself since today is indeed a happy day, given the announcement that I am going to be a Paper Players Guest Designer - yay! Decisions, decisions....
Back tomorrow with another project; until then, happy stampin’!
Stampin' Up! Supplies Used:
9deecda1-db1d-47d1-81cf-2e3b98a05aa2|0|.0|96d5b379-7e1d-4dac-a6ba-1e50db561b04
Tags: Starburst Framelits, Starburst Sayings, Kaleidoscope, Banners Framelits, Big Shot, Magnetic Platform, Shop online, Stampin' Up, Stampin' Up Card ideas, Stampin' Up Supplies, Embossing, The Paper Players, Design Team Member
Cards | Stamping
by Joanne James24. June 2014 13:00This week the peeps over at CAS(E) This Sketch and Fusion have joined forces on their challenge blogs with a great sketch and inspiration photo:
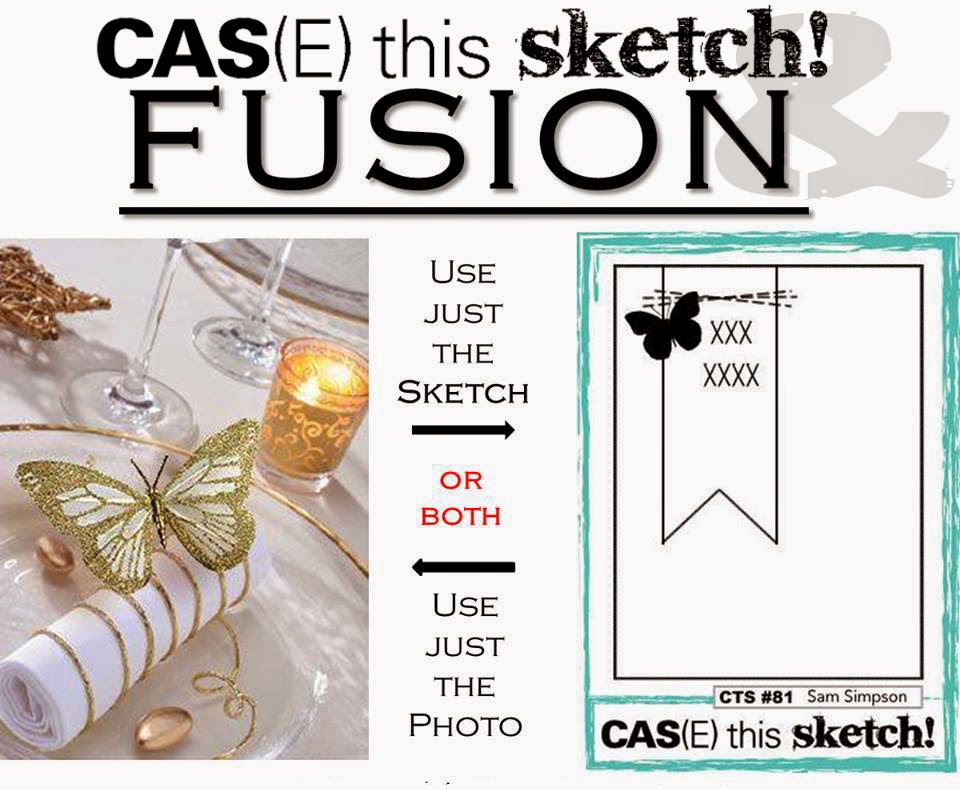
I took the inspiration for my card from both the photo and the sketch and came up with the following card:

For a largely white card, there's a lot going on here; all-white cards are also incredibly difficult to photograph well, so I hope you can see some of the more subtle elements of design. Firstly, I used a Whisper White card base and ran this through my Big Shot with the Wildflower Meadow Textured Impressions Embossing Folder to give a nice relief pattern that I thought worked well with the butterfly. I created a layered banner using my Banner Framelits, cutting one in Whisper White and another slightly longer one in gold foil to extend beyond the length of it. On the uppermost white banner, I stamped my sentiment in Versamark and heat embossed it with gold embossing powder - this sentiment is a 'sneak peek' from a new set called 'Something to Say', out next week (not long now!).
I then did something I've never done before: I glittered a butterfly! Now whilst my 9 year old daughter loves anything with glitter, I'm generally not a fan of the stuff. I love Stampin' Up!'s glimmer paper as this is a great no-shed alternative, and I've had 2 pots of glitter sitting in my drawer since before Christmas and until now unopened for fear of the ensuing mess that would be created! As my card came together, I knew that glitter was going to be the only way to go to get the look I was after and create the contrast in texture of all the gold elements. So, I was brave - out came the heat and stick powder and gold glitter, and this sparkly vellum butterfly is the result. And I love it - even though I think I will be brushing gold glitter out of my butterfly punch for some time to come. Lastly, I substituted the stitching in the sketch layout for two rows of sequins to add one last gold element to my card.
I made this card with my Mother-In-Law in mind; she is always there to help me out of a fix and last week was no exception: Rebecca came home from school the week before last with instruction to make a weasel costume for the forthcoming production of 'Wind In the Willows' - to be held this week! Not only did she need a weasel costume, this weasel required a brightly coloured waistcoat and cravat to look the part. Fortunately for me MIL came to the rescue and a few days later had managed to tailor the most amazing waistcoat and cravat I've ever seen just from bits and bobs in her sewing box. Rebecca is destined to be the best dressed weasel around at her production on Thursday (I'll post a picture of her in costume later in the week!); as for me - my Mother-In-Law's goodness does indeed make me very grateful, so Kathy this one is for you!
Back tomorrow with another project and this week's Wednesday Deals; until then, happy stampin'!
Stampin' Up! Supplies Used:
* Something To Say Stamp Set - available 1st July
by Joanne James22. June 2014 16:31Happy Monday everyone - that sure did come around again quickly! I am now officially counting down - 9 days until the launch of the new 2014-15 Stampin' Up! Annual Catalogue and more importantly 8 days until my official launch party!! You can read all about it here and I hope to see as many of you there as possible. Meanwhile, lots of jobs to do this week, the first of which is to share today's card.
I used this week's sketch layout over at Pals Paper Arts today along with the colour palette over at Create with Connie and Mary:
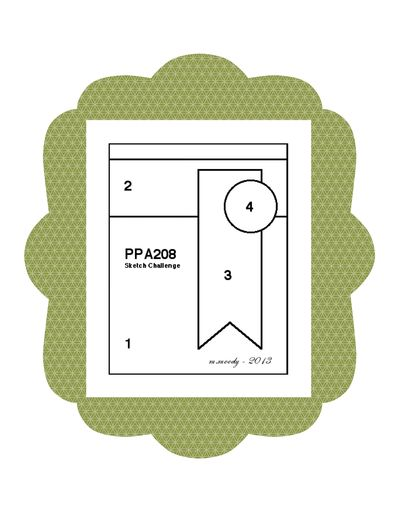
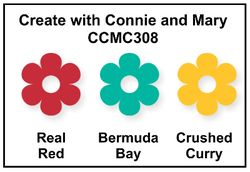
I've had the idea for today's card in my head for a while and the combination of the sketch and colour scheme were perfect for my card - take a look:
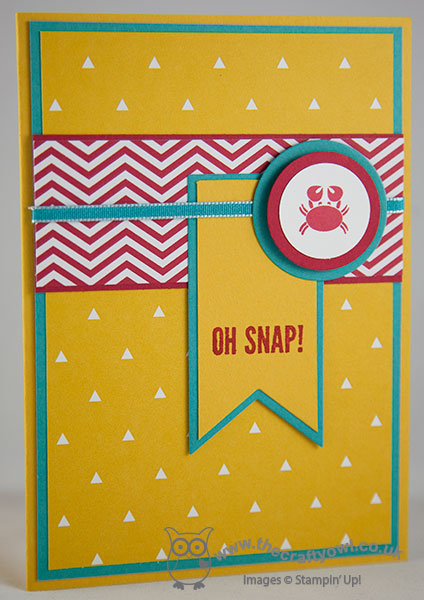
Having bought the Hip Notes stamp set because I thought it would come in useful with my Project Life memory keeping, I have also found a few other uses for it: the 'oh snap!' stamp seemed to tie in perfectly with the little crab from the Sea Street set to make a belated birthday card. I love these bright colours and decided to let the graphic red and yellow designer papers feature here with the Bermuda Bay as the supporting accent colour. My Banner Framelits made light work of the pennants and the same for the circles around the crab motif, which were made from a variety of framelits and punches. The card is quite simple with a very clean and layered look and I expanded on the sentiment inside the card:
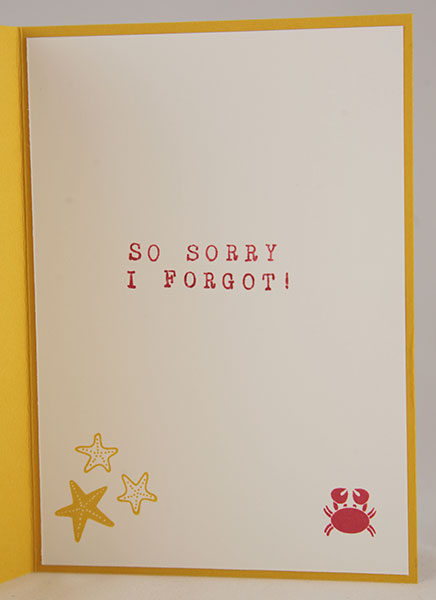
I stamped this sentiment with the new Alphabet Rotary Stamp that will debut in the forthcoming annual catalogue; I love how you can use it to make quick bespoke sentiments like this to add to a card. I'd like to say as a card maker that I never forget people's birthdays, but as a number of my closest friends will attest, that is sadly not the case! Maybe I should make a few of these cards to have on standby ready for the next time I have a moment of forgetfulness!
Back tomorrow with another project; until then, happy stampin'!
Stampin' Up! Supplies Used:
* Sea Street - available 1st July
* Alphabet Rotary Stamp - available 1st July
da9c126c-71f8-4115-a58d-81201bb75f49|0|.0|96d5b379-7e1d-4dac-a6ba-1e50db561b04
Tags: Sea Street, Kaleidoscope, Big Shot, Circles Framelits, circle punch, Banners Framelits, Belated Birthday, Shop online, Stampin' Up, Stampin' Up Card, Stampin' Up Card ideas, Stampin' Up Supplies
Cards | Stamping