It's Sunday and time for this week's new challenge over at The Paper Players! The wonderful Nance is the hostess this week and she has a fun theme for us to work with:
The great outdoors can be interpreted in so many ways: I needed some masculine birthday cards so decided to dig out my High Tide stamp set and take a trip to the coast for my card today - take a look:
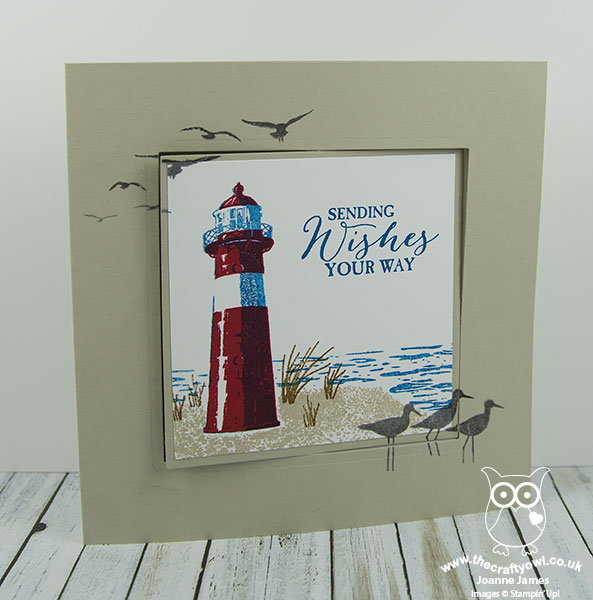
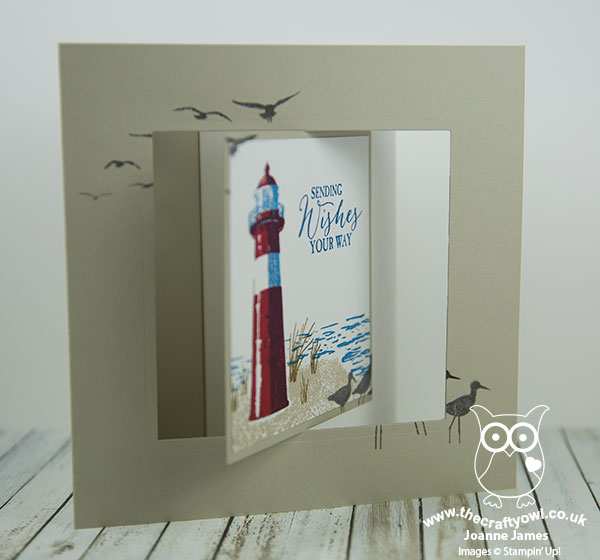
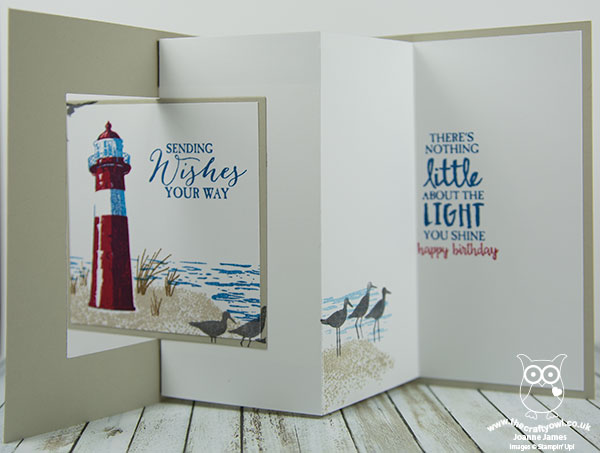
Today's card is a fancy fold and I've closed it above so that you can see what it looks like flat with the overstamped birds; the photo below shows it at an angle in it's popped-out position:
Here's the low-down on today's card:
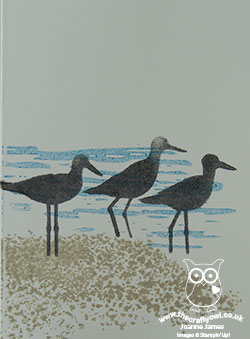
High Tide - High Tide is a stamp set that can be used to build seascapes quickly and with ease, with the photopolymer stamps making it easy to see how the pieces align in order to create a scene and for the two-step stamping of the lighthouse. The set contains some lovely sentiments too, one of which I used on the inside of my card. I needed something more birthday-related for the front of my card, so went to one of my 'go to' sets, Butterfly Basics, for this one. I also over-stamped the gulls and wader birds onto the main image and the surrounding frame for extra interest.
A Fancy Fold - I wanted to use a fancy fold to add a little extra interest to today's card, so I decided to make a square pop-out swing card. I often find masculine cards difficult to add a 'special touch' to as embellishments tend to make them look quite feminine, but a fancy fold can sometimes be a good way of making a card special without adding to much in the way of frills or requiring a vast quantity of supplies. My card front measures 5 3/4" square (a slightly odd measurement to be fair, but I couldn't find any 12" x 12" in Sahara Sand so had to use a sheet of A4). I was cutting a few bases at a time so for speed used the largest square in my retired Squares Framelits set to cut the aperture in the front, but you could just as easily cut this out using you trimmer and leaving a 1" frame on all sides. Here is another shot so that you can see what the card looks like when properly opened:
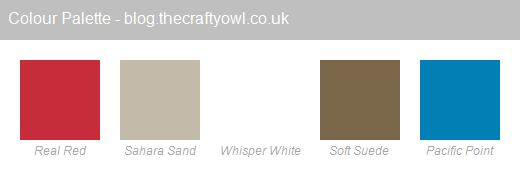
A Nautical Colour Combination - I used a combination of primary colours and neutrals for my calming beach scene, with the addition of the birds top and bottom stamped in Basic Grey. Here's my colour combination to save for future inspiration:
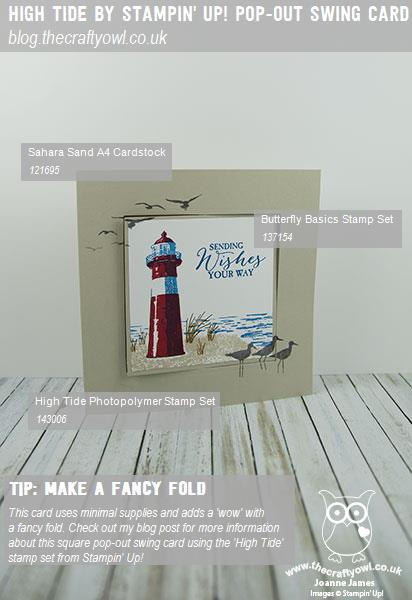
Here is the visual summary of the key products used on today's project for you to pin for easy reference:
You can see all of my Product and 'How To' summaries on my 'How To - Tips and Techniques' Pinterest board in case you've missed any.
Whilst I had all my supplies out I also made a flat clean and simple card using this set which I will share some other time, but it was fun to make something a little different to share today and I love that this card is flat for posting too.
Before you reach for your ink and papers, check out what our amazing team has created to inspire you this week:
The Paper Players Design Team
Here's a quick recap of our challenge rules:
1. Create a new paper project
2. Upload your creation to your blog with a link back to us and provide a direct link to the post featuring your challenge submission.
3. Please link your card to no more than four challenges, TOTAL.
4. Have FUN!
I look forward to seeing what you create with this week's theme. Enjoy the rest of your weekend - we spent the day at a country show yesterday so are going to be taking it easy today. I'll be back tomorrow with another project; until then, happy stampin'!
Stampin' Up! Supplies Used: