by Joanne James28. January 2015 07:00It's Wednesday so that means a new collection of Wednesday Weekly Deals! This week's deals are included below - they will be available for one week only, before a new collection of deals is announced.
As always, if you want to take advantage of any of the deals on offer, you can support my business by placing your order online by clicking here or using the link to my store on the right hand side of my blog page where it says 'Shop Online' or with me in person. Don't forget to add the Hostess Code for January/February (you can find this under the 'Shop Online' section on the right) and be sure to make sure that you don't check the 'no contact' box if you'd like to be kept updated with the progress of you order and receive a little thank you in the post from me.
Here's a summary of this week's one-week only Wednesday deals - click on each item to go to the online store to purchase:
A mixed bag this week - for me the big deals are on punches - both the hexagon punch and the 2" circle punch are two of my most frequently used punches. The hexagon punch is particularly useful for creating neat and even flagged ends to banners in a jiffy.
Back later with today's creative post; until then, happy shopping!
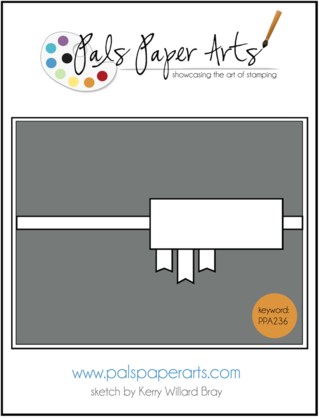
by Joanne James27. January 2015 08:00Today I have a card inspired by this week's sketch over at Pals Paper Arts:
Today's card is a super simple card, using a few offcuts from a card I made a couple of weeks ago. You can see that card here; this is today's card:
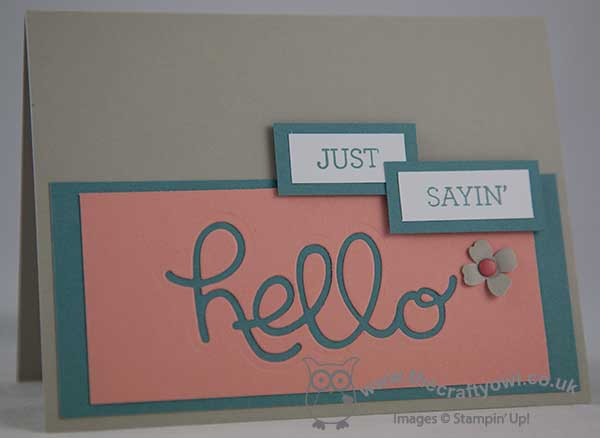
I saved the negative die cut from my original card (I am such a hoarder - I can't bear with anything that I think will come in useful at a later date!) and used it for the panel across the bottom of my card. I used the same colour combination as my original card too, so that I could use up some of the Lost Lagoon offcuts in my box - waste not, want not and all that! I think the negative die cut can make just as much of a statement on a card as the thinlit itself, as this card shows.
I mounted the 'Just Sayin'' on Lost Lagoon and popped it up on dimensionals and added a little punched flower with a candy dot to finish. A super simple card and a great way to use up the bits and pieces leftover from another project.
Back tomorrow with another project; until then, happy stampin'!
Stampin' Up! Supplies Used:
by Joanne James26. January 2015 09:00Today its Monday and I have a card for this week's Freshly Made Sketches challenge; I am also linking up with the Friday Mashup, where the challenge is to create a baby card, a card in brown aqua and tangerine - or as in my case, a mashup of both:

I decided that the 'any shape' allowed in the sketch was a great opportunity for me to use probably the only stamp that has never been inked up in my 'Something for Baby' stamp set - the pram. Here is my card:
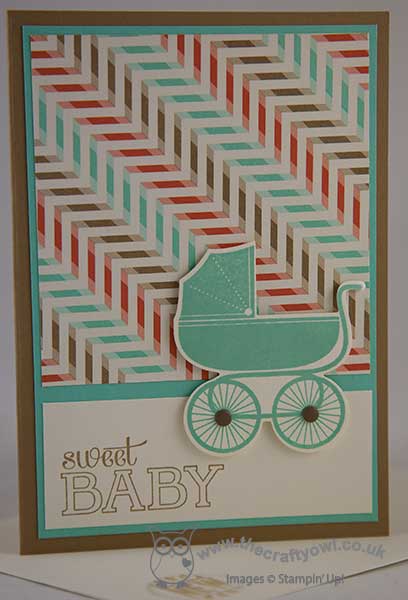
I chose to use some retired 'Retro Fresh' DSP for my card, as it featured the mashup colours. Once I'd decided on my layers, this card came together surprisingly quickly, even leaving time to stamp the inside and decorate the envelope. I've not used this pram stamp previously as it's quite large - this type of sketch layout is just perfect for it though. I finished my pram wheels with a couple of candy dots for added interest and done!
Back tomorrow with another project; until then, happy stampin'!
Stampin' Up! Supplies Used:
fb8b47b5-7740-4871-be75-07cc9ae131b2|0|.0|96d5b379-7e1d-4dac-a6ba-1e50db561b04
Tags: Shop online, Stampin' Up, Stampin' Up Card, Stampin' Up Card ideas, Stampin' Up Supplies, Big Shot, Baby cards, Baby We've Grown, Baby's First, Something For Baby, Retro Fresh
Cards | Stamping
by Joanne James25. January 2015 20:32I'm just popping in to share with you a card that I made for this week's Mojo Monday challenge; I was going to share this yesterday, but was so tired when I got in from taking the James Juniors to their swimming gala I just wasn't awake enough to type! So here is this week's challenge sketch:
This is a great sketch for a feature sentiment; I built up my layers and took the opportunity to showcase not one but two of the great free gifts that you can earn with a £45 order during Sale-A-Bration: the stamp set 'Simply Wonderful', and the 'Irresistibly Yours' Speciality Designer Series Paper. Here is my card:
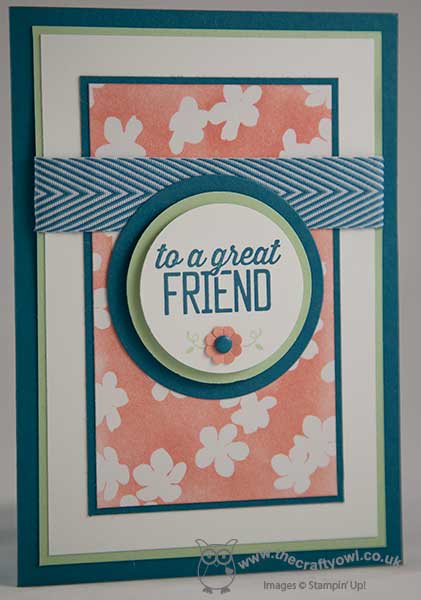
I stamped my sentiment in Island Indigo then added the flower stamp from the same set and a punched Itty Bitty flower finished with a candy dot centre. I layered this central circle to echo the colours and layers on the base of my card and used the central section of the base layer to feature the beautiful 'Irresistibly Yours' Specialty DSP. This white paper with its pre-embossed glossy white patterns could easily be overlooked in the Sale-A-Bration catalogue, yet when you colour it, it really brings it to life. For my card today, I chose to sponge mine with Crisp Cantaloupe ink to show the embossed flowers - isn't it pretty? the stamp set or the DSP could be yours with an order of £45 - or since you get to choose one free gift for each £45 spend, why not splash out and treat yourself to both? Sale-A-Bration runs until 31st March, so you have plenty of time to take advantage.
Back tomorrow with another project; until then, happy stampin'!
Stampin' Up! Supplies Used:
cb89cb02-bf4e-4f26-9e77-afef95e4f8a2|0|.0|96d5b379-7e1d-4dac-a6ba-1e50db561b04
Tags: Shop online, Simply Wonderful, Stampin' Up, Stampin' Up Card, Stampin' Up Card ideas, Stampin' Up Supplies, Sale-A-Bration 2015, Irresistibly Yours, circle punch, Circles Framelits, Big Shot
Cards | Sale-a-bration | Stamping
by Joanne James25. January 2015 07:00It's Sunday and time for a new challenge over at The Paper Players. Last week we were truly overwhelmed with the response to LeAnne's CAS challenge. This week Jaydee has a great sketch for us - and you know how much I love a good sketch! Here is the sketch:
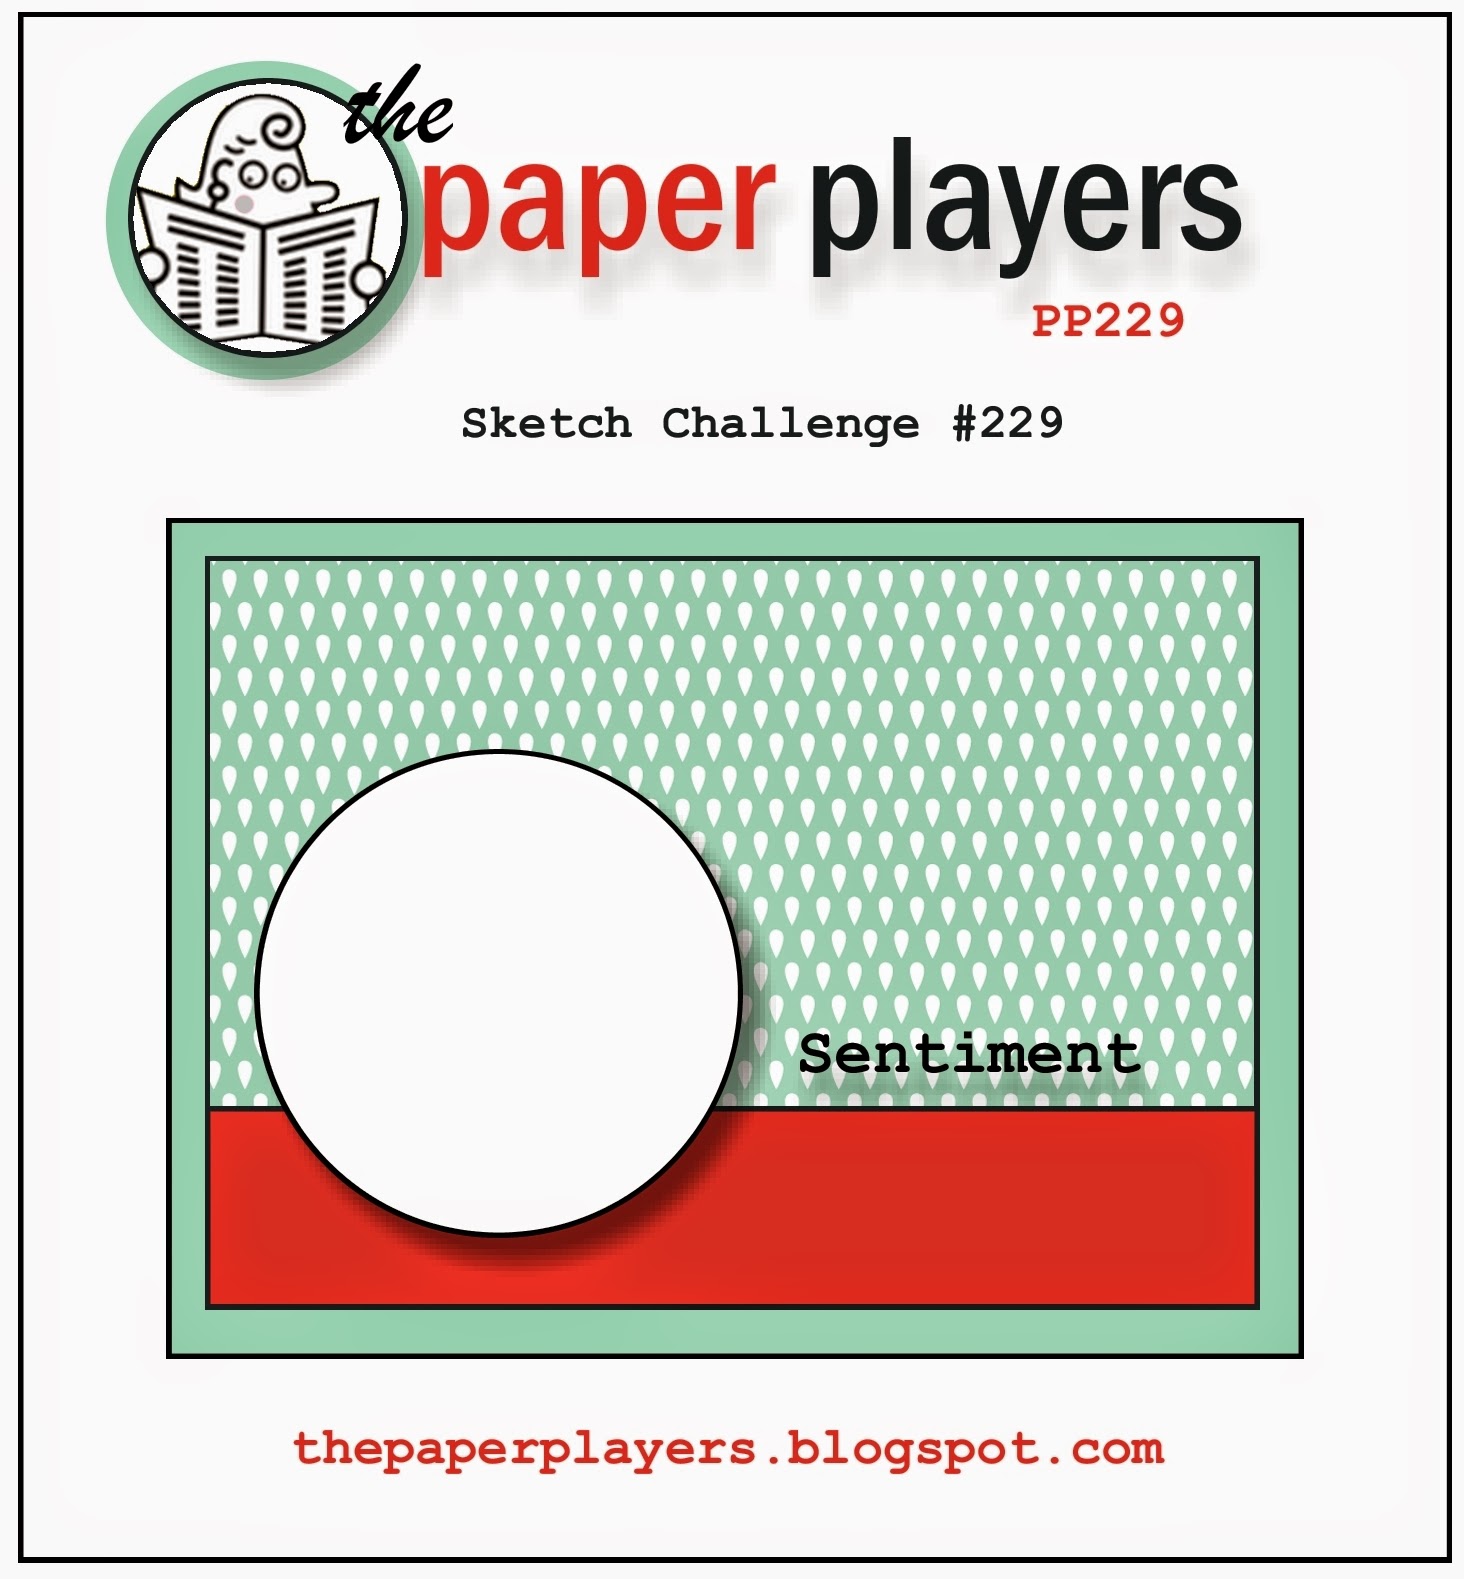
My card today is a cute Valentine, where I finally got around to use some of the bokeh-patterned paper in the Best Day Ever Sale-A-Bration pack - take a look:
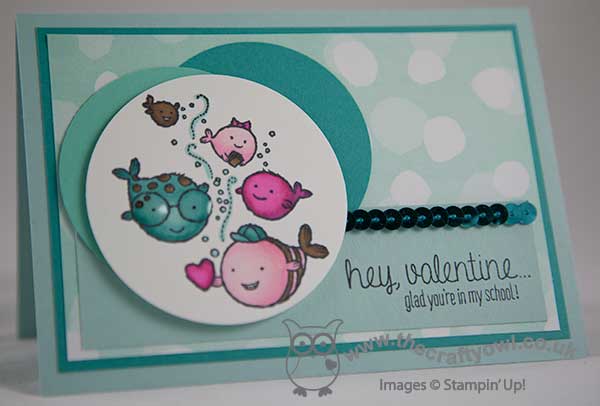
The bokeh effect on the DSP reminded me of light rippling through the clear blue water of the Caribbbean seas, so the fishes were an obvious addition! I stamped the fishes in Memento Black ink on Whisper White, then coloured them in with my Pink Pirouette, Melon Mambo, Crumb Cake and Bermuda Bay Blendabilties pens. I layered this circle on top of two more to echo the bubbles in the water, then stamped the sentiment from the same 'Hey. Valentine' stamp set on a strip of Pool Party across the bottom, having masked off my stamp first. All of the images in this stamp set are perfect for this - they can all be used for non-valentine's cards too. In fact, this was one of the things that appealed to me about the set - it will make some great children's birthday cards too. I added a strip of Bermuda Bay sequins to the sentiment strip for a little extra sparkle and my favourite embellishment is the little Crystal Effects added to the spotty fish for his spectacles - here's a close up:
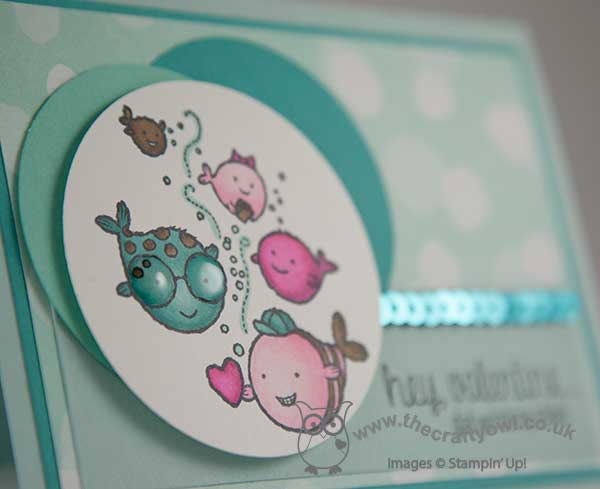
However cute are they?! I hope you like today's card - I love the way that the circular patterns are echoed throughout. Before you reach for your ink pads, do visit the other design team members to see what interesting ideas they've had this week:
The Paper Players Design Team
Here's a quick recap of our challenge rules:
1. Create a new paper project
2. Upload your creation to your blog with a link back to us and provide a direct link to the post featuring your challenge submission.
3. Please link your card to no more than three challenges, TOTAL.
4. Have FUN!
I look forward to seeing your projects in the gallery this week. Back tomorrow with another project; until then, happy stampin'!
Stampin' Up! Supplies Used:
by Joanne James22. January 2015 09:00Past the mid-way point - we are nearly at the end of the 'working week'! Today I'm sharing a cute little card that I made using the sketch over at Retrosketches this week, with a certain young man in mind:
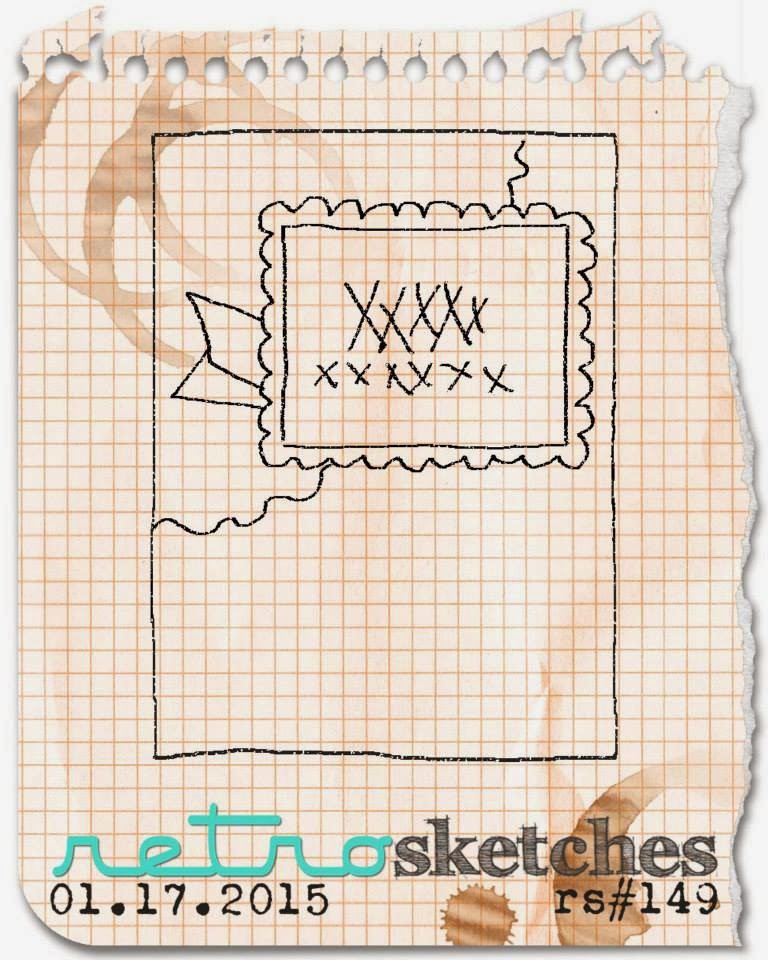
I turned the sketch clockwise through 90 degrees for my card, which is a cute little Valentine's card for someone foxy! Take a look:
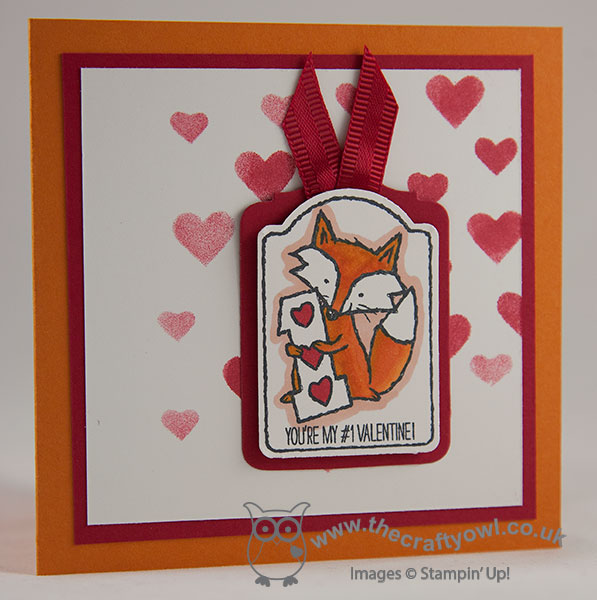
I bought this little Valentine's set called 'Hey, Valentine' because it has some great little stamps in it, many of which can be stamped without their Valentine-themed sentiment and would work really well on a children's birthday card (especially the little pirate and the fish!) Today's card is my Valentine offering for my youngest James junior - I think he will love the adorable fox and the bright colours of today's card. I coloured the fox with my Pumpkin Pie Blendabilities and used a Pumpkin Pie card base to tie in the colour, highlighting around the edges with one of the lighter skin tone Blendabilities. I punched the tag out with my Note Tag punch and mounted it onto a piece of Real Red cut out with one of the Chalk Talk framelits and trimmed across the bottom to give a straight edge. I sponged hearts onto the corner of my Whisper White layer using Real Red ink and my hearts stencilling mask, to add to the Valentine's feel. A leftover piece of red satin ribbon (the current red cotton ribbon would work just as well) finishes my tag. Cute, eh? Plus the Chalk Talk Framelits and Skin Tone Blendabilties are both available on weekly deals this week so can be picked up at a fraction of their usual price. Why not treat yourself? You know you want to :-)
Back tomorrow with another project; until then, happy stampin'!
Stampin' Up! Supplies Used:
f984c75b-4ca7-4dc9-888a-5af9121e456a|0|.0|96d5b379-7e1d-4dac-a6ba-1e50db561b04
Tags: Hey Valentine, Note Tag Punch, Chalk Talk Framelits, Big Shot, Hearts & Stars, Shop online, Sponging, Stampin' Up, Stampin' Up Card, Stampin' Up Card ideas, Stampin' Up Supplies, Valentine's, Valentines
Cards | Stamping
by Joanne James21. January 2015 09:00Today's card is for this week's sketch over at CAS(E) This Sketch, where Chrissy has this rather intriguing sketch for us to work with this week:
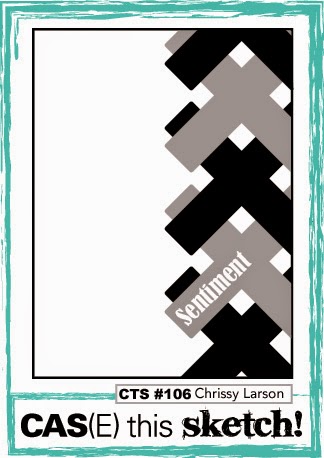
Whilst musing the best way to create a pattern with diagonals that had a readable sentiment and used a design that was different from the designers' inspiration (some lovely plaid patterns there), I remembered this lovely card by Heather Klump that I saw on Pinterest the other week and I decided to combine both inspirations to come up with my card today. Here it is:
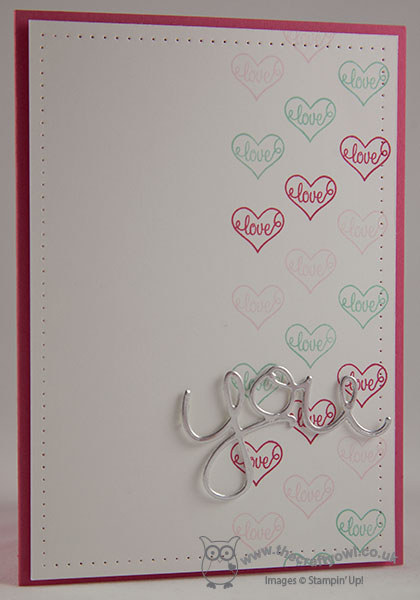
Using my stamp-a-ma-jig, I carefully stamped rows of love hearts from the 'You Brighten My Day' Sale-A-Bration set in Strawberry Slush, Pink Pirouette and Pool Party, aligning them to re-create the diagonal pattern of the sketch. I used a silver foil 'you' cut with my Big Shot and my 'Hello You' thinlits, popped up on rolled glue dots, for the final piece of my sentiment.
I love this card - another pink and pretty affair this week! Looking forward to my first Project Life class of the year this morning and catching up with some of my lovely ladies who I haven't seen since before Christmas. Back with you tomorrow with another project; until then, happy stampin'!
Stampin' Up! Supplies Used:
by Joanne James21. January 2015 07:00It's Wednesday so that means a new collection of Wednesday Weekly Deals! This week's deals are included below - they will be available for one week only, before a new collection of deals is announced.
As always, if you want to take advantage of any of the deals on offer, you can support my business by placing your order online by clicking here or using the link to my store on the right hand side of my blog page where it says 'Shop Online' or with me in person. Don't forget to add the Hostess Code for January (you can find this under the 'Shop Online' section on the right) and be sure to make sure that you don't check the 'no contact' box if you'd like to be kept updated with the progress of you order and receive a little thank you in the post from me.
Here's a summary of this week's one-week only Wednesday deals - click on each item to go to the online store to purchase:
There are some great items on offer this week - the Chalk Talk Framelits Dies and the Skin Tone Blendabilities are both reduced to £15.71 each are a couple of my favourites (and will be appearing on the card that I am going to blog tomorrow, so watch this space!) and there are some great opportunities to pick up baker's twine, washi tape and buttons even more cheaply than usual.
Back shortly with today's creative post; until then, happy shopping!
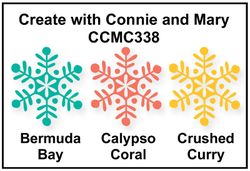
by Joanne James20. January 2015 09:00Today I have something a little different to share with you, having take this week's sketch over at Pals Paper Arts and the colour palette over at Create with Connie and Mary this week as my starting point:
I decided I needed to feature a sentiment in the rectangle running across the front of the sketch and was about to go off in search of some nice DSP to use for the background, when I remembered an idea I had when perusing through my Project Life cards recently. I love Project Life and generally don't use my PL supplies to make cards, because I can't bare the thought of not having them to use in my album (weird, I know - I could just buy more, right?!), however I have a box of the PL Love Story cards that I won at Stampin' Up! Convention last November that I haven't used as I'm not even close to using them to PL my wedding (or anyone else's for that matter) and had been looking at recently to see what else I could use them for, particularly with Valentine's Day and my wedding anniversary coming up. I decided to take a couple of them and use them for my card today:
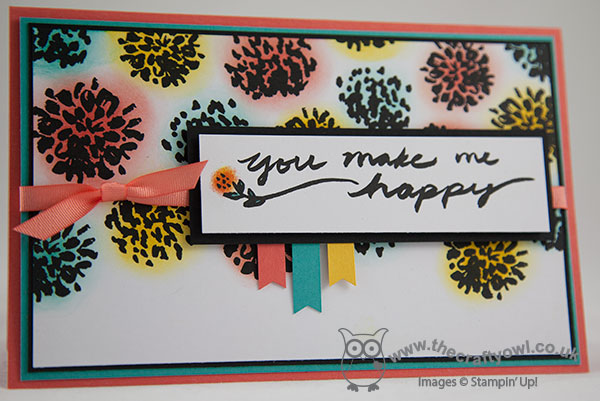
My card is quite an unusual size, as I wanted to use most of the 4" x 6" Project Life card on the central panel, so I shaved a little from the width and then measured my mat and base card from there. All of the cards in the Love Story PL set are in black, white and shades of grey, although as my card shows it's not tricky to introduce a little colour. I used my inks and sponge daubers to sponge in some colour around each of the flowers on the central panel, then for my sentiment cut the top off one of the square PL cards and used a cotton bud (cue tip, for my US readers!) to add a little colour to the flower head and used my Bermuda Bay marker to colour in the leaves. I then finished my card with three narrow flags, one in each of the challenge colours, and a piece of Calypso Coral ribbon from the Best Year Ever Sale-A-Bration accessory pack.
So no stamping on my card today and quite a different use for my Project Life cards - the sentiment is sufficiently generic it could be used for a variety of occasions. Right - I'm off to the opticians again; I've been trialling new contact lenses this week and need a final fitting. Don't worry, I'm not about to change my look - they are for occasional use only as deep-down I'm a committed specs wearer. Vanity is just not my thing :-)
Back tomorrow with a new set of weekly deals and another project; until then, happy stampin'!
Stampin' Up! Supplies Used:
by Joanne James19. January 2015 11:26I have another card to share with you today - a double-post day, woohoo! You can see my earlier card here. This one is quite different!
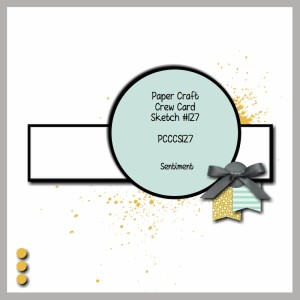
It started out as my card for this week's challenge over at Less is More, where the challenge this week is 'friends'; I started out thinking of something cutesy or animal-themed, then remembered a stamp set I have that I've used only one stamp from (the #Ijustloveyou stamp I used a couple of times last week) and thought it was about time to ink up a couple more stamps in this set. This also resulted in a complete change in design direction! Since this definitely counts as 'NBUS' (never before used schtuff!), I'm also going to link up with CASology and the lovely Darnell with her third NBUS challenge (go Darnell! Thanks for encouraging us to actually use ALL of the stamps we buy!!). I also used this week's sketch over at The Paper Craft Crew as my inspiration (check out Justin's awesome card this week - you are definitely going to want to CASE it!!). Edited to add: At Sarah's suggestion over at LIM, I am also linking up with Uniko Studio's current challenge where the theme is 'love and friendship'. So five challenge links in total, which is something of a record and entirely unplanned, given that I already made today's card and this one was supposed to be for Thursday! So here are all the badges:
After all that - if you're still with me! - I'm guessing you might like to see my card!! Well, here it is:
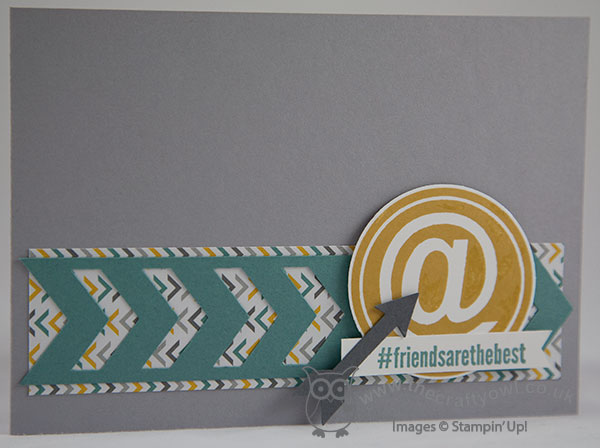
A very clean and simple card, with a slightly masculine feel to it I think due to the colour scheme, which I took from the Moonlight DSP which is peeking through under the Chevron border punched piece. I popped the ampersand up on dimensionals and layered with the hashtag sentiment and arrow to finish. Super simple - easy enough to recreate for a friend, male or female, just to let them know you care. Better still, both the chevron border punch and What's Up arrow punch are on this week's Wednesday Weekly Deals, so you can pick them up even more cheaply than usual!
That really is all from me today; back tomorrow with another project. until then, happy stampin'!
Stampin' Up! Supplies Used:
1336ab55-f27c-4208-8bfc-b1d289c29388|0|.0|96d5b379-7e1d-4dac-a6ba-1e50db561b04
Tags: #Hello, Chevron Border Punch, Moonlight, circle punch, What's Up Punch, Wednesday Weekly Deals, Stampin' Up, Stampin' Up Card, Stampin' Up Card ideas, Stampin' Up Supplies, Shop online, Promotions
Cards | Promotions | Stamping