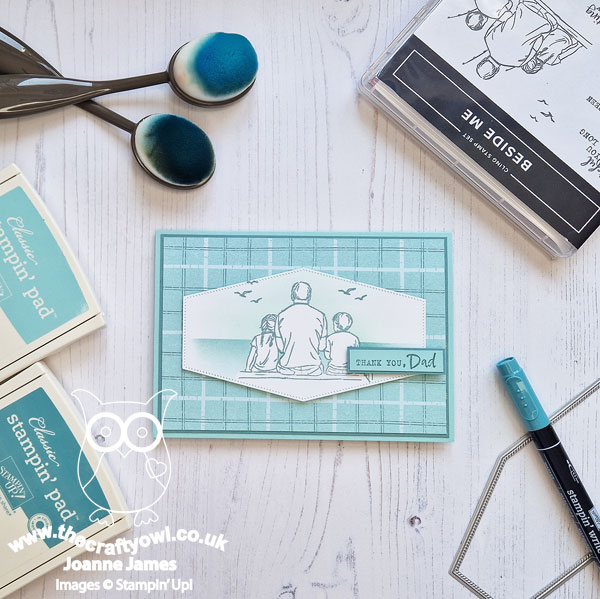
Today I have my card for the new challenge over at Festive Friday Card Making and Paper Crafting Challenge.
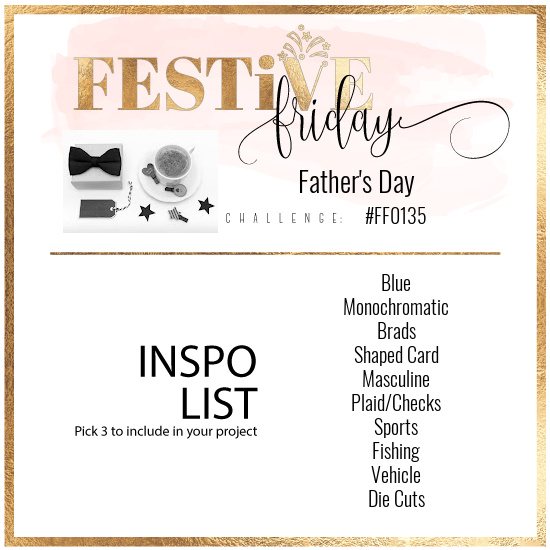

The challenge that we are celebrating this week is 'Father's Day' which is on 18th June. This time around we are also teaming up with Double Trouble: entering both challenges gives you double the chance of winning. Their Thing 1 challenge is to create a masculine card. Their Thing 2 challenge is to enter our Festive Friday Challenge. Their Thing 3 challenge is to include a plaid/check. Here's the link to enter their challenge: Double Trouble Challenge. Remember the fun thing is that at Festive Friday you do not need to actually celebrate the occasion; your goal is to simply use three or more items from the inspiration list on your project. This week I used blue, monochromatic, masculine, plaid/checks and diecuts and decided to create a Father's Day card - this is what I came up with:
Here's the low-down on today's card:
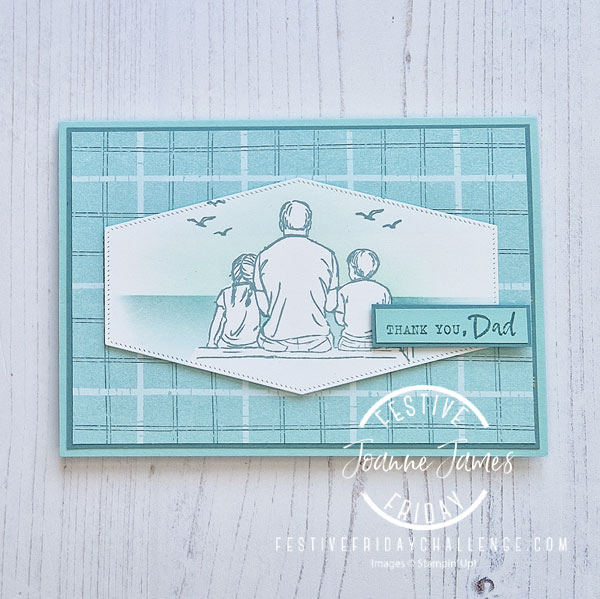
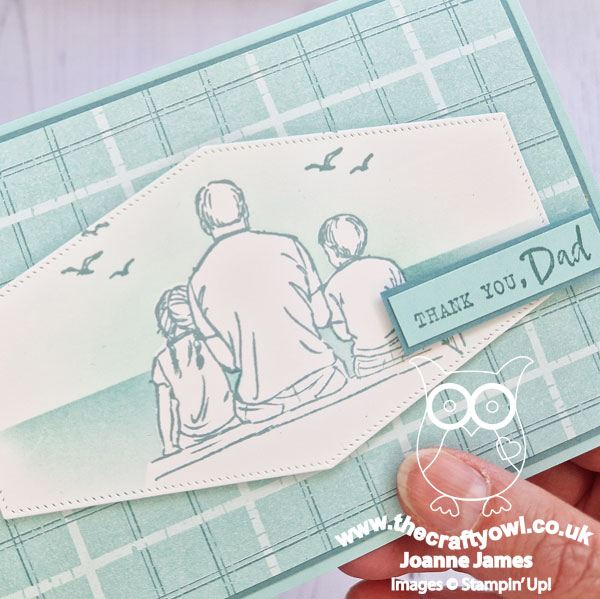
Inked Botanicals - The plaid paper that I used for my background inspired the subtle colour scheme for today's card. You may be surprised to know that this soft plaid is one of the designs in the new Inked Botanicals designer paper pack. I though the soft Pool Party and Lost Lagoon tones would provide the perfect background for my coastal themed card which I'm also linking up with the lovely ladies over at SUO Challenges who are all about the blues and sea-inspired cards.
Nested Essentials - I framed my stamped scene using one of the new Nested Essentials Dies. These are one of those 'easily overlooked' products as they are a die-only set. Comprising 12 dies including 4 banners, 4 rounded corner rectangles and 4 nested diamonds with straight edges all of which have a neat stitched border detail, these are great for framing and layering and I know that they will become a new craft room staple.
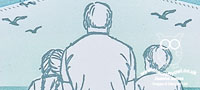
Beside Me - But Not As You Know It - The image on the front of my card is from the 'Beside Me' set - but the eagle-eyed amongst you will have noticed that there is something missing! I love this image as it looks exactly like the James Juniors with their Dad, but I don't think they have ever been fishing together - so the fishing rods had to go! This was so easy to achieve: I simply inked the stamp in Lost Lagoon and masked off the fishing rods before inking, so that they weren't present when stamped - voila! I wanted to stick with my simple colour scheme, so chose not to colour the image itself, instead masking it before inking in a sky and sea using a blending brush. You can see the results of my handiwork more closely below:
This wasn't the only stamp I tweaked on today's card. I stamped a combination of sentiments from the set inside my card, but since the image on the front of the card had two children, I wanted the sentiment to read 'You've always been there for us' as opposed to 'me'. Again, this was simple enough to achieve: I stamped the sentiment having masked out the 'me', then added in a 'u' and 's' using my Stamp-a-ma-jig to line them up, having selectively inked them up on one of the other stamps in the set:
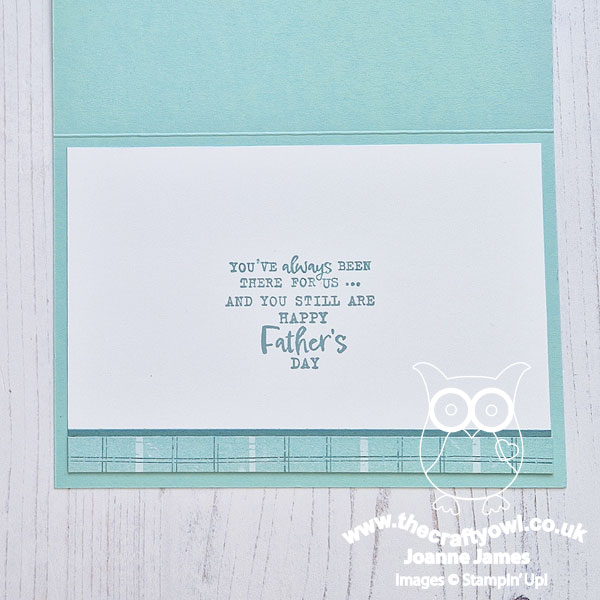
I think it works - don't you? I love that I can tailor my stamps to create something that is bespoke to my needs. Do you ever do that with your stamps? Do leave me a comment below - I would love to know about your 'stamp hacks' too.
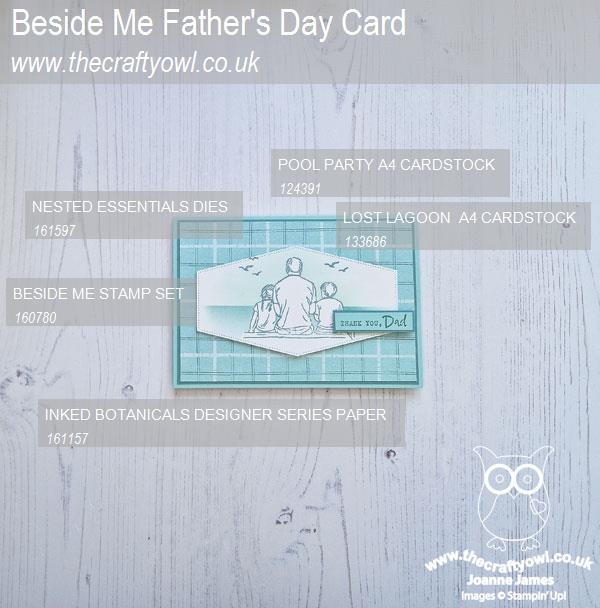
Here is the visual summary of the key products used on today's project for you to pin for easy reference:
You can see all of my 'How To' summaries on my 'How To - Tips and Techniques' Pinterest board in case you've missed any.
How does our board inspire you? I can’t wait to see what YOU create! For more inspiration, be sure to visit the rest of the Festive Friday Card Making and Paper Crafting Challenge
Design team:
Enjoy your day and I'll be back tomorrow with another project. Until then, happy stampin'!
Stampin' Up! Supplies Used: