
Today I'm sharing my design team card for our new challenge over at As you See It where it's time for our monthly speed challenge, this time with a theme chosen by Jan - I also used one of the current Try Stamping On Tuesday sketches for my layout and the fresh colour palette over at Sunday Stamps ( I used dark blue, light blue and red):


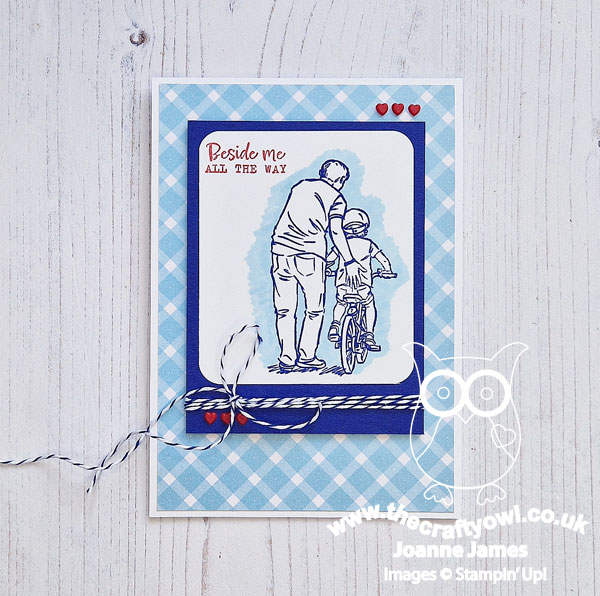
The great outdoors! I decided I didn't want to go with anything floral or scenic for my card, so my mind wandered to sport and outdoor pursuits and I decided to ink up a new and as yet unused stamp set called 'Beside Me' and make a Father's Day card; I know Father's Day is still some time away here in the UK (it falls on 18th June) but the 'Beside Me' stamp set has such great images and if not carried over will be retired by then, so I'm getting in on the action now. Here's the card I came up with:
Here's the low-down on today's card:
It's All In The Preparation - As we always say when we have a speed challenge, the key is to be prepared. Gather all your supplies up front and plan what you are going to do - this can all be done before the stopwatch starts. I decided on my design and colour scheme and got everything ready, including my cardstock, paper, twine, embellishments, Stampin' Blends, ink pads and tools such as mu Stamparatus. My cardbase was already cut as I keep a stack of white ones ready as these are the ones I use most and the large piece of DSP was already cut to size as I had this cut for a previous project but didn't use it. I worked out the sizes needed for my other two layers, mounted my stamps on my platform, then started my stopwatch!
A False Start - The first thing I planned to do was stamp and colour my image. I thought my design would allow me time to roughly colour this small image, but alas - my timer went off just as I finished colouring. Here's the first image I coloured - this alone took me 10 minutes:
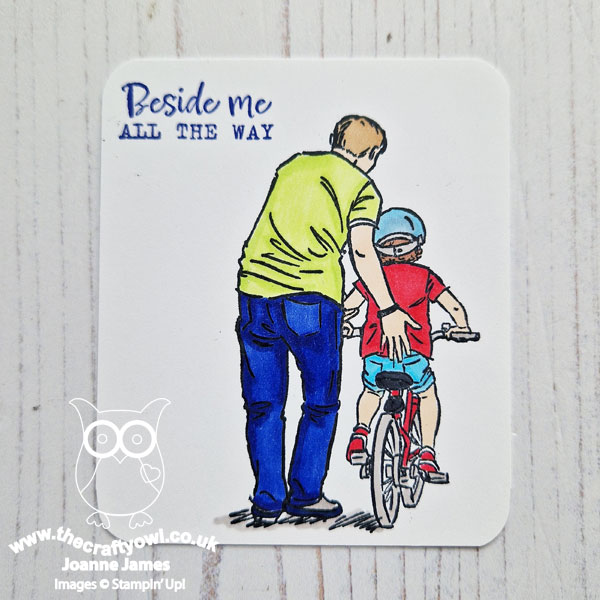
I know colouring can be time-consuming, but I clearly under-estimated this one! So I set that image aside, thought about how I could use way less time, got a new piece of black white cardstock and reset the timer. Take two!
Back To The Drawing - or Colouring - Board - I decided that the key to speedy colouring would rely on focusing on the outline of the image along, rather than colouring it, so I changed up the colours and stamped it in Starry Sky instead of black and stamped the sentiment in Sweet Sorbet. This was so quick, I decided to then just add some rough highlighting to the image and scribbled my lightest Balmy Blue Blend around the image to highlight it. No blending, just a rough colour - I think it works though, what do you think?
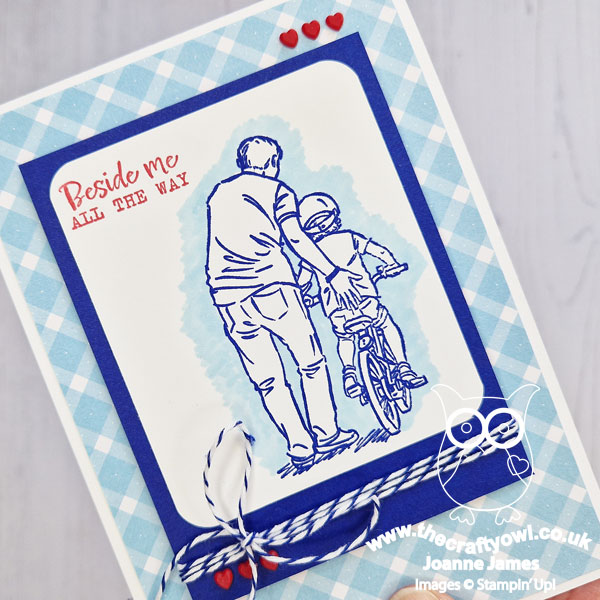
I then quickly rounded the corners and put the whole thing together, adding my baker's twine and two trios of heart embellishments to finish. I quickly stopped my timer - 9 minutes and 58 seconds, get in! Most of the time was spent trying to get the hearts straight!! This is such a simple way to use a line image designed for colouring and it's perfect for a quick card or if you're just not a fan of colouring with markers or pencils.
I so love the images in this set - this one reminds me of when my husband was teaching Ben to ride his bike, so I just had to have it!
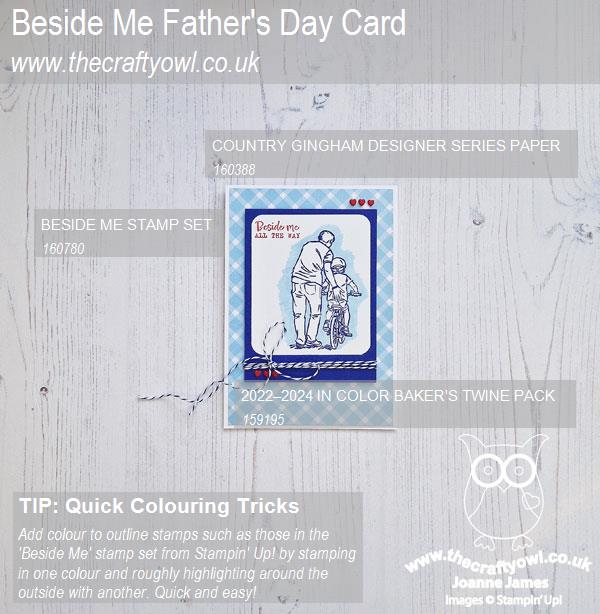
Here is the visual summary of the key products used on today's project for you to pin for easy reference:
You can see all of my 'How To' summaries on my 'How To - Tips and Techniques' Pinterest board in case you've missed any.
Here's a summary of our challenge rules:
- Create any card, scrapbooking page, 3D project or packaging project that fits the challenge.
- Please include the challenge graphic and link back to the challenge in your blog post. Turn off word verification so we can leave you lots of lovely comments. Make sure you link the post not the whole blog to the Linky. Use #AYSIXXX when uploading to a public gallery.
- If you’re unsure about ‘the rules’, check the details under the Challenge Guidelines tab on the As You See It Challenge homepage.
- In a speed stamping challenge, please time yourself and say in your post how long your card took to complete.
We look forward to seeing your creations in the AYSI gallery.
Enjoy your day and I'll be back tomorrow with another super clean and simple project. Until then, happy stampin'!
Stampin' Up! Supplies Used: