Today I have my card for the new challenge over at Festive Friday:
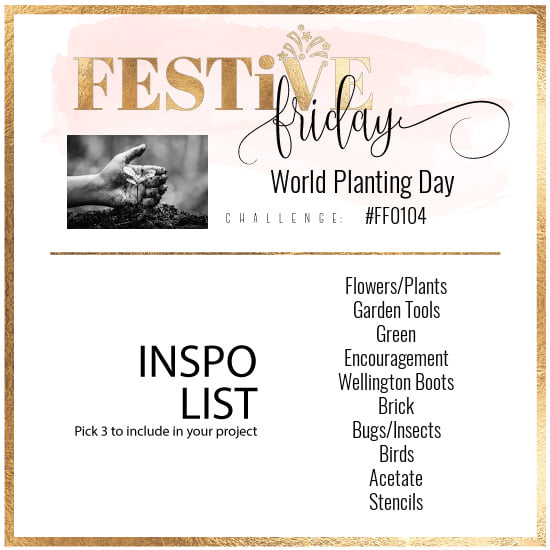
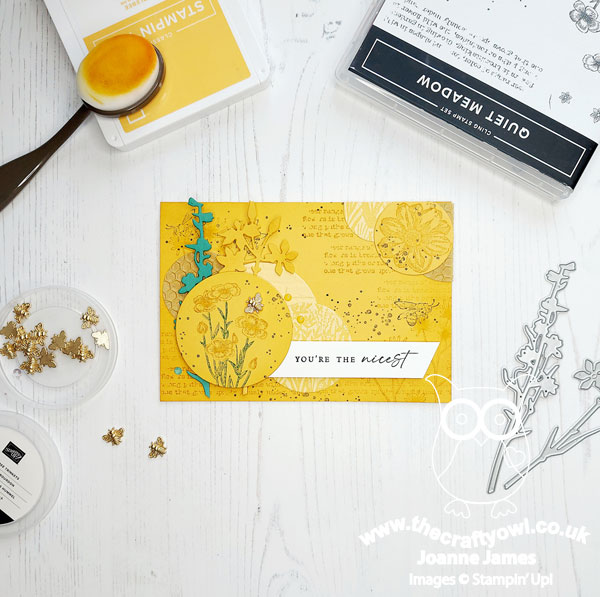
The challenge that we are celebrating this week is 'World Planting Day' which is on 20th March. Remember the fun thing is that at Festive Friday you do not need to actually celebrate the occasion; your goal is to simply use three or more items from the inspiration list on your project. This week I used flowers, green, brick and bugs/insects and this is what I came up with:
Here's the low-down on today's card:
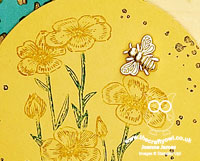
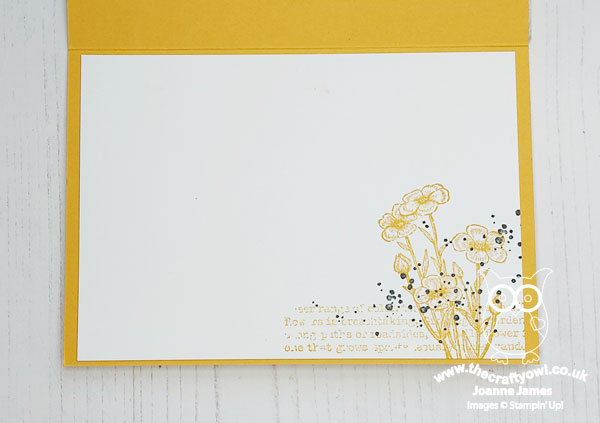
Quiet Meadow Honeybee - This card is something of a departure from my usual style, as I don't tend to go in for collage-style stamping, but I think the images in both the 'Quiet Meadow' and 'Honeybee Home' stamp sets really lend themselves to this style. I used a Bumblebee coloured cardbase and added some tone-on-tone stamping in the same colour, along with some bees and splatter in black and used a blender brush to add colour to the outer edges. I also stamped a single flower on one circle, and for my main focal point I used my markers to add a buttercup in Bumblebee with a Just Jade stem. I also added a little extra collage-style stamping to the inside of my card:
Layers and Textures - This card is all about textures and layers. In addition to my stamping, I added layered circles and diecut flower stems to build up my design. The circles were a combination of hive embossed gold vellum, some embossed brick and some (retired) Harvest Meadow designer series paper, along with a few in-colour enamel dots. This give lots of visual interest, despite the limited colour palette.
A Trinket To Finish - Even though I added stamped bees to my background, I couldn't resist adding a gold bumblebee trinket to my stamped circle focal point:
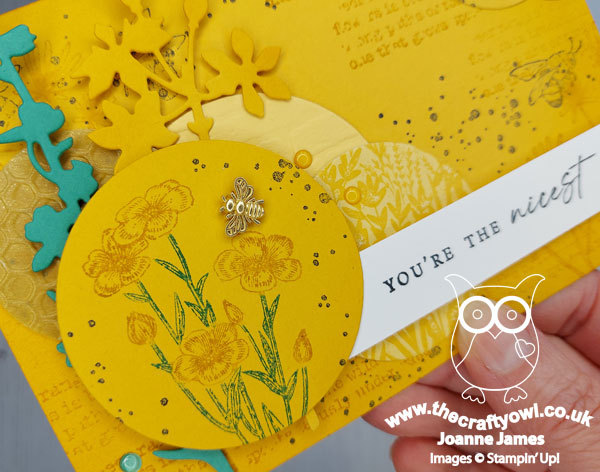
A sentiment from the 'Honeybee Home' set completes my card. So what do you think? Not my usual style, but I had a lot of fun putting it together and stepping outside my comfort zone for a while. I've had a head cold this week and have definitely found myself being drawn to yellow - I think I've subconsciously been cheering myself up! It's also perfect for the current challenge over at The Alphabet Blog, where they are on the letter 'X is for xanthic' - which apparently means 'relating to the colour yellow' - who knew?! I am a bit of a logophile (that means lover of words if it's not a word you are familiar with) so I am delighted to add this one to my collection!
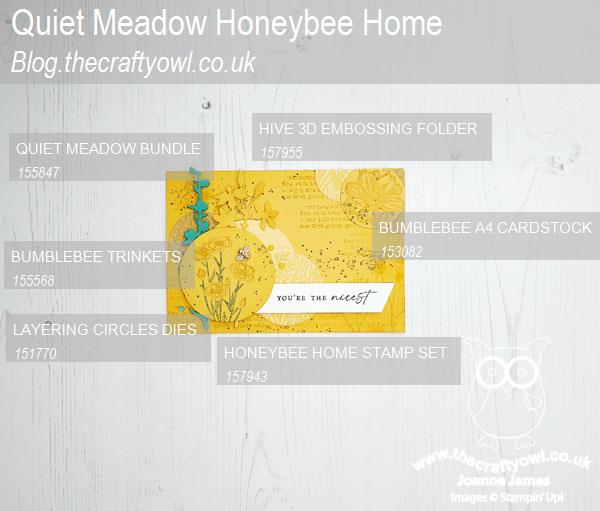
Here is the visual summary of the key products used on today's project for you to pin for easy reference:
You can see all of my 'How To' summaries on my 'How To - Tips and Techniques' Pinterest board in case you've missed any.
How does our board inspire you? I can’t wait to see what YOU create! For more inspiration, be sure to visit the rest of the Festive Friday Challenge Design team:
Ann Schach - out this week
Beth McCullough
Sharon Hashimoto Burkert
Melanie Hungerford
Helen Jennings
Stephanie Lanzalotto
Melva Peters
Jaydee
Diane Evans
Joanne James
Enjoy your day and I'll be back tomorrow with another project. Until then, happy stampin'!
Stampin' Up! Supplies Used: