
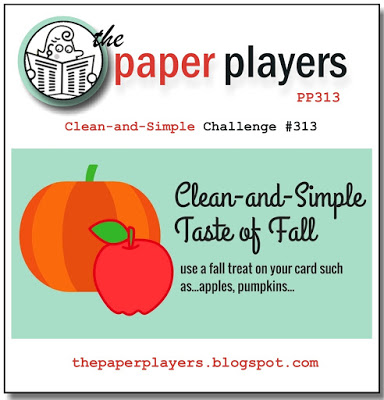
It's Sunday and time for a new challenge over at The Paper Players! It's the turn of the lovely Laurie to host this week and she has a great clean and simple theme for you to work with:

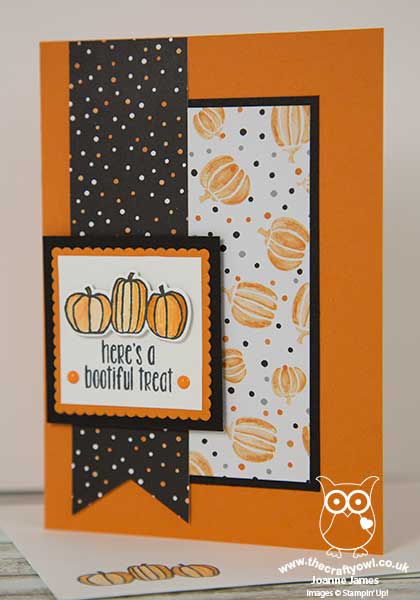
I toyed with some time about my card this week: pumpkins, apples, acorns - what to choose? I browsed through my new goodies and when I happened across this pumpkin patterned DSP hidden away in the Halloween Night Specialty pack, I knew what I wanted to do. I also used this week's sketch over at Pals Paper Arts for my layout today. Here's what I came up with:
Here's the low-down on today's card:
Not Just for Halloween - Whilst many of the papers in the Halloween Night Specialty Designer Series Paper Pack are overtly Halloween-inspired, this pattern of watercoloured pumpkins can also be used on more general Fall projects, as can the spotted paper I used for my banner and the stripes and checked patterns in the pack. This paper became the starting point for my card.
Spooky Pumpkin Fun - My layered square was the perfect place for my sentiment from the 'Spooky Fun' stamp set, along with a popped up trio of pumpkins, coloured with my Pumpkin Pie ink and a blender pen and cut out with the co-ordinating Halloween Scenes Edgelits Dies.
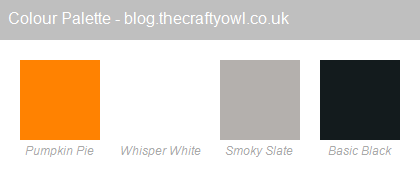
Festive Fall Colours - The colour scheme for today's card comes straight from the Halloween Night DSP: the warm orange tones of Pumpkin Pie, contrasted with Basic Black, Whisper White and Smoky Slate. More Halloween than Fall granted, but by emphasising the warmth of the orange, I think it works. Feel free to save this colour combination if it's one you'd like to try:
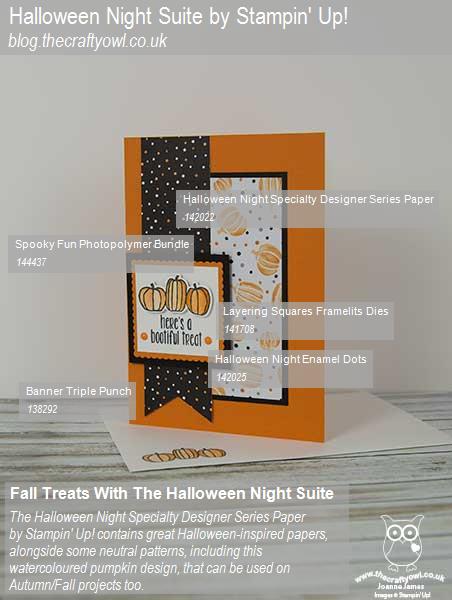
Here is the visual summary of the key products used on today's project for you to pin for easy reference:
You can see all of my 'How To' summaries on my 'How To - Tips and Techniques' Pinterest board in case you've missed any.
Before you reach for your ink and papers, check out what our amazing team has created to inspire you this week:
The Paper Players Design Team
Here's a quick recap of our challenge rules:
1. Create a new paper project
2. Upload your creation to your blog with a link back to us and provide a direct link to the post featuring your challenge submission.
3. Please link your card to no more than four challenges, TOTAL.
4. Have FUN!
I look forward to seeing what you create with this week's CAS challenge. We have a day of sport and birthday parties today - we are most certainly back into the swing of things as far as the new school term is concerned!
Back tomorrow with another project; until then, happy stampin'!
Stampin' Up! Supplies Used: