Happy Friday one and all! Today I have my card for the new challenge over at Festive Friday:
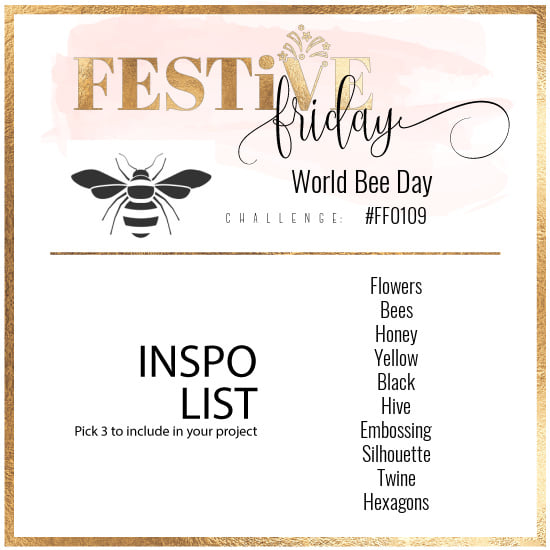
The challenge that we are celebrating this week is 'World Bee Day' which is on May 20th. Remember the fun thing is that at Festive Friday you do not need to actually celebrate the occasion; your goal is to simply use three or more items from the inspiration list on your project. This week I totally went with the bee theme and used bees, yellow, black, embossing, twine and hexagons and this is what I came up with:
Here's the low-down on today's card:
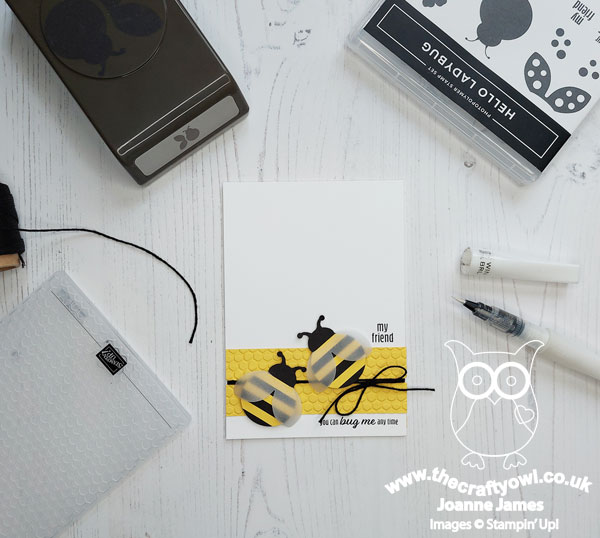
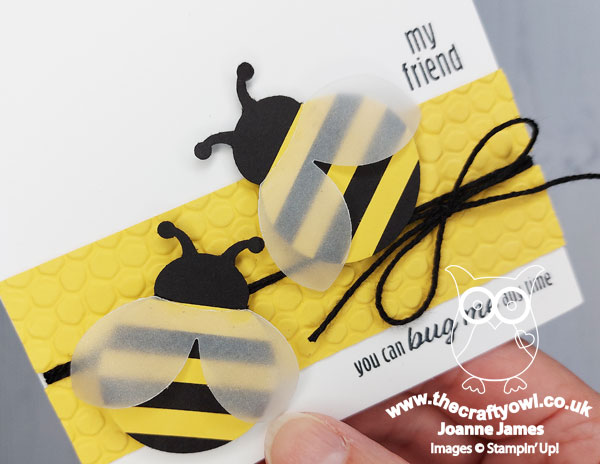
Hello Ladybug Bundle - The bees on my card today are courtesy of the Ladybug Builder Punch. I know, it's its first outing and I'm not making ladybirds, but bees - go figure! I paired my bee duo with a sentiment from the 'Hello Ladybug' stamp set. I think it works just as well for bees as ladybirds and makes for such a great card to send to a friend to let them know they can always count on you.
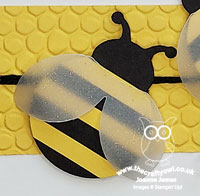
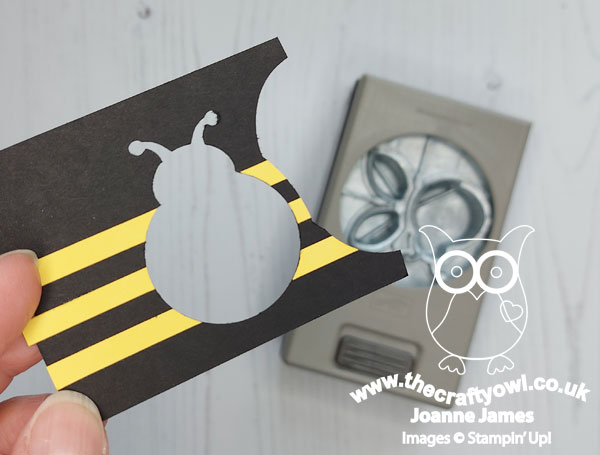
Ladybug Builder Punch Tip - I want to share a tip that makes getting perfect stripes on your bee a doddle! Just cut a number of strips of yellow cardstock (I used 3 which were each 5mm wide) and glue them to some basic black cardstock (use a spare one as a 'space' to make sure they are equally spaced). Once dry, simply feed your already striped cardstock into the punch and punch out your bee. Perfectly smooth edges and fuss free! Here's the negative space from my punched cardstock strip that shows what I mean:
You're welcome! I added some wings punched from vellum and brushed with some clear Wink of Stella for a subtle sparkle.
Hive 3D - I backed my bees with a panel of Daffodil Delight, embossed with the Hive 3D Embossing Folder - the perfect way to add some co-ordinating texture to my clean and simple card. I wrapped it with some black baker's twine, adding a couple of notches to keep it straight and enable it to sit neatly. This is a useful trick - you can just see the detail on the close-up below:
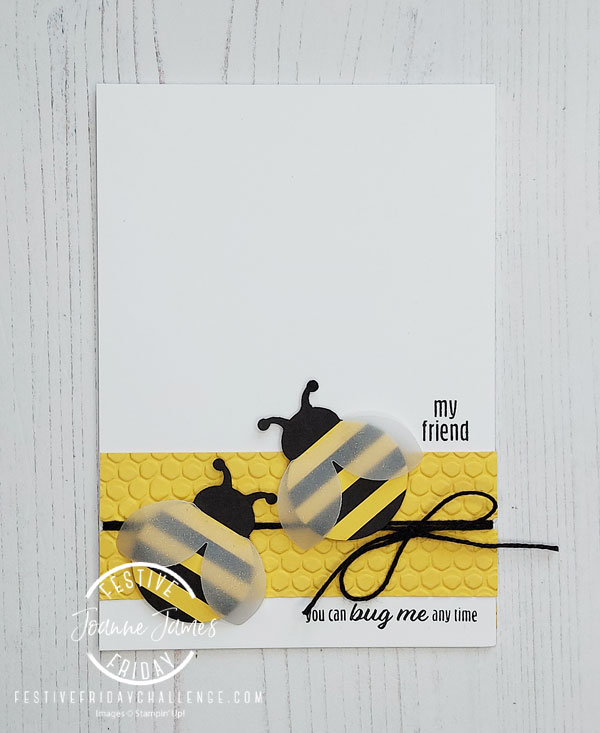
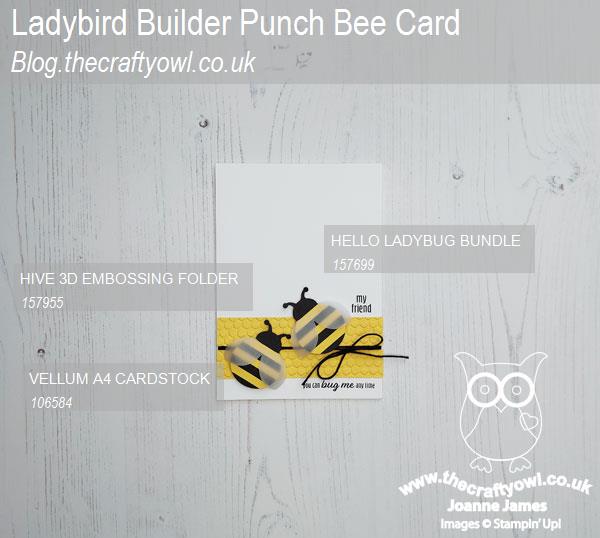
Here is the visual summary of the key products used on today's project for you to pin for easy reference:
You can see all of my 'How To' summaries on my 'How To - Tips and Techniques' Pinterest board in case you've missed any.
How does our board inspire you? I can’t wait to see what YOU create! For more inspiration, be sure to visit the rest of the Festive Friday Challenge Design team:
Ann Schach
Beth McCullough
Sharon Hashimoto Burkert
Melanie Hungerford
Helen Jennings
Stephanie Lanzalotto
Melva Peters
Jaydee
Diane Evans
Joanne James
Today's cards was also inspired by the following challenges: over at Color Dare the challenge is to use black, white and one colour (I obviously chose yellow!) and at Addicted to CAS where the codeword is 'Friendship'.


Today is Friday 13th - not unlucky for you, as this is a two-post Friday! Are you superstitious about this kind of thing? I can't say I am and am not averse to putting an umbrella up in the house to dry, although I don't go out of my way to walk under ladders! Do you have any superstitions that you follow? Do leave me a comment below - I'd love to hear about them! Enjoy your day and remember to check out today's second post here. Until then, happy stampin'!
Stampin' Up! Supplies Used: